1. Introduction VirtualBox
VirtualBox is an open source virtual machine software. VirtualBox is a software developed by Innotek of Germany and produced by Sun Microsystems. It is written in Qt and officially changed its name to Oracle VM VirtualBox after Sun was acquired by Oracle. Innotek releases VirtualBox under the GNU General Public License (GPL), and provides binary version and OSE version code. Users can install and execute Solaris, Windows, DOS, Linux, OS/2 Warp, BSD and other systems on VirtualBox as client operating systems. It has been developed by Oracle Corporation and is part of Oracle Corporation's xVM virtualization platform technology.
VirtualBox claims to be the strongest free virtual machine software. It not only has rich features, but also has excellent performance. It is easy to use, and the virtual systems include Windows (from Windows 3.1 to Windows 10, Windows Server 2012, all Windows systems are supported), Mac OS X, Linux, OpenBSD, Solaris, IBM OS2 and even Android and other operating systems. Users can install and run the above-mentioned operating systems on VirtualBox. Compared with VMware and Virtual PC of the same nature, the unique features of VirtualBox include the support of Remote Desktop Protocol (RDP), iSCSI and USB. VirtualBox can already support USB 3.0 hardware devices on the client operating system, but VirtualBox needs to be installed Extension Pack.
2. Download VirtualBox
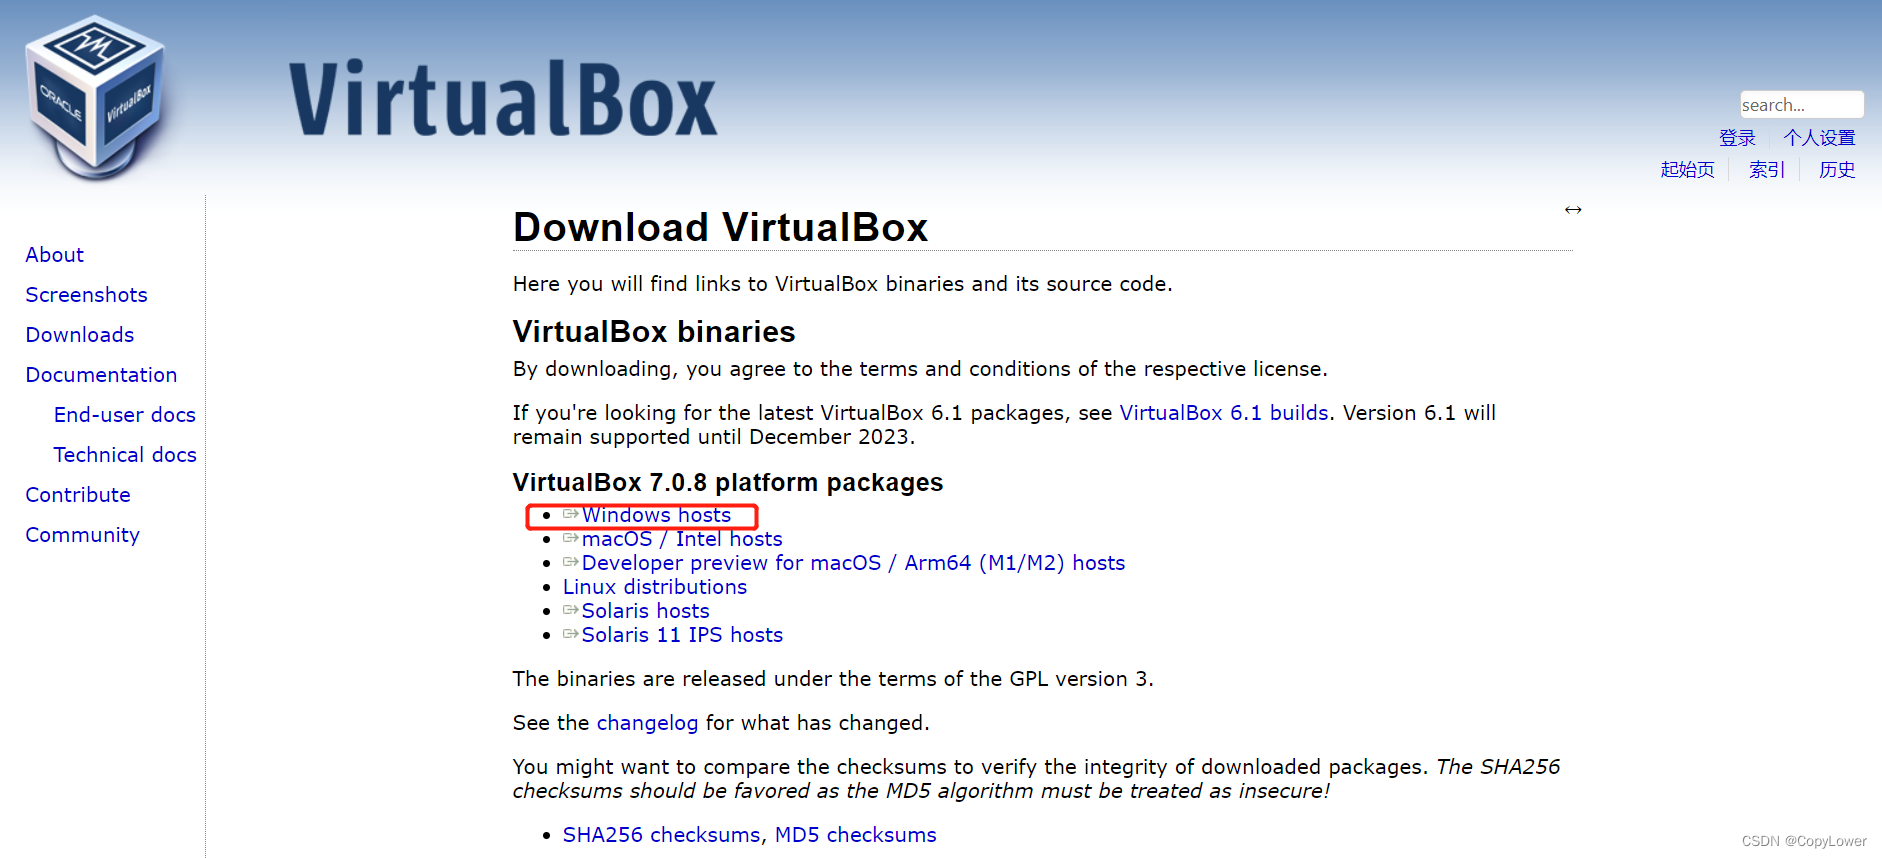
Download the installation file of the corresponding system on the official website of VirtualBox (https://www.virtualbox.org/wiki/Downloads). The current computer is a Windows system, so download Windows accordingly.
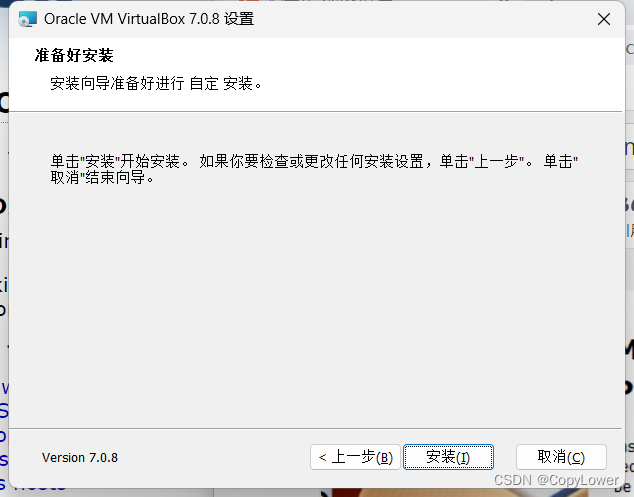
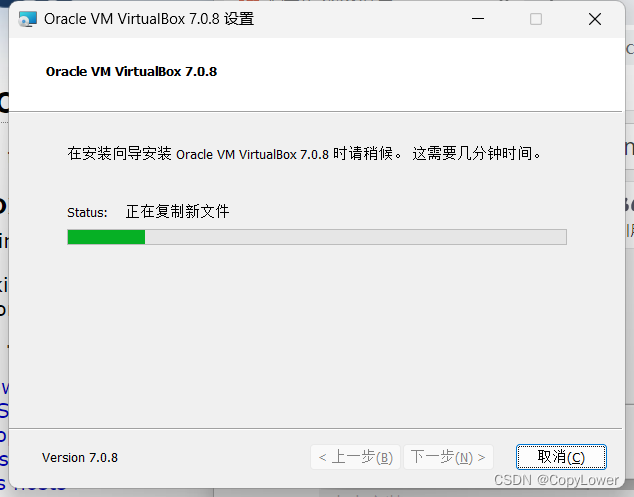
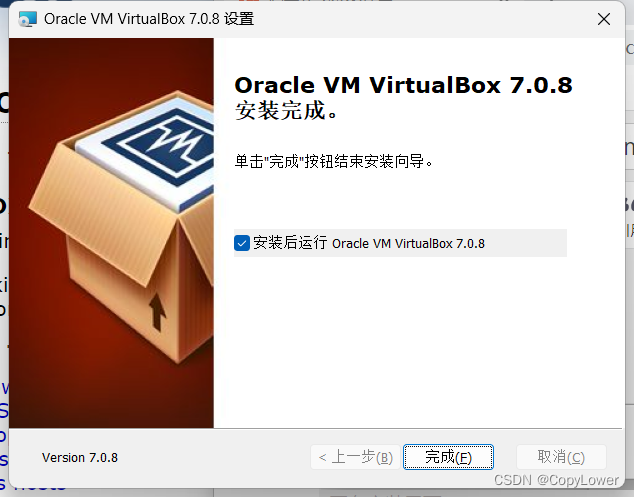
3. Install VirtualBox
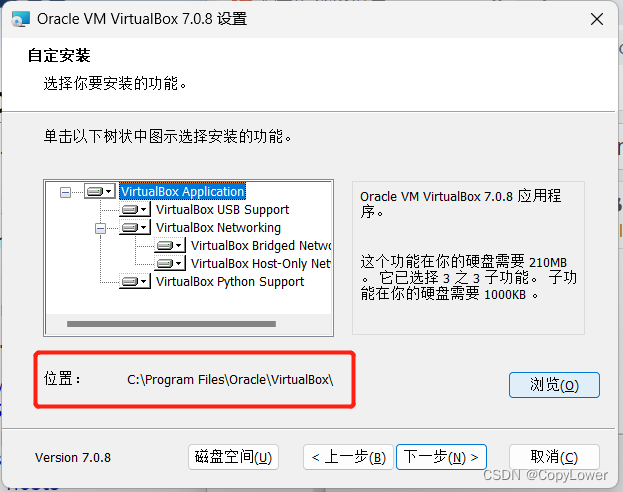
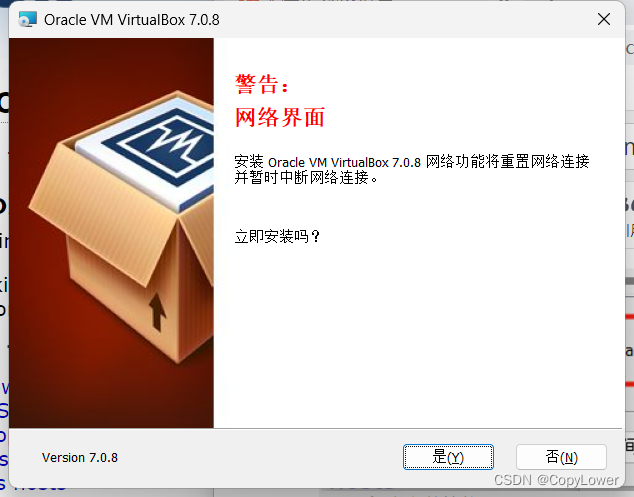
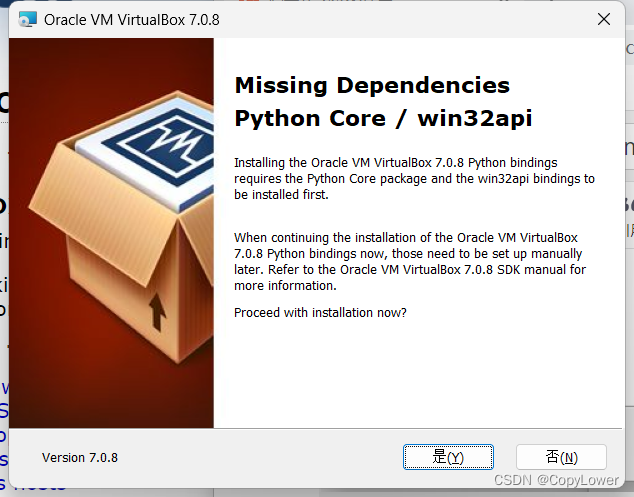
Click to download the corresponding system version .exe file from the official website
4. Introduction Centos 7
CentOS 7 is an open source server operating system released by the CentOS project. It was officially released on July 7, 2014. [1]
CentOS 7 is an enterprise-level Linux distribution, which is redistributed from RedHat's free and open source code. [2] The CentOS 7 kernel is updated to 3.10.0, supports Linux containers, supports Open VMware Tools and 3D images out-of-the-box, supports OpenJDK-7 as the default JDK, supports iSCSI and FCoE in the kernel space, supports PTPv2 and other functions . [1-2]
On November 12, 2020, the official version of CentOS 7 launched the final version of the series, CentOS 7.9.2009.
5. Download Centos7
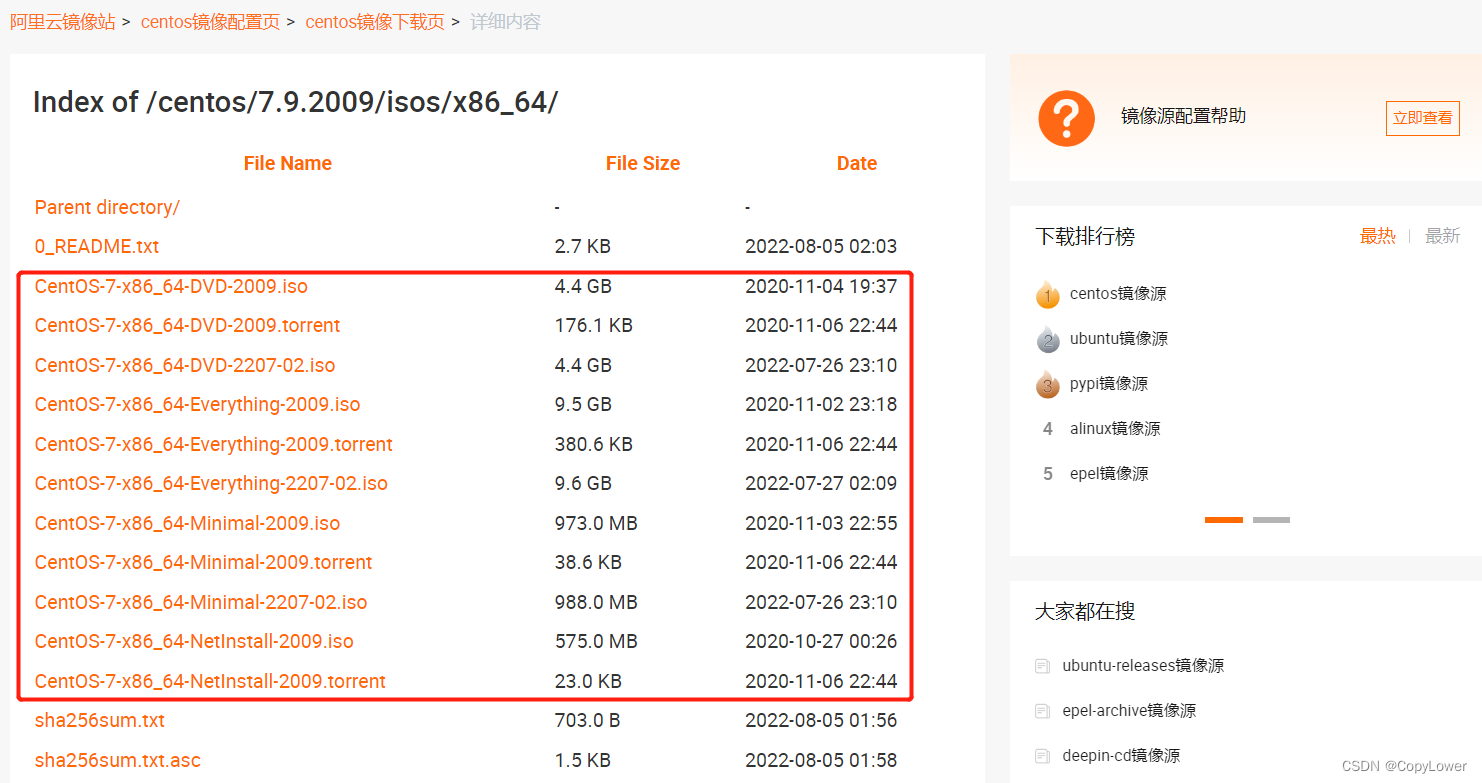
Download the corresponding Centos7 installation package from the Aliyun mirror station (https://mirrors.aliyun.com/centos/7.9.2009/isos/x86_64/), depending on individual needs, there are many versions, Here we choose the relatively small CentOS-7-x86_64-Minimal-2009.iso
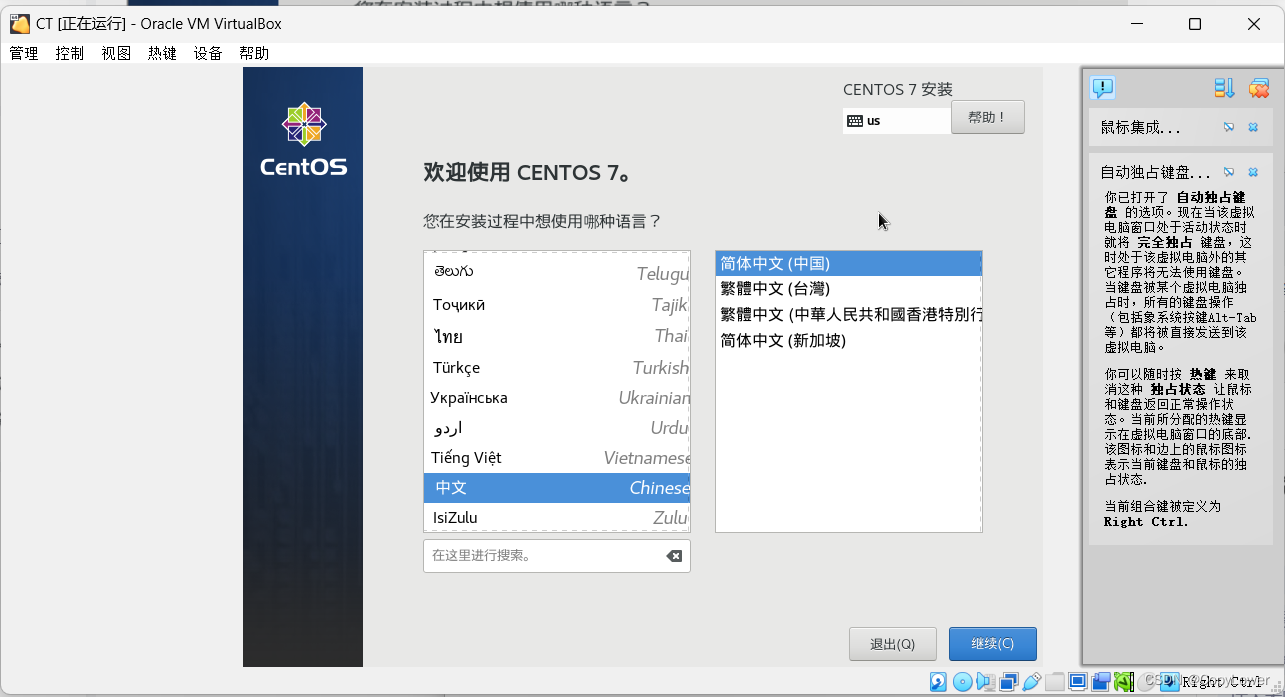
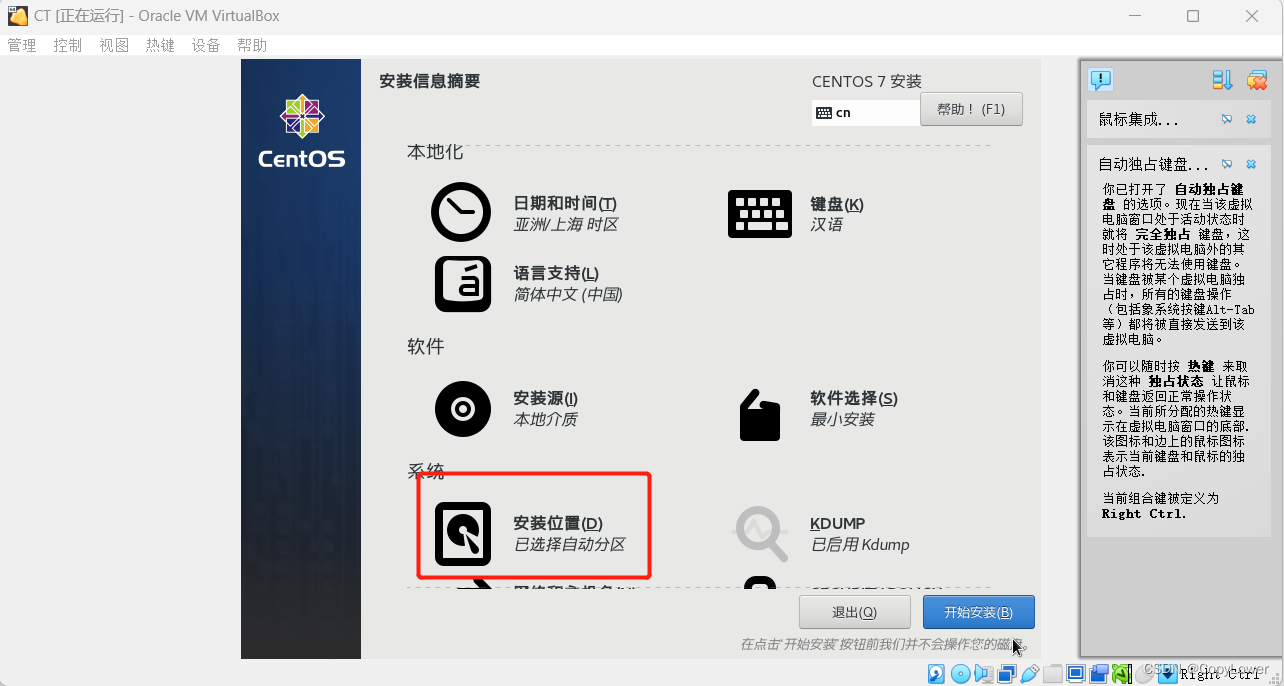
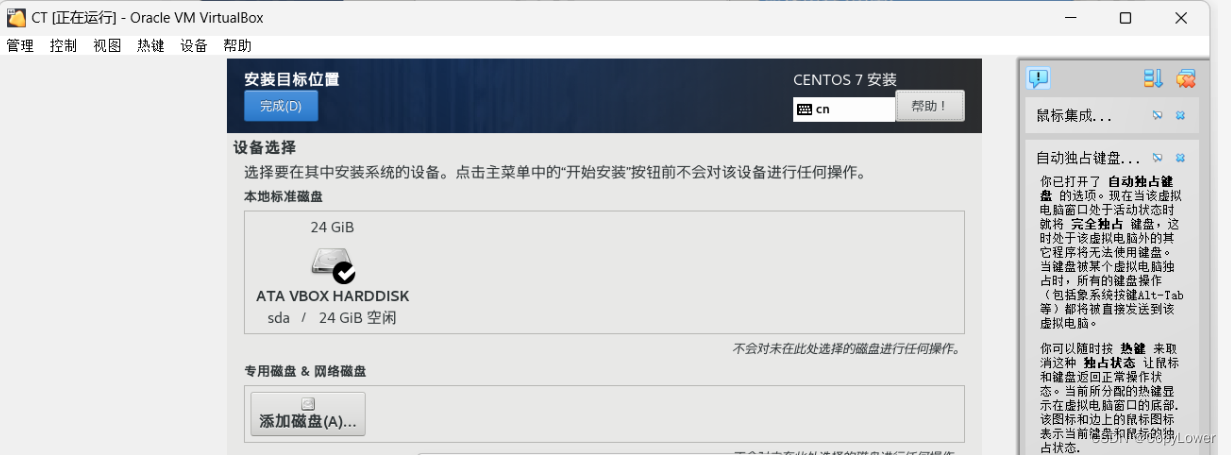
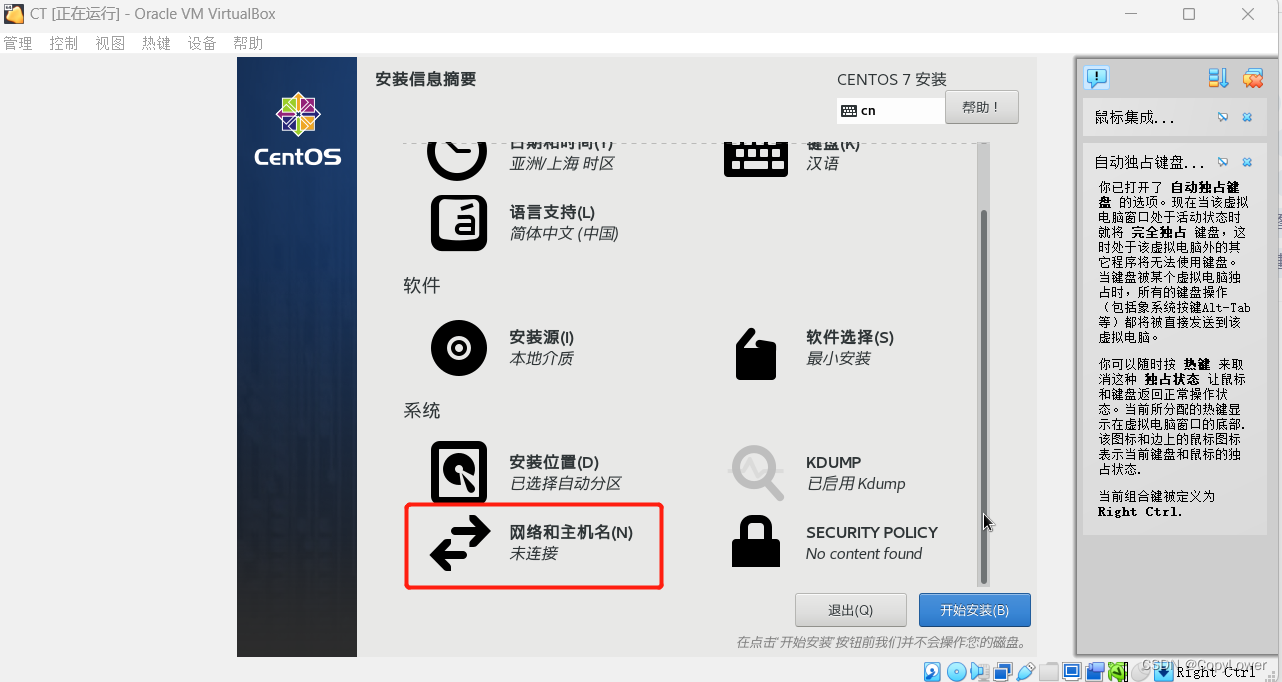
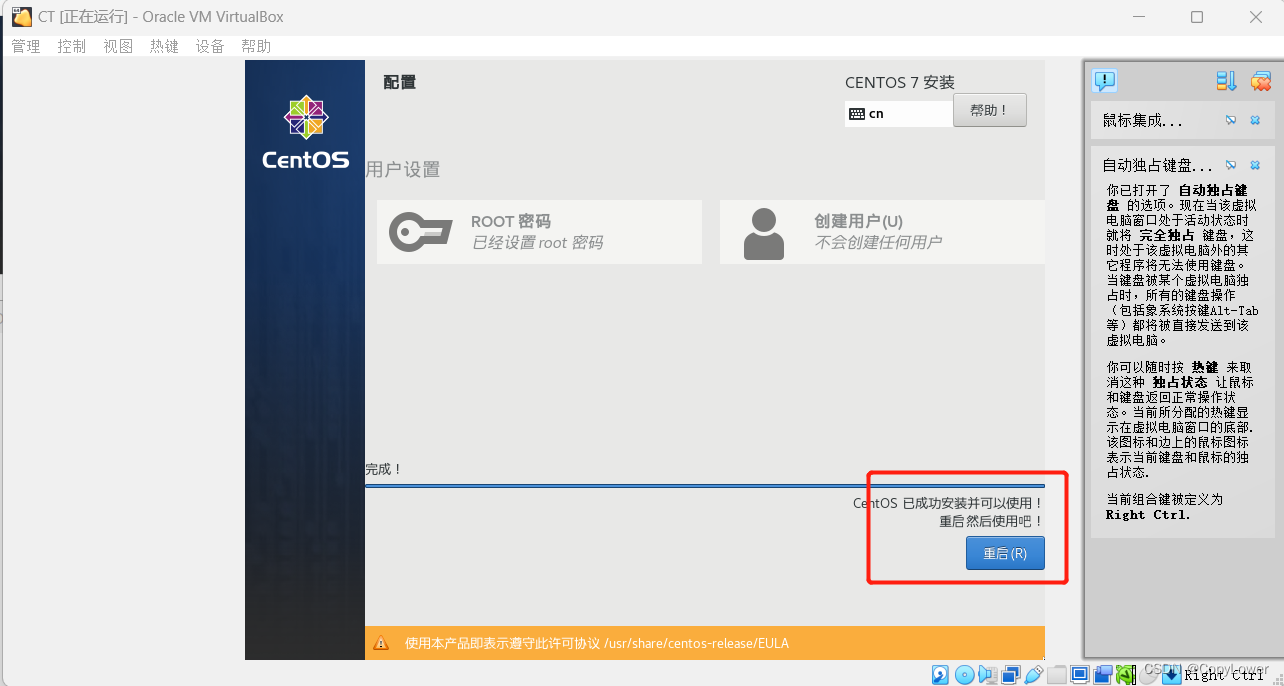
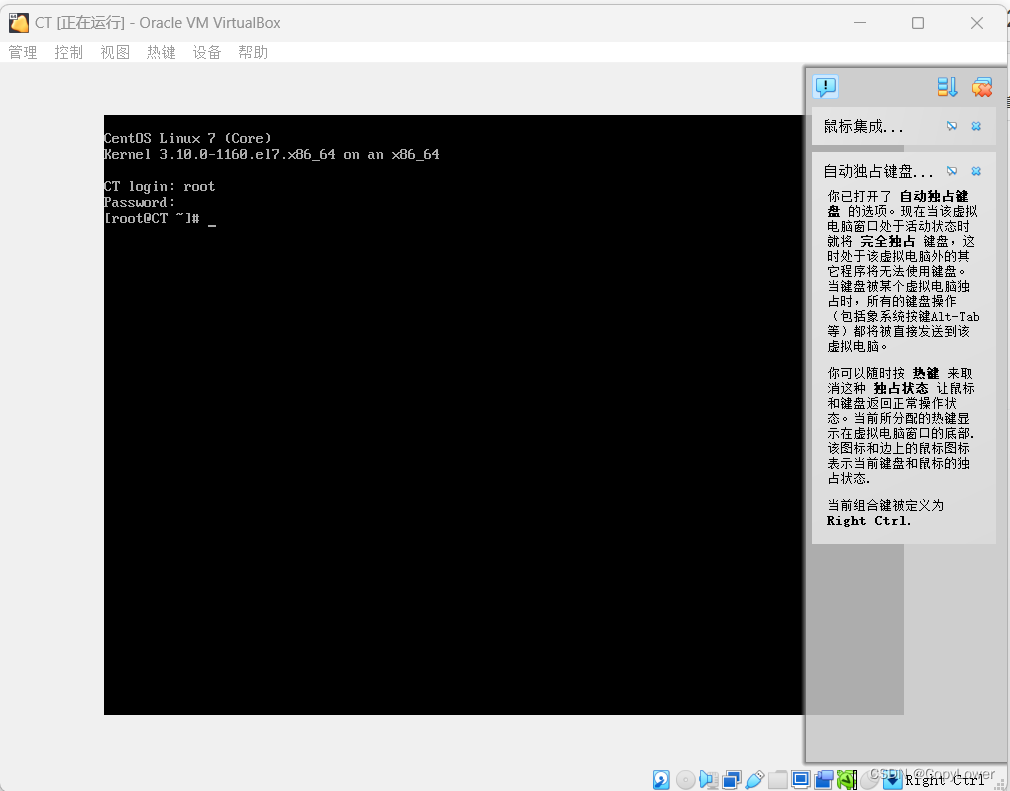
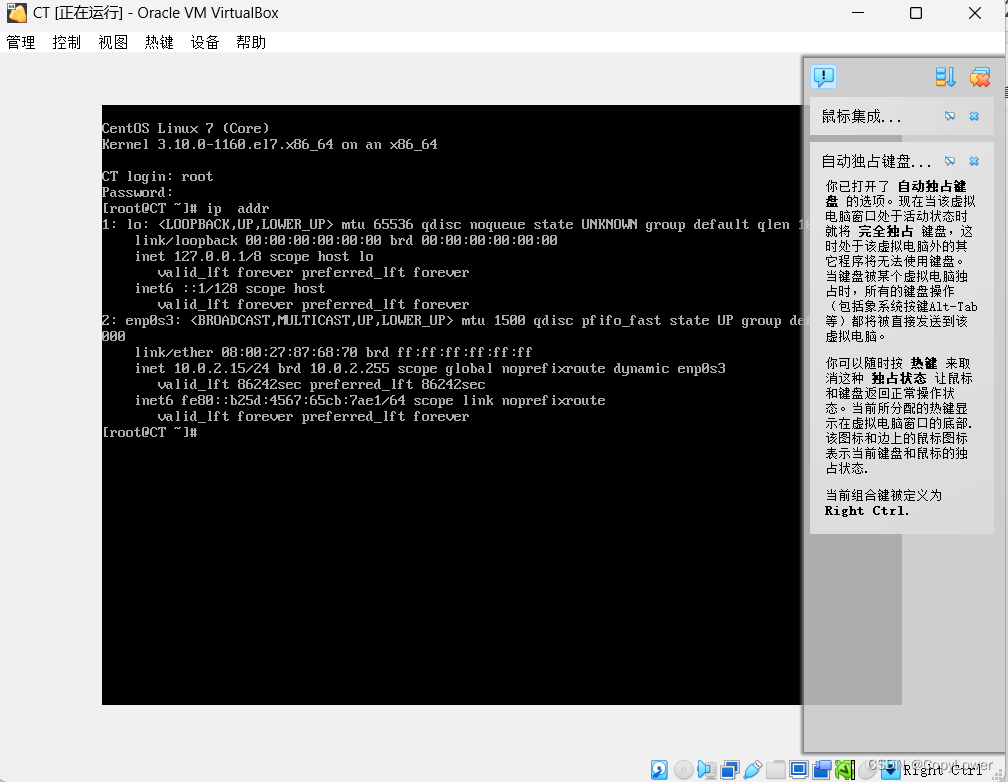
6. Install Centos7
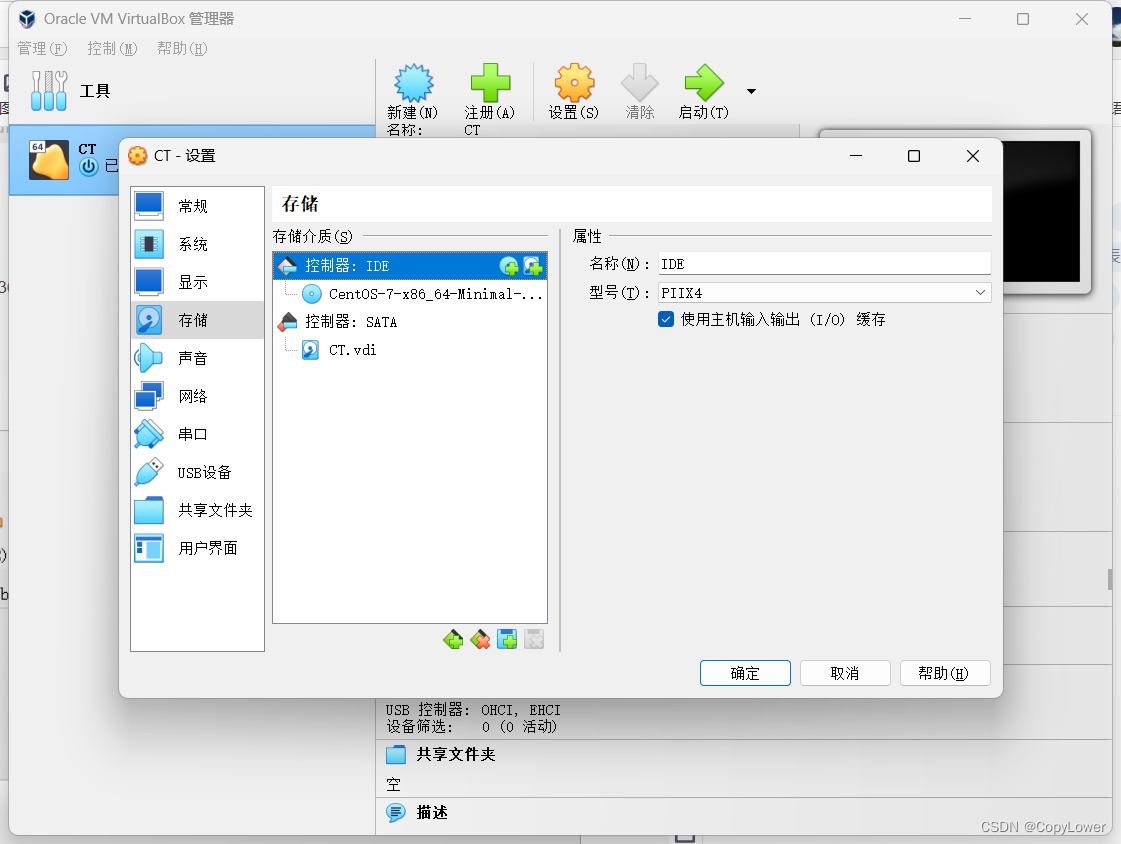
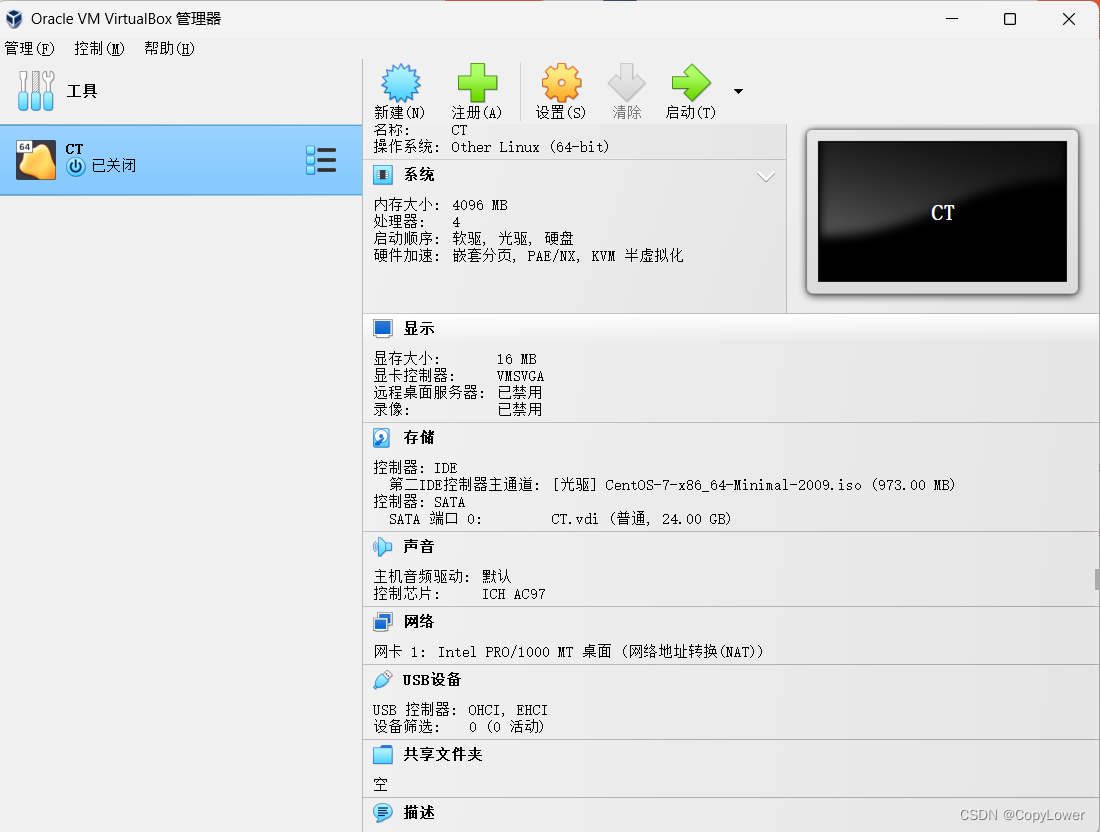
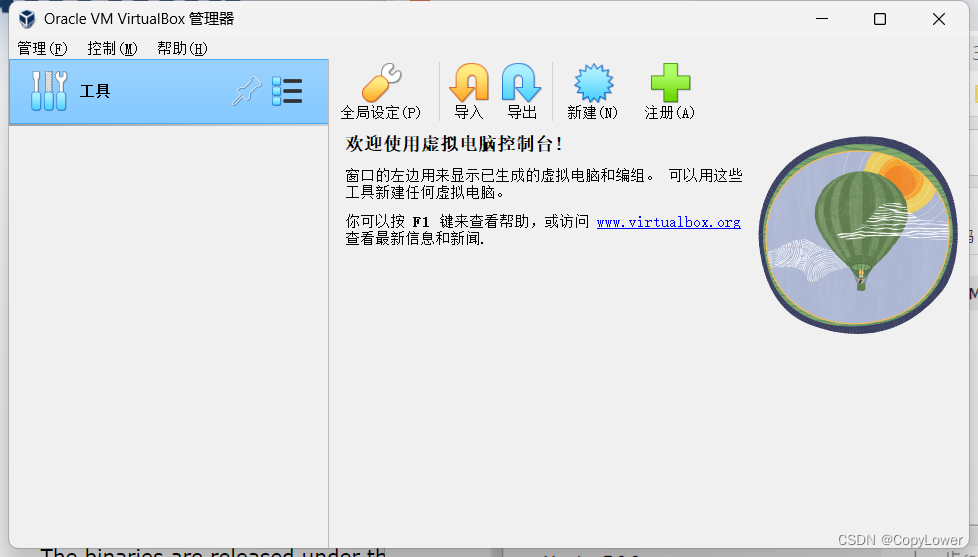
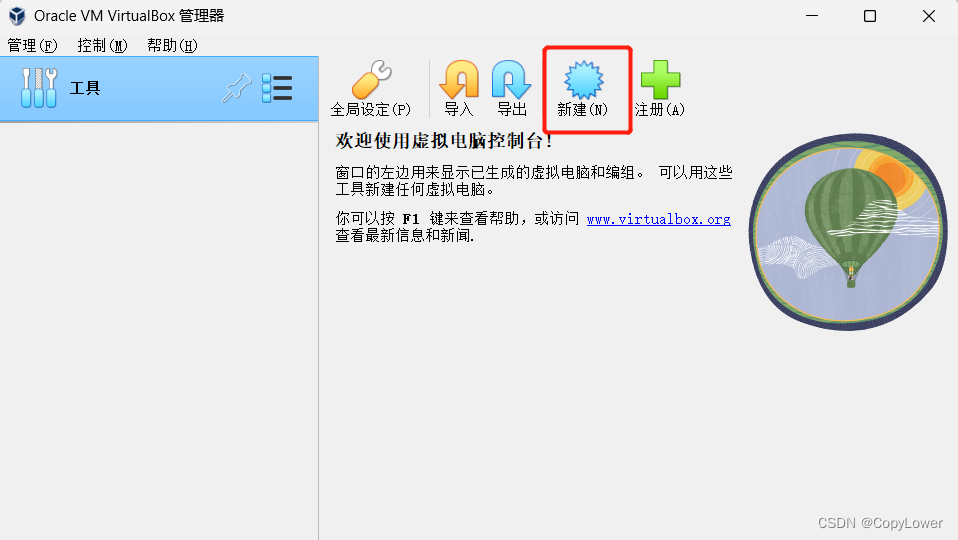
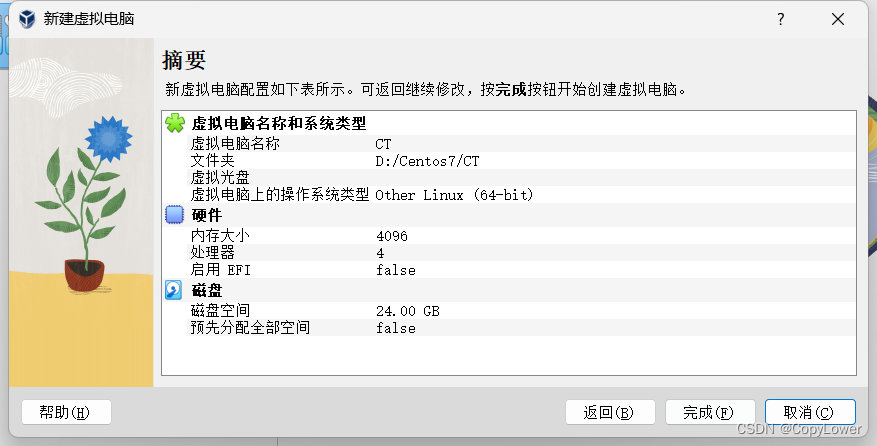
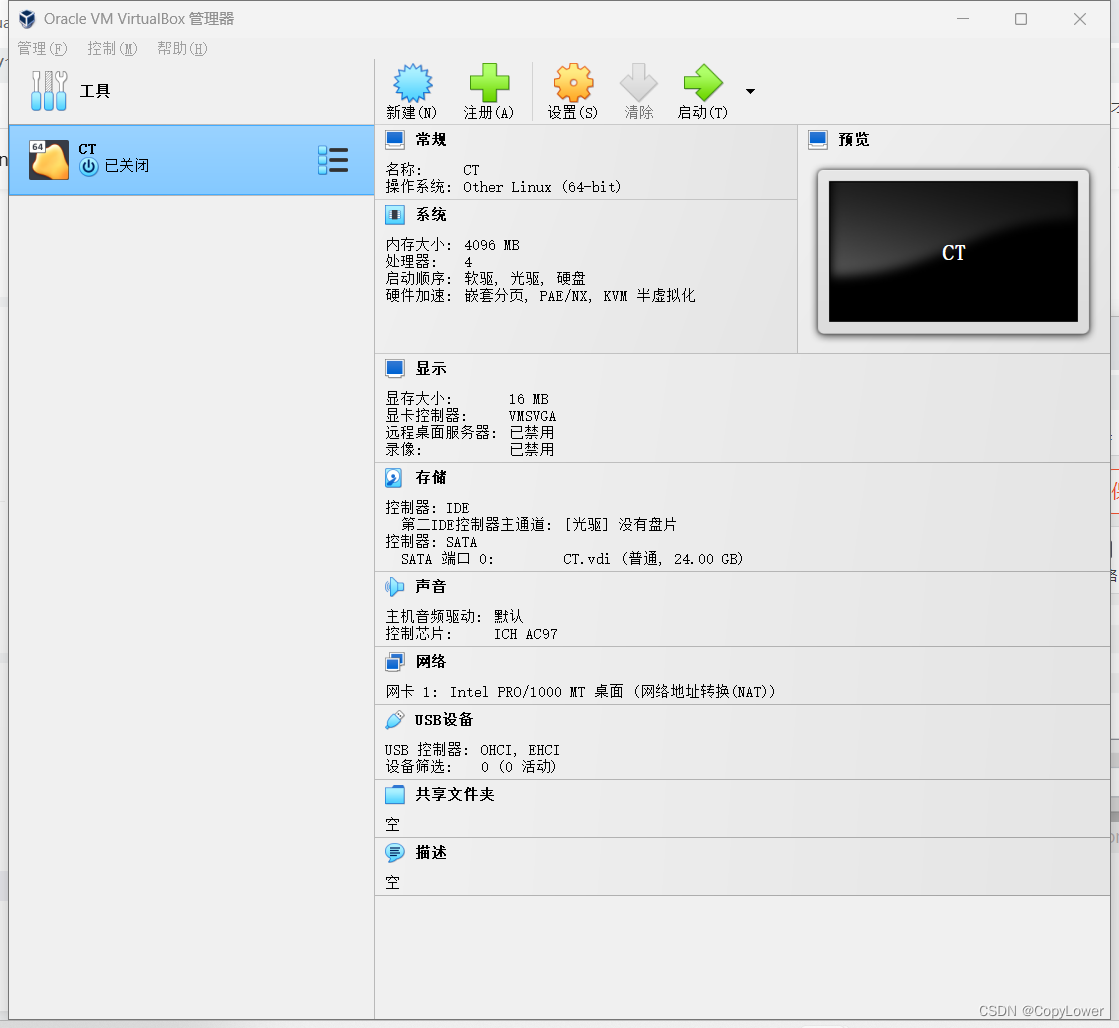
1. First use VirtualBox to create a virtual computer, open the interface, and click the "New" button.
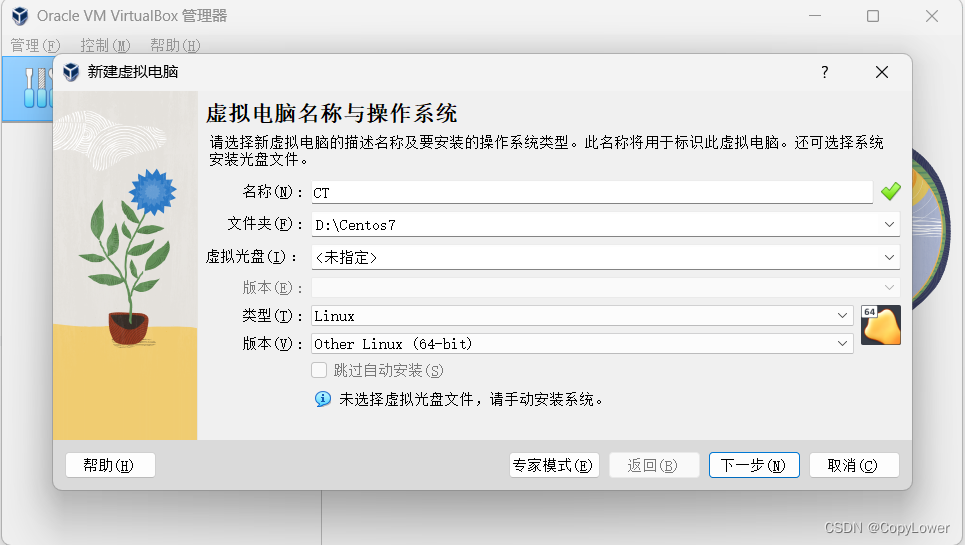
The name refers to the name displayed in the manager Name, folder is the directory for storing virtual system files, virtual disc is for storing virtual system files in the CD, type is the type of system to be installed, and version is the version of the system to be installed.

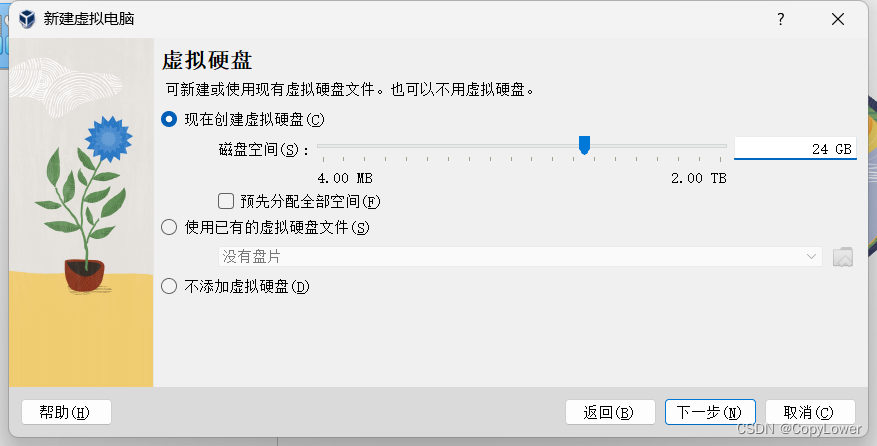
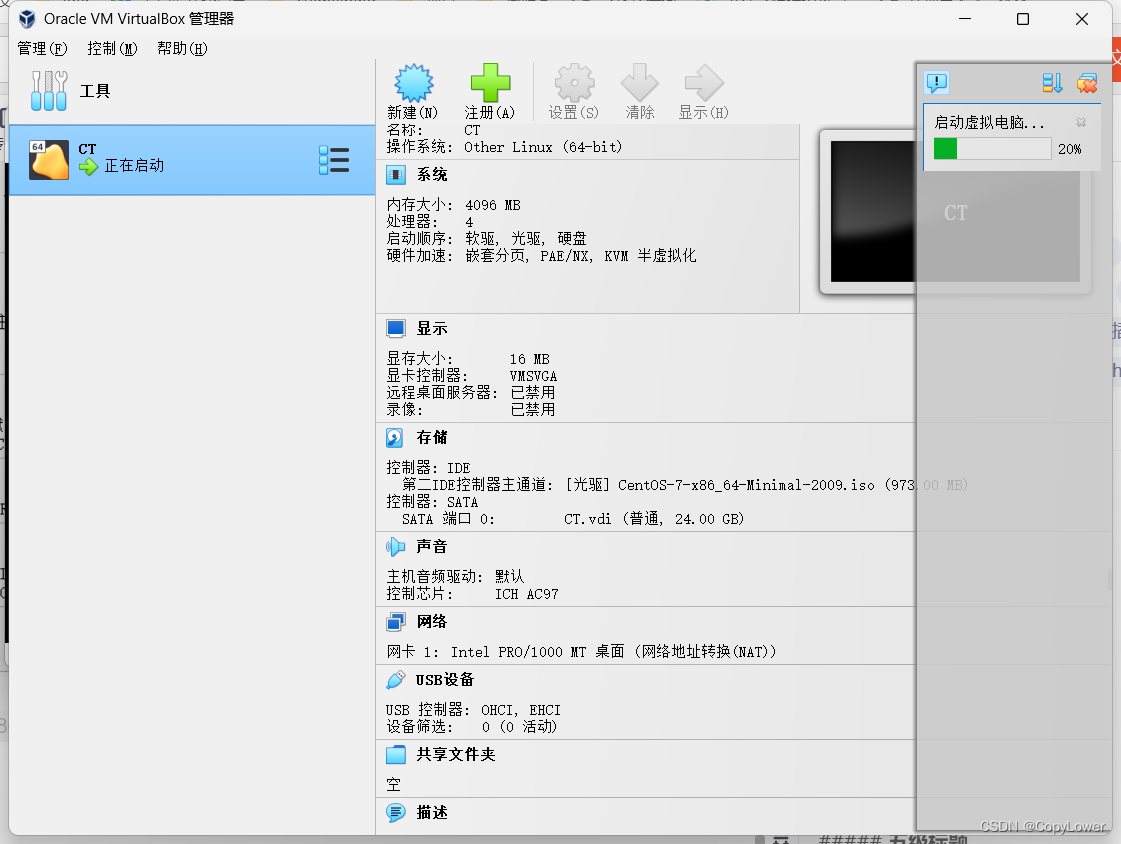
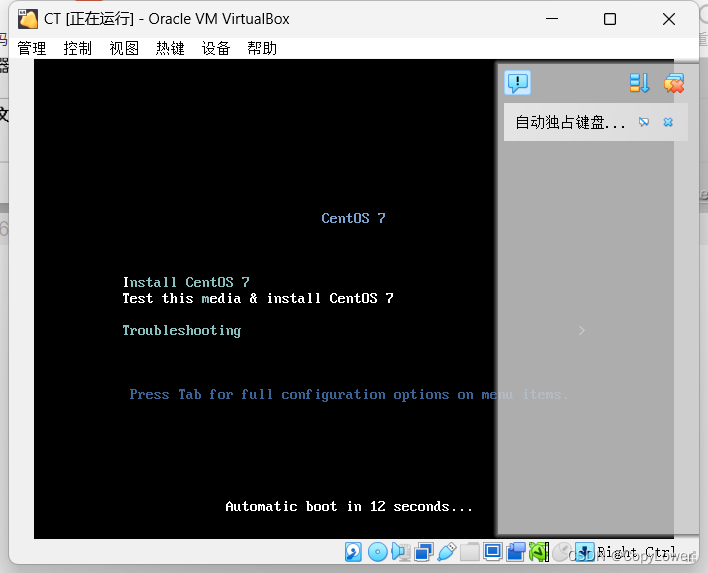
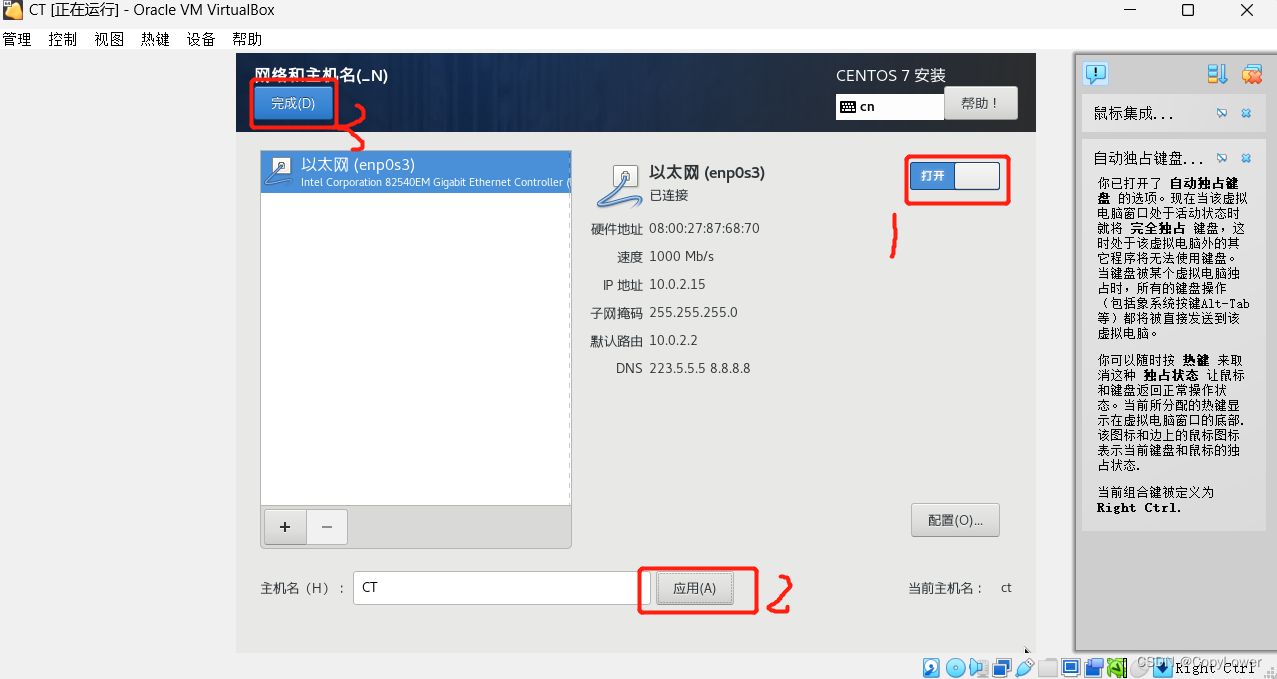
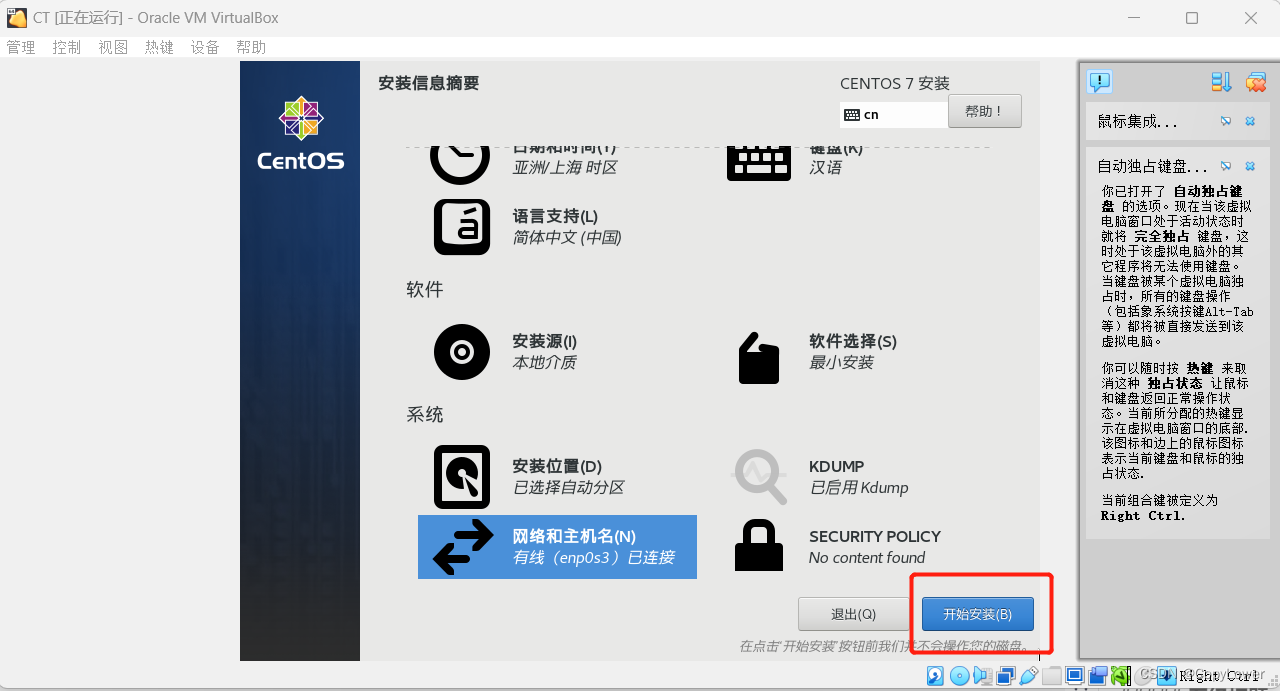
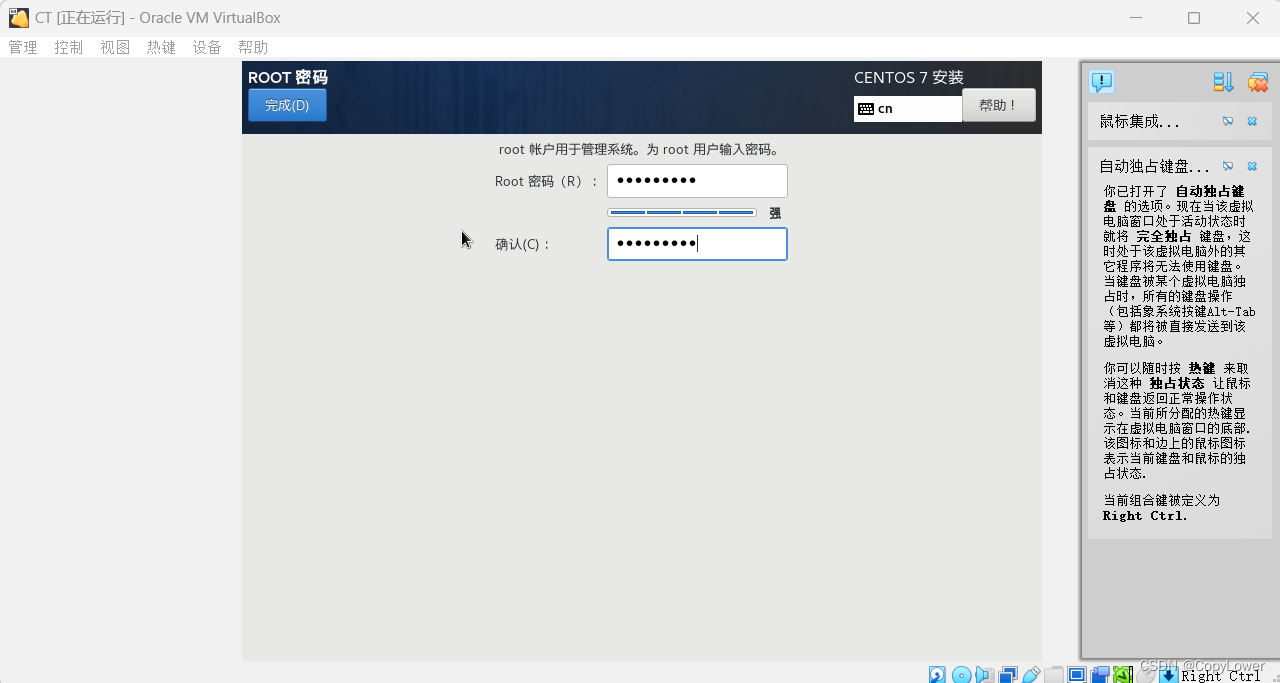
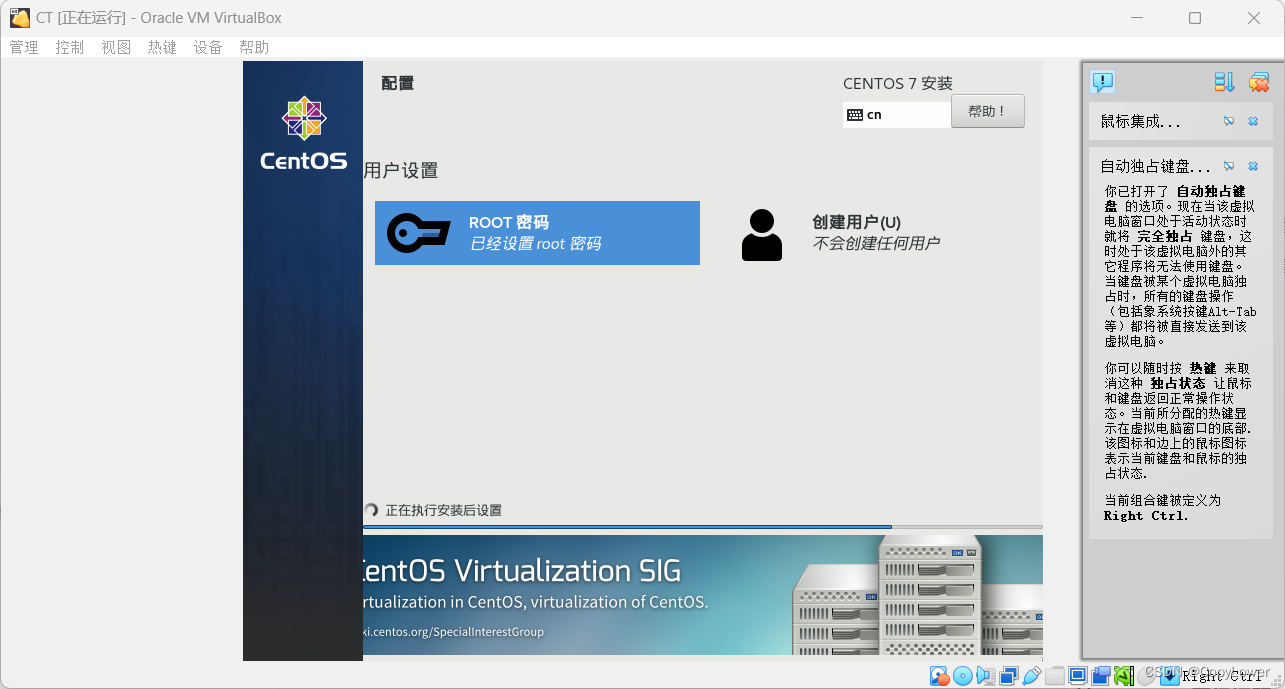
2、安装Centos7