Cloud server purchase process
On the road of technology learning, besides the virtual machine, the machine that is closest to actual combat is the server. In fact, some small businesses in the enterprise also use leased cloud servers, and some are servers built by their own companies. No matter what server, it is actually the same. If you want to get closer to enterprise-level development, it is necessary for individuals to purchase a server to assist in learning when they are studying.
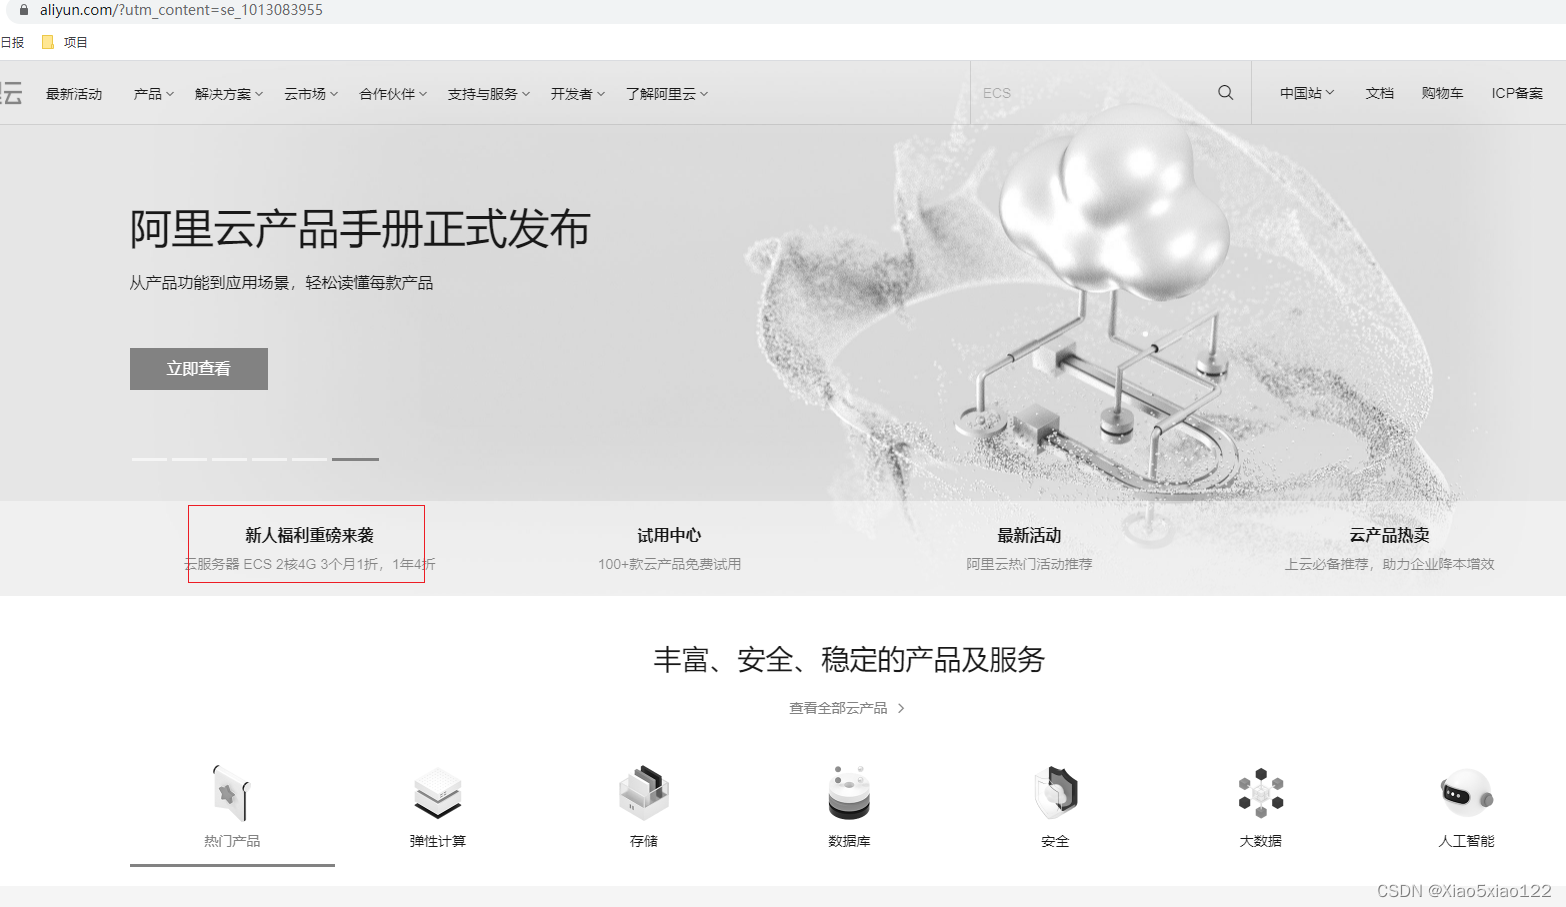
There are also many Alibaba Cloud, Huawei Cloud, Tencent Cloud, etc. in the current server class. As for which one to choose, it depends on whether your own wallet is rich or not. Generally, it will take more than one day to choose Alibaba Cloud. Free trial for one month (I don't know about others) and the price during the event is also relatively good. Without further ado, go directly to the topic of cloud server purchase steps.
**1:** Step 1: First of all, you can go to various websites to see what type of server you need. Note: do not register an account first, new users will have discounts. For example:
1) Alibaba Cloud: click on the benefits for newcomers
 and the following is just an example;
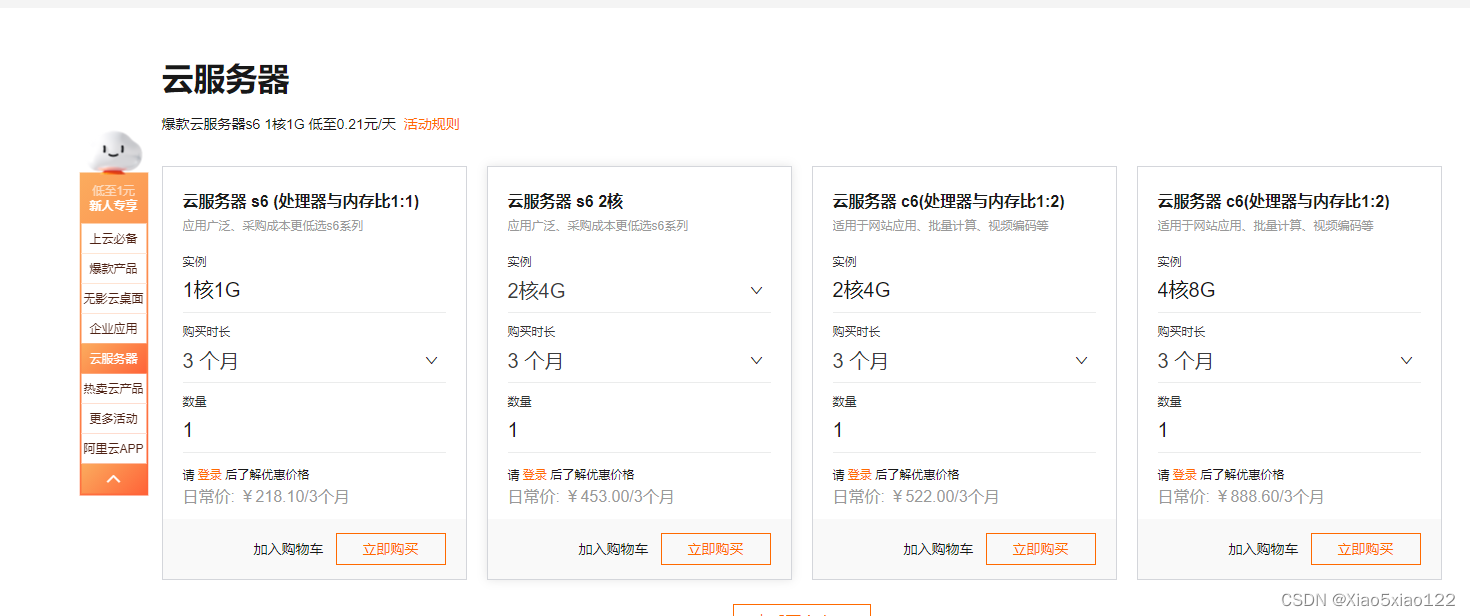
take a look at the server activities and prices, which one is more favorable.
Once you decide which one you want to buy, just click buy.
You can also customize the server at this entrance.
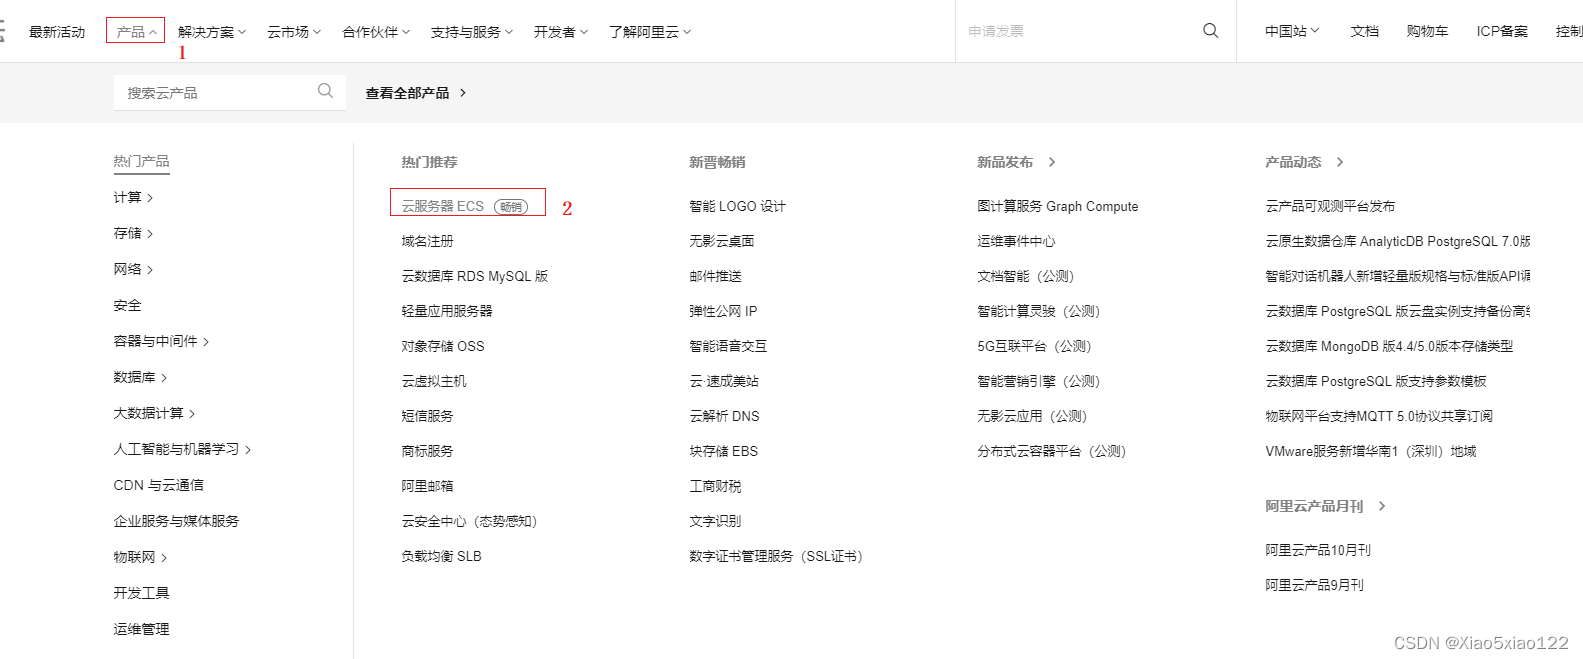
After you click to buy, you need to register an account or log in to the account at this time.
After logging in, you must choose the appropriate configuration, as shown in the figure below. The
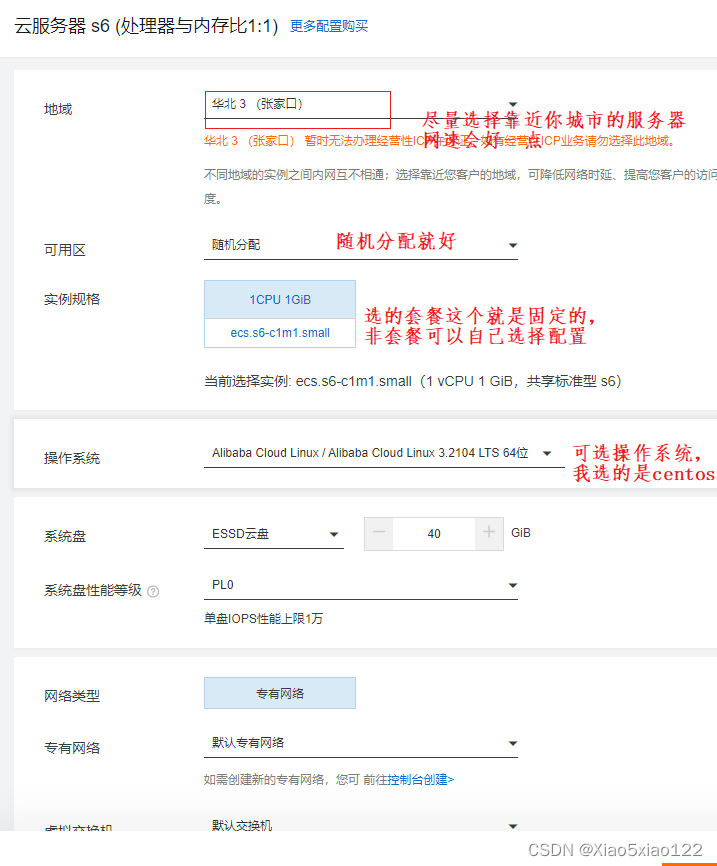
above is not complete. You can choose the configuration according to your main choice. After the selection is completed, there will be a calculated price of the current server configuration at the bottom. After confirming the price,

click to buy directly. The purchase and payment process will not be displayed. It is clear at a glance that there are no special options, just let you Just pay and you're done.
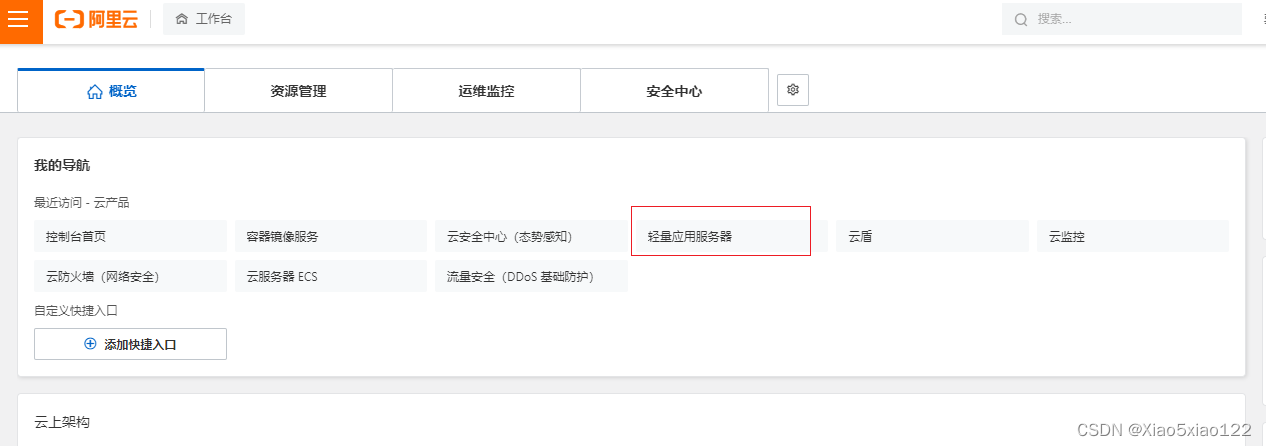
After the purchase is complete, go to the home page
and click on the console to enter and select, lightweight server.
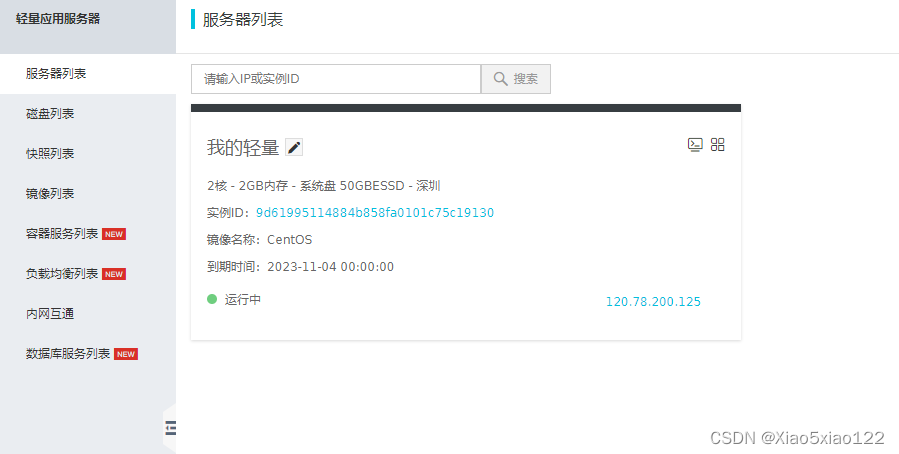
At this time, you can see the server you just purchased, which is running.
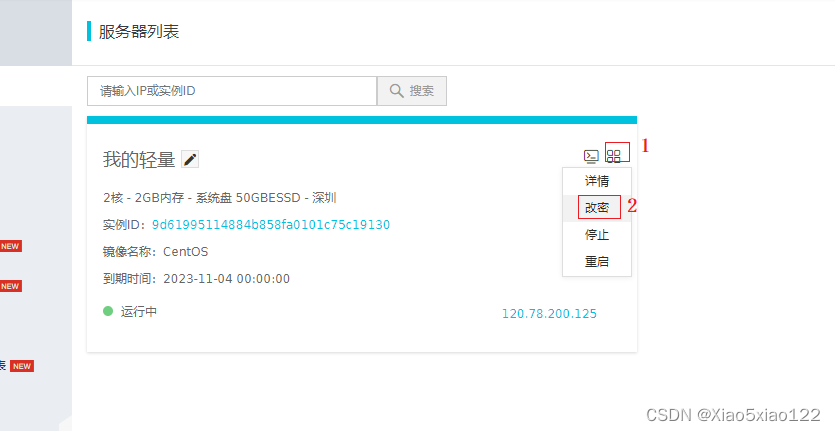
**2:** In the second step, the first thing to do after the server is purchased is to change the password of the server and restart the server for the password to take effect.
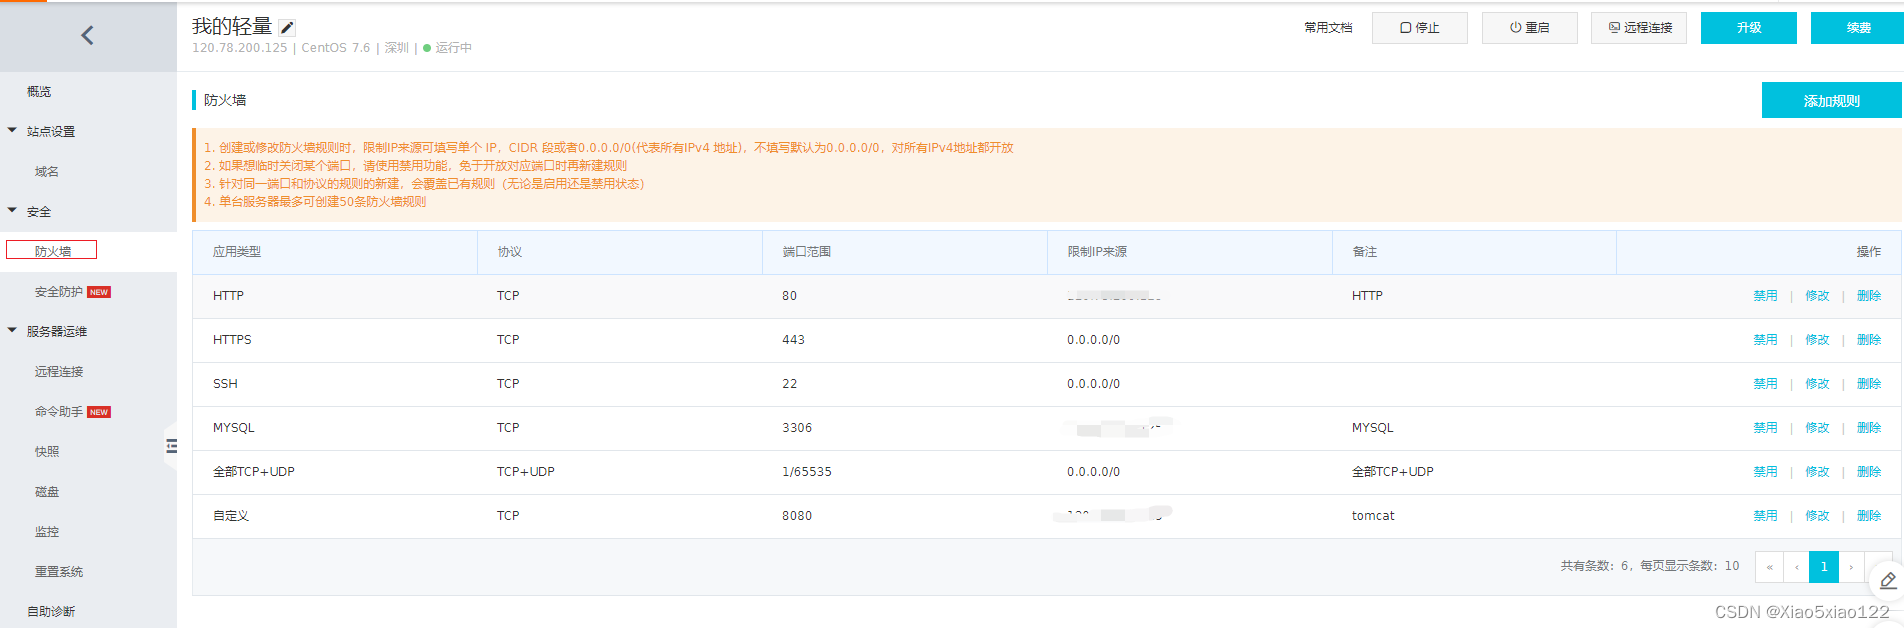
After the startup is successful, click on the server to configure the server settings and ports. Click on this location to enter this page on the server.

Click Firewall Settings. Open the port and limit the source of the ip. It is best to set the access ip, don't ask what. When your server is attacked and implanted with mining scripts, the administrator will call you and ask you to rectify it, otherwise you will know when the server is suspended. Don't ask me why I know.
Then there is the remote connection setting. This setting is to allow you to connect to the server safely with third-party tools, such as the Xshell connection tool. It will be much safer to use the secret key to connect. I didn't set it and used the server secret key directly.
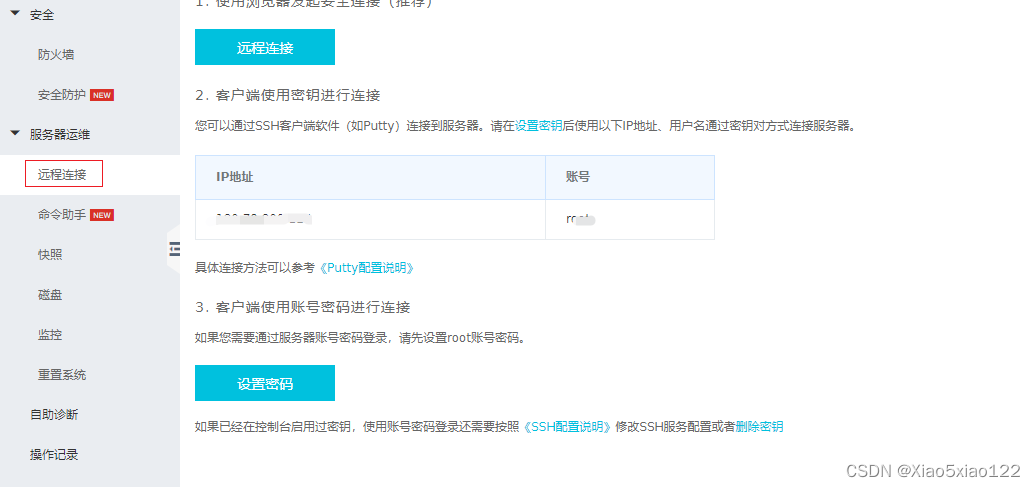
In addition, you can see all the basic information of your server, usage, memory usage, etc. on this page. After the settings here are completed, you can use third-party tools to connect to the server and proceed to the next step.
Personal notes, for reference only, please forgive me for any inadequacies.