Today, I will share with you a cutout technique about layer masks! Teach everyone how to cut out a picture in ps and change the background to be transparent.
For those children's shoes who are troubled by cutouts, especially transparent objects, this time you can stop worrying instantly!
How to cut out a picture in ps and change the background to be transparent Case 1:
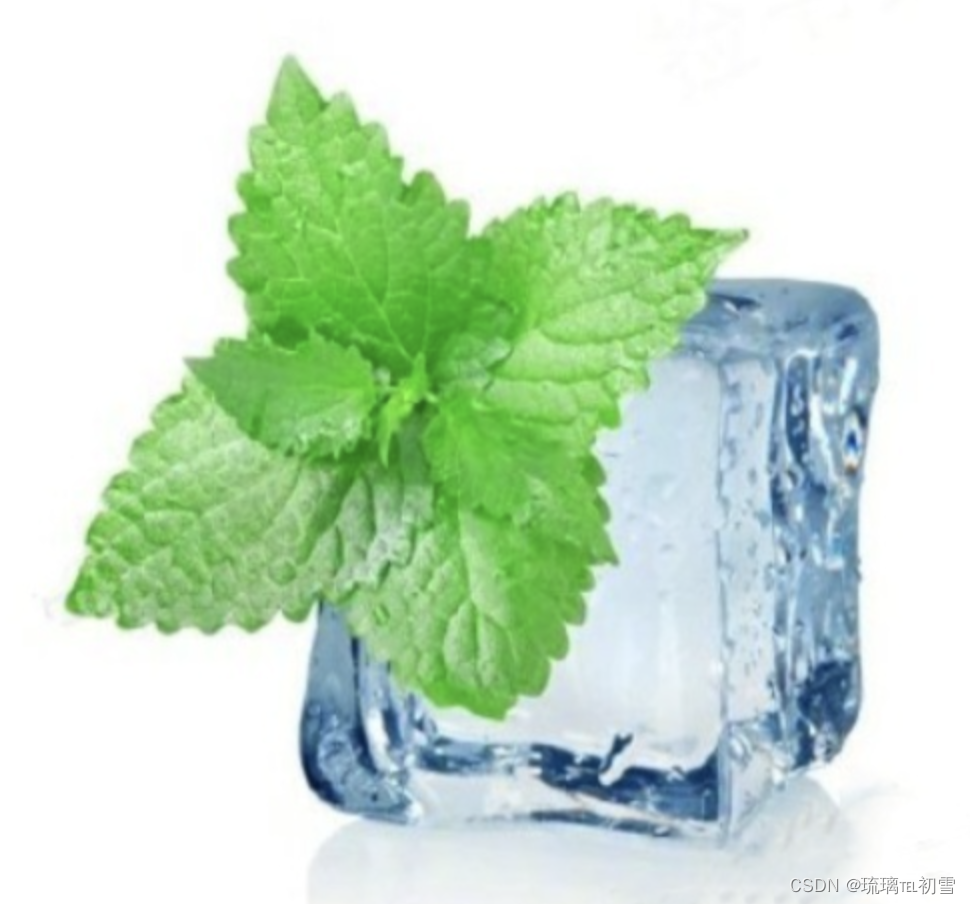
1. Open the picture: (I guess everyone is afraid of picking ice cubes) Anyone can snap out the ice cube below with a pen, but the most difficult thing to express is the transparency of the ice cube, right?
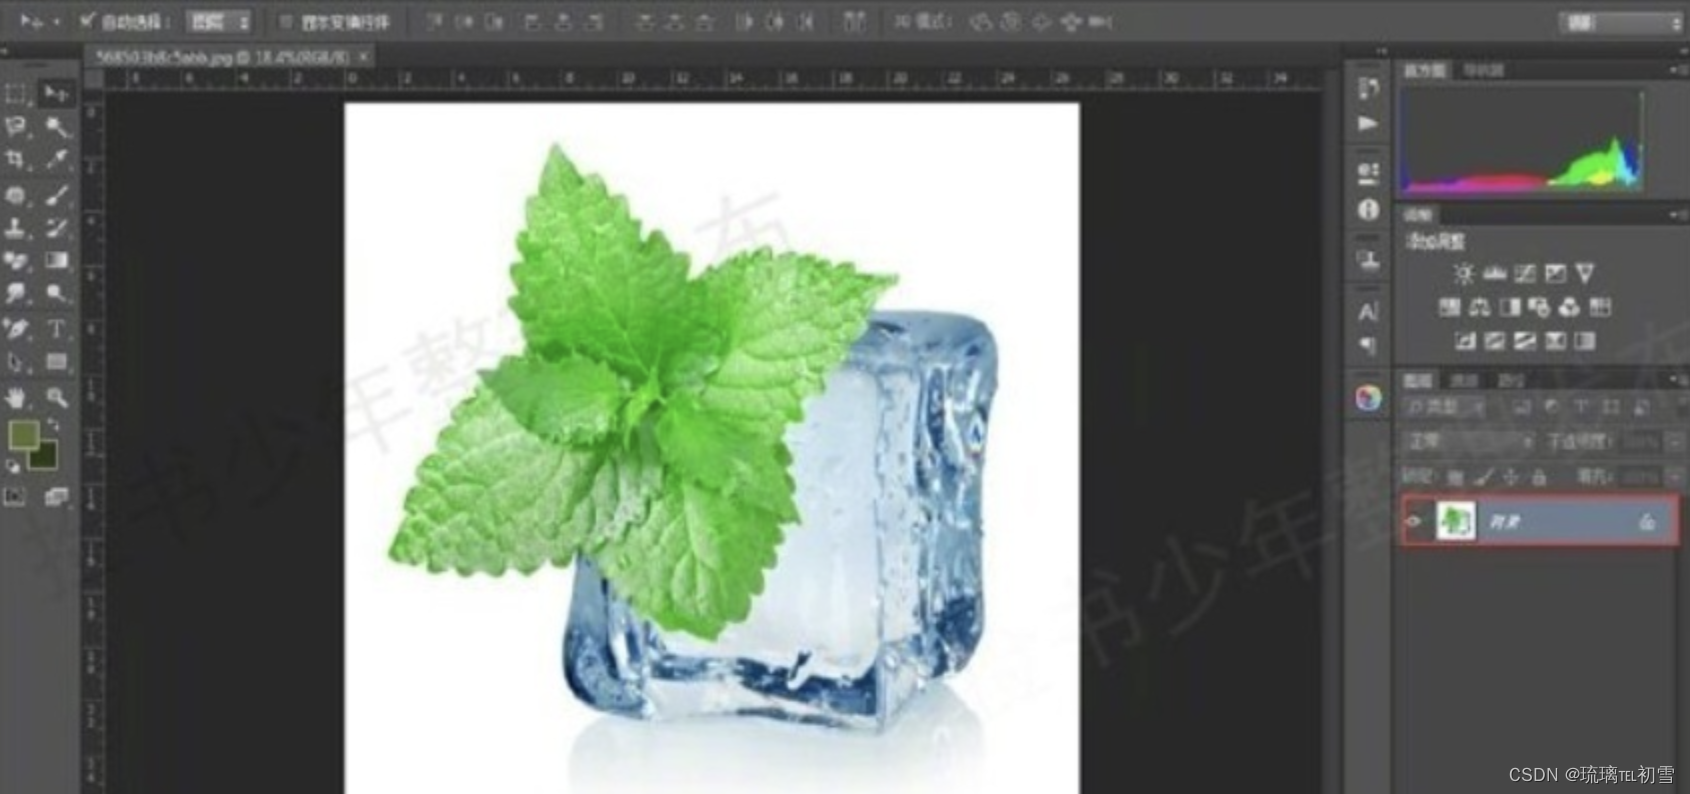
1. Import the picture into PS, the layer is locked by default, double-click the layer to unlock.
2. Then Ctrl+a to select all, Ctrl+c to copy the layer, and then add a layer mask.

3. Hold down the Alt key and click on the white mask to enter the mask editing state.
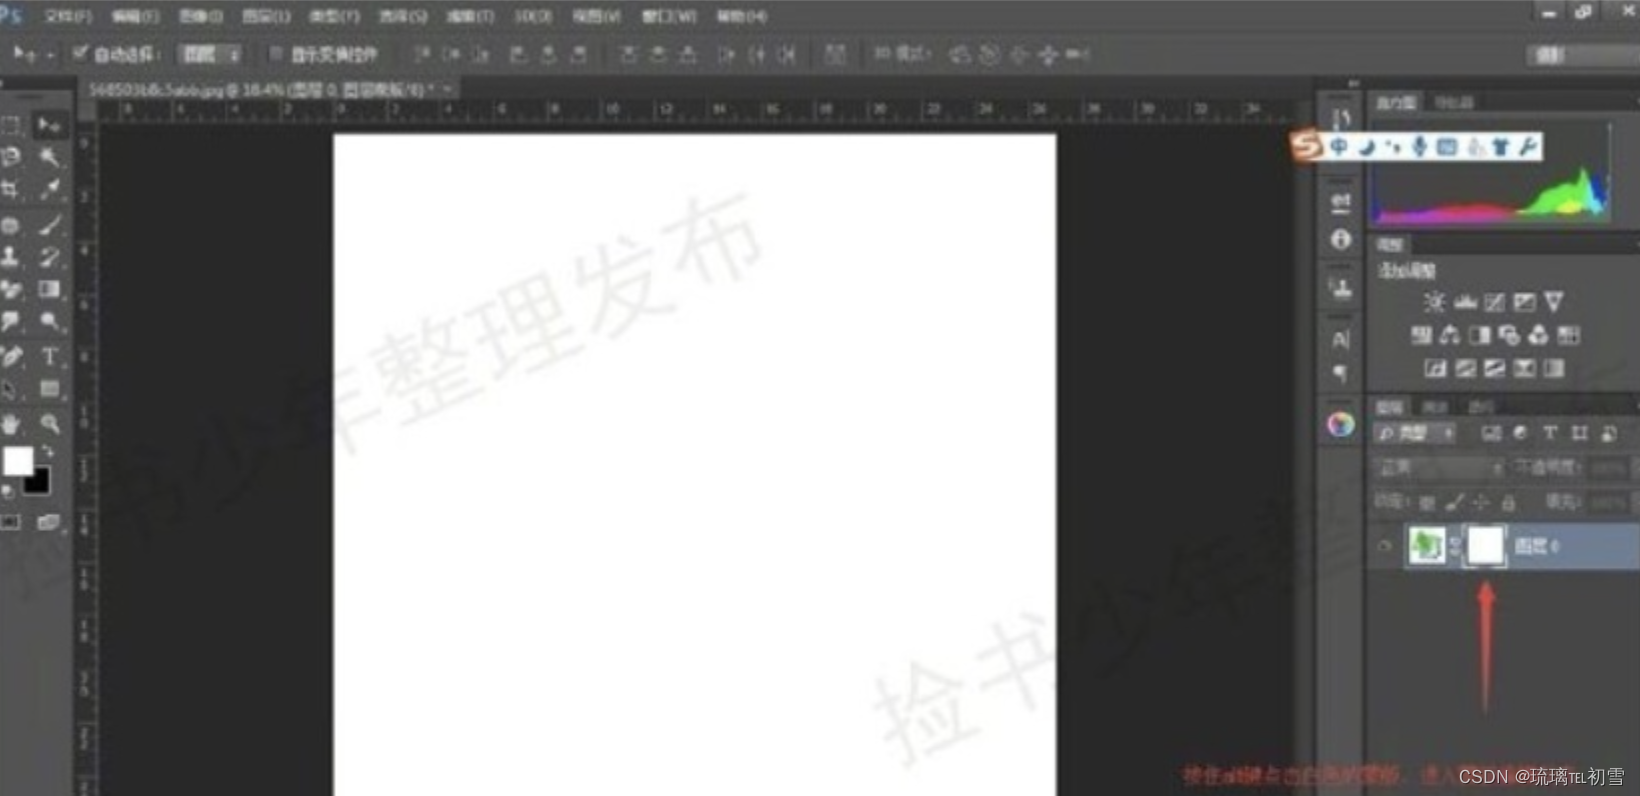
4. Then Ctrl+v, paste the layer we just copied into the layer mask: now you can see that there is a layer in the layer mask that is the same as the layer.

5. Now it is actually in the mask editing state, we use a pen to deduct the shape of the ice cube:
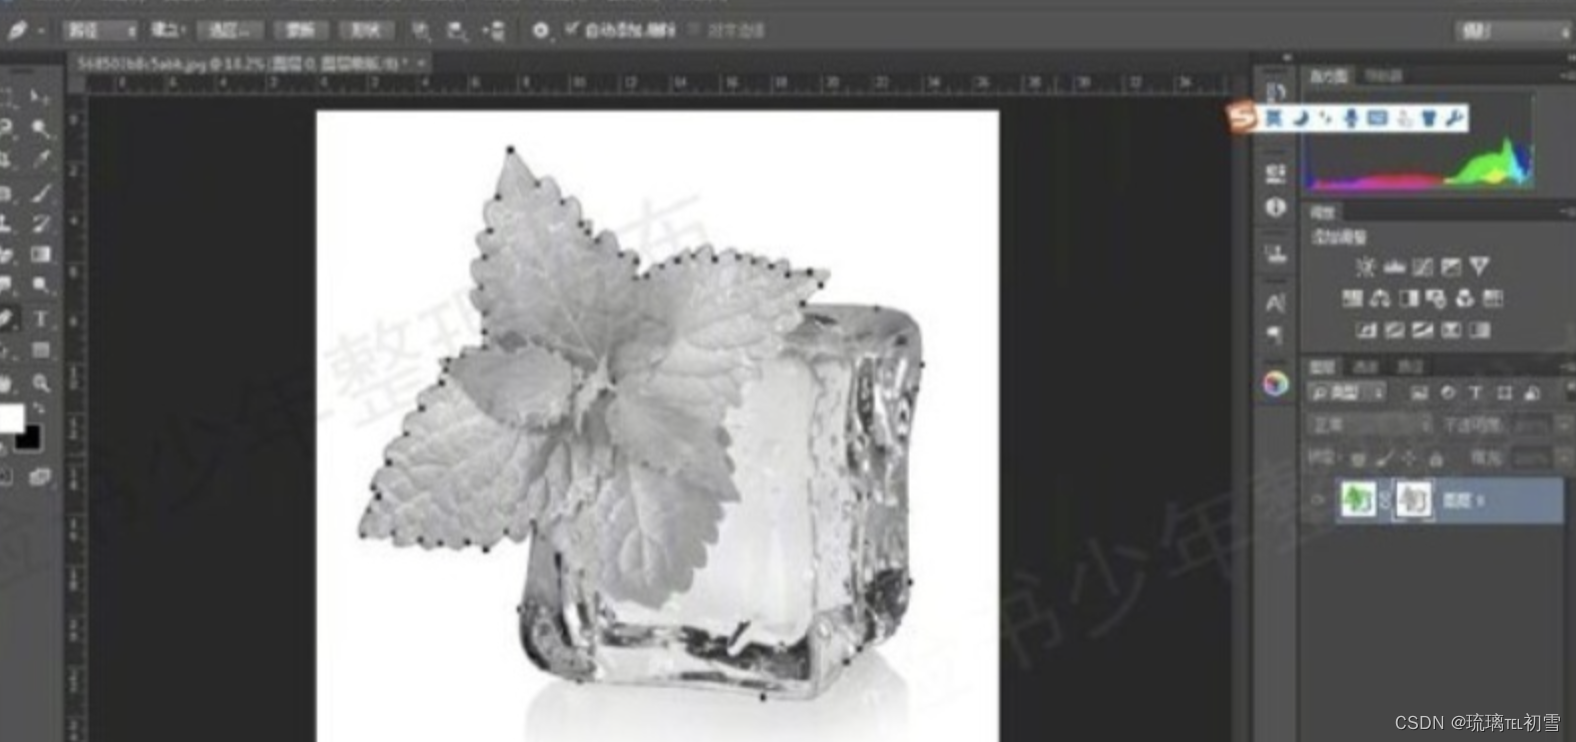
6. Then convert the path into a selection area, reverse the selection, and fill it with black. (Note that the fill is in the mask, not the layer)
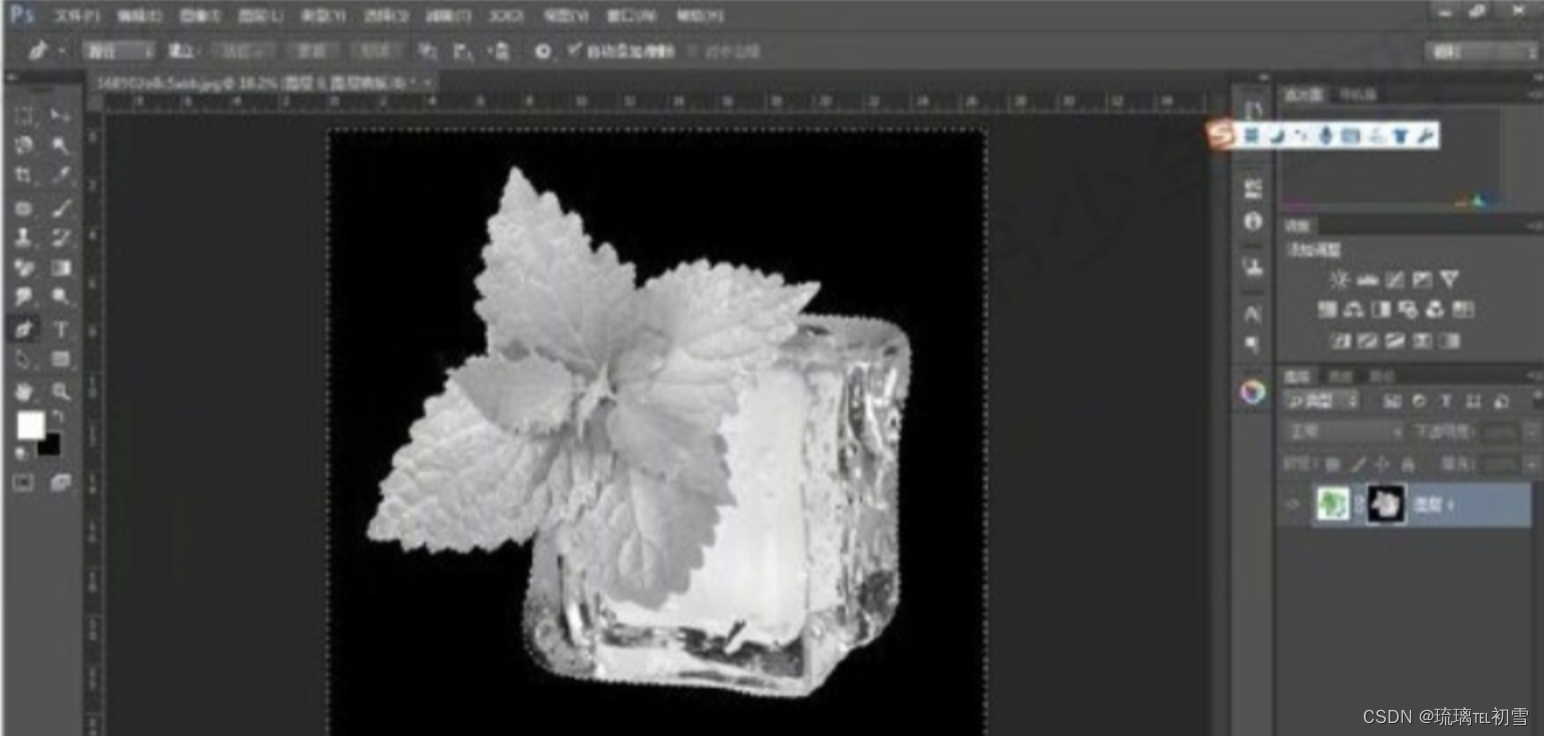
7. Click on the layer (we see that the picture has been deducted).
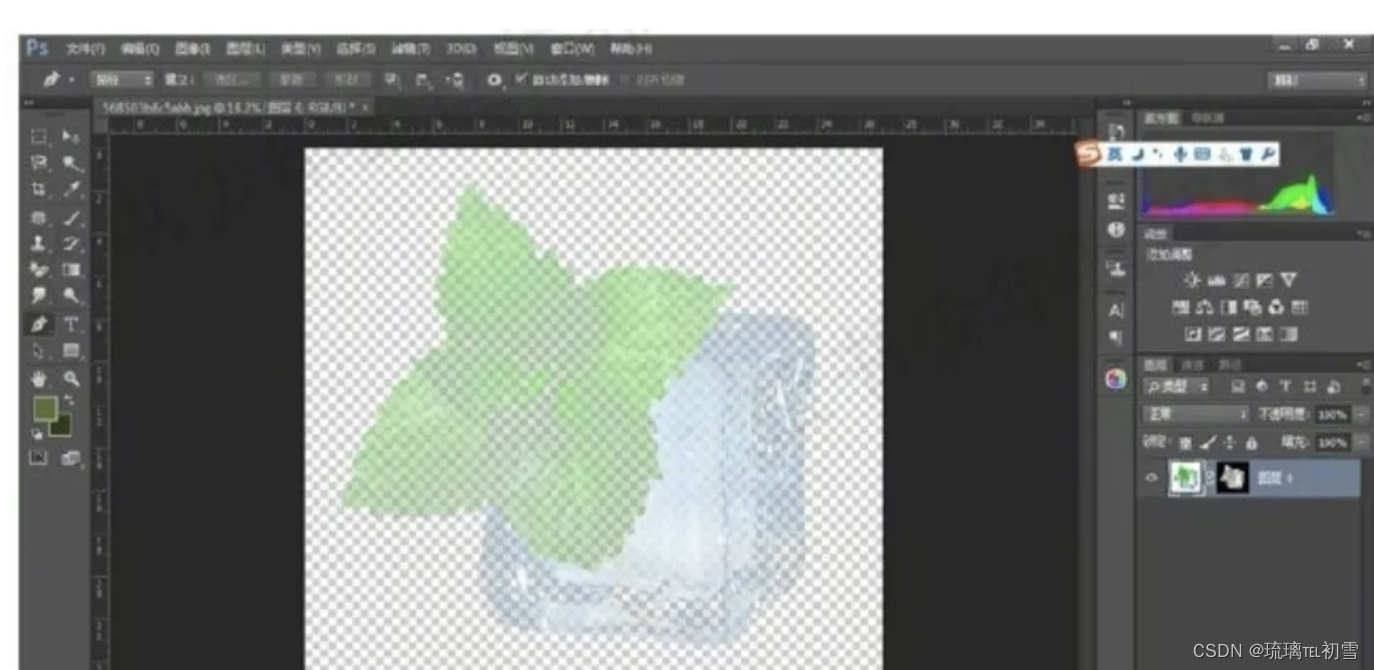
8. In order to observe whether the ice cubes are deducted, let’s make a background under the ice cubes to see the effect: do you think it is not ideal? Then duplicate another layer, it's that simple.
