I stepped on a lot of pitfalls because of the installation of the yolov5 environment, and encountered many errors. I have also installed yolov5 many times. I have summarized a set of configuration methods for the yolov5 virtual environment that generally do not report errors.
1. Install Anaconda
First, install an Anaconda that matches your computer: For example, if the computer is win64, it is best to install the package with the suffix _64.exe (note that it is Windows):

The Anaconda installation package can be downloaded from Index of /anaconda/archive/ | Tsinghua University Open Source Software Mirror Station | Tsinghua Open Source Mirror
After downloading and installing:
Enter into the installation interface
Just keep next until
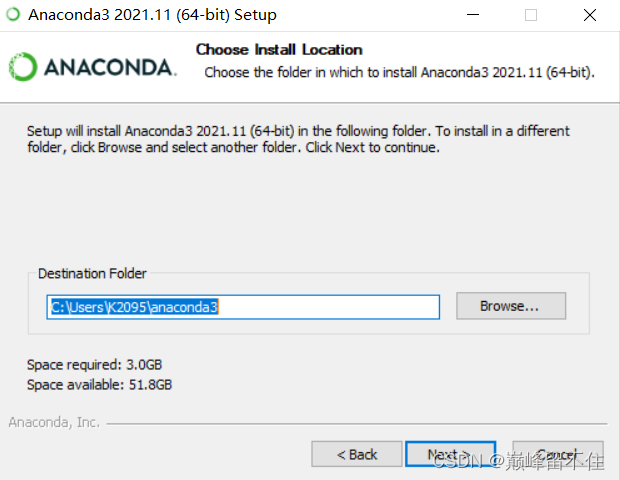
If you don’t want to put it on the default c drive, click Browse, change the path (I created a folder called anaconda3 on the D drive, and then change the path there), and then click next
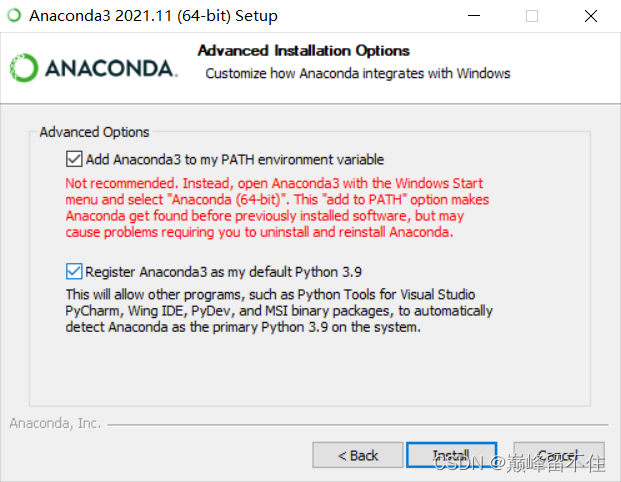
Notice! ! ! Here comes the point
The red one in the picture below must be checked, otherwise it will be very troublesome later, it is not checked by default, and finally click Install
The above Anaconda is installed, and then we will configure yolov5
2. Configure the yolov5 environment
My suggestion is to create an environment in Anaconda, because you can choose different environments when running the project, and there will be no conflict between environments
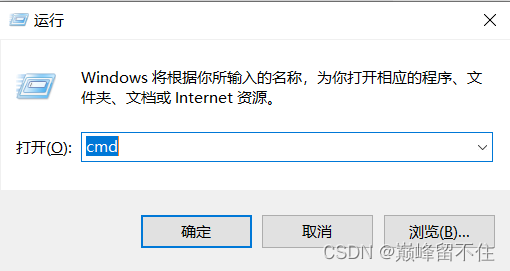
Keyboard win+R
Enter cmd and press Enter
enter
conda create -n yolo5 python==3.8.5 #这是建立一个虚拟环境,python版本是3.8.5其中yolo5是你的虚拟环境的名字
conda activate yolo5  #进入虚拟环境
After entering the virtual environment
We install pytorch (note that the GPU version is installed here, so that the training model is faster. Before this step, you have to check if your computer has an N card. You can check if there is a green NVIDIA on the computer. If you pursue Safe, you can update the graphics card driver)
Check the cuda version:
Open the NVIDIA Control Panel and click System Information in the lower left corner

Then click on the component, you can see the cuda version of the computer in the blue bar below
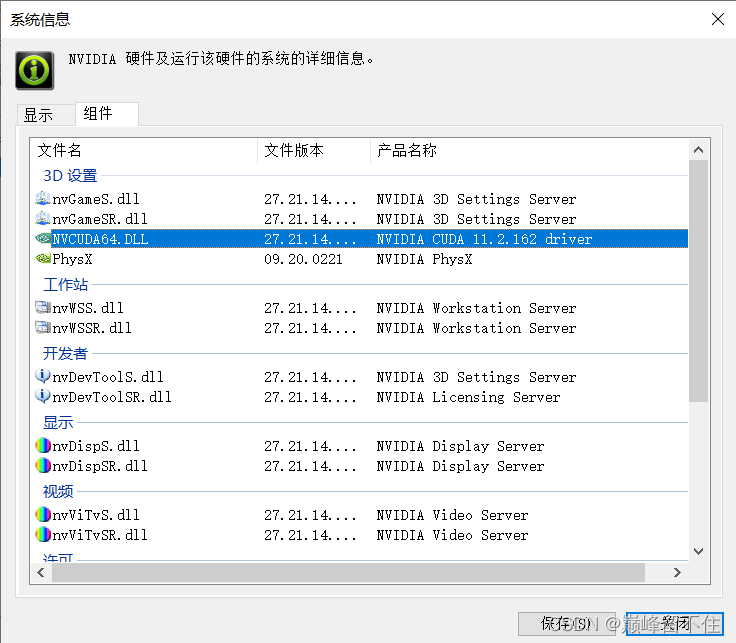
The 30-series graphics card only supports cuda11.0 or above. You need to check the cuda version of your computer. If it is above 11.0, you can continue to operate.
Earlier we entered the virtual environment of yolo5 in the cmd terminal, and then ran the following command
pip install torch==1.8.0+cu111 torchvision==0.9.0+cu111 torchaudio==0.8.0 -f https://download.pytorch.org/whl/torch_stable.html
Then quietly wait for the installation
Execute the following command after installation
pip install pycocotools-windowsAfter that, you need to download a lot of packages. Generally, if you have downloaded the yolov project, there will be a requirements.txt file in it. If you have not downloaded the project, you can download the requirements.txt through the link below
Link: Link: https://pan.baidu.com/s/1Wl6WbMTt4q4M37OLfeuicQ
Extraction code: 88dp
After downloading, just unzip it to the D drive, and then execute the following command (-r is followed by the path of requirements.txt, pay attention to the backslash /)
pip install -r D:/requirements.txt execute after
pip install pyqt5
pip install labelme
pip install labelimg
At this point, you're done, the virtual environment of yolo5 has been configured, and then you can find a project to try, if some package versions do not match after opening the project, just download it directly in the setting in pycharm
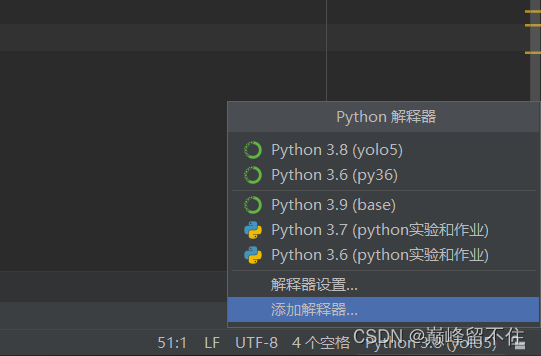
After opening the pycharm project, configure the virtual environment of the project
First, we open pycharm, find the python version number () in the lower right corner, and click Add Interpreter
Click on the conda environment, the existing environment, and then click on the three points on the right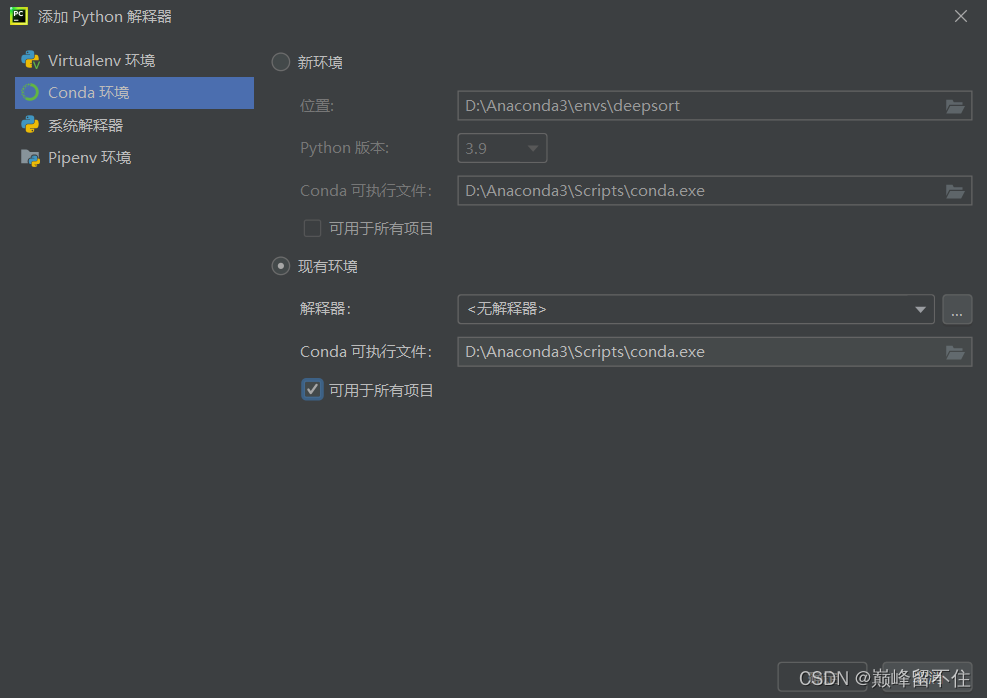
Find your Anaconda directory under envs under yolo5 (this is your virtual environment) under python.exe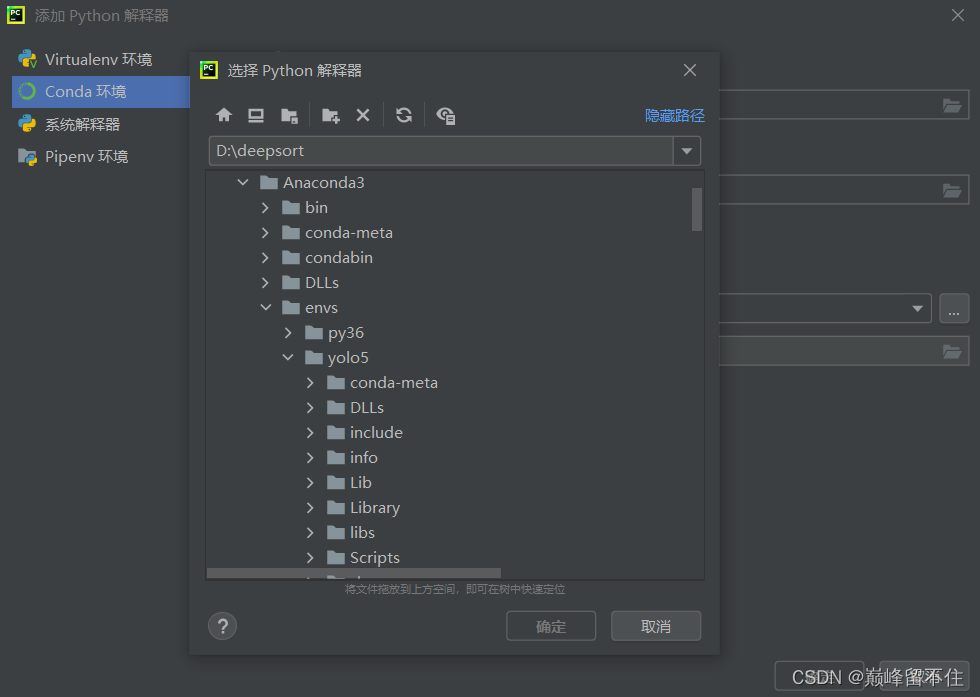
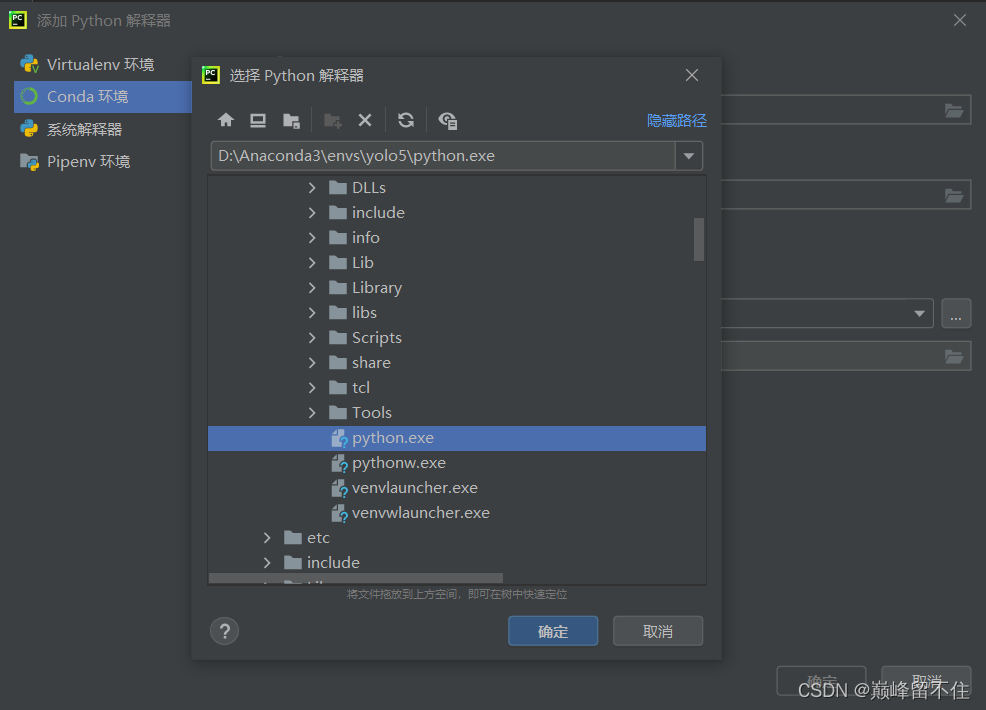
Just click OK, so the project environment is the virtual environment you just configured
I won’t post the project here, because there are too many on the Internet, and you can find it with a random search, all of which are similar
The above is the method I summarized to configure YOLO5