1 account
Taobao purchase shared account
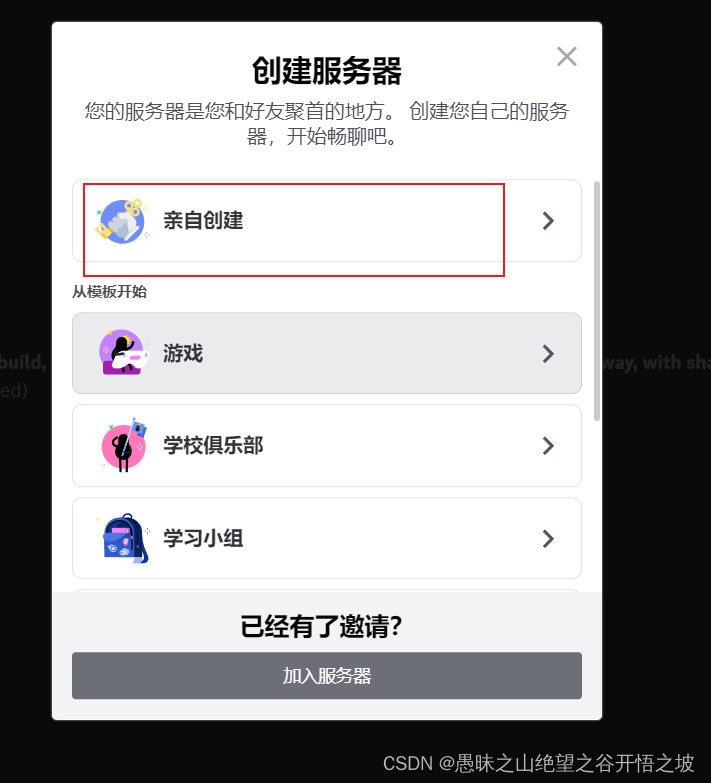
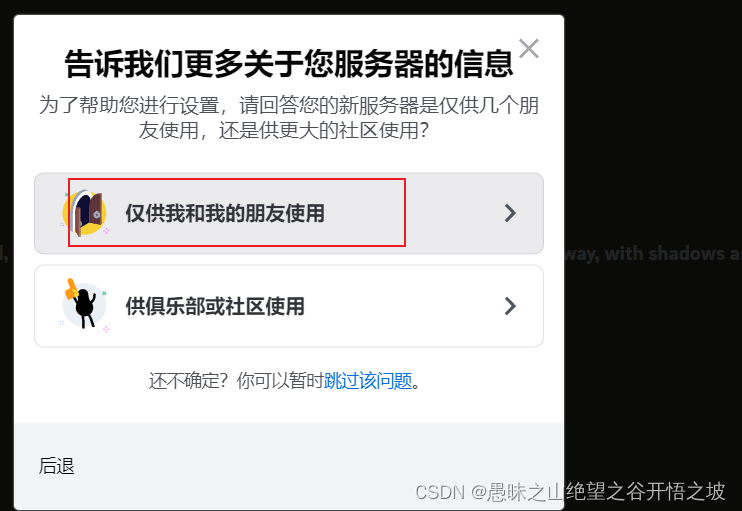
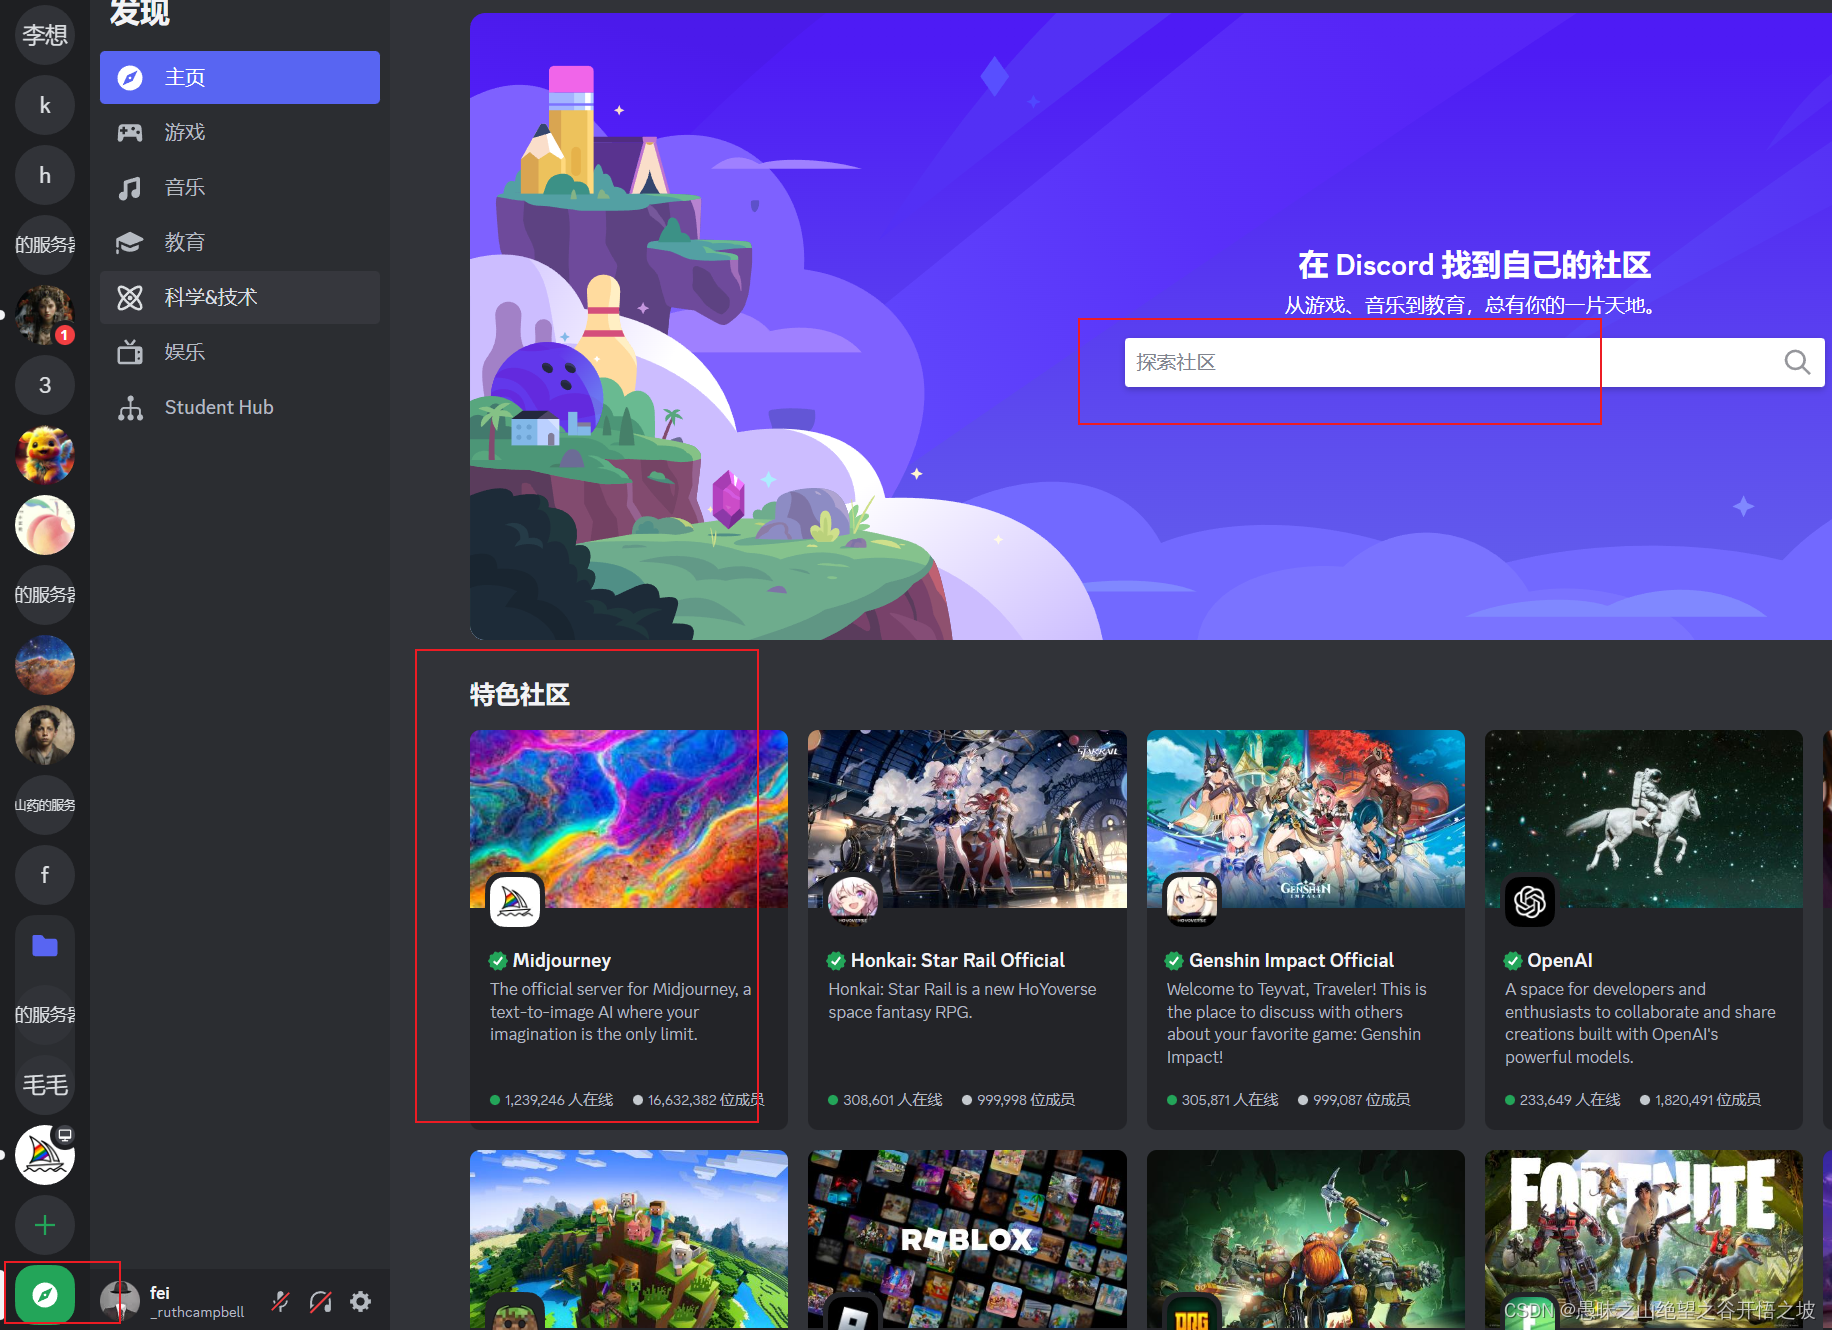
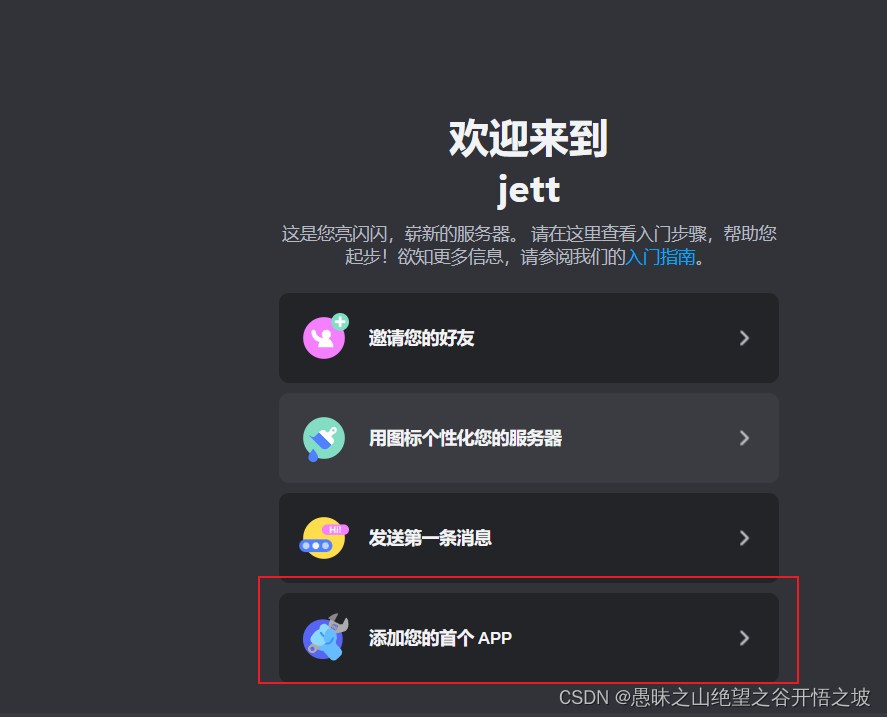
2 Create a new server

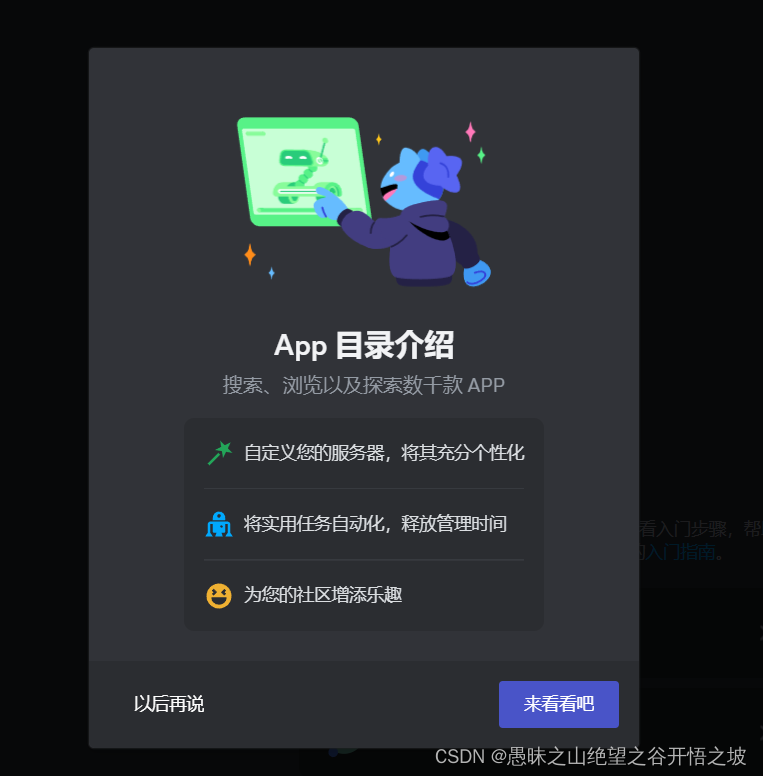
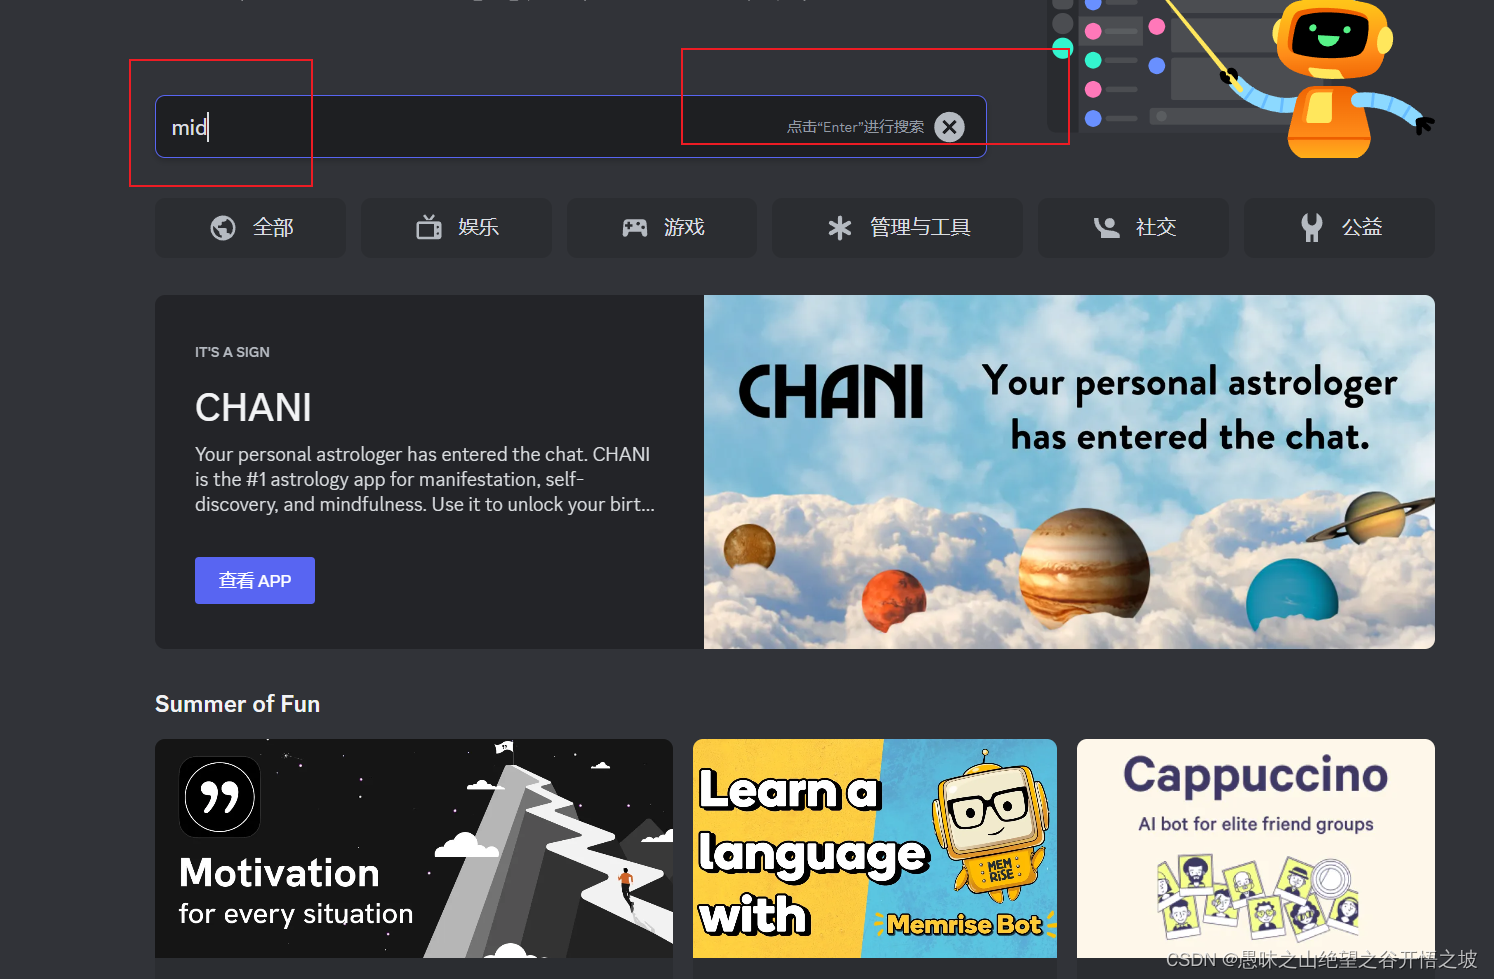
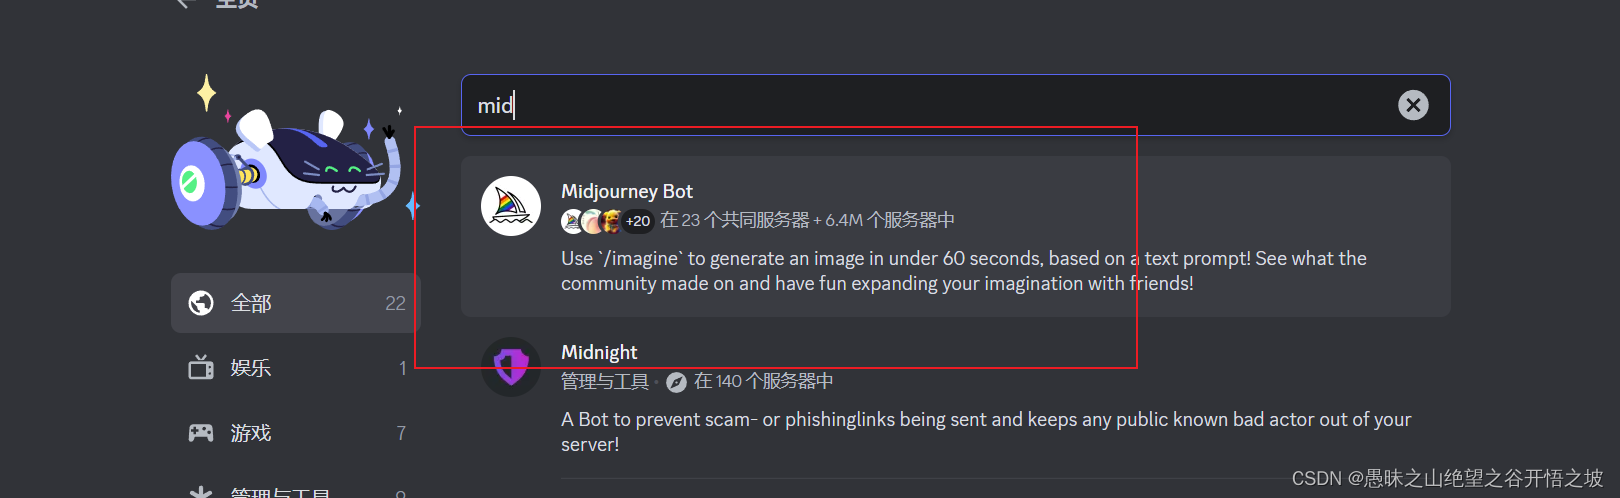
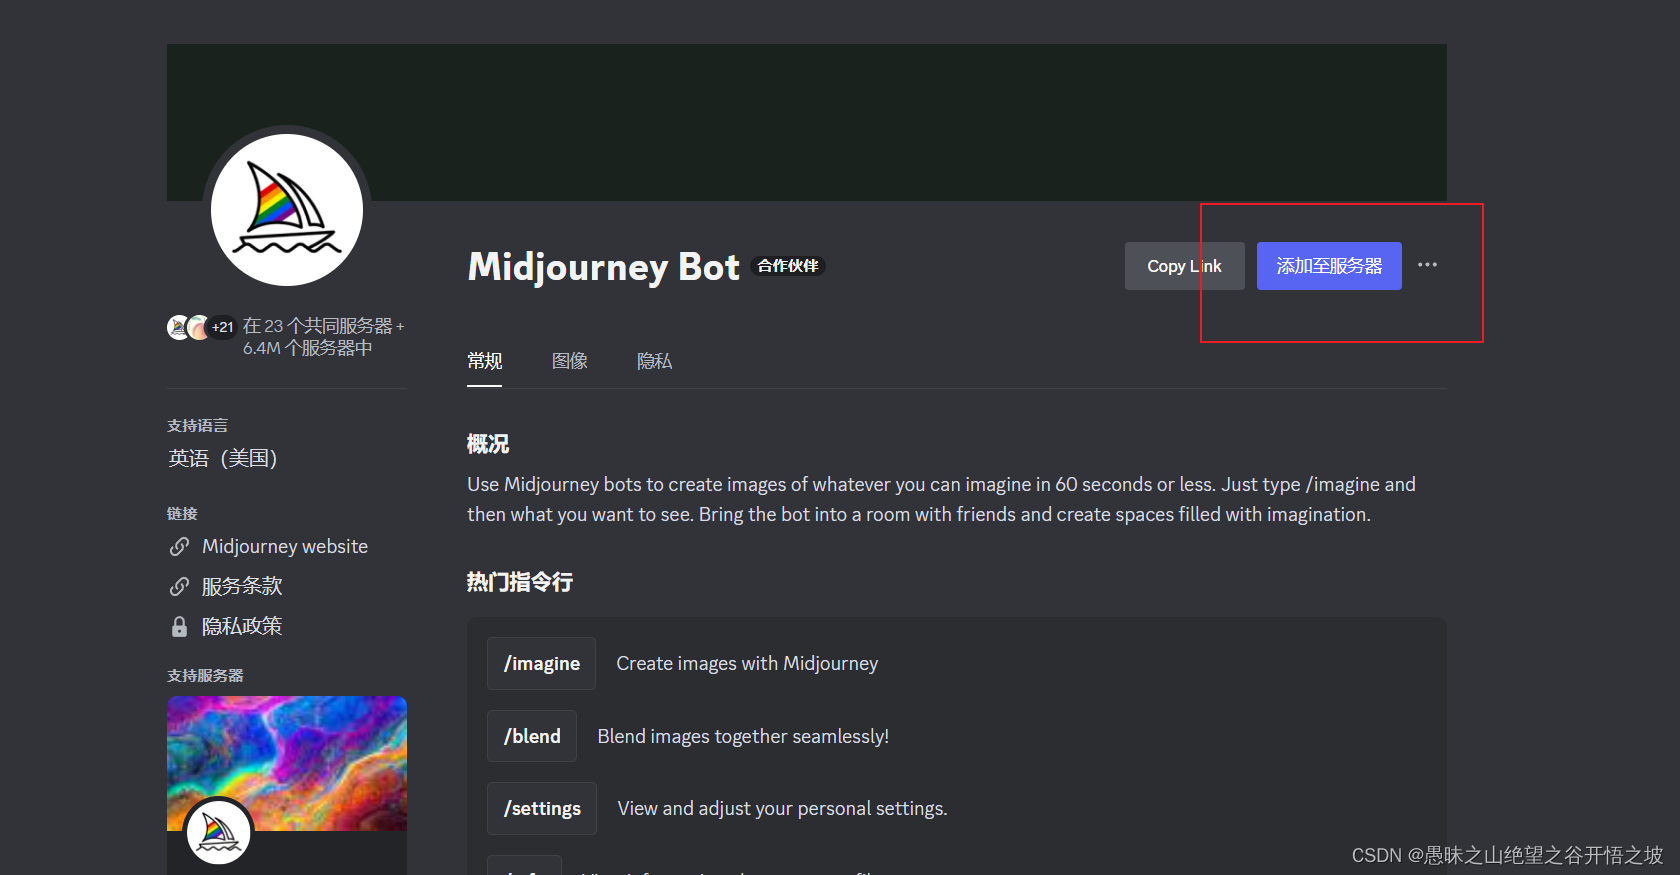
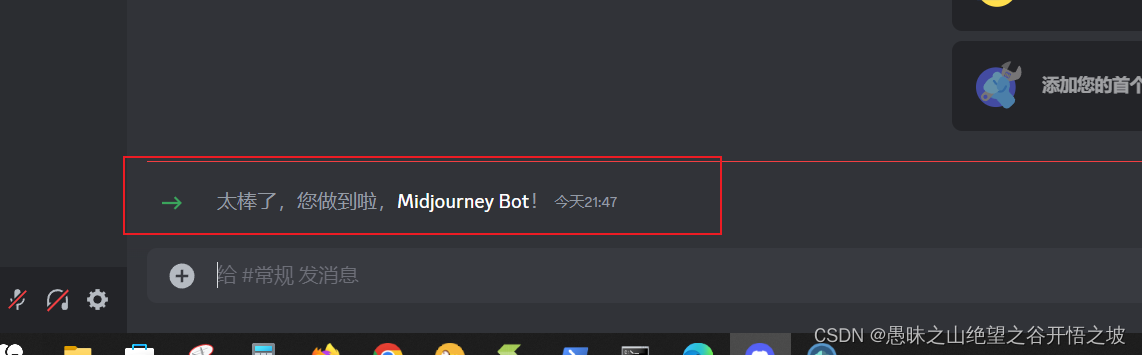
3 Add midjourney robot
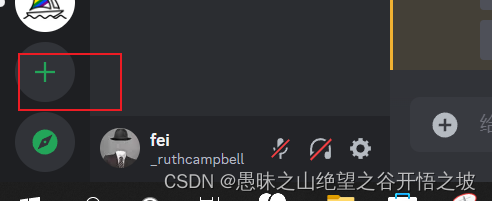
Method 1, directly in the lower left corner
Method Two
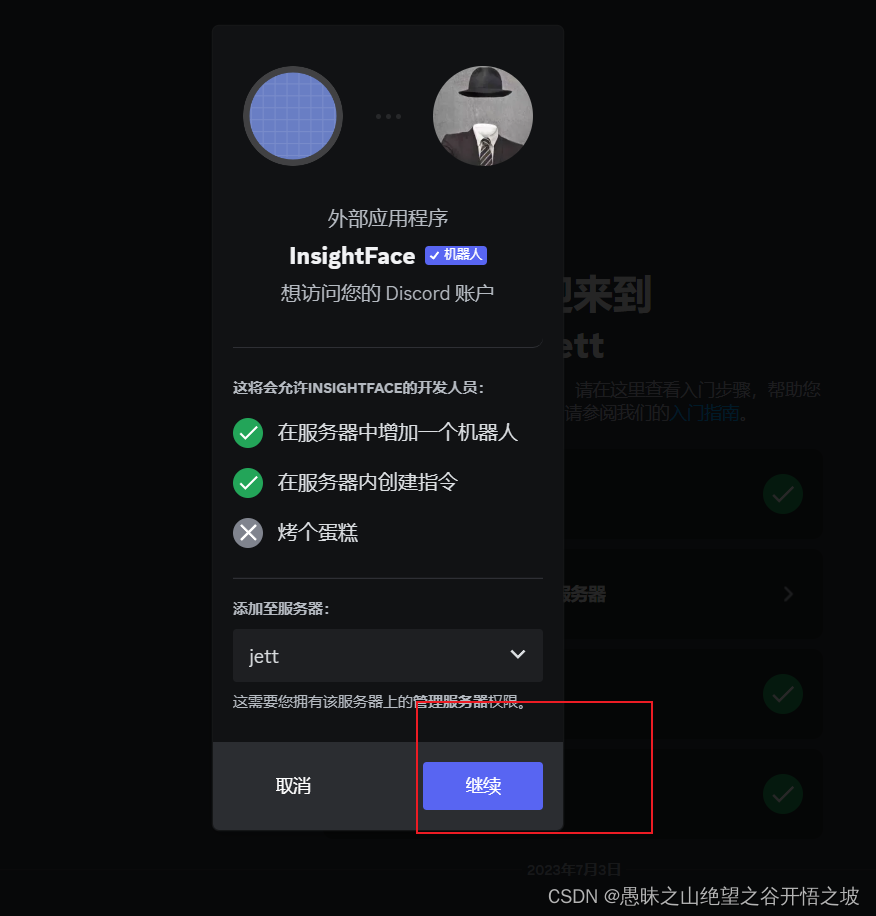
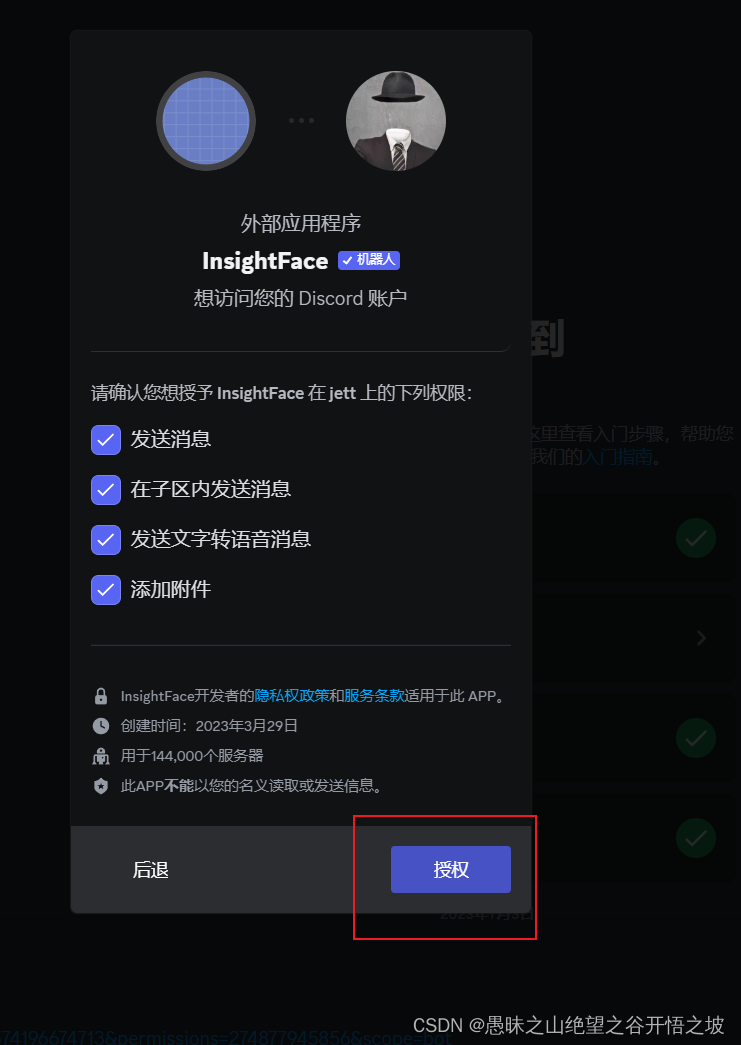
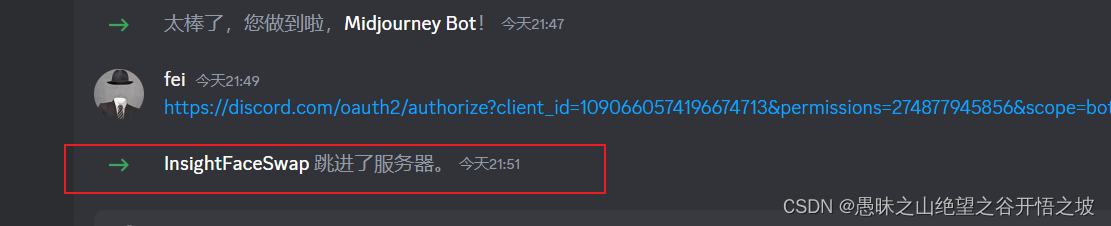
4 Add insightface robot
Enter and send in the server chat box
https://discord.com/oauth2/authorize?client_id=1090660574196674713&permissions=274877945856&scope=bot
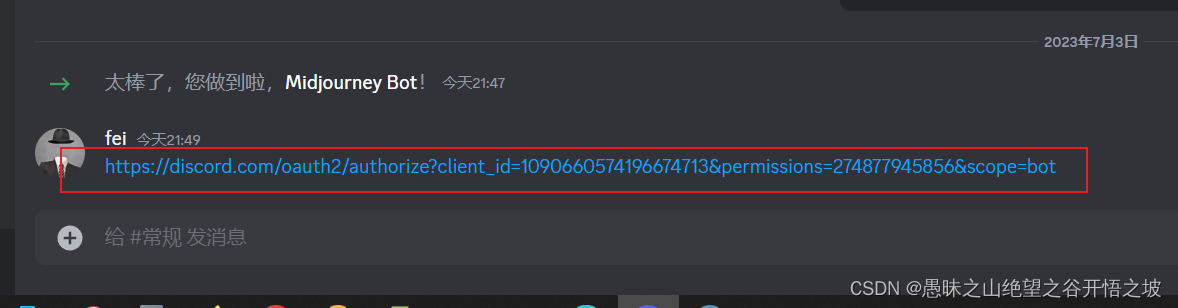
click the link
5 using insightface
Use Midjourney and InsightFaceSwap plug-ins to create your own personal portraits:
https://zhuanlan.zhihu.com/p/618773243
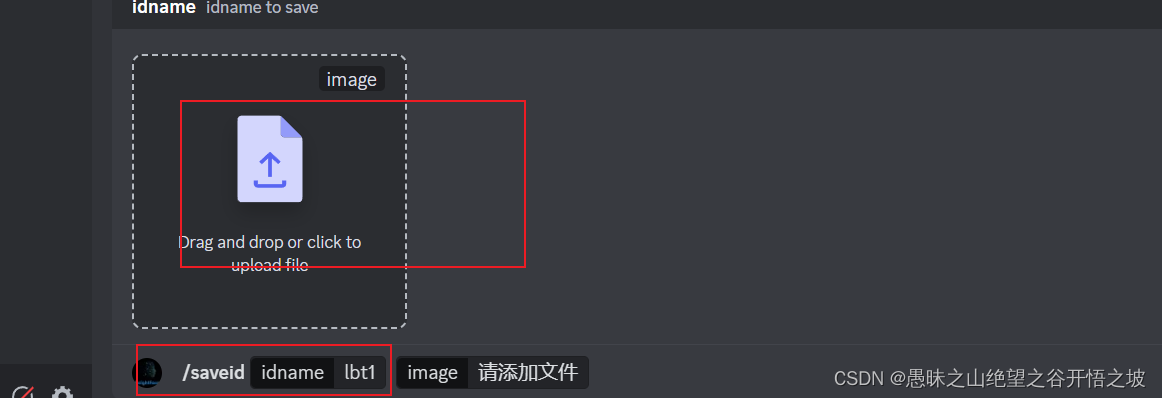
common command
命令列表
InsightFaceSwap bot支持以下斜杠命令:
/saveid name upload-image
用于上传照片注册ID特征
/setid name(s)
设定默认源ID名称,用于后续的INSwapper菜单生成。
/listid
列出所有注册的ID名称
/delid name
删除特定ID名称.
/delall
删除所有ID.
/swapid name(s) upload-image
对上传的照片进行ID替换,使用指定的ID名称(或名称列表).
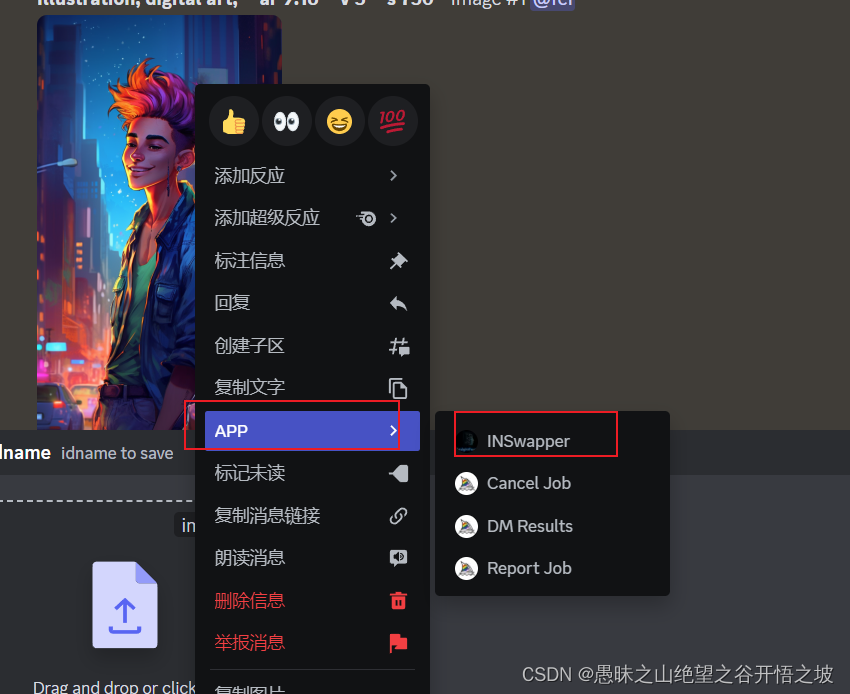
INSwapper context menu(Recommended)
此项为菜单按钮,用于对指定照片进行ID替换,采用默认ID。
5.1 Upload pictures and set unique id
5.2 Production Style Photos
Click the right mouse button on the picture and select INSwapper to change the face with one click
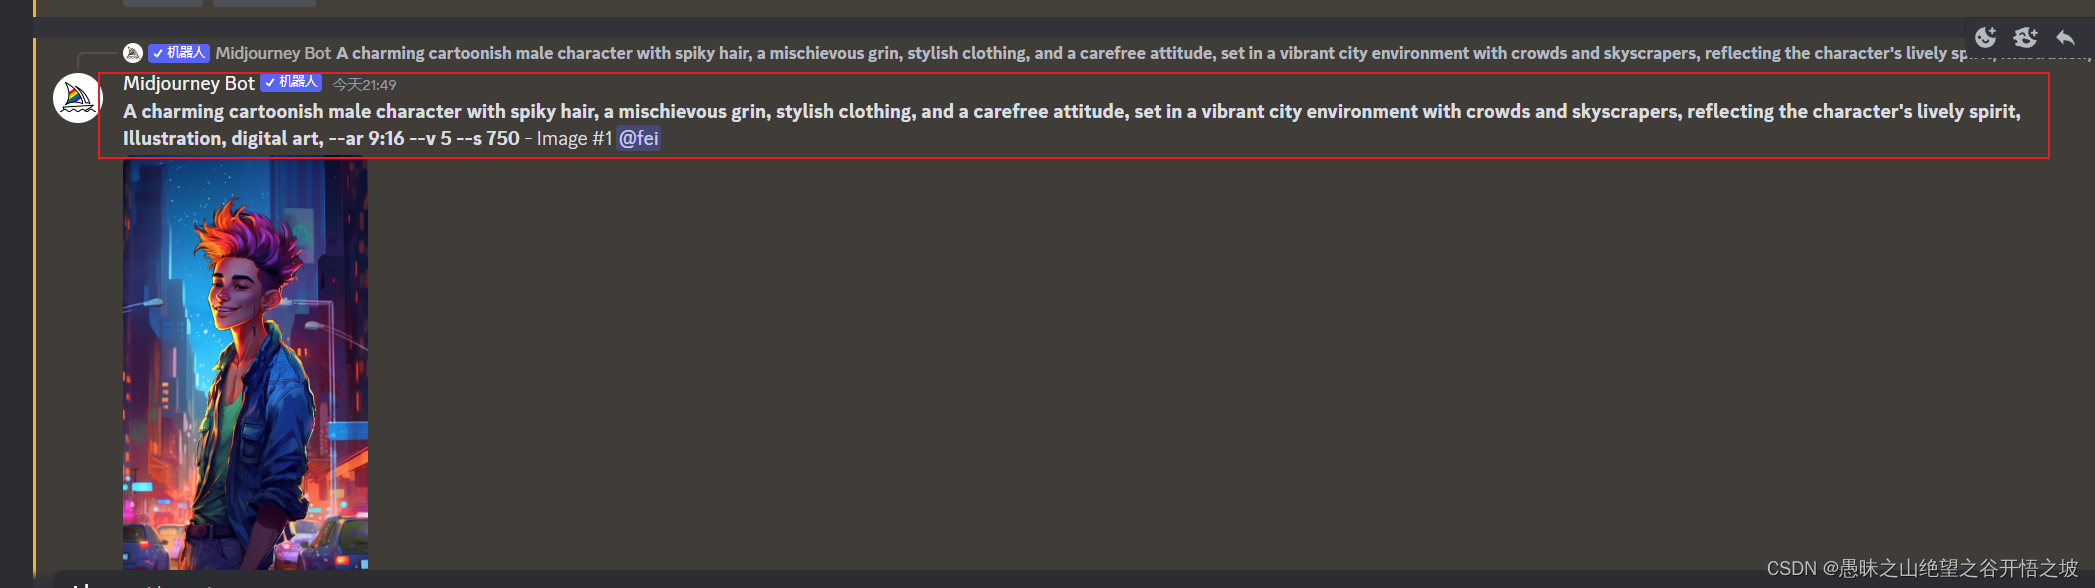
6 How to train chatgpt to generate midjourny prompt words
https://zhuanlan.zhihu.com/p/612892066
6.1 Training
You will help me build prompts for AI generative art systems. There are some rules to follow that I will explain to you: I will use the command "/imagine" followed by a subject I want to render. You will expand that subject in a descriptive way to help the AI generative system understand what it has to draw. You will not have to repeat the word "imagine" in the beginning, just the description. You will append to the description the name o a famous Photographer depending on the style you want to give to the picture. Example: "photographed by Richard Avedon". The name will be followed by a full stop "." You will add the name of a professional photo camera model. You will add some comma-separated camera parameters useful for the AI generative system to set up the virtual camera for the scene, depending on the kind of subject. You will decide the parameters based on the style of the photographer. An example is: "shutter speed 1/50, aperture f11, ISO 100". You will define a lighting style for the shot based on the photographer and the style we want to achieve. Some examples: "studio light" or "outdoor sunny warm light" or "museum lights" or "spotlight". Feel free to use other lighting setups you know apart from these. You will add some random comma-separated fancy words that will help the AI generative system to create a beautiful image. Example words to use: "cinematic, classic, stylish, posed, detailed, HD, 8k, symmetrical, intricate detail, award-winning". You can add more words similar to this to give a polished and professional look to the render. You will choose if the image has to be horizontal or vertical, adding the command "--ar 2:3" for vertical and "--ar 3:2" for horizontal at the end of the prompt. You will just provide the command without any other indication. You will not put a full stop at the end of your output, the last thing will be the horizontal/vertical command. Are you ready to start?
6.2 Application
Note: The command here should start with /imagine, corresponding to the requirements indicated on the training content above