1. Root movement
Before learning root movement, you need to understand two nouns:
- Body Transform : The body transform is the character's center of mass. It is used in Mecanim's redirection engine and provides the most stable displacement model. Body orientation is the average of the lower and upper body orientations relative to the Avatar T-pose. Body transformations and orientations are stored in animation clips (defined using muscles set in Avatar). They are the only world space curves stored in animation clips. All others: muscle curves and IK (inverse kinematics) targets (hands and feet) are stored relative to the body transform.
- Root Transform : The root transform is the projection of the body transform onto the Y plane and is calculated at runtime. The root transform change is calculated every frame. This change in transform is then applied to the game object to make it move.
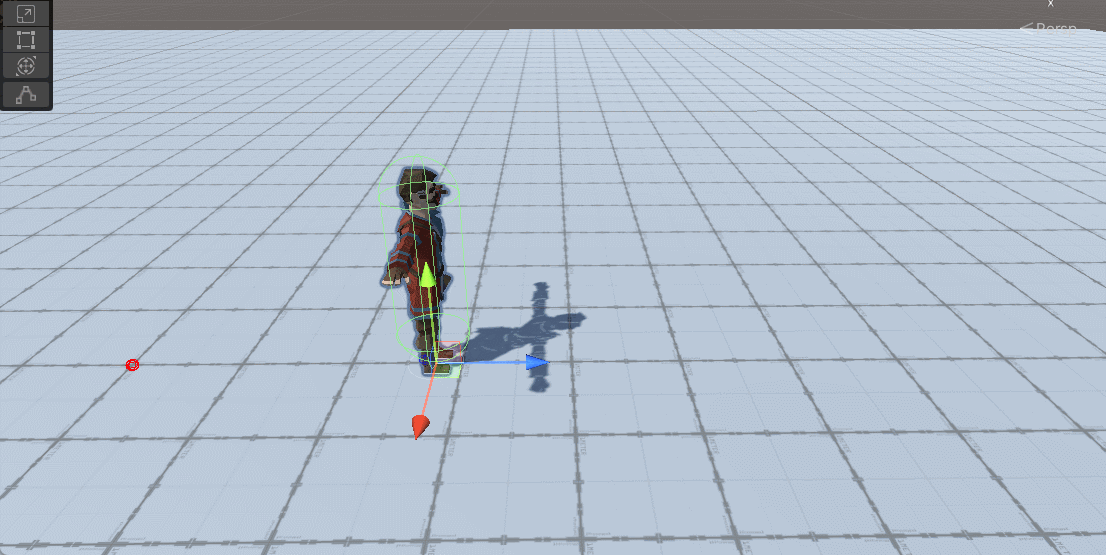
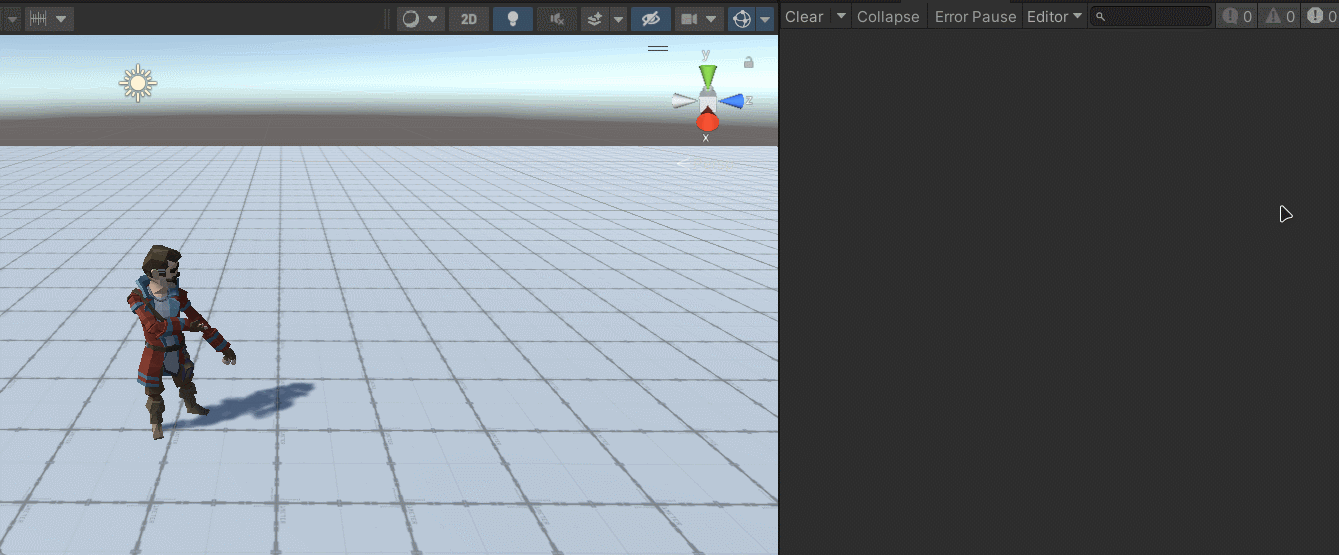
The above is from the official documentation of Unity, and I am still confused after reading it. . . To give a simple example: if the character has an animation of moving forward, if it is a body transformation, the character's model is walking, but the position of the character in the world does not change; if it is a root transformation, then the character is moving in the model The movement on will be reflected on the root node, that is to say, not only the model of the character is moving, but also the position in the world is also moving.
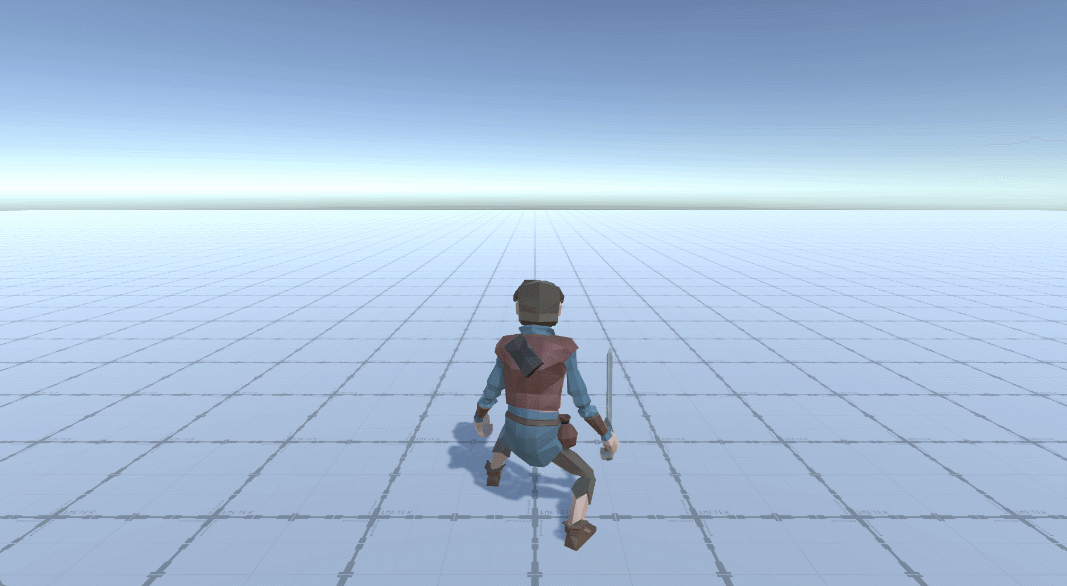
It can be seen that the position of the upper character has not changed because the root transformation has not been adopted, but the animation of the model is being played repeatedly.
1.1 Turn root movement on or off
So how do you turn root movement on or off? There are two options involved here.
First of all, on the animation editing panel, if the animation can affect the position or rotation of the character, there are usually the following options
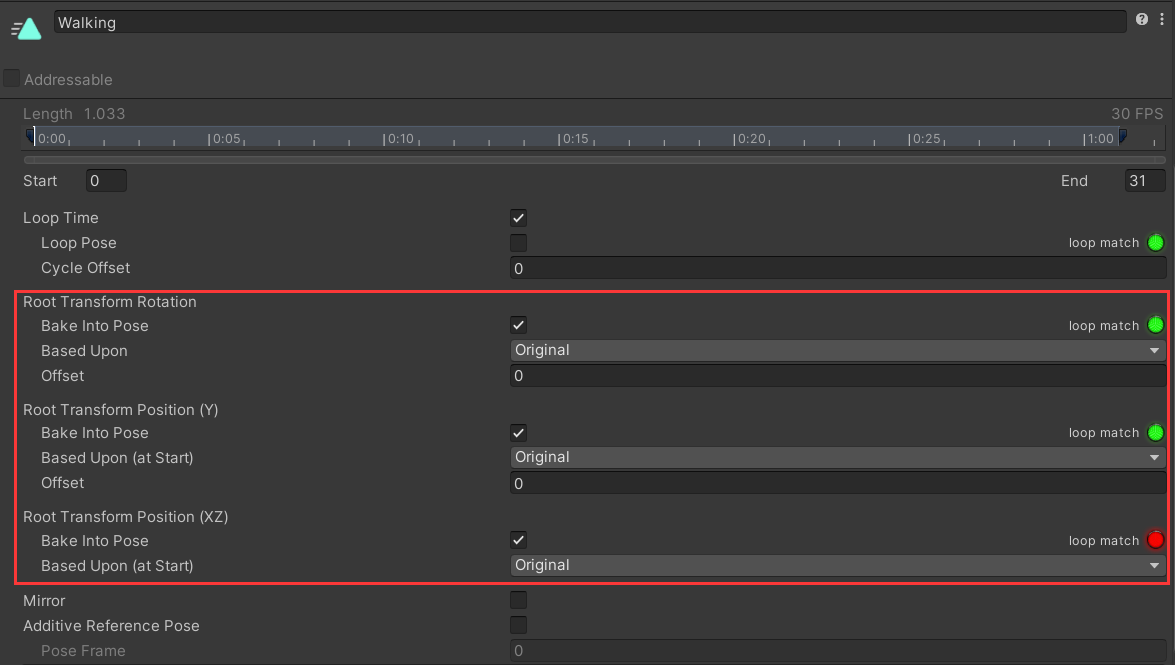
There is an attribute called "Bake Into Pose", which means to keep the direction on the body transformation. In other words, if this property is checked, the root transformation is stored in the animation, that is, the body transformation is used.
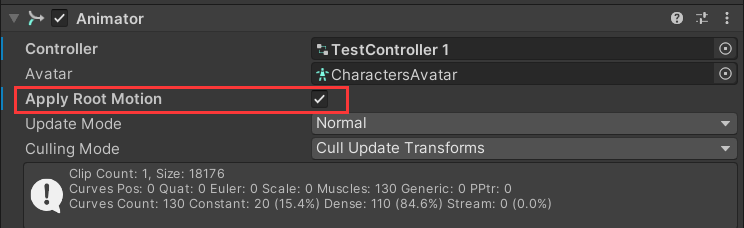
In addition, there is an "Apply Root Motion" option in the "Animator" component mounted on the character. Only when this option is turned on, the root transformation will be applied to the model.
Different permutations and combinations of these two options will also have different effects on the animation.
-
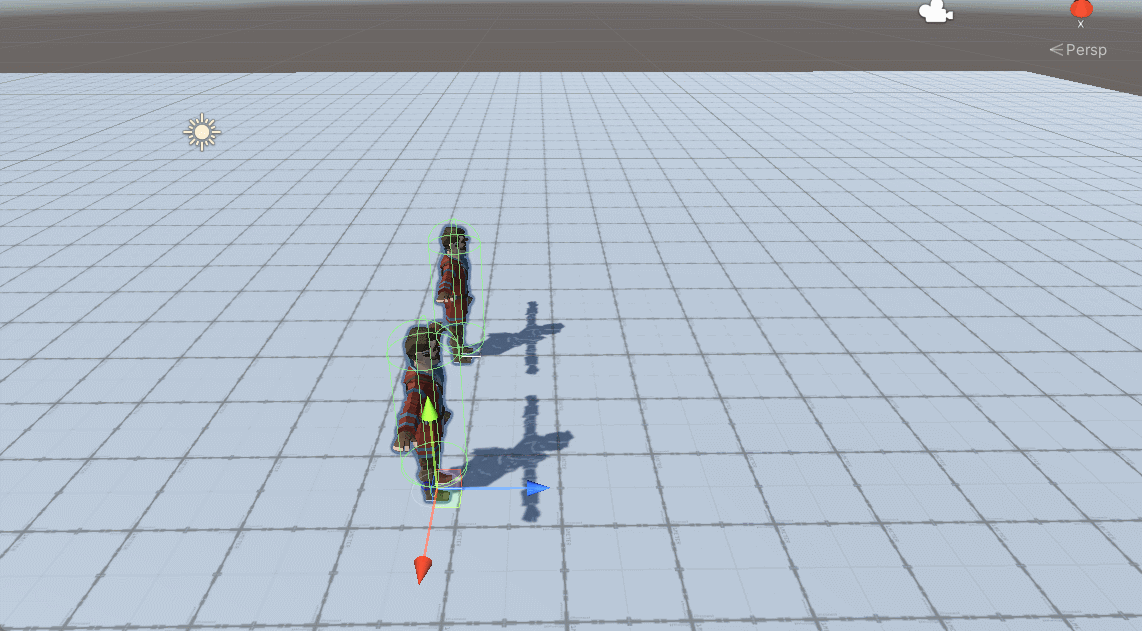
"Bake Into Pose" is on, "Apply Root Motion" is off or on
As long as the "Bake Into Pose" option is on, the animation uses body transformations. The following effect will appear
-
"Bake Into Pose" is off, "Apply Root Motion" is on,
and the character will move normally

-
"Bake Into Pose" is off and "Apply Root Motion" is off

1.2 Controlling the occurrence of root movement through scripts
In some cases, we want some parts of the state to enable root motion and another part to disable root motion. At this point, scripts can be used to control the occurrence of root motion.
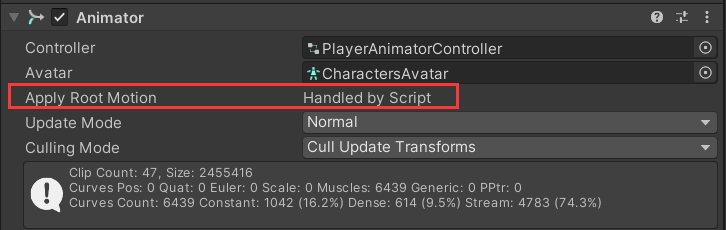
OnAnimatorMove()Add a lifecycle function to the script , and you will find that the "Apply Root Motion" of the "Animator" component has changed to "Handled By Script". means the root movement has been taken over by the script
Next we just need to OnAnimatorMove()implement our control logic in .
For example, we want the position of the character to be controlled by the root motion. But when jumping, since the position of the root node of the character only changes in the Y-axis direction, it will cause the problem that it can only jump in place. In this case, the current state can be judged in this function. If the current state is jumping, directly control the position of the character through the code.
private void OnAnimatorMove()
{


	// 如果当前状态的标签不是"NoRootMotion",则由根运动控制角色位置
	if (!_animator.GetCurrentAnimatorStateInfo(0).IsTag("NoRootMotion"))
	{


		_noRootMotion = false;
		_parent.position += _animator.deltaPosition;
		_parent.rotation *= _animator.deltaRotation;
	}
	// 否则由其他代码控制
	else
	{


		_noRootMotion = true;
	}
}
look at the effect

1.3 Target Matching
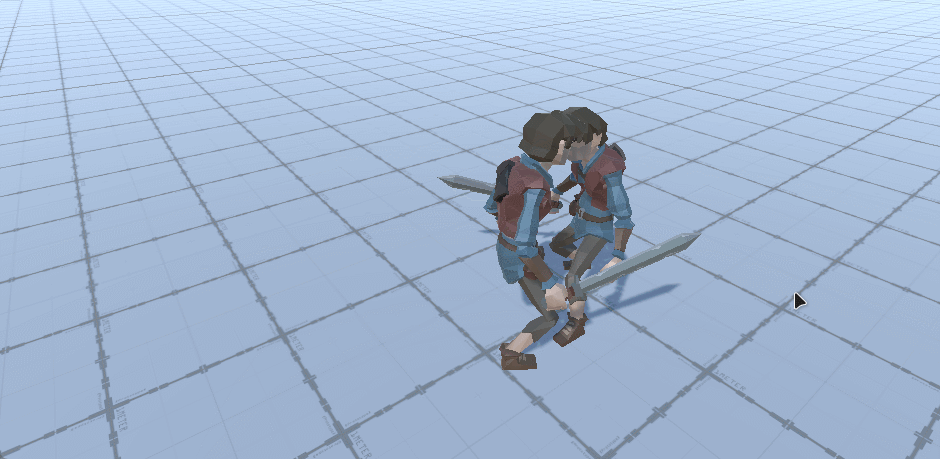
When our character needs to interact with other characters or objects, due to the position, there may be serious bleeding. For example, the kick action below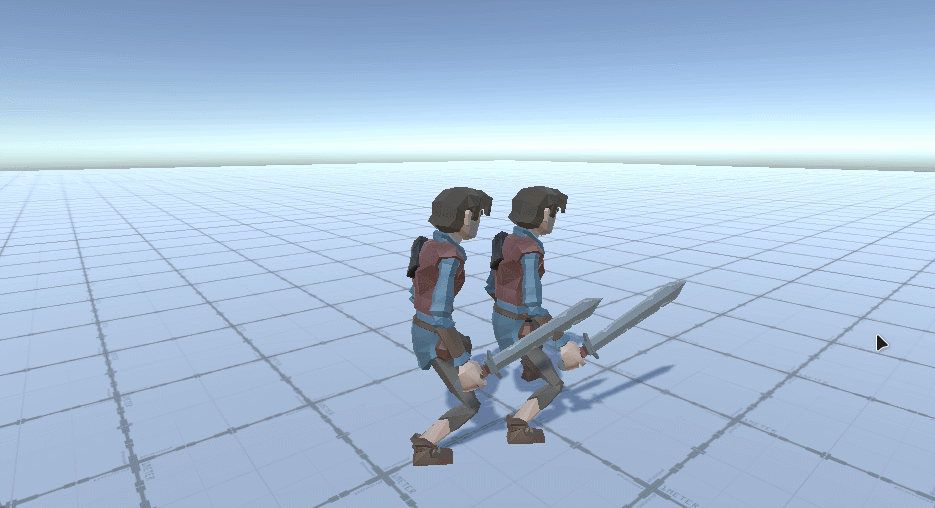
We hope that when kicking, we can just hit a certain position of the opponent, and it should not directly pass through the opponent's body. This is where target matching can be used.
In simple terms, target matching is actually a method Animatorin a class MatchTarget(). It needs to pass in the following parameters:
Vector3 matchPosition:target locationQuaternion matchRotation: target rotationAvatarTarget targetBodyPart: The part that needs to be matchedMatchTargetWeightMask weightMask: weights for position and rotationfloat startNormalizedTime: animation start percentage (0~1)float targetNormalizedTime: animation end percentage (0~1)bool completeMatch: Whether to forcibly move to the matching position when the function is interrupted
We can put the target matching code in Update()and execute it when the animation state machine enters the state of kicking
if (_animator.GetCurrentAnimatorStateInfo(0).IsName("Kick"))
{


	_animator.MatchTarget(machTarget.position,transform.rotation,
		AvatarTarget.LeftFoot,new MatchTargetWeightMask(Vector3.one,1 ),
		0f,0.64f);
}
The effect is as follows. It can be seen that this method will force the left foot of the character to match the target point, even if the distance between the two is far, it will be directly displaced to the target point.
2. Animation events
Animation events allow us to trigger specified script methods during animation execution. It can come in handy when making scenes such as skills.
It is also very simple to use, open the "Animation" panel of the character. Select the animation clip to add an event to, and then click the "Add Event" button on the right to add an event to the timeline
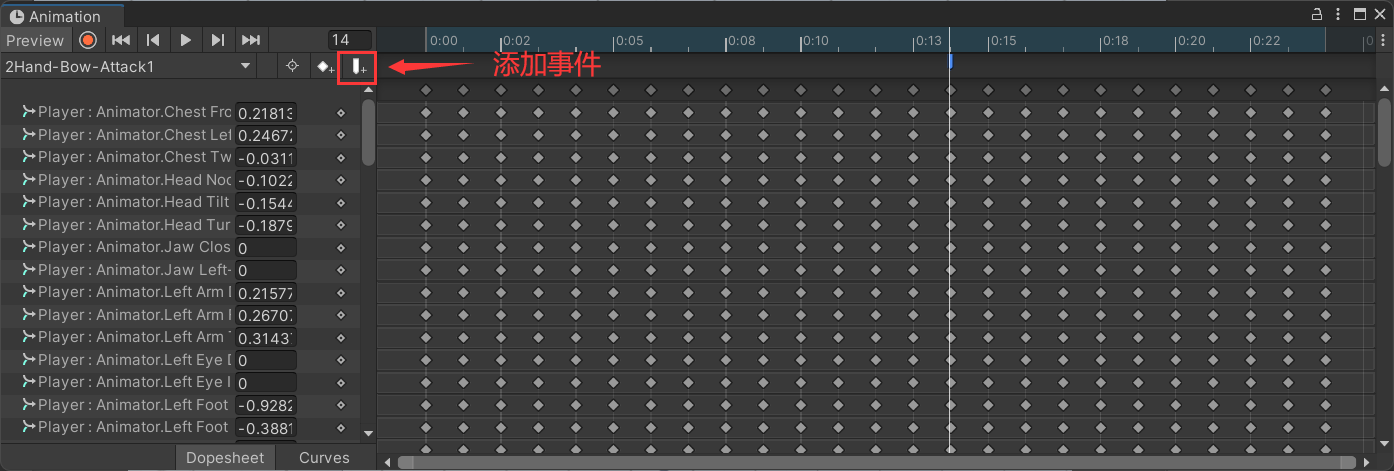
Click the event added on the timeline to specify the method to be triggered in the panel.
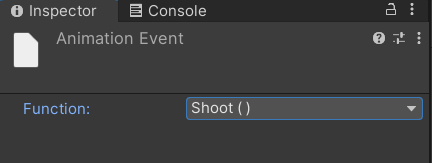
Let's let it output "Shoot" on the console when triggered, and see the effect
If you directly select the animation clip file, open the "Animation" panel and select the previously added animation event. You will find that there are several more properties in the inspection panel
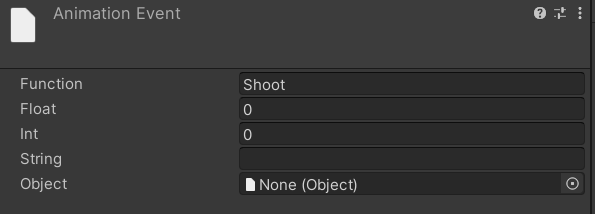
That is to say, we can add parameters to the triggered method and specify them here.
private void Shoot(int param)
{


	Debug.Log("Shoot:"+param);
}
Let's specify the parameter of type int as 10 to see the effect

However, this method can only pass one parameter, and we cannot add multiple parameters to receive all the specified parameters on the panel. But Unity provides us with AnimationEventclasses to encapsulate these incoming parameters. Through which you can receive all incoming parameters
private void Shoot(AnimationEvent param)
{


	Debug.Log("Shoot:"+param.intParameter);
	Debug.Log("Shoot:"+param.floatParameter);
	Debug.Log("Shoot:"+param.stringParameter);
	Debug.Log("Shoot:"+param.objectReferenceParameter);
	Debug.Log("Shoot:"+param.functionName);
}
The effect is as follows
With animation events, we can trigger some specified effects at an appropriate time during animation playback, such as shooting an arrow when the bow and arrow is drawn, releasing skills after raising the hand, and so on.
3. State Machine Behavior
Unity allows us to attach independent scripts to individual states in the animation state machine to handle additional logic when the animation is playing. The specific method is:
First select the state or sub-state machine in the animation state machine, and then the "Add Behaviour" button will appear in the inspector panel. Then you can manually create the script and mount it.
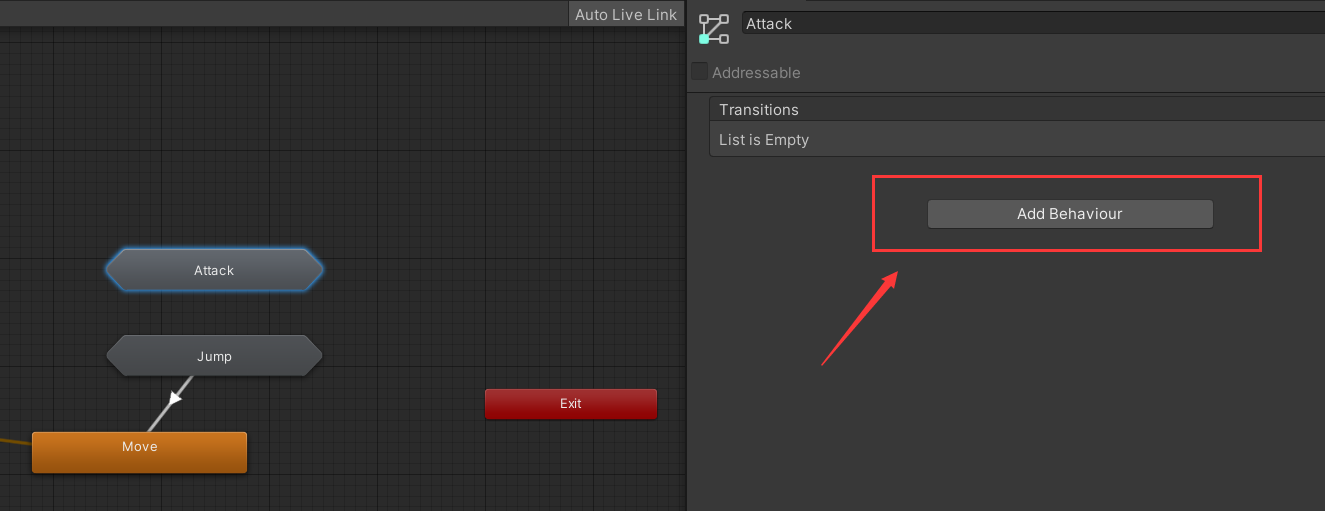
When you open the script, you can find that this class automatically inherits StateMachineBehaviourthe class, and a series of life cycle functions are given in the form of comments.
Next, we use this method to achieve the effect of "not allowed to move when the character is attacking".
First, add the judgment condition of whether movement is allowed in the character controller, and judge in the movement method
public bool CanMove = true;

public void Move()
{


	if(!CanMove)
	    return;
	// ...
}
Then in the state machine behavior script, control the condition
public class CharacterBehaviourController : StateMachineBehaviour
{


	private SaCharacterController _controller;

	public override void OnStateEnter(Animator animator, AnimatorStateInfo stateInfo, int layerIndex)
	{


		_controller = animator.gameObject.GetComponent<SaCharacterController>();
		_controller.CanMove = false;
	}
	public override void OnStateMachineExit(Animator animator, int stateMachinePathHash)
	{


		_controller.CanMove = true;
	}
}
Look at the effect before using the state machine behavior

Let's see the effect after using it