foreword
uniapp is a cross-terminal development framework that can be used to quickly develop multi-terminal applications such as iOS, Android, and H5. This article will introduce in detail how to realize the packaging of iOS applications developed by uniapp.
detailed steps
1. Download the original Apple image file
2. Install VMware
uniapp needs to generate corresponding certificates and P2 files for packaging iOS applications. These all need to use the IOS environment. Here I am using a MacOS virtual machine.
- Download VMware software, you can directly search the official website to download, or search for some download links on Baidu.
After the download is complete, decompress and double-click to run. Follow the prompts to install step by step. There are no other special precautions. - After the installation is complete
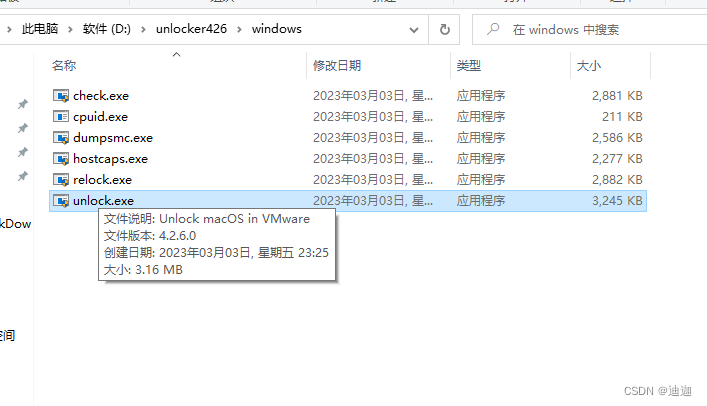
先不着急运行, because the MacOS system will not be displayed! Here you need to use an open source software unlocker , - Download unlocker4.2.6 (the latest version as of 2023.5.17) and unzip it, right-click the directory unlocker426\windows\unlock.exe to run as an administrator, and then open vmware to create a MacOS virtual machine
3. Create a MacOS virtual machine
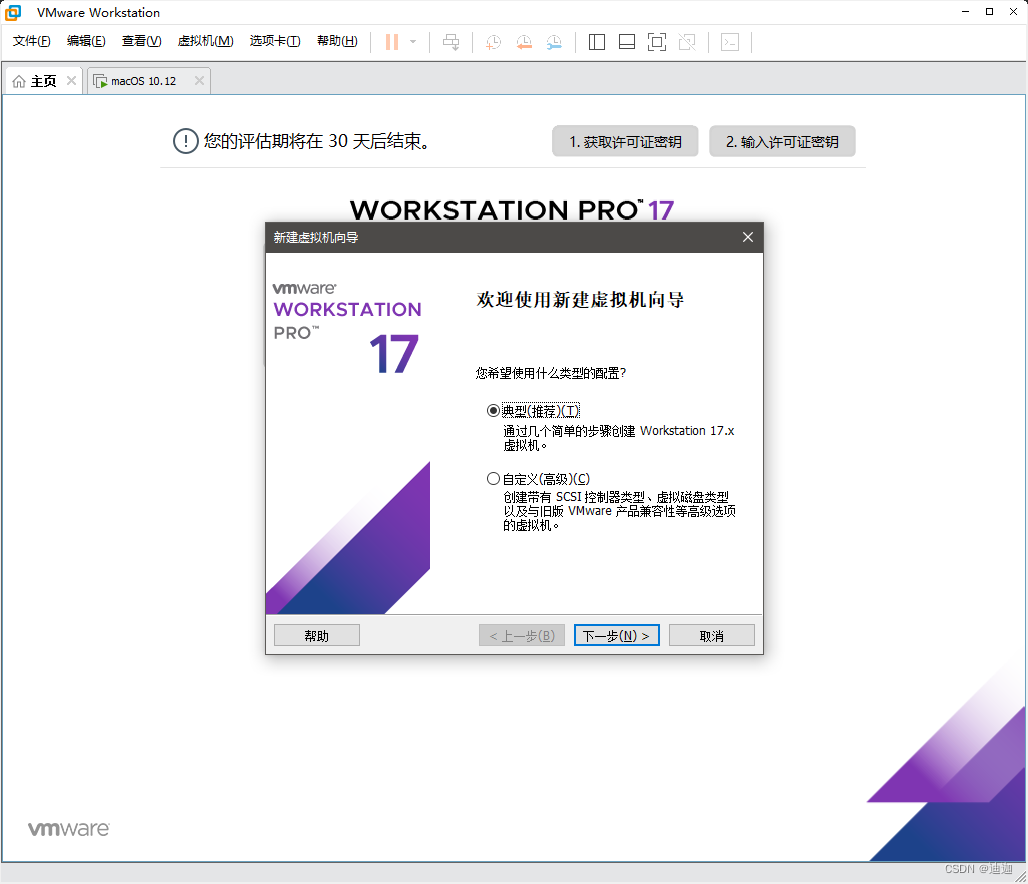
- Open vmware, click 'Create a new virtual machine'

- Select 'Typical' and click Next
- Select 'Install the operating system later' and click Next

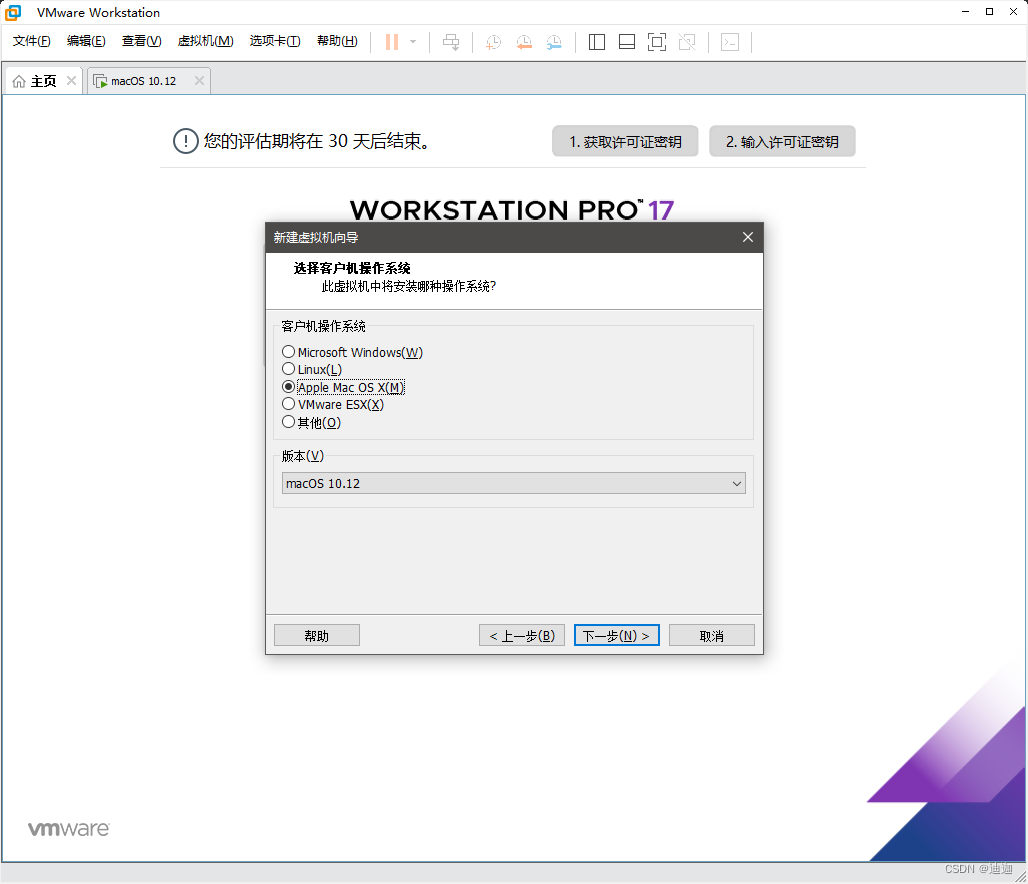
- Select 'Apple Mac OS' and click Next
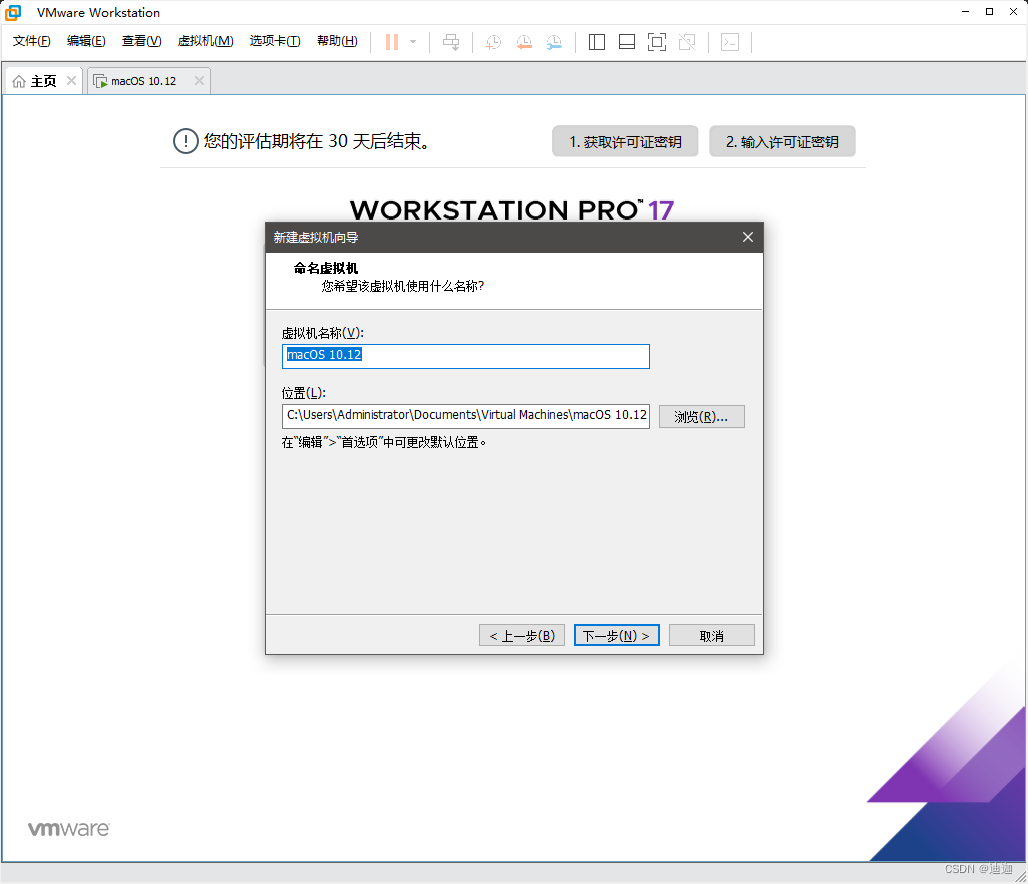
- Set the virtual machine name and location and click Next
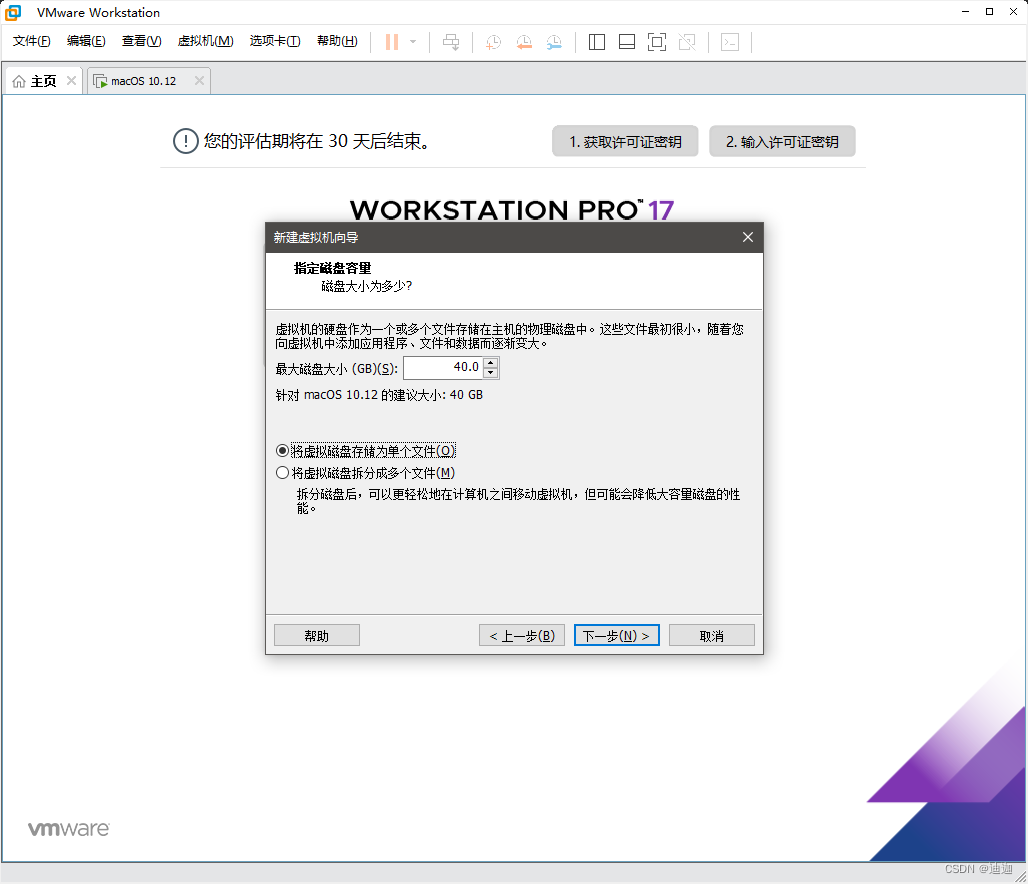
- The disk size can be adjusted, I use the default value
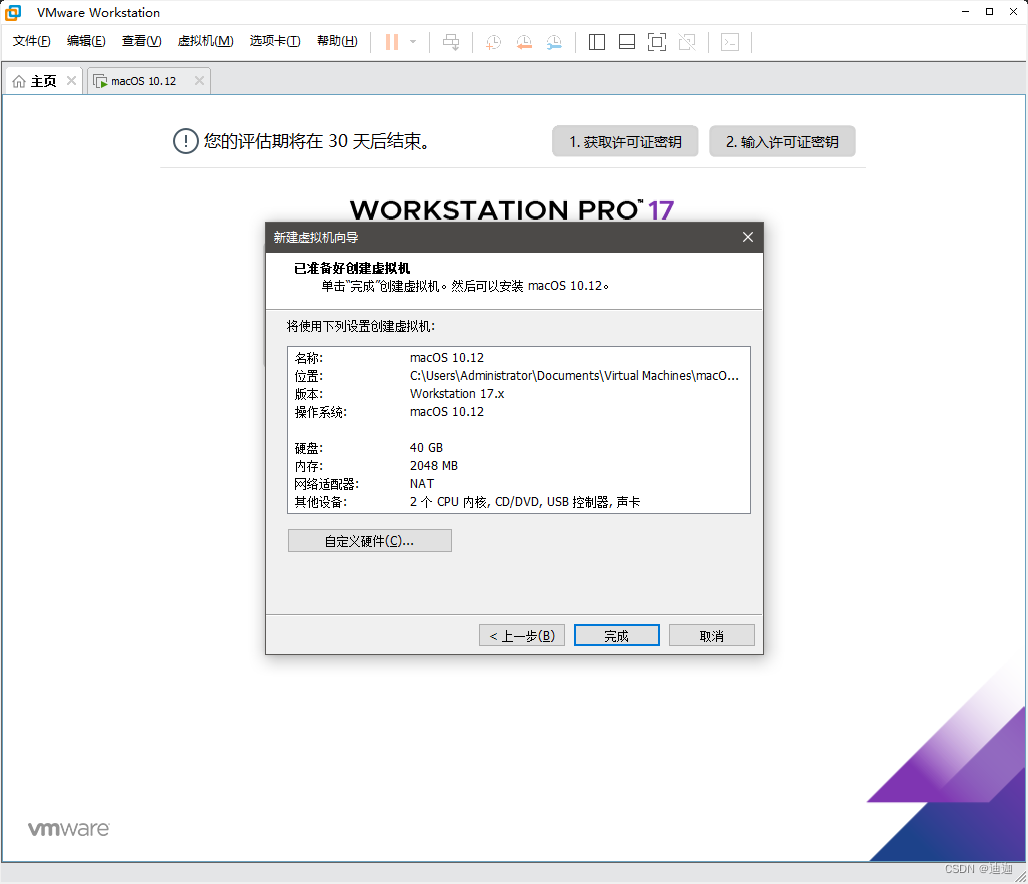
- Created,
4. Load the iso system image of MacOS
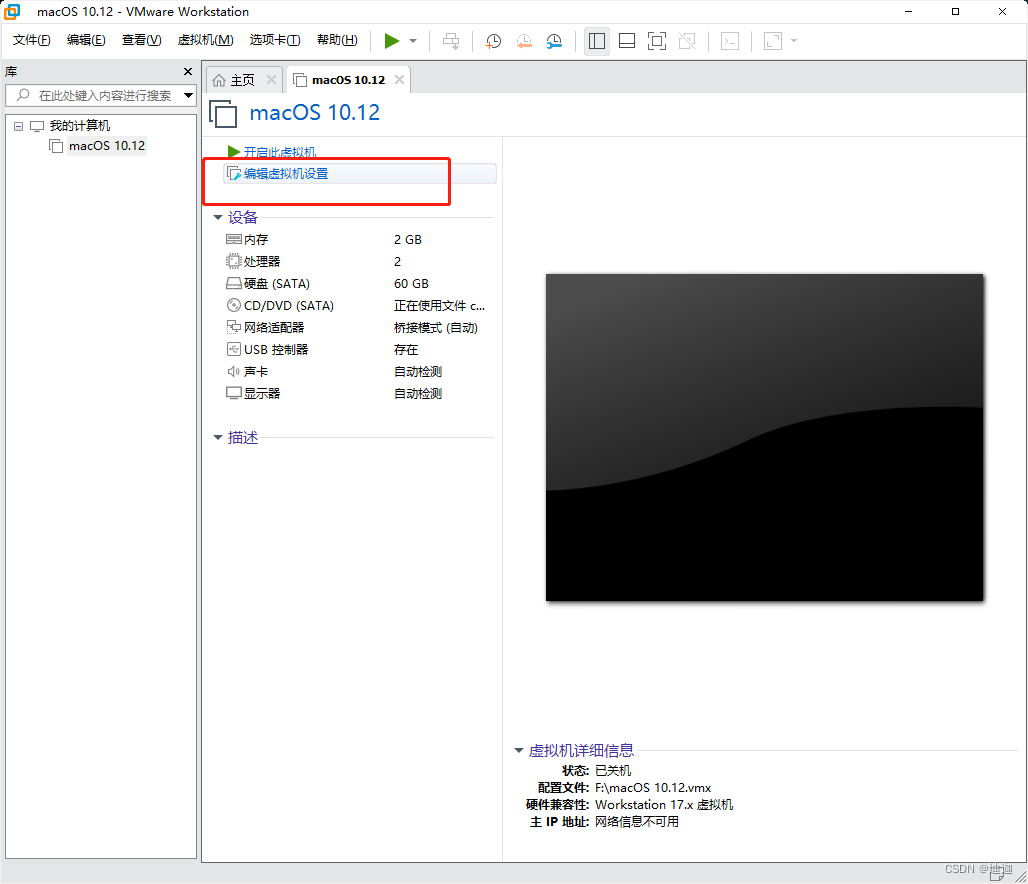
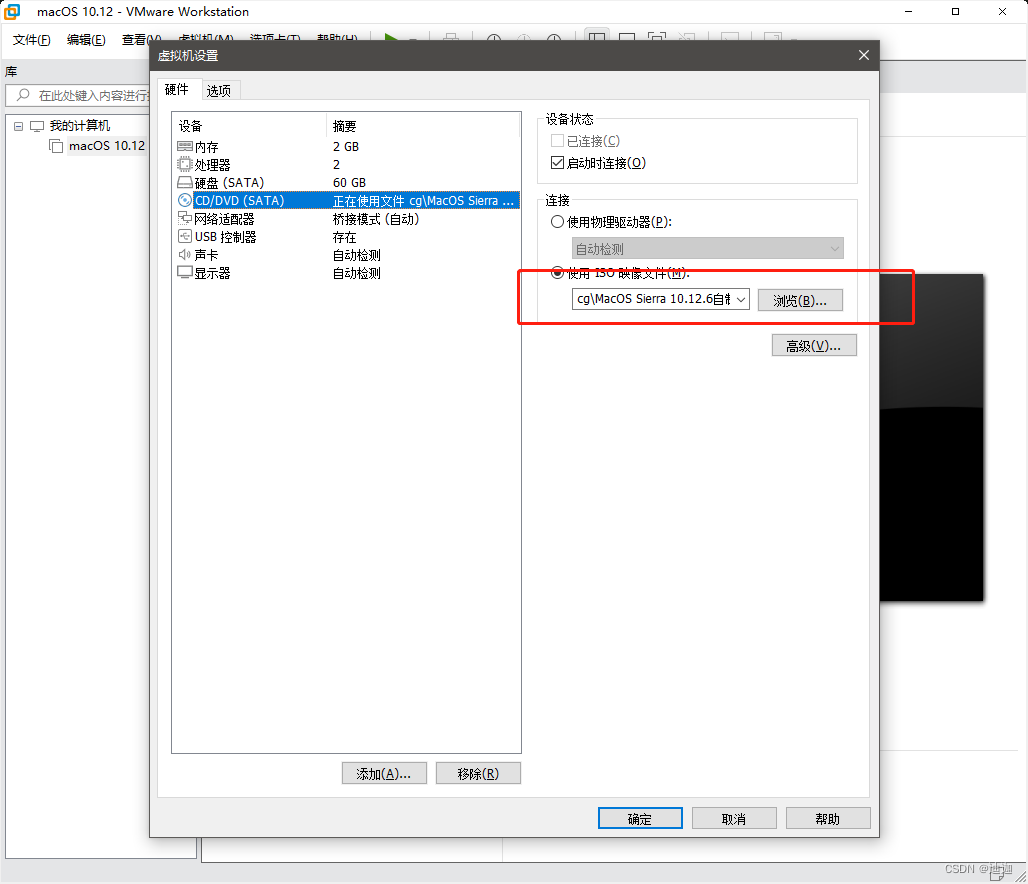
- Click on 'Edit Virtual Machine Settings'
- Image file location After saving the image file downloaded in the first step, click 'Start Virtual Machine'
运行之后按照提示继续一步一步操作即可
5. There is not enough space on the OS X Base System to install
If there is no OS X Base System 上没有足够的空间来进行安装prompt, you can ignore this step
. If the installation process appears as shown in the figure below, the solution is actually very simple.
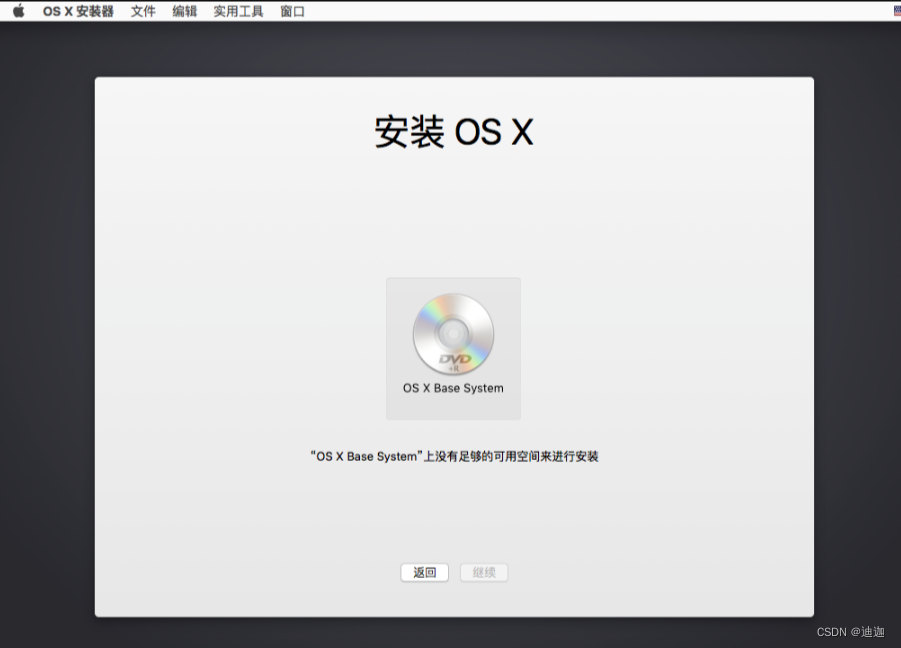
Click [Utility] -> [Disk Utility] at the top of the screen
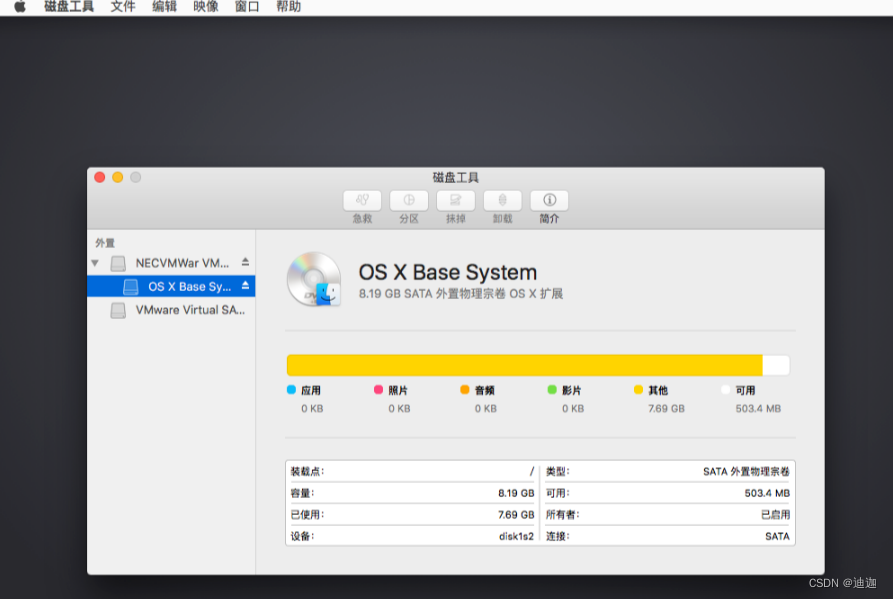
and select [VMware virtual], and then click [Erase] on the top Erase] button
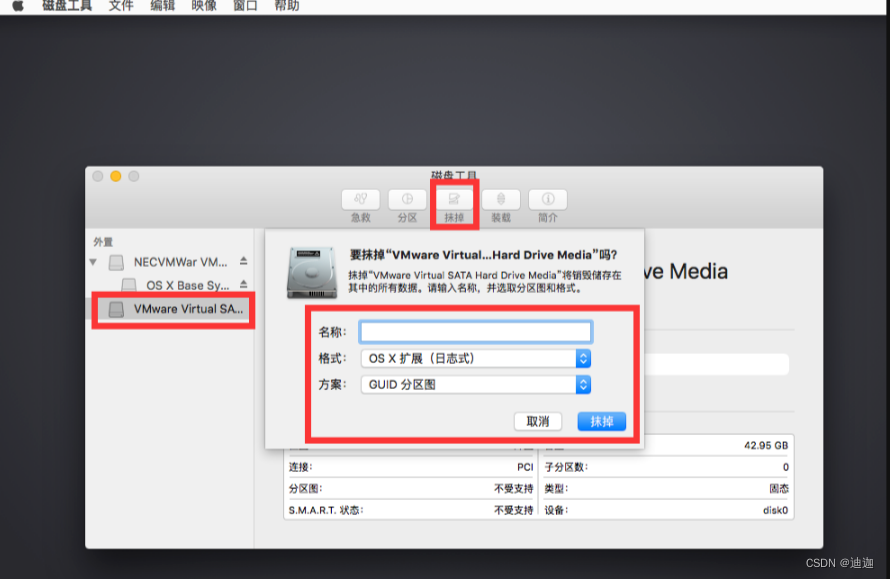
After filling in the name, click the [Erase] button in the pop-up box, and then close Disk Utility. Go back to the installation page and you can see that there is one more hard disk that you just added. Select the newly added hard disk and continue.
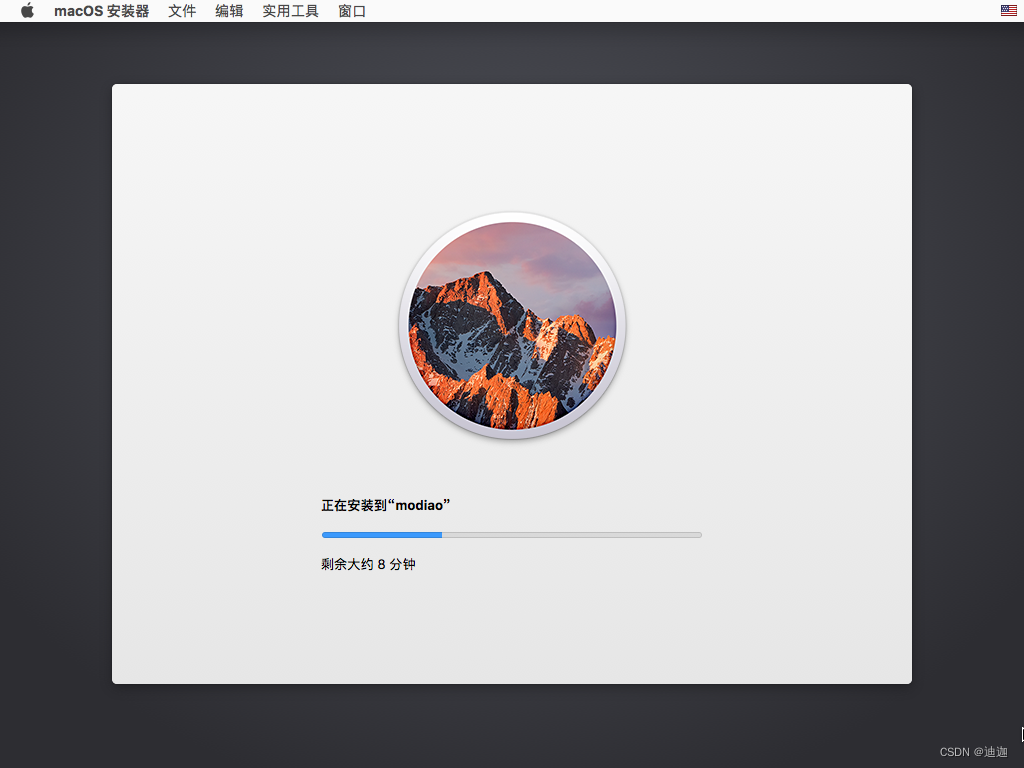
For the rest of the operation steps, just follow the prompts step by step!
Six, IOS virtual machine network configuration
- Open the VMware software and enter the virtual machine settings.
- Select the "Network Adapter" option.
- Select "Connection Type" as "Connect to a physical network adapter".
- Select your host network adapter in the "Physical Network Adapter" drop-down list.
- Click Connect.
7. Prepare the certificates required for packaging
Open the IOS developer platform
and click Account in the upper right corner to log in to your developer account.
Find Certificates, IDs, & Profiles
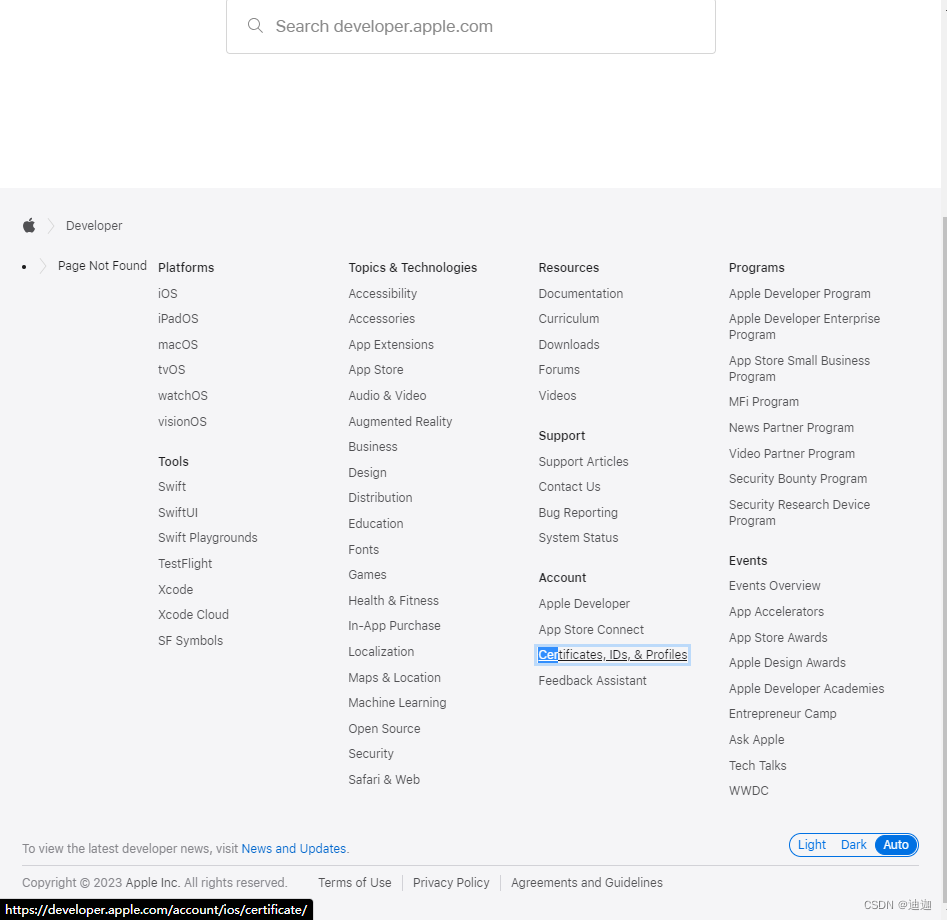
at the bottom. The rest is exactly the same as the packaging tutorial on the uniapp official website . Just follow the steps patiently and step by step!