Environment configuration:
QT installation
The installed version is 5.9.9
Enter Index of /qtproject/archive/qt/5.9/5.9.9/ (ustc.edu.cn) , according to the following index
Here is the windows environment, so downloadqt-opensource-windows-x86-5.9.9.exe
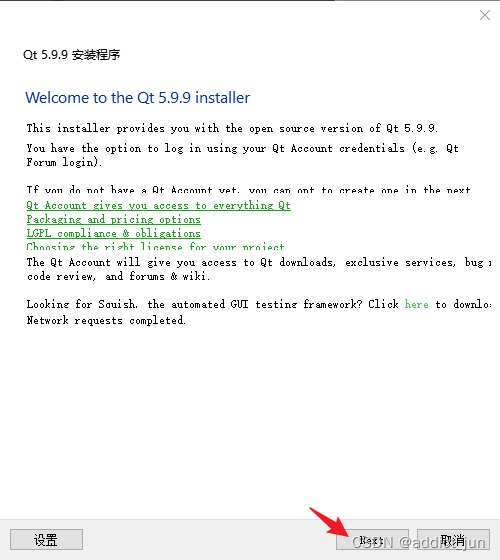
After the download is complete, start the installation tutorial. The first step is to click next
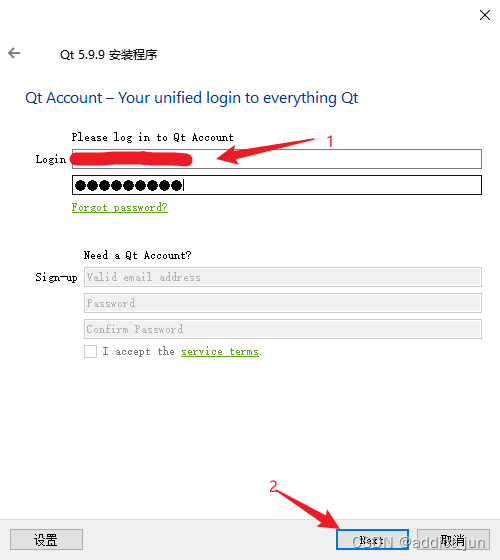
. The second step is to enter your account number and then next.
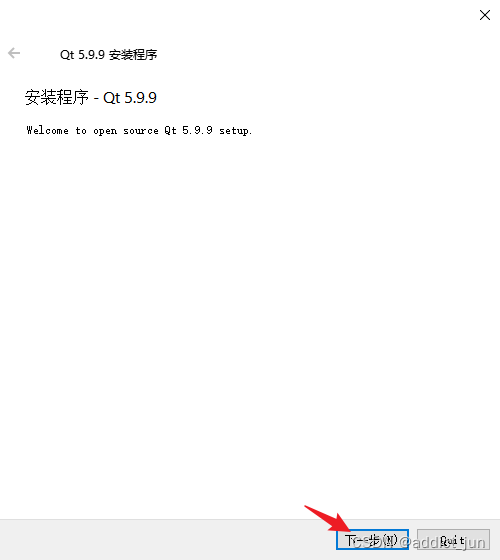
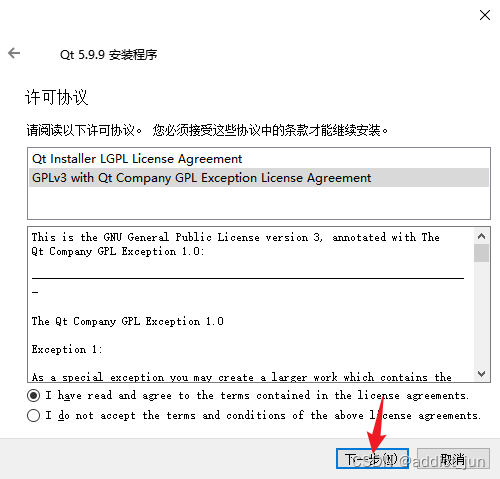
Step 3, click Next
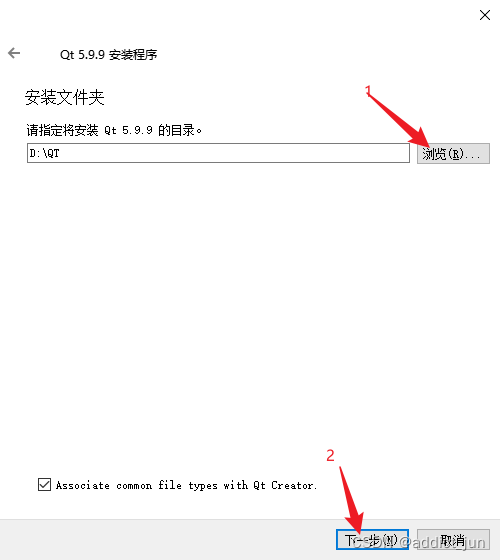
Step 4, you can choose to modify the installation address, or not, here I installed to the D drive
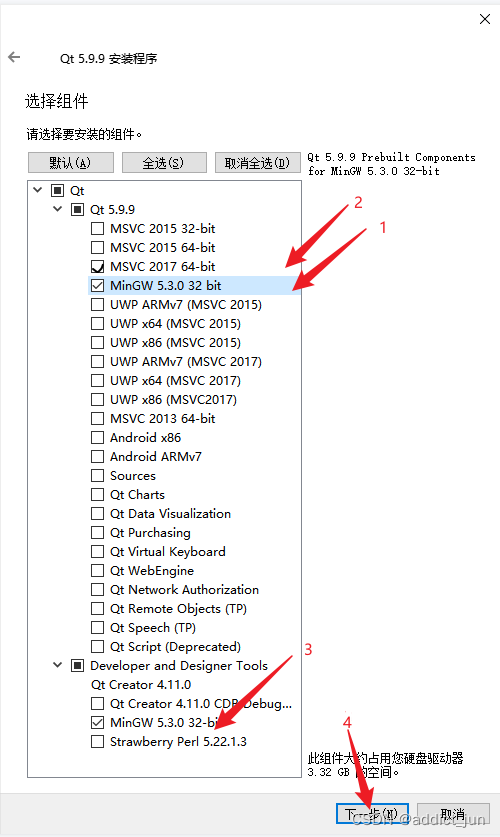
The fifth step, here you need to choose, here you need to install MSVC 2017, the latest version of vs2022, and the qt vs plug-in cannot add MinGW, at least not here, but there is no problem installing MSVC.
Start the next step directly here to install
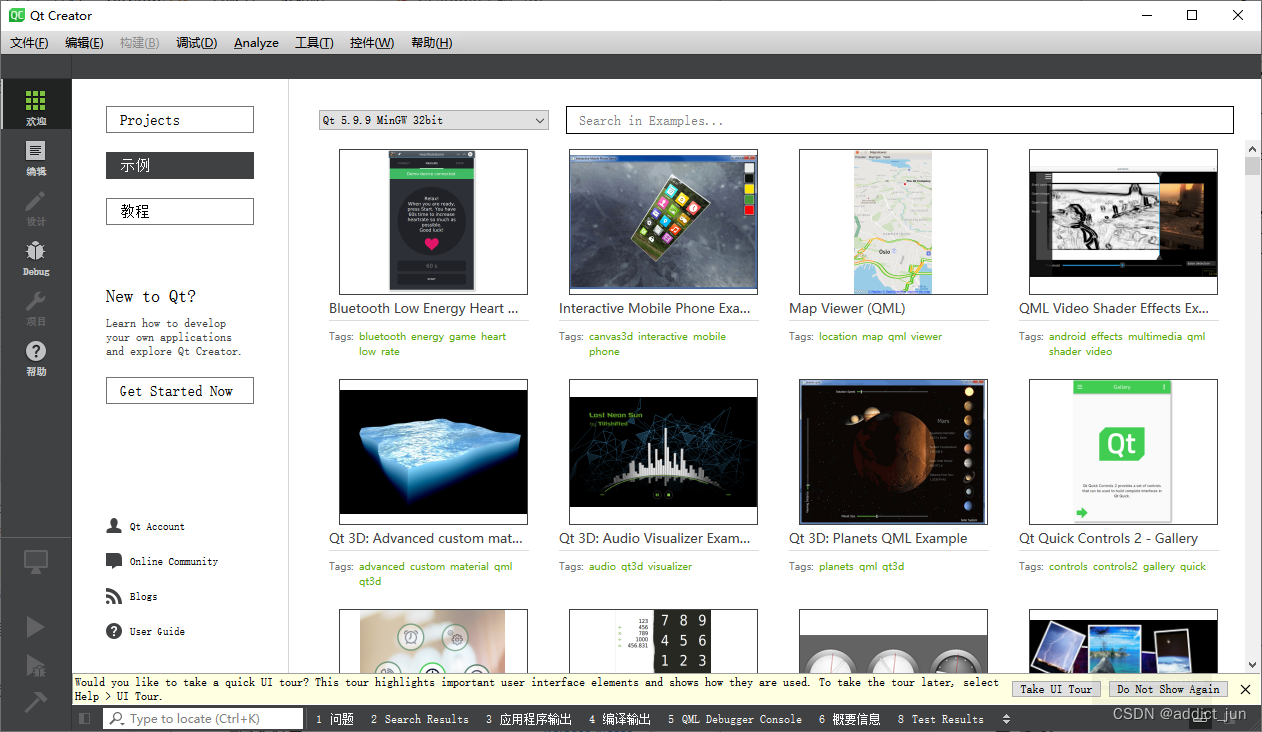
Finally, the installation is complete, open as follows:
VS studio installation
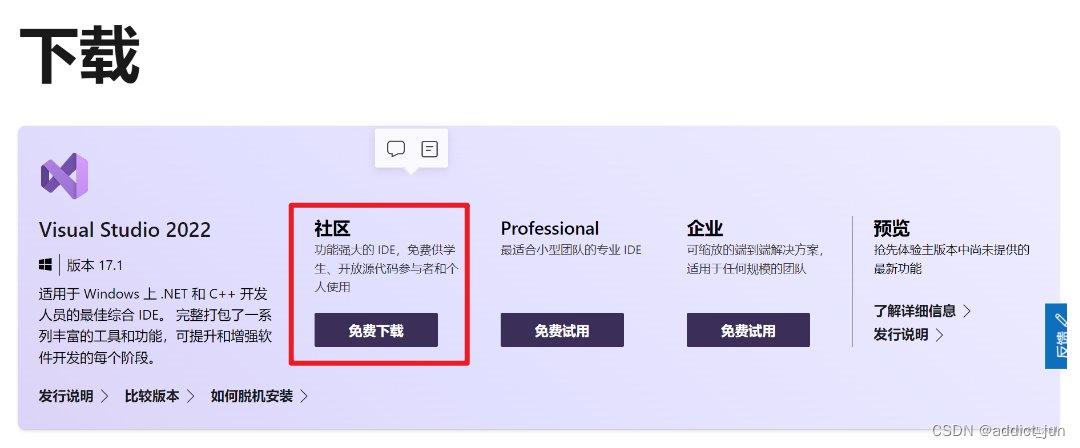
Official website download address:
https://visualstudio.microsoft.com/zh-hans/downloads/
Just download the community edition
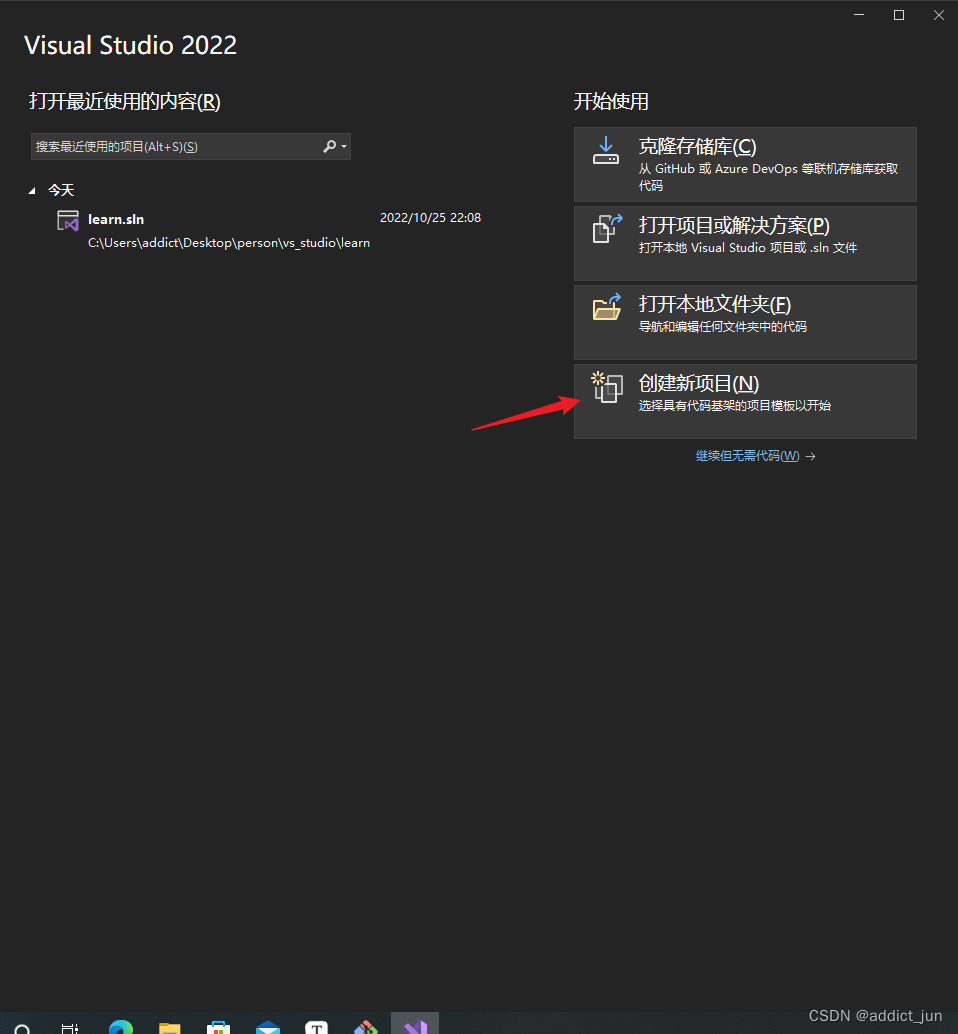
After the download is complete, after double-clicking to open, something will be loaded. Finally, the following interface appears
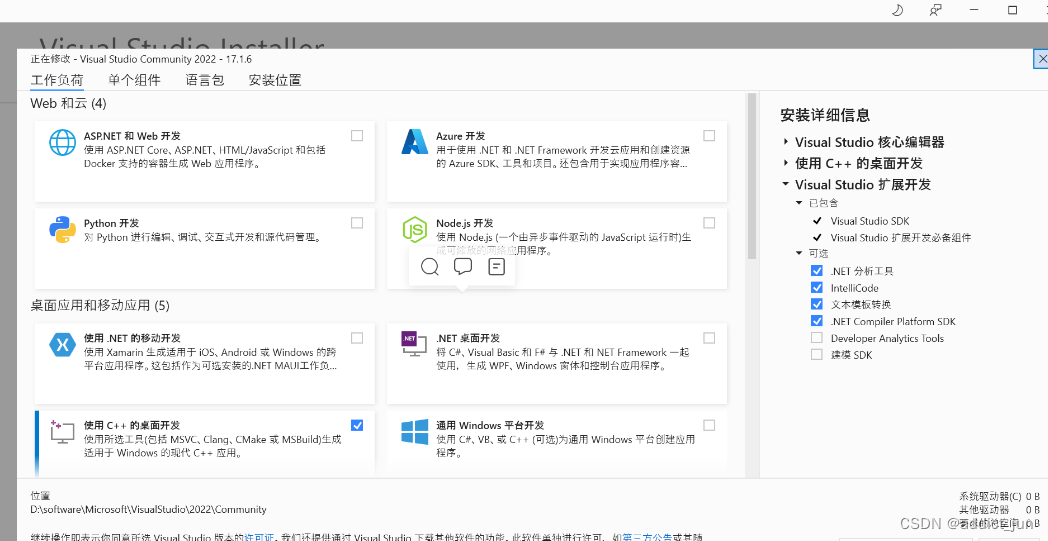
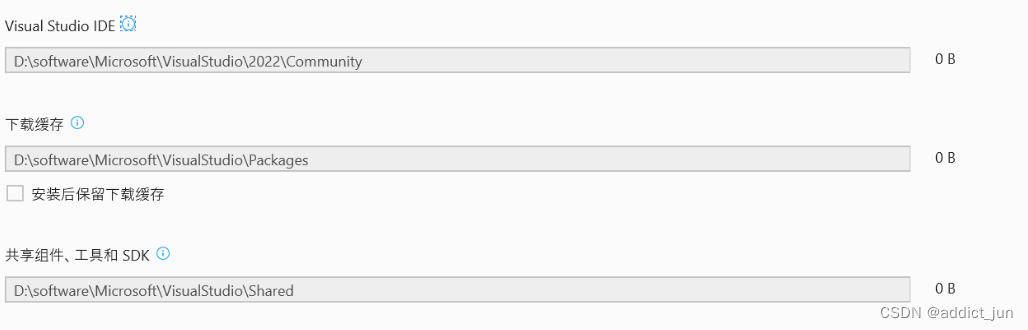
select location
First, we need to set the installation path. Because visual studio takes up a lot of space, we must never install it on the C drive, which will make our already poor C drive space worse. Here, switch to the installation location, and change the path of the following three items to D disk or other non-system disks. The picture here is what I have already changed.
Custom installation components
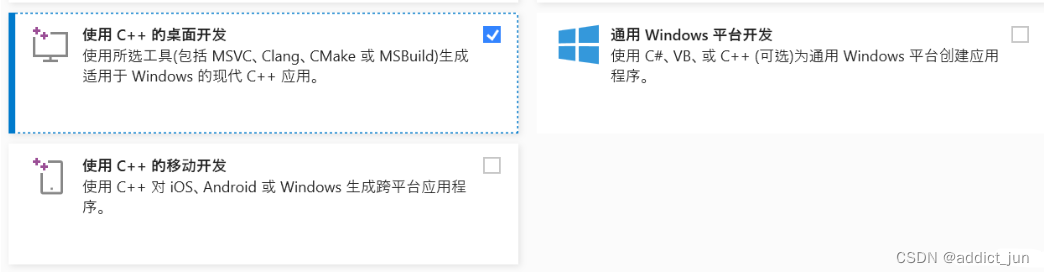
Click to install. Remember to keep the initial installation file, if there are other extensions or modifications in the future, you can use it.
Configure QT on VS
1. According to your own vs version, find the plug-in package in the mirror source (the blogger’s version is 2022)
mirror address: mirror address

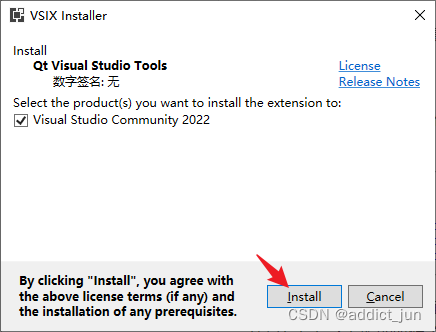
After the download is complete, open the software interface directly as shown below, click Install
Note! ! ! [Close your vs when installing]
The installation is complete
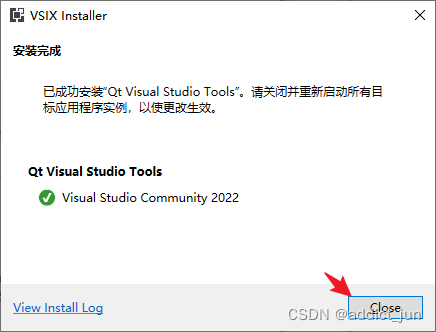
The vs extension interface displays the plug-in, which means the installation is successful, 
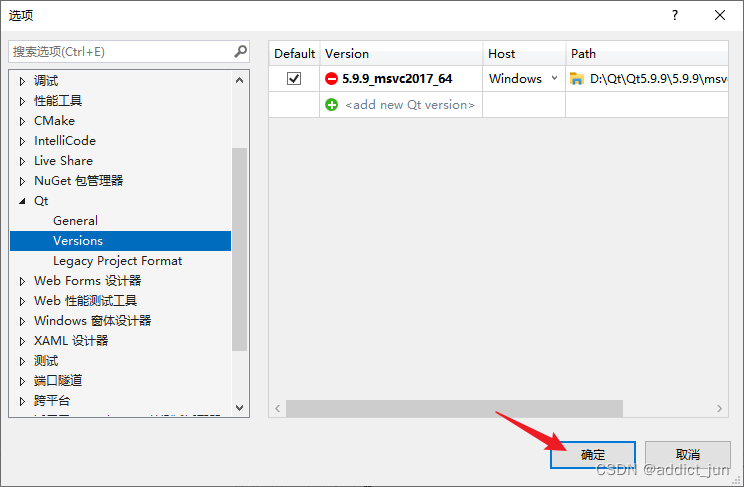
and then we find the version location of qt
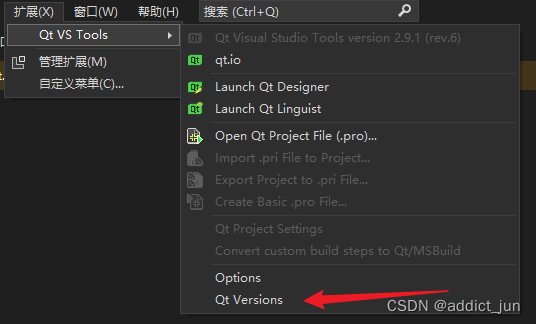
then click add
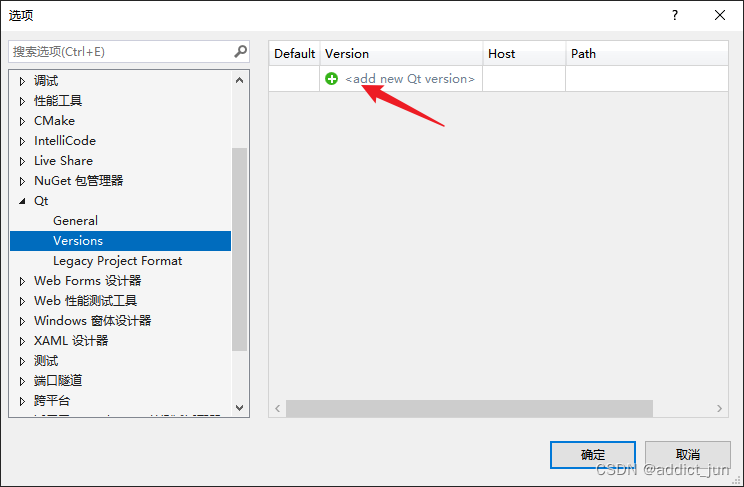
click path
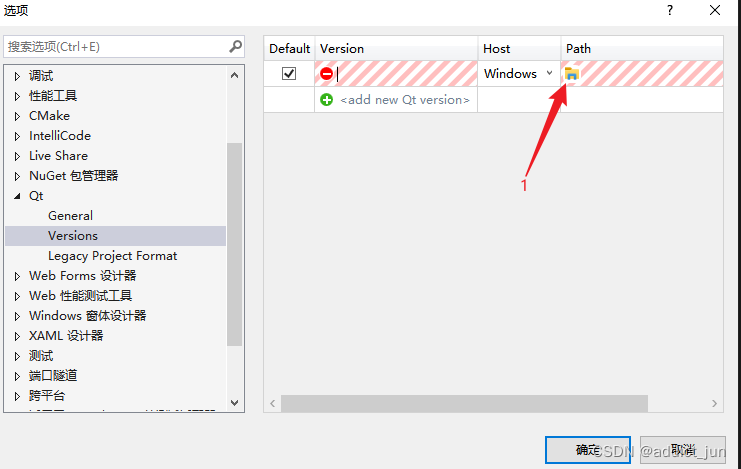
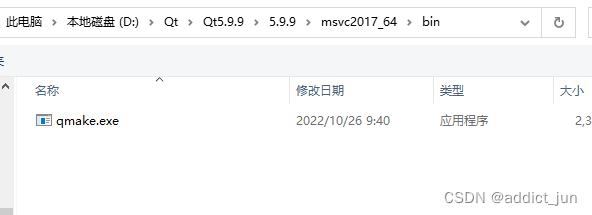
Find where your qt is located, my location is here
Finally click OK
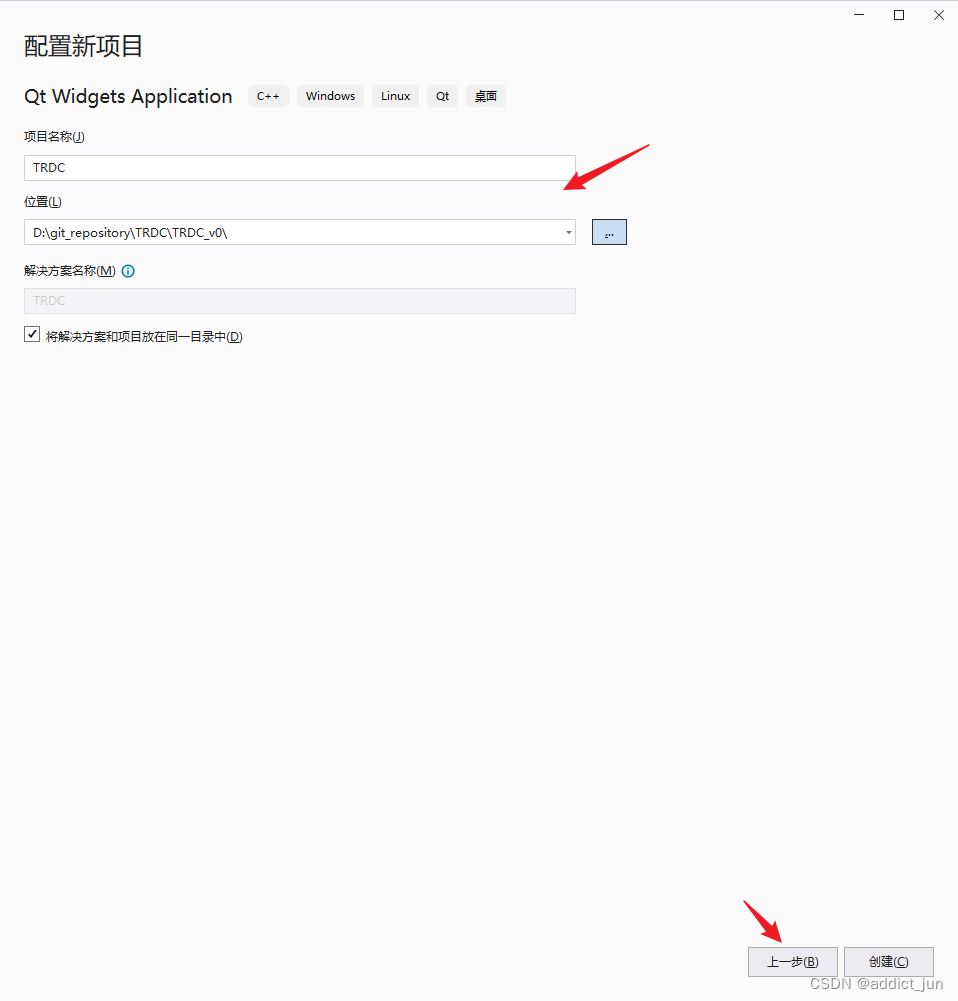
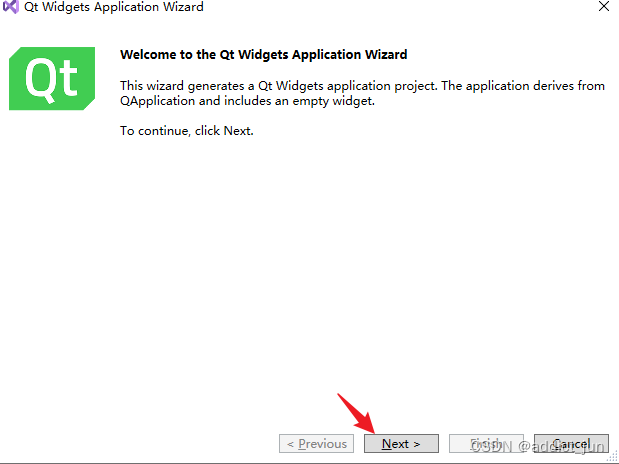
Next create a project
Here we create a UI interface

Then set the file directory and click Create
Next, start configuring the qt settings and click next.
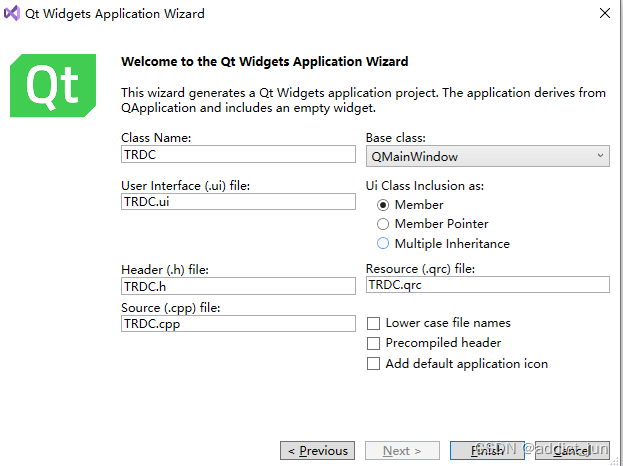
The next step is to configure the Debug and Release versions. If you have other requirements, you can configure them. If you don’t, just click Next here. You can expand them later if you need to add new accessories.

See if you need to modify anything according to your own naming habits. If there is no requirement, just click Finish.
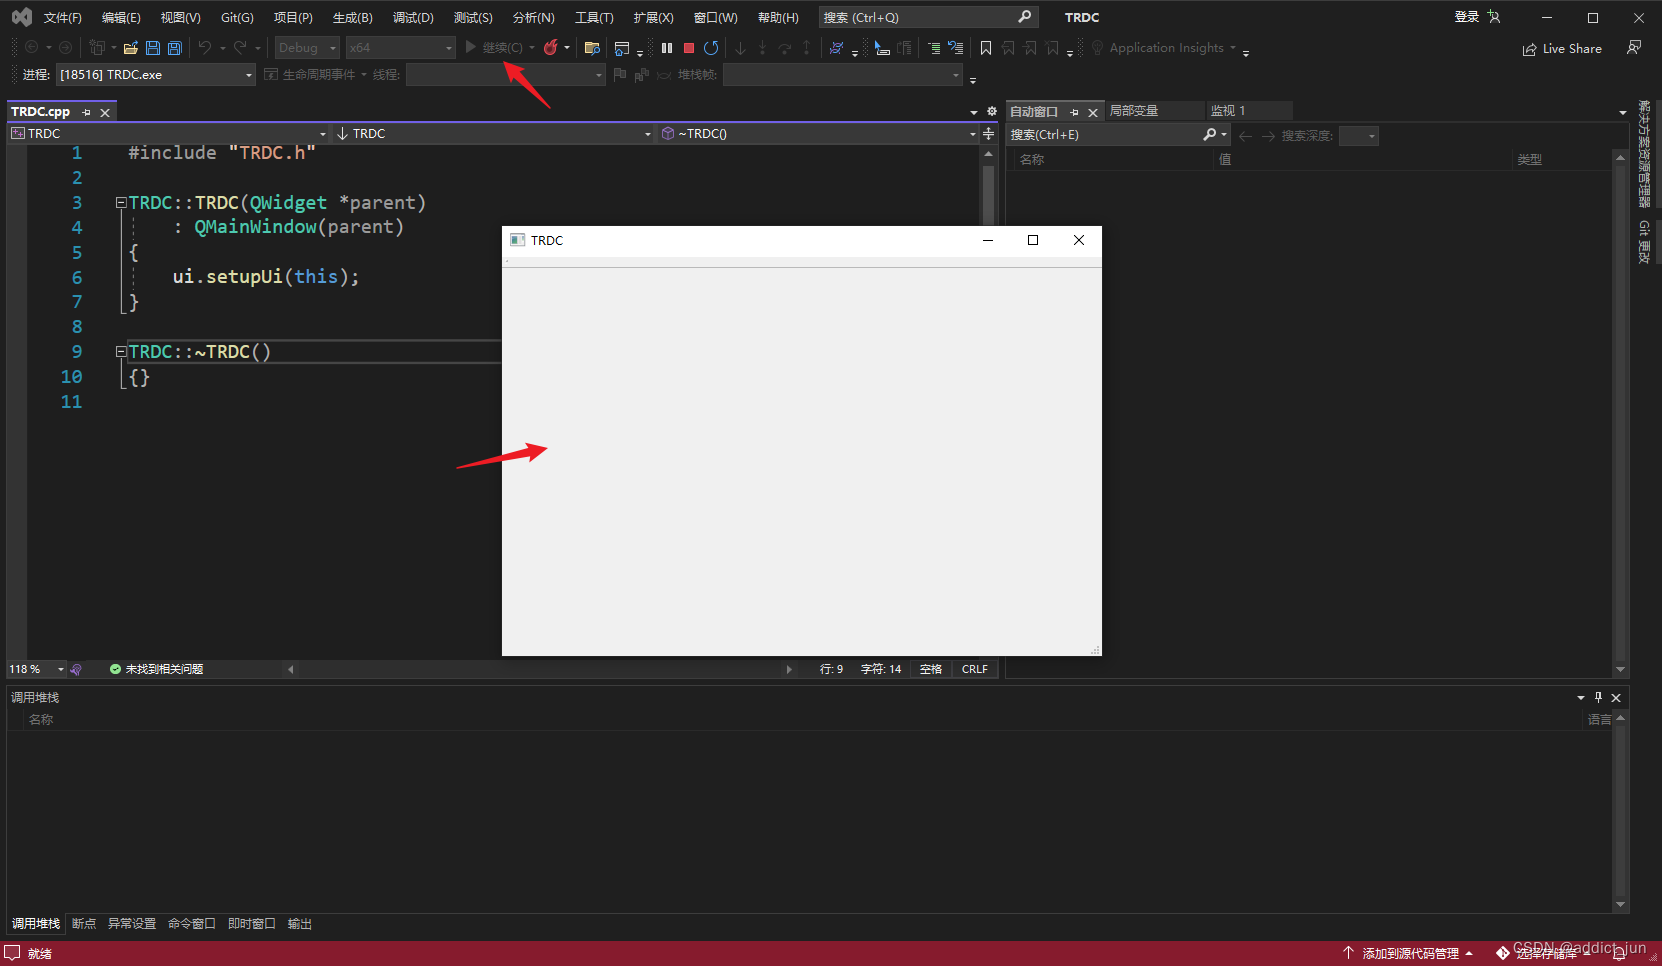
After generating the new code, click to run, and finally see the following interface, it is correct
After the installation is complete, you can start your own learning.