Table of contents
(1) Create environment variables
(2) Manage environment variables
(3) Select and edit environment variables
2. Save the request to the collection
END Supporting Learning Resources Sharing
1. Variables
The concept of variable is believed to be familiar to everyone, so we will not introduce it here. Mainly talk about the types of variables in Postman, mainly including the following four categories:
Global
Environment
Local
Data
In this article we only introduce the usage of global variables and environment variables
1. Environment variables
Environment variables can be understood as local variables, which will change as the environment changes.
(1) Create environment variables
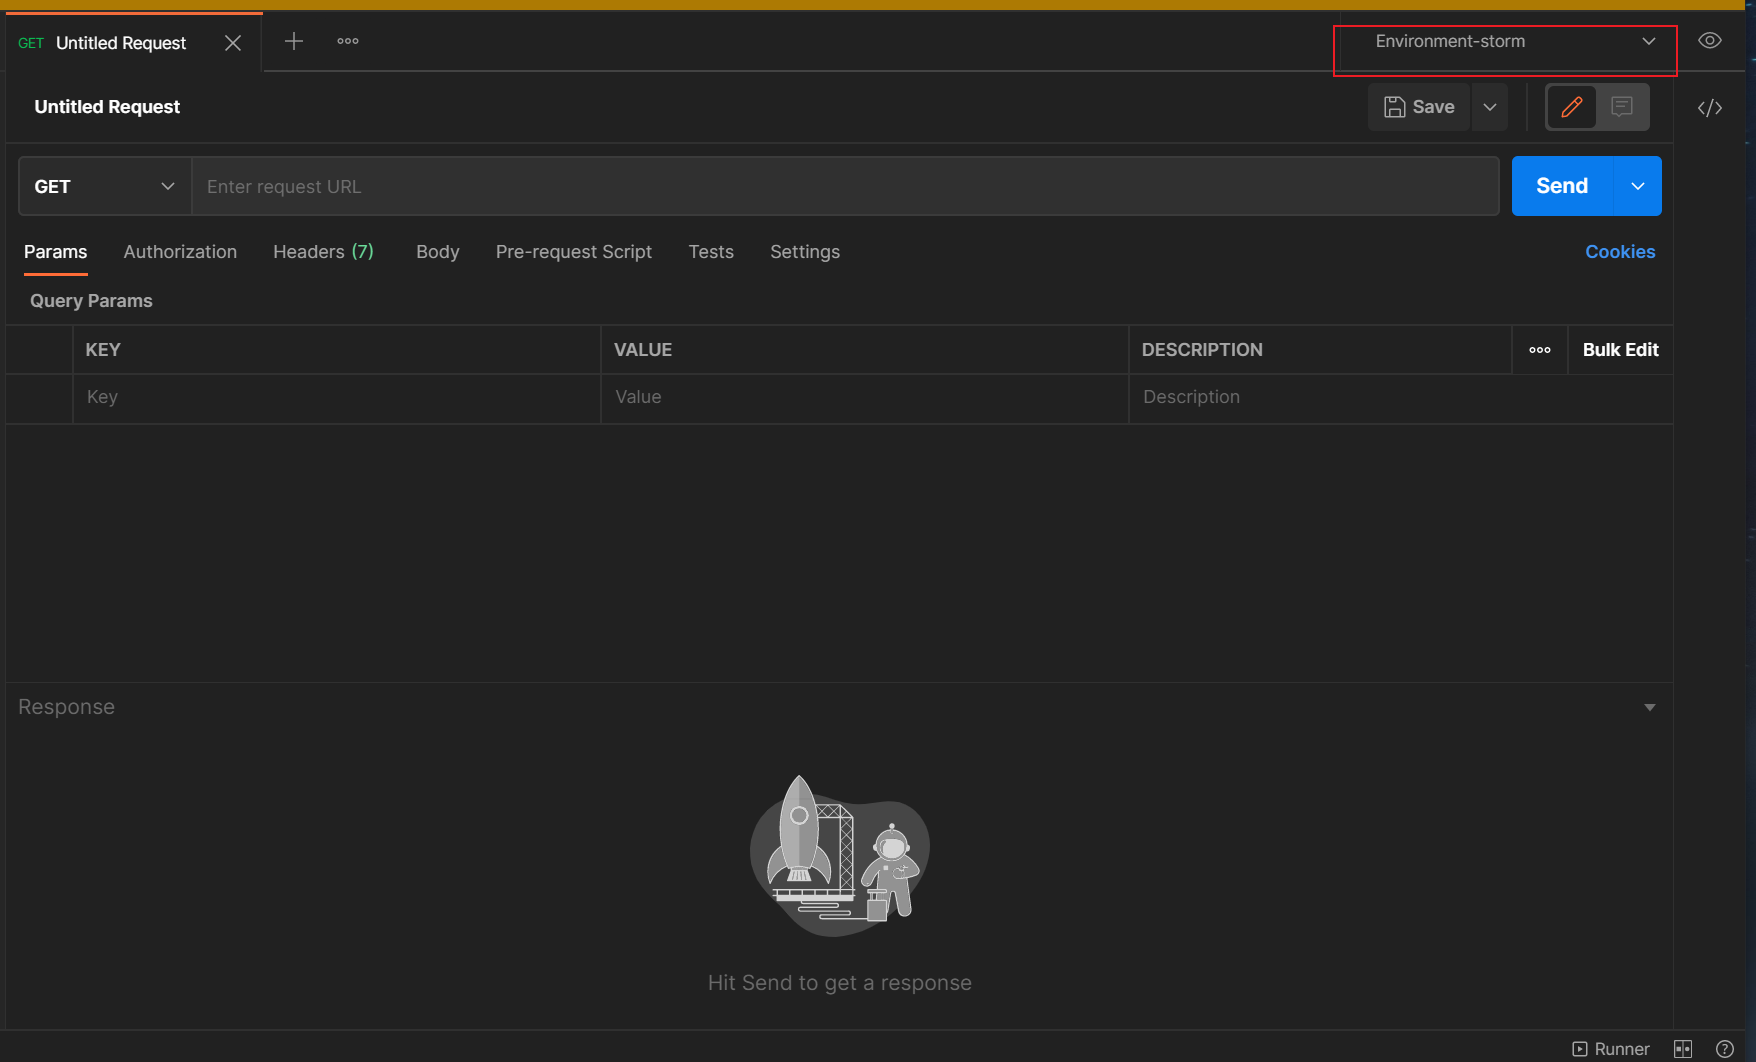
We can click the little eye in the upper right corner to manage environment variables

Then we click add

Then enter the information of the environment variable and press Ctrl S to save it.

(2) Manage environment variables
In the interface of adding environment variables, in addition to creating environment variables, we can also share, copy, export, delete, and import environment variable JSON files. I won't go into details here, the operation is relatively simple.
(3) Select and edit environment variables
Now that we have created the environment variable, we have to choose to use it. The choice is very simple. Click the drop-down box next to our little eyes to select the created environment variable.
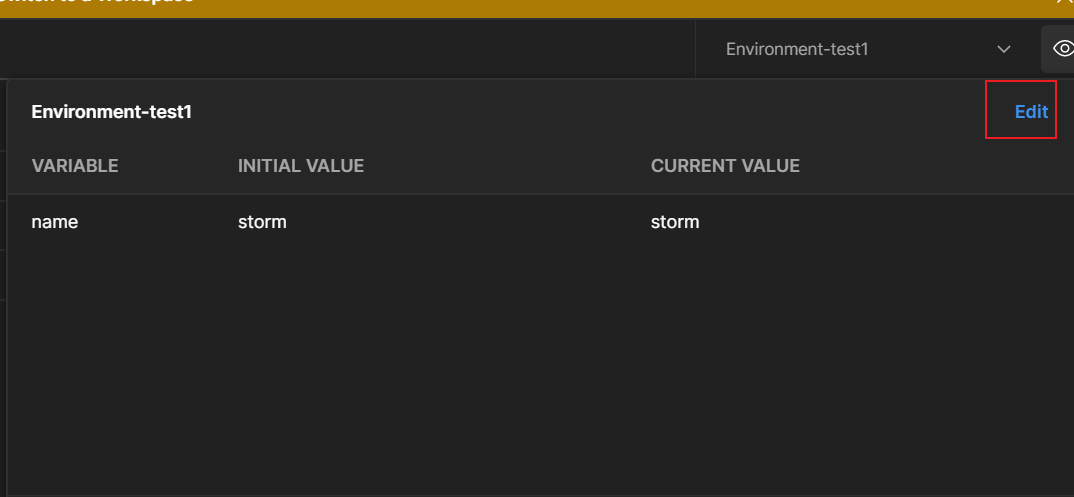
As for editing environment variables, the way to enter the interface is the same as creating, except that add becomes edit, but you need to select the environment variable you need to edit first
2. Global variables
A global variable, as its name implies, is a variable that can be referenced in all scopes
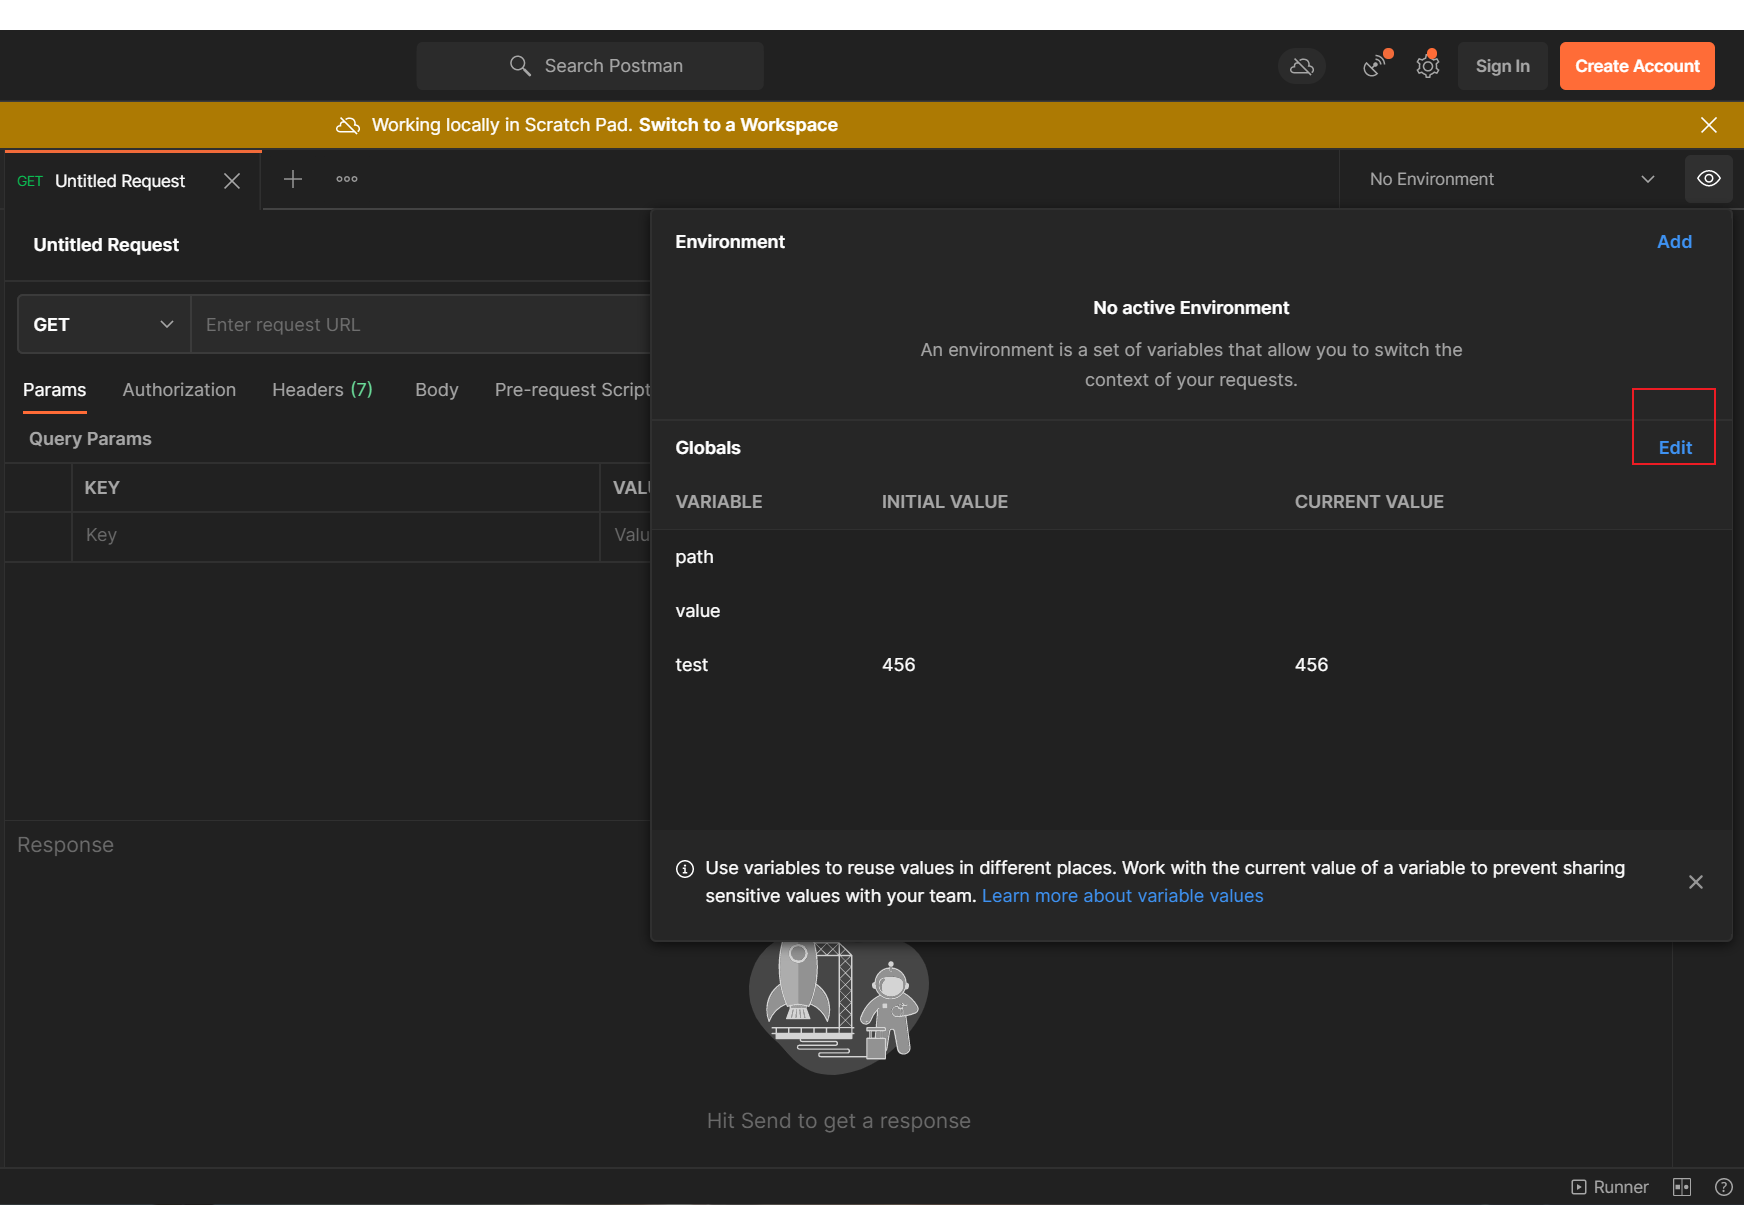
(1) Manage global variables
The management of global variables is actually the same as that of environment variables. Click the little eye and then click add or edit

Two, collection
Collections in Postman are used to store multiple requests. The meaning here is relatively easy to understand, we will not introduce it in detail, let's go directly to the topic.
Why do we use collections?
- Save the request to a collection, which can save our request in a structured way for later reuse
- It is convenient for us to form an integration test suite, similar to our Test Suite in Junit
- Facilitate the use of scripts to pass data between interfaces and build flows for actual use cases
1. Create a collection
Select [Collections] on the sidebar, it may look different depending on the version, but it is basically on the left
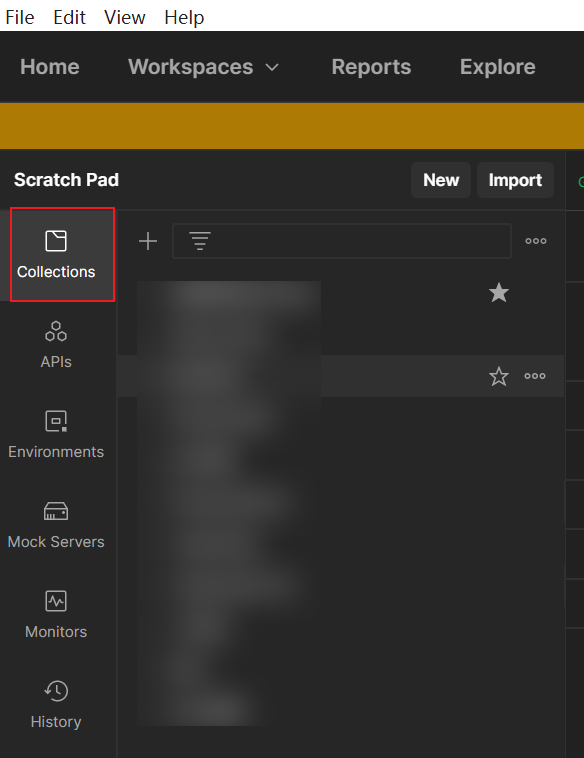
Click + or click new (you need to select Collections if you click new), and then enter the collection name

2. Save the request to the collection
This is actually very simple. When we need to save the request, click the save button or directly press Ctrl S to pop up the save pop-up window. Just select the collection to save to below.

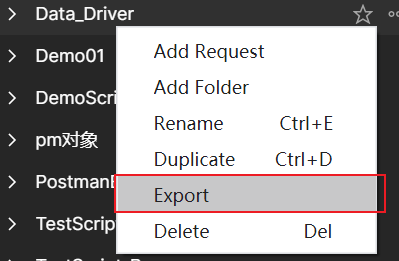
Or we can directly right-click the collection, and then click Add Request

At the same time, we can also save the previously run requests to the collection in the History on the left

We can also right-click the collection to copy the collection
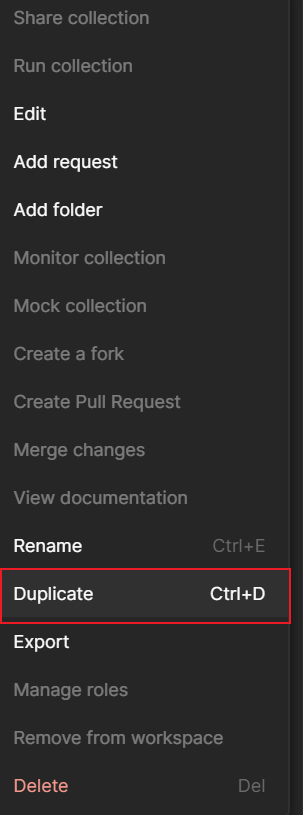
3. Sharing collection
Here we have two sharing methods, one needs to log in to the account to share online, and the other is to share by exporting a collection file. Here we only introduce the latter
Right-click the collection that needs to be shared and select Export
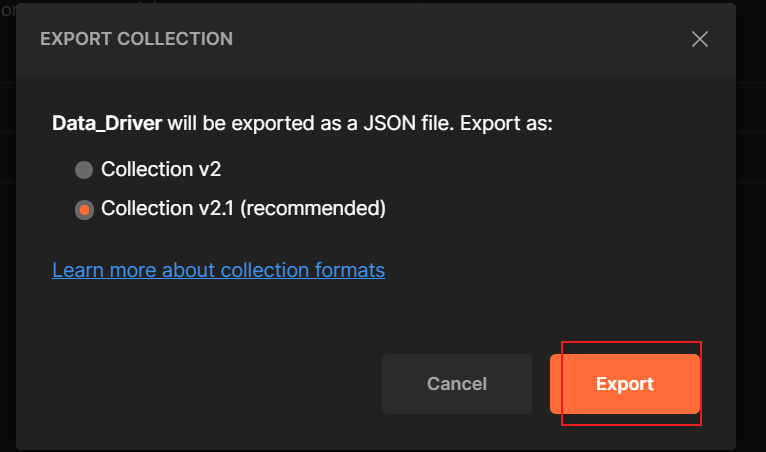
Then just export it directly
As for the import, when we created, there was an import next to new, yes, that’s right, just click it
3. Collective execution
Now that we have a collection, we need to execute it. Next, let's introduce some operations performed by the collection.
1. Set operating parameters
We can click the collection to enter the collection, and then click Run (here, the operation is different for different versions, and some versions can directly right-click the collection to run)
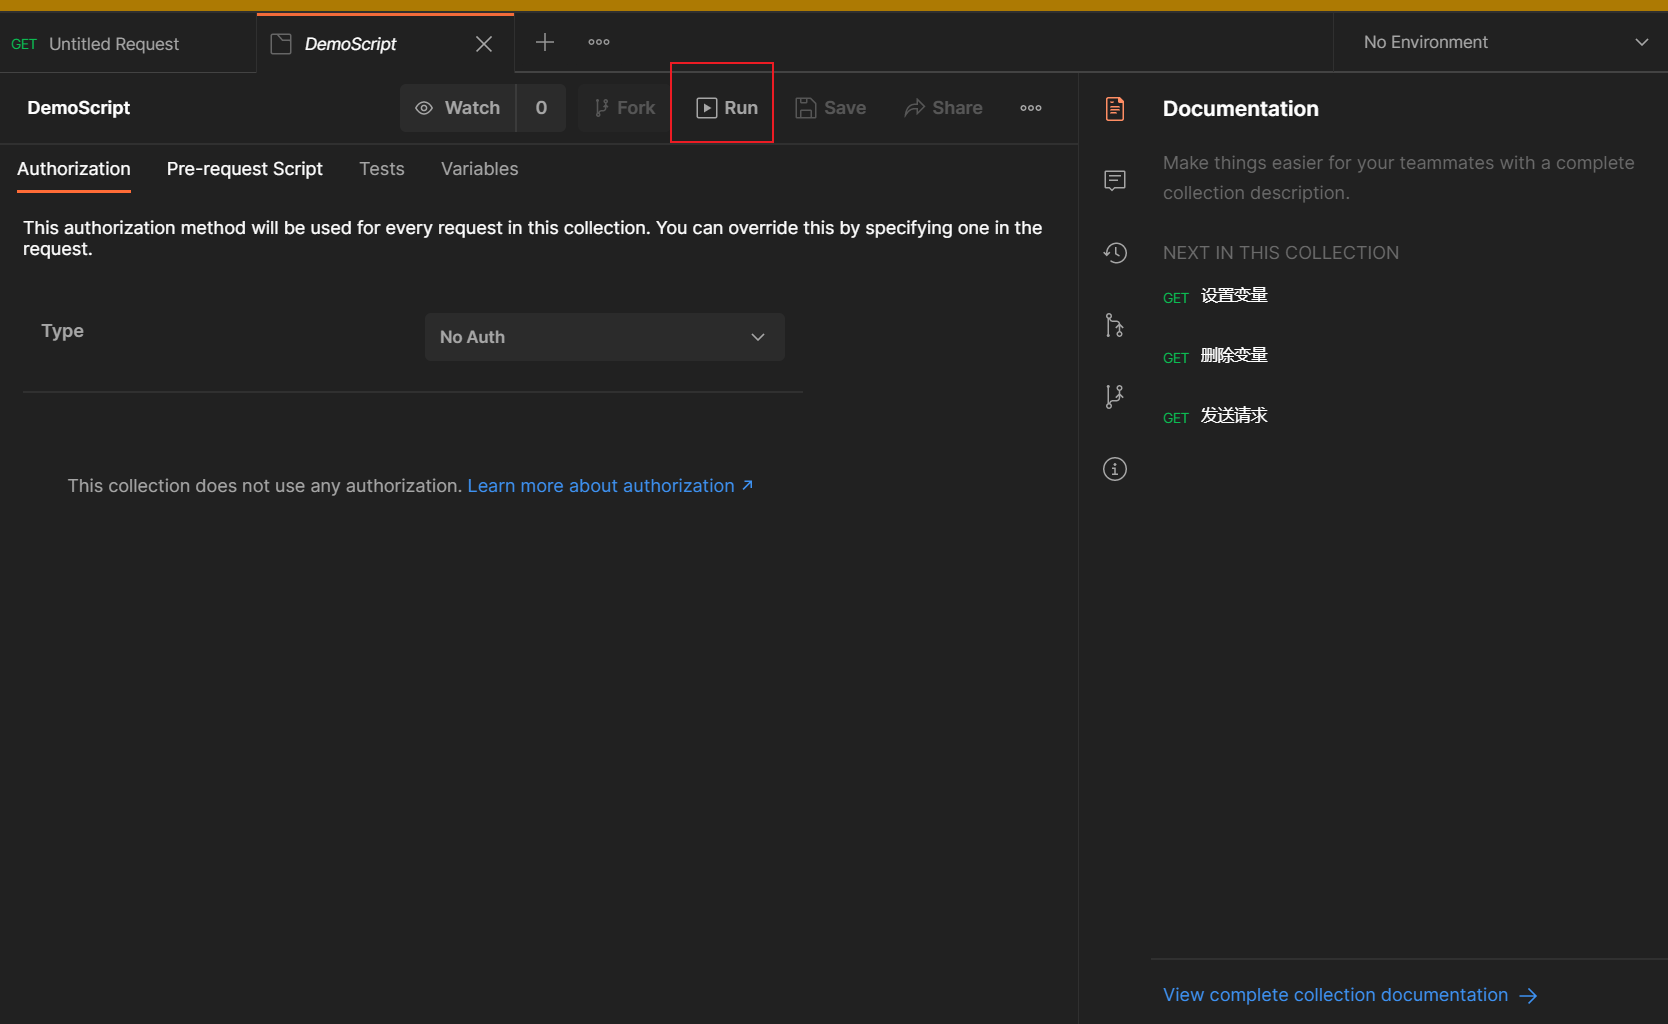

Let's introduce some parameters
First of all, the left side is to select the script we need to execute, this is not explained
Mainly we look at the right
- Environment: is to choose the environment variables we need to use
- iterations: the number of iterations, that is, the number of times our collection runs
- Delay: Set the interval between sending each request, which is easier to understand
- Data: Here is the running data file for the collection, which is generally used to set the file parameterization.
2. Using data files
Here we write an example
Request method: POST
URL:Postman
Body:
| KEY | VALUE |
|---|---|
| foo | { {value}} |
{ {value}} indicates that the variable value is referenced
Then we write scripts in Tests to set checkpoints to verify our requests
highlighter- JavaScript

var jsonData = JSON.parse(responseBody);

tests['Response has datan value'] = jsonData.form.foo === data.value
Then our parameterized file can use CSV or JSON file, here we use CSV, the CSV file is as follows
json
path,value
post,'1'
post,'2'
post,'3'
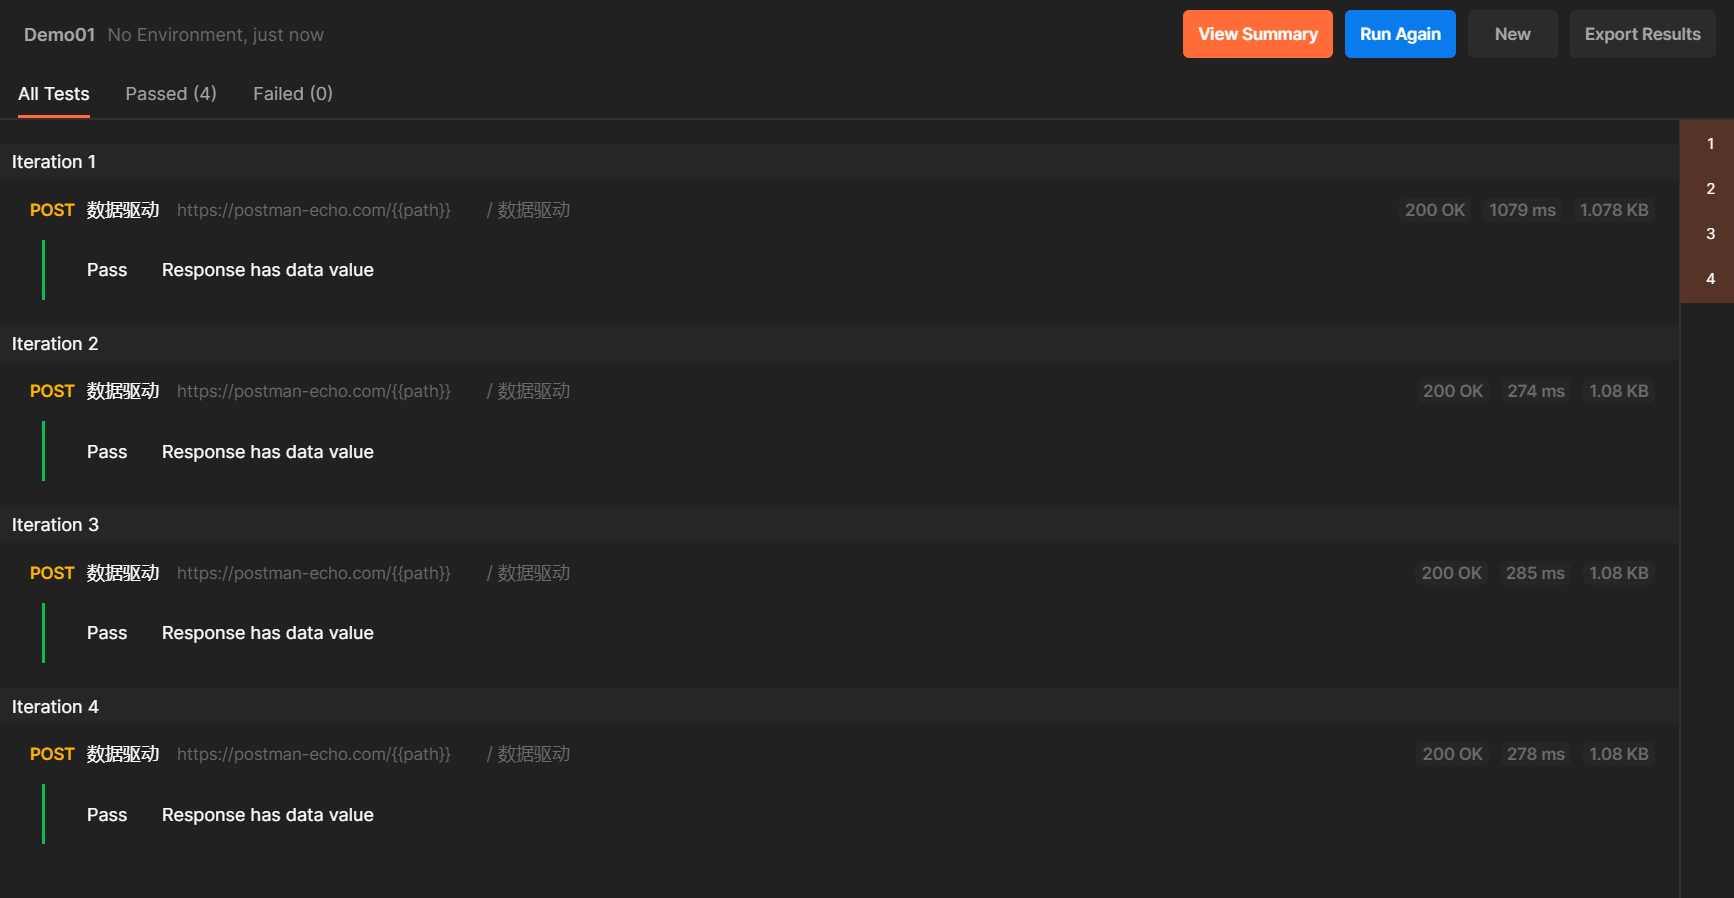
post,'4'When you create a CSV file, if it contains Chinese, you need to pay attention to our character set.
Just select the file directly on the runner interface

After selection, you can manually set the format and preview the file


Then we run, all pass (remember to check save response)

3. Create a workflow
In the collection, the execution order of each request can be controlled. Here we use the setNextRequest() method to control the next request to be executed. Let’s go directly to the example:
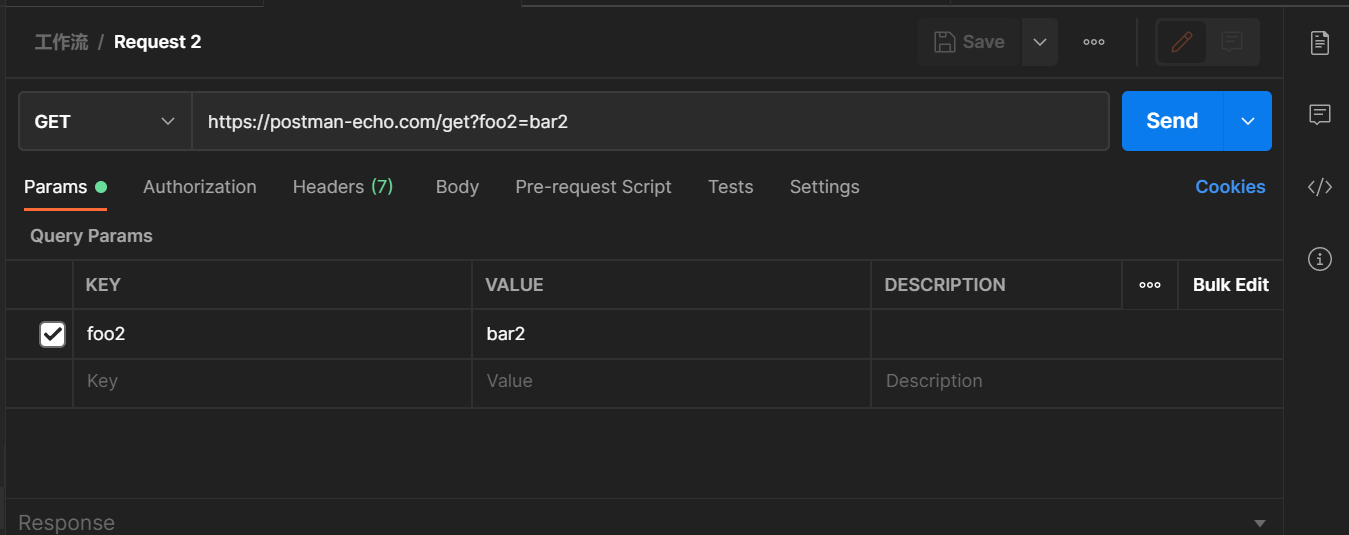
First we create four requests:
https://postman-echo.com/get?foo1=bar1
The other three parameters are foo2=bar2;foo3=bar3;foo4-bar4
Next, we write the code in the Tests requested by Request 1:
javascript

postman.setNextRequest("Request 4")
Execute the collection, we will find that after running Request 1, we will run Request 4 directly without running the two middle requests

Of course, in actual application, we will definitely not be so simple. We often use loops and branch statements to control the workflow. For example, in this example, we can make a slight modification:
javascript

if (responseCode.code === 401) {
    postman.setNextRequest("Request 4");
}
When the request reports 401, we skip the middle two requests, and if the request is 200, then execute normally.
The above is the whole content of this section. If there are any mistakes, please correct me! If the article is helpful to you, remember to like, bookmark, and pay attention. I will share some dry goods from time to time...
END Supporting Learning Resources Sharing
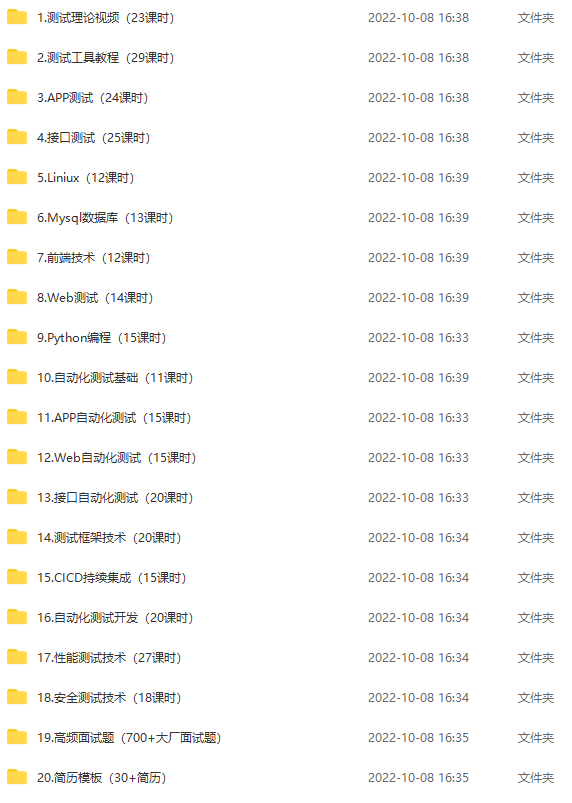
Finally: In order to give back to the die-hard fans, I have compiled a complete software testing video learning tutorial for you. If you need it, you can get it for free 【保证100%免费】
Software Testing Interview Documentation
We must study to find a high-paying job. The following interview questions are the latest interview materials from first-tier Internet companies such as Ali, Tencent, and Byte, and some Byte bosses have given authoritative answers. Finish this set The interview materials believe that everyone can find a satisfactory job.

How to obtain the full set of information: