UE Study Notes (3) Using Timeline in C++
Example: Use Timeline to create a box opening animation
Idea: Refer to the steps of using Timeline in the blueprint
ps: It is mainly used to keep your own learning records for review, and for people with a certain foundation, pure Xiaobai may be confused.
First, let's review how to use Timeline in the blueprint
- Create a Timeline node
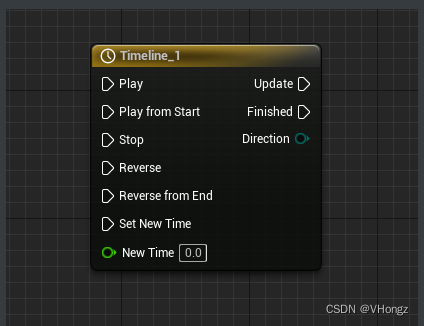
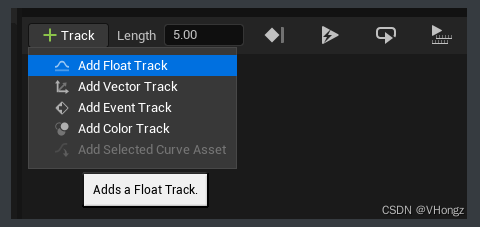
- Double-click to enter, click Track - Add Float Track
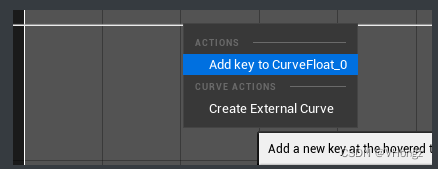
- set keyframe
- Set the curve, the horizontal axis is Time, and the vertical axis is Value. For example, I want to open the box cover 110° within 1s. The curve setting is as follows. (Right-click auto at the key to set the curve smoothing)
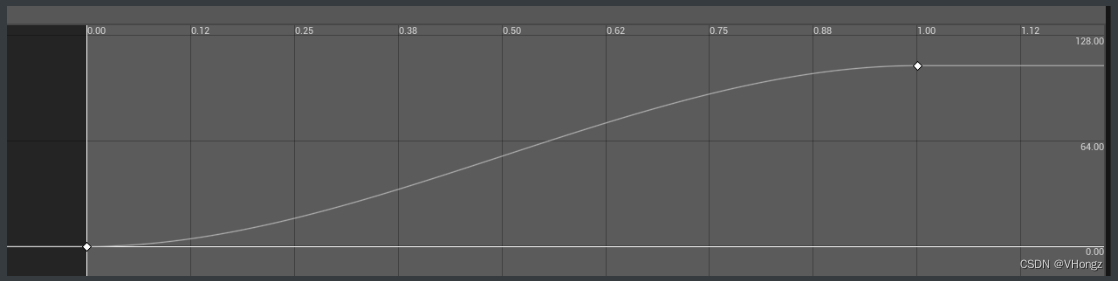
- Note that the default Timeline length is 5, that is, after the box is opened after 1 second, there are still 4 seconds of timeline running, so we need to set the length of Timeline to the last frame.

- So far, the timeline has been added and set up in the blueprint
Using Timeline in C++
C++ can be implemented using the class FTimeline. It is also possible to hang the Actor on the component UTimelineComponent in C++.
Only show part of the code related to Timeline!
Chest.h
public:
	FTimeline MyTimeline; // 声明FTimeline对象

	UPROPERTY(EditAnywhere, BlueprintReadWrite)
	UCurveFloat* Curver; // 声明曲线对象 (**)
public:
	UFUNCTION()
	void OnTimelineTick(float Output);	// Timeline 更新时调用

	UFUNCTION()
	void OnTimelineEndEvent(float Output); // Timeline 完成最后一帧后调用
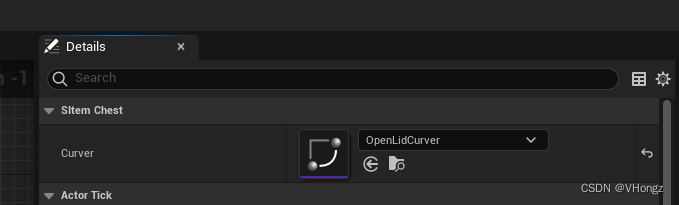
Pay attention to the comment (**) of the above code. This step is to add a curve to the blueprint of Chest. The use of the curve is step 4 of setting Timeline in the blueprint, which is to tell Timeline what is its value at a point in time
-
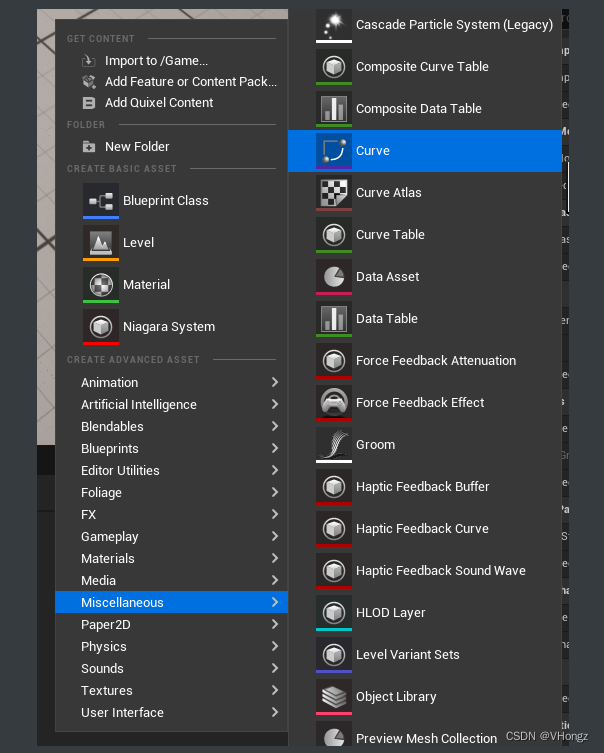
Create a Curve blueprint process
- In the Content Browser, right click and select
-
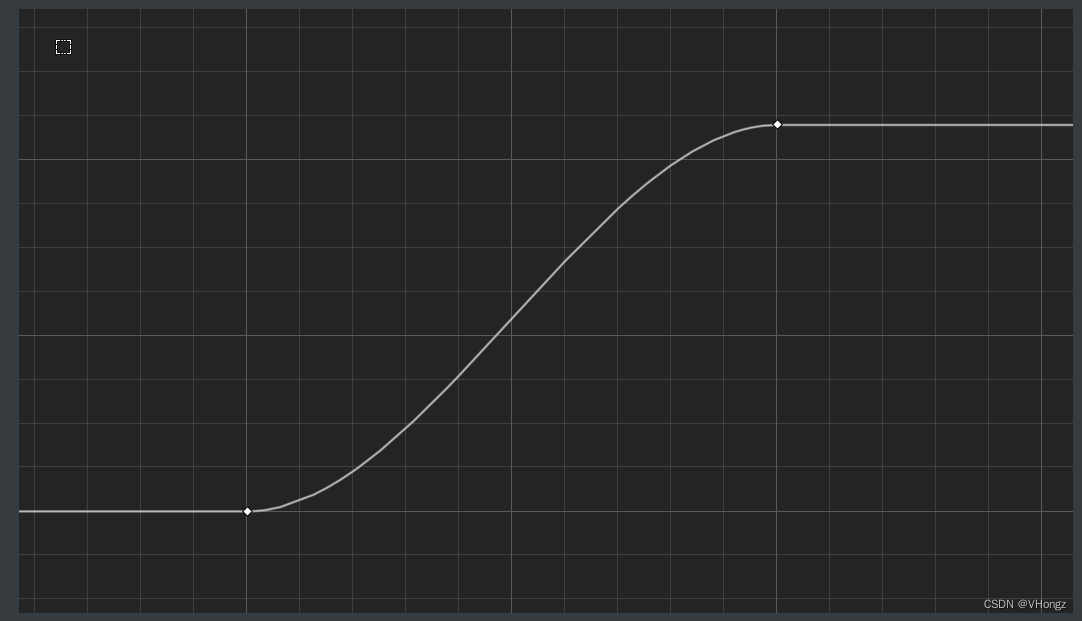
The setting steps are similar to the Timeline node of the blueprint, and the setting curve is similar
After the Curve blueprint is created, continue to write the implementation part of Chest
Chest.cpp
void AChest::BeginPlay()
{


	Super::BeginPlay();

	if (Curver)  // 判断 曲线对象 是否存在
	{


        /**
        	就像在蓝图中创建Timeline曲线一样,我们点击了 add Float Track, 所以我们曲线类型为float,所以我们使用float的曲线更新 delegate
        	FOnTimelineFloat 声明一个对象 OnTimelineFloatEvent

        	Timeline结束最后一帧后的事件,我们使用 delegate:FOnTimelineEvent 声明对象 OnTimelineFinishedEvent
        **/
		FOnTimelineFloat OnTimelineFloatEvent;
		FOnTimelineEvent OnTimelineFinishedEvent;

        // 两个 delegates 分别 绑定要执行的函数,参数 this 指代在本对象中, TEXT("") 指的是 函数名
		OnTimelineFloatEvent.BindUFunction(this, TEXT("OnTimelineTick"));
		OnTimelineFinishedEvent.BindUFunction(this, TEXT("OnTimelineEndEvent"));
        // 这一步暂时不知道怎么解释,就是Timeline添加曲线,和开始时所执行的函数
		MyTimeline.AddInterpFloat(Curver, OnTimelineFloatEvent);
        // 如同蓝图设置Timeline一样,设置Timeline的长度为最后一帧
		MyTimeline.SetTimelineLength(ETimelineLengthMode::TL_LastKeyFrame);
        // 设置Timeline结束后执行的函数
		MyTimeline.SetTimelineFinishedFunc(OnTimelineFinishedEvent);
	}
}

void AChest::Tick(float DeltaTime)
{


	Super::Tick(DeltaTime);
    /*
    	注意:这里就是FTimeline 和 UTimelineComoponent 在使用上的一个区别,FTimeline需要在Tick中设置TickTimeline为DeltaTime,否则运行不会有效果
    	而 UTimelineComponent 在其本身 TickComponent() 中,调用了 TickTimeline,所以无需这一步。
    */
	MyTimeline.TickTimeline(DeltaTime);
}

void AChest::OnTimelineTick(float Output)
{


	// ...... do something on Timeline update
}

void AChest::OnTimelineEndEvent()
{


	// ..... do something on Timeline Finished
}
ps. There is another point to pay attention to when using FTimeline and UTimelineComponent:
// 如果使用 UTimelineComponent 则需要在添加Timeline的Actor的构造函数中创建该Component
// .h:
UTimelineComponent* MyTimeline;
// .cpp:
MyTimeline = CreateDefaultSubobject<UTimelineComponent>(TEXT("Timeline"));
Finally: In the default setting of Chest Actor's blueprint panel, select the curve blueprint you created earlier