1. Enter the container
Sometimes you need to enter the container to operate, use the docker exec command, you can add many parameters after this command, we only talk about adding -i and -it parameters here.
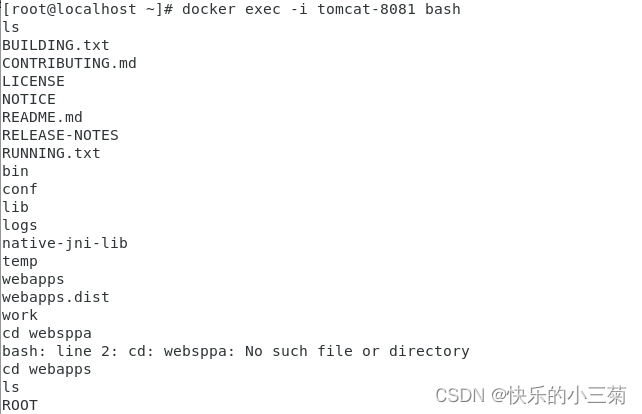
When only the -i parameter is added, since no pseudo-terminal is allocated, the interface does not have the familiar Linux command prompt, but the command execution result can still be returned. Enter the command: docker exec -i tomcat-8081 bash , as shown below:
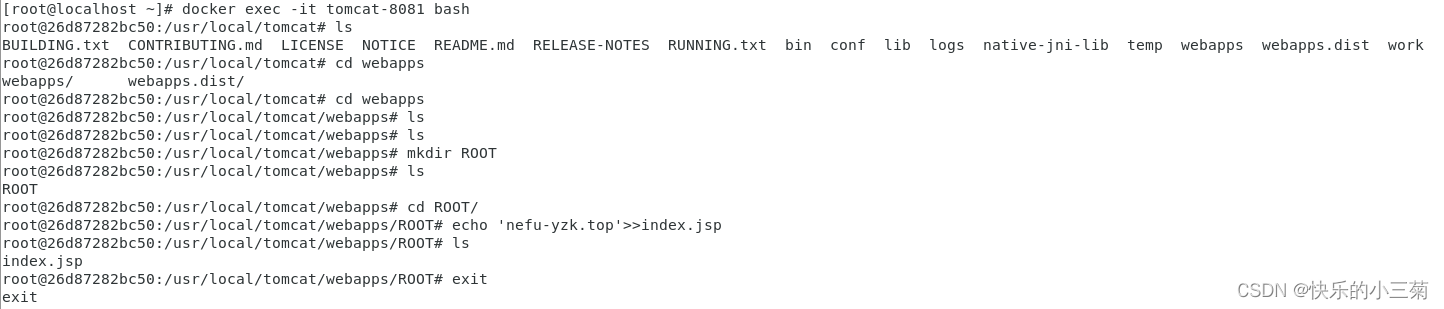
When the -it parameter is used together, you can see the familiar Linux command prompt, enter docker exec -it tomcat-8081 bash , as shown below:

Command summary:
# 命令表示进入容器  -it 的作用主要是可以看到 linux 的提示符
# 一定要注意,为了节省内存,有些 Linux 命令无法在容器内使用,如 vim,ll等
docker exec -it container_id/name bash
Enter the container, create a ROOT directory in webapps , then enter the ROOT directory, create an index page, enter echo 'nefu-yzk.top'>>index.jsp , and then you can access normally, use the exit command to exit the container internally, as follows:
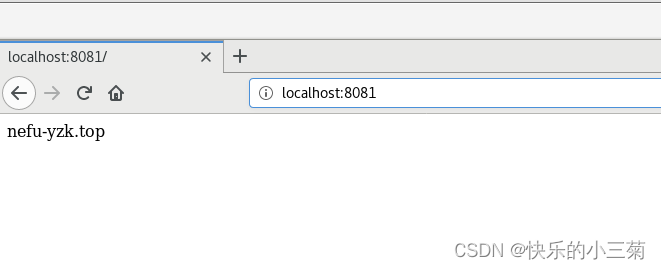
Refresh the login URL of the browser, and you can see that tomcat can be displayed normally, as shown below:
2. Exchange files between the host and the container
The usage of cp to copy files between the host and the container is as follows:
# 容器中 复制到 宿主机
docker cp [OPTIONS] CONTAINER:PATH LOCALPATH
eg:docker cp  tomcat-8081:/usr/local/tomcat/webapps/ROOT/index.jsp /root/

# 宿主机 复制到 容器中
docker cp [OPTIONS] LOCALPATH|- CONTAINER:PATH
eg:docker cp /root/index.jsp tomcat-8081:/usr/local/tomcat/webapps/ROOT/![]()
It is easier to deploy multiple projects at the same time, as follows:
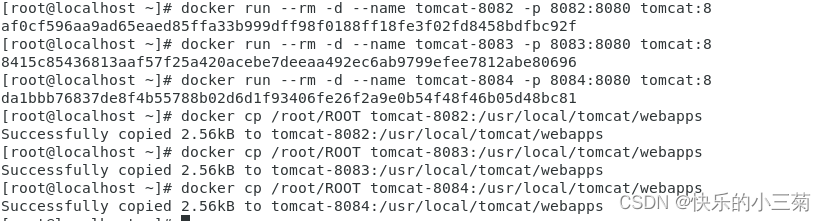
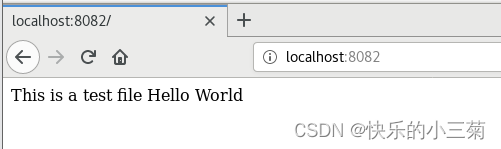
You can view the results after deployment. This piece only accesses the service on port 8082 , and you can also access other port services.