Microsoft officially does not provide installation methods such as Visual Studio 2022 for ubuntu, but Visual Studio Code does. Under Windows, it is easy to configure the C++ environment of opencv under Visual Studio 20xx. The main thing is to download a few packages, and then configure Visual Studio 20xx The reference path of some libraries in the software is fine; and when I used the cmke-gui software before configuring the C++ environment of Visual Studio Code in win10, I tossed for a long time, but the compilation was unsuccessful, so I gave up; and today under ubuntu,
only If you can install the Visual Studio Code environment, you have to use cmake-gui to compile opencv;

1. Download the Visual Studio Code installation package
You can go to Microsoft's compiler website to download the .deb installation package suitable for ubuntu , and download links for other environments such as macos or arm architecture ;
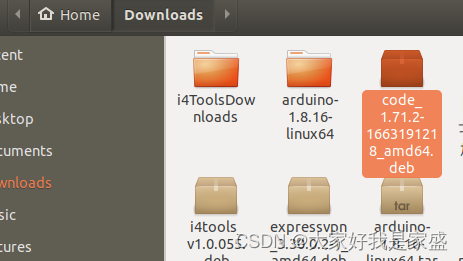
open the terminal in the folder of the installation package, and sudo dpkg -i code_1.71.2-1663191218_amd64.deb 然后等待安装成功; then search for your own app to find vscode;

2. Install OpenCV
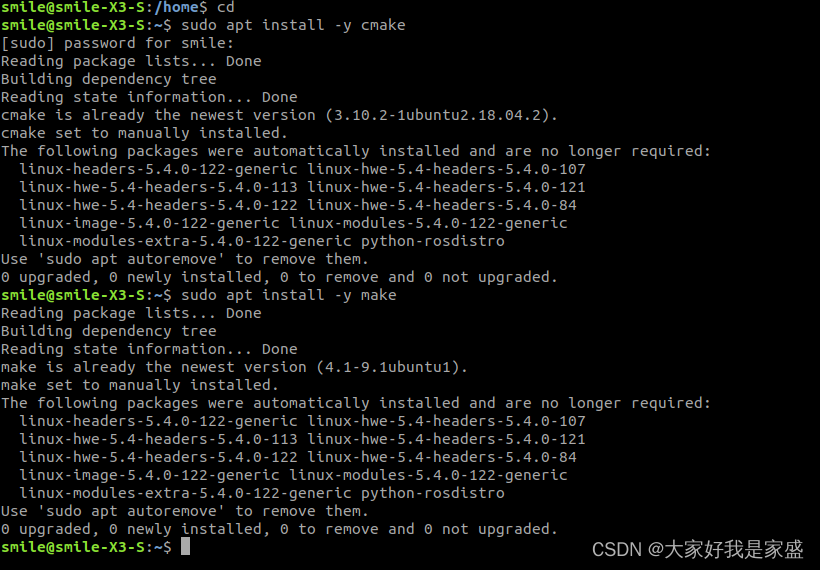
2.1 Enter the terminal and enter the following command. (i.e. use the cd command to move to your home directory and install cmake and make)
cd
sudo apt install -y cmake
sudo apt install -y make
I have installed it before, so the display is as follows:
2.2 Download OpenCV code from github
Go to the folder where you want to install opencv, open the terminal, enter
git clone https://github.com/opencv/opencv.git
(requires safe Internet access)
and then the latest opencv program will be downloaded automatically (if you want to download a specific version of opencv, you need to find the corresponding link)
smile@smile-X3-S:~/app_install$ git clone https://github.com/opencv/opencv.git
Cloning into 'opencv'...
remote: Enumerating objects: 309546, done.
remote: Counting objects: 100% (104/104), done.
remote: Compressing objects: 100% (89/89), done.
remote: Total 309546 (delta 29), reused 58 (delta 9), pack-reused 309442
Receiving objects: 100% (309546/309546), 497.41 MiB | 2.20 MiB/s, done.
Resolving deltas: 100% (215491/215491), done
After successful git clone, you should find a folder named opencv in the corresponding folder
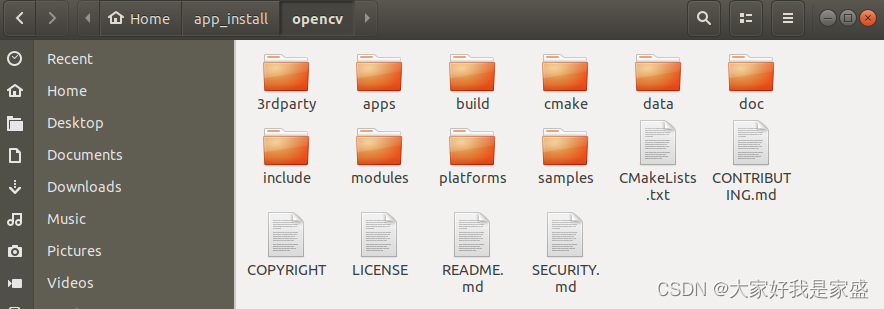
2.3 Enter the opencv folder and create a folder named build, install cmake gui
cd opencv && mkdir build
sudo apt-get install cmake-qt-gui
Then open cmake gui
cmake-gui
The whole interaction process is as follows
smile@smile-X3-S:~/app_install$ cd opencv && mkdir build
smile@smile-X3-S:~/app_install/opencv$ sudo apt-get install cmake-qt-gui
[sudo] password for smile:
Reading package lists... Done
Building dependency tree
Reading state information... Done
The following packages were automatically installed and are no longer required:
  linux-headers-5.4.0-122-generic linux-hwe-5.4-headers-5.4.0-107
  linux-hwe-5.4-headers-5.4.0-113 linux-hwe-5.4-headers-5.4.0-121
  linux-hwe-5.4-headers-5.4.0-122 linux-hwe-5.4-headers-5.4.0-84
  linux-image-5.4.0-122-generic linux-modules-5.4.0-122-generic
  linux-modules-extra-5.4.0-122-generic python-rosdistro
Use 'sudo apt autoremove' to remove them.
The following NEW packages will be installed:
  cmake-qt-gui
0 upgraded, 1 newly installed, 0 to remove and 0 not upgraded.
Need to get 1,643 kB of archives.
After this operation, 5,512 kB of additional disk space will be used.
Get:1 https://mirrors.ustc.edu.cn/ubuntu bionic-updates/universe amd64 cmake-qt-gui amd64 3.10.2-1ubuntu2.18.04.2 [1,643 kB]
Fetched 1,643 kB in 1s (2,715 kB/s)
Selecting previously unselected package cmake-qt-gui.
(Reading database ... 362934 files and directories currently installed.)
Preparing to unpack .../cmake-qt-gui_3.10.2-1ubuntu2.18.04.2_amd64.deb ...
Unpacking cmake-qt-gui (3.10.2-1ubuntu2.18.04.2) ...
Setting up cmake-qt-gui (3.10.2-1ubuntu2.18.04.2) ...
Processing triggers for desktop-file-utils (0.23-1ubuntu3.18.04.2) ...
Processing triggers for man-db (2.8.3-2ubuntu0.1) ...
Processing triggers for shared-mime-info (1.9-2) ...
Processing triggers for gnome-menus (3.13.3-11ubuntu1.1) ...
Processing triggers for hicolor-icon-theme (0.17-2) ...
Processing triggers for mime-support (3.60ubuntu1) ...
smile@smile-X3-S:~/app_install/opencv$ cmake-gui
Gtk-Message: 20:39:59.329: GtkDialog mapped without a transient parent. This is discouraged.
Gtk-Message: 20:40:20.428: GtkDialog mapped without a transient parent. This is discouraged.
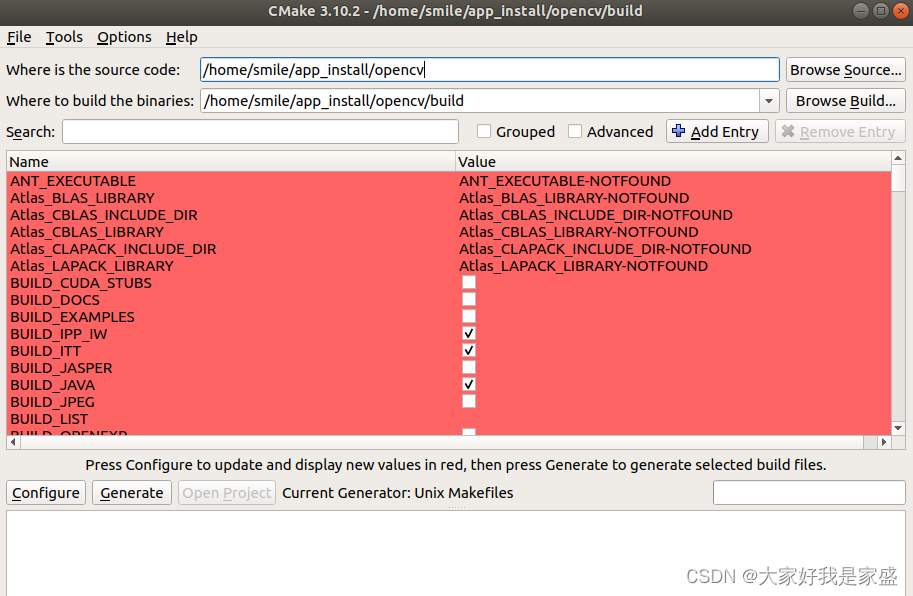
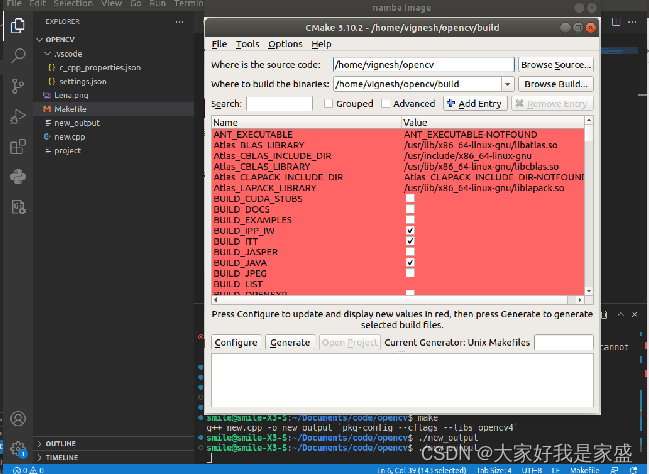
The cmake gui window will pop up. Next, we need to use this program to help us compile the opencv program we just downloaded.
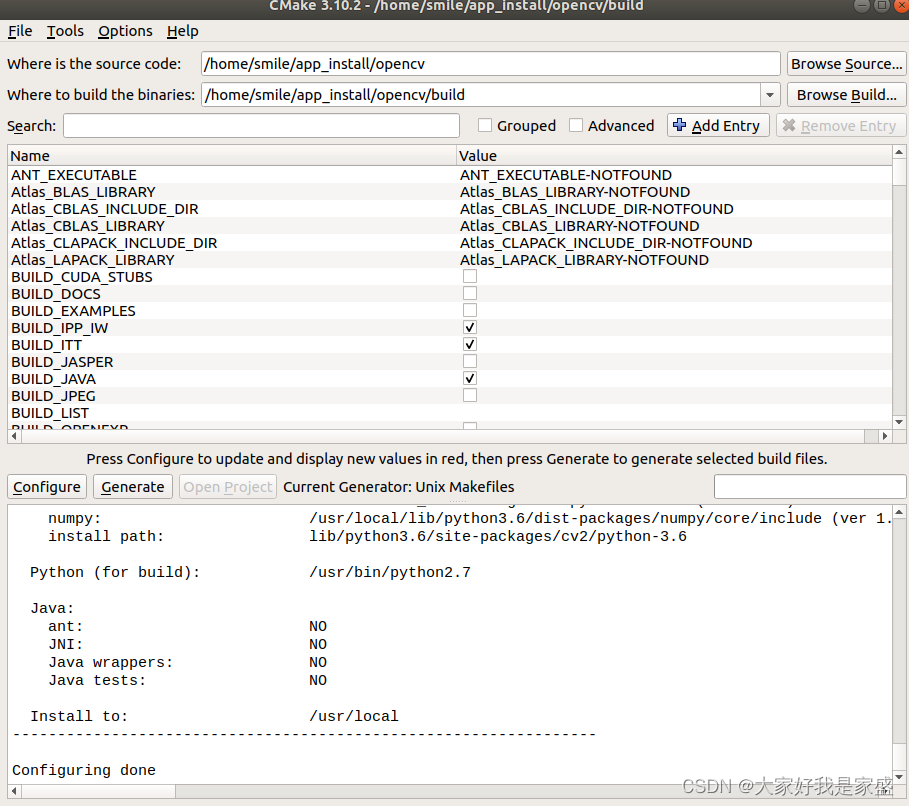
2.3.1 configure cmakegui
1. In the Where is the source code: dialog box, paste the path of your opencv file
In the Where to build the binaries: dialog box, copy and paste the path of the build directory under the opencv directory
2. Click configure to use the system yourself Your own default Unix makefile, then click finish, then click generate.
3. Go back to the terminal and move to the build folder in the opencv folder, and enter the following commands in sequence; make install is expected to take a lot of time;
cd ~/opencv/build
make -j4
sudo make install
sudo apt-get install libopencv-dev
smile@smile-X3-S:~/app_install/opencv$ cd build/
smile@smile-X3-S:~/app_install/opencv/build$ make -j4
Scanning dependencies of target opencv_highgui_plugins
Scanning dependencies of target ade
Scanning dependencies of target libopenjp2
Scanning dependencies of target libwebp
[  0%] Built target opencv_highgui_plugins
[  0%] Building CXX object CMakeFiles/ade.dir/3rdparty/ade/ade-0.1.2a/sources/ade/source/alloc.cpp.o
Scanning dependencies of target ippiw
// 中间太长了,我跳过了,就是等了十几分钟,从0%到100%编译好了;
[100%] Building CXX object modules/gapi/CMakeFiles/opencv_test_gapi.dir/test/util/variant_tests.cpp.o
[100%] Linking CXX executable ../../bin/opencv_test_gapi
[100%] Built target opencv_test_gapi
smile@smile-X3-S:~/app_install/opencv/build$ sudo apt-get install libopencv-dev
[sudo] password for smile:
Reading package lists... Done
Building dependency tree
Reading state information... Done
libopencv-dev is already the newest version (3.2.0+dfsg-4ubuntu0.1).
libopencv-dev set to manually installed.
The following packages were automatically installed and are no longer required:
  linux-headers-5.4.0-122-generic linux-hwe-5.4-headers-5.4.0-107 linux-hwe-5.4-headers-5.4.0-113 linux-hwe-5.4-headers-5.4.0-121 linux-hwe-5.4-headers-5.4.0-122 linux-hwe-5.4-headers-5.4.0-84
  linux-image-5.4.0-122-generic linux-modules-5.4.0-122-generic linux-modules-extra-5.4.0-122-generic python-rosdistro
Use 'sudo apt autoremove' to remove them.
0 upgraded, 0 newly installed, 0 to remove and 0 not upgraded.
smile@smile-X3-S:~/app_install/opencv/build$ sudo make install
[  1%] Built target ade
[  1%] Built target opencv_highgui_plugins
[  8%] Built target libwebp
// 中间太长了,我跳过了,就是等了十几分钟,从0%到100%编译好了;
-- Installing: /usr/local/bin/opencv_model_diagnostics
-- Set runtime path of "/usr/local/bin/opencv_model_diagnostics" to "/usr/local/lib"
4. After completing the above steps, it is now time to check if the installation was successful. This can pkg-config --modversion opencvbe done using the command

3. Use Visual Studio Code to configure OpenCV under ubuntu
1. Open Visual Studio Code -> File in the upper left corner -> open a new window new window -> click New File to create a new folder (such as project) -> create a new cpp file (such as new.cpp)
File in the upper left corner -> open a new window new window
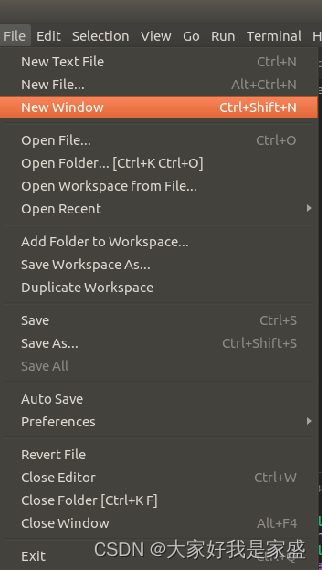
Click New File to create a new folder (such as project) and then 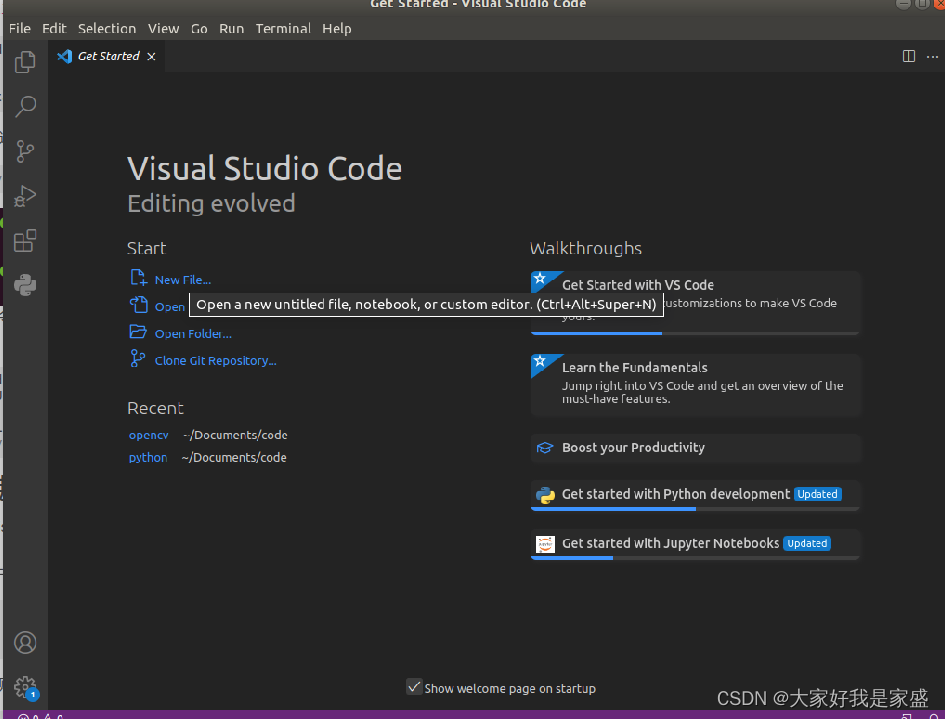

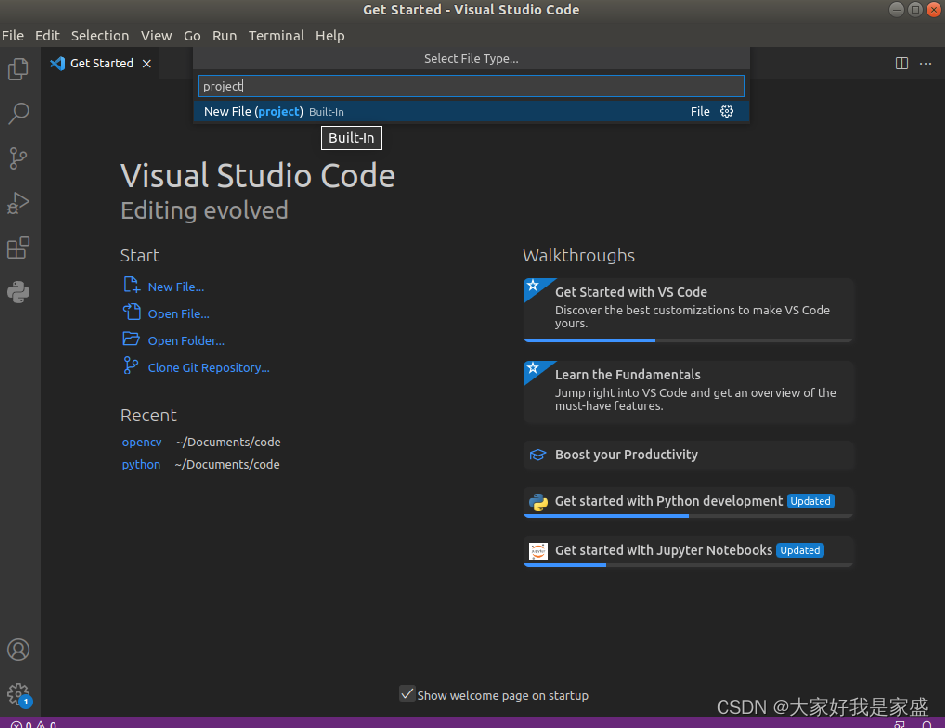
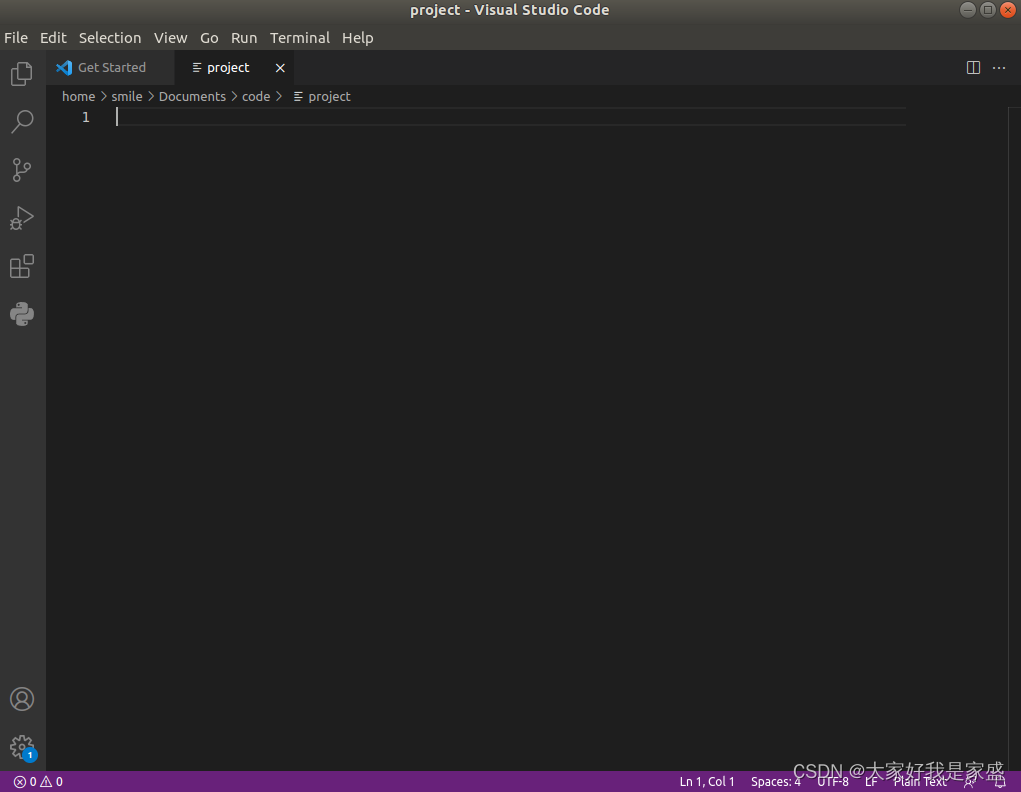
choose which path to put the following project in the computer After
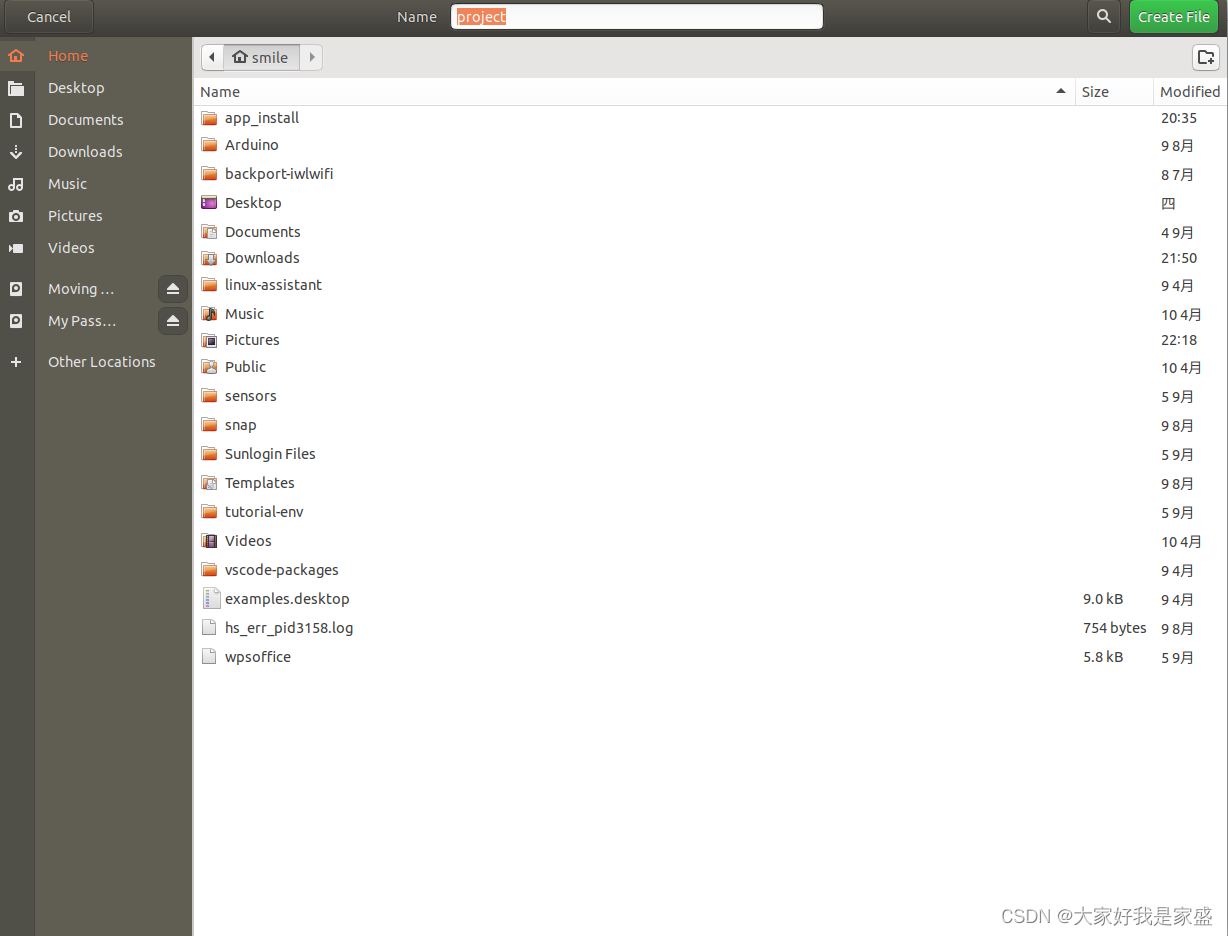
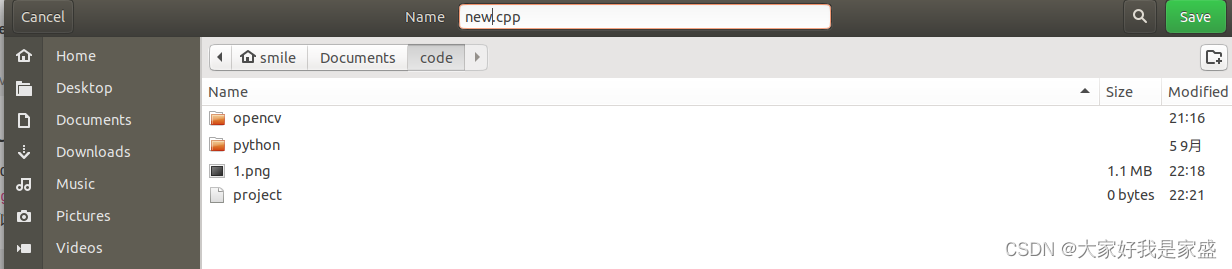
selecting the location, click create file in the upper right corner, and then pop up The following interface
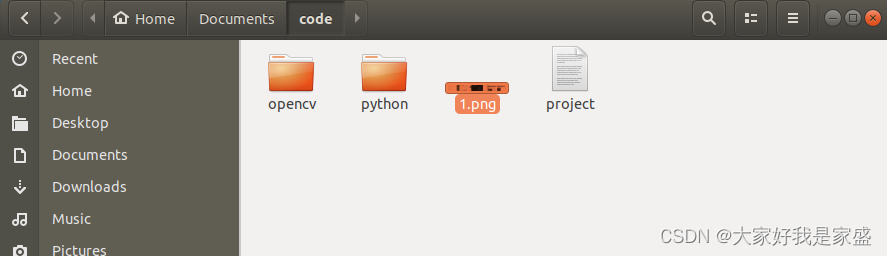
2. Just find a picture (such as 1.jpg) and copy and paste it into the new folder you created.
Click File -> new text file in the upper left corner 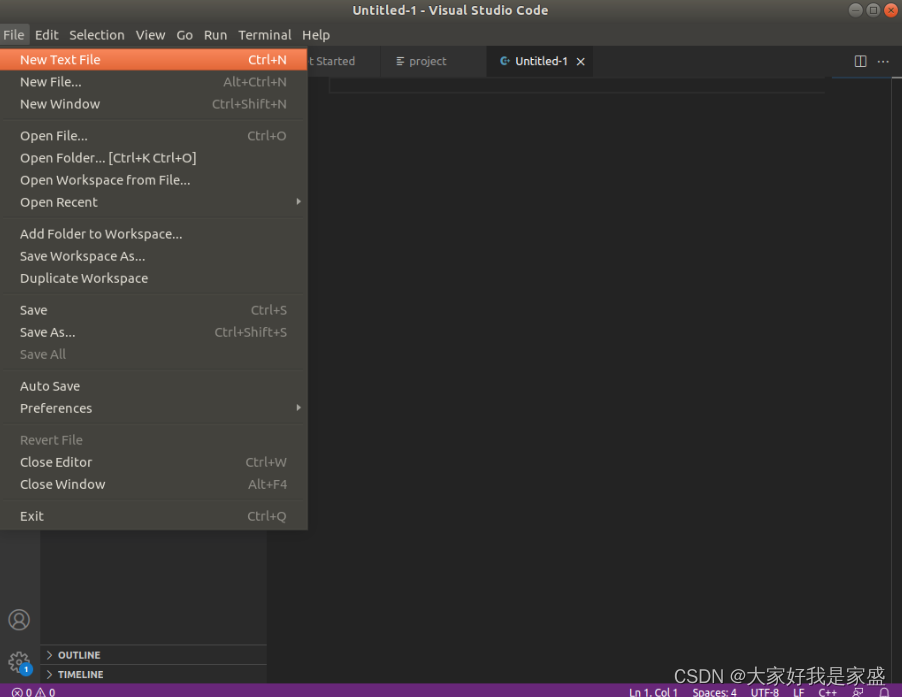
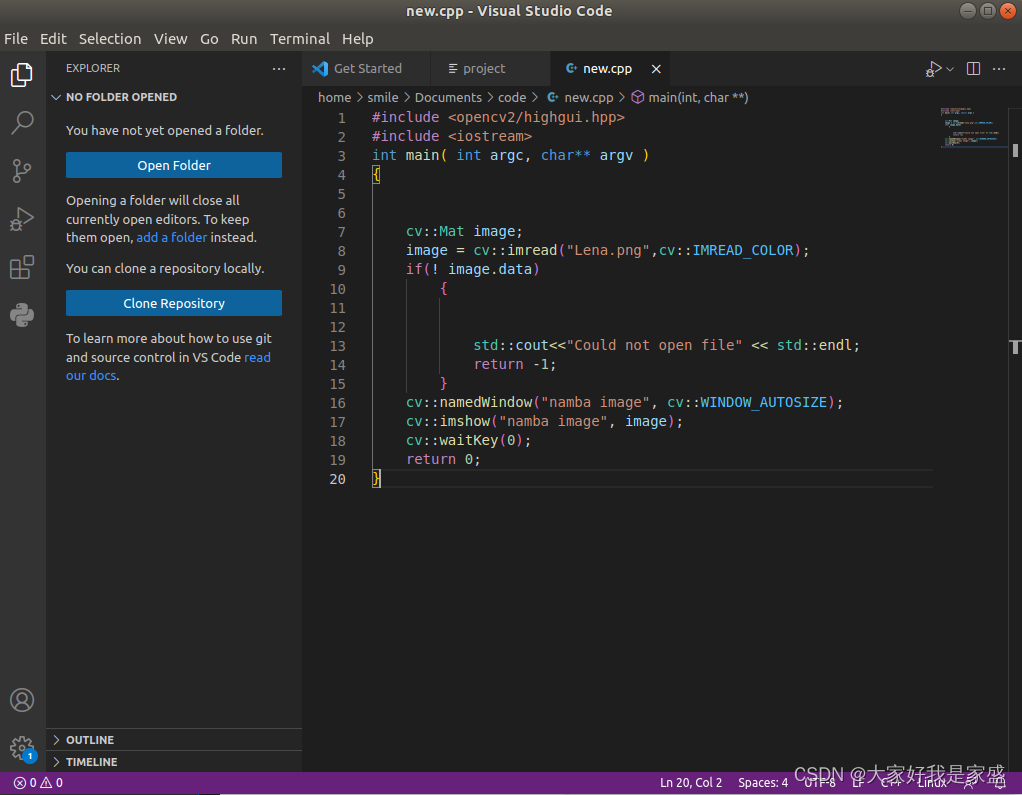
and copy the C++ code for opening a picture in opencv into it.
#include <opencv2/highgui.hpp>
#include <iostream>
int main( int argc, char** argv )
{


    cv::Mat image;
    image = cv::imread("Lena.png",cv::IMREAD_COLOR);
    if(! image.data)
        {


            std::cout<<"Could not open file" << std::endl;
            return -1;
        }
    cv::namedWindow("namba image", cv::WINDOW_AUTOSIZE);
    cv::imshow("namba image", image);
    cv::waitKey(0);
    return 0;
}
Then press ctrl + s to save this new code text as new.cpp
The folder structure should be similar to the following
project
|--new.cpp
|--1.png
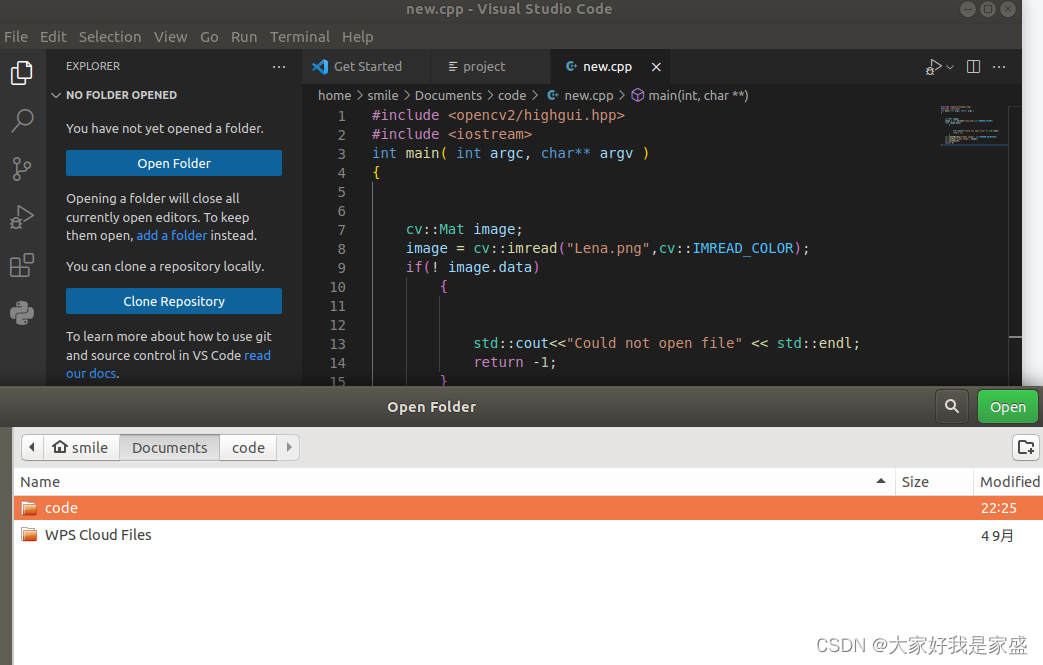
If you can't see it, then you click open floder, and then reopen the folder where the code is placed
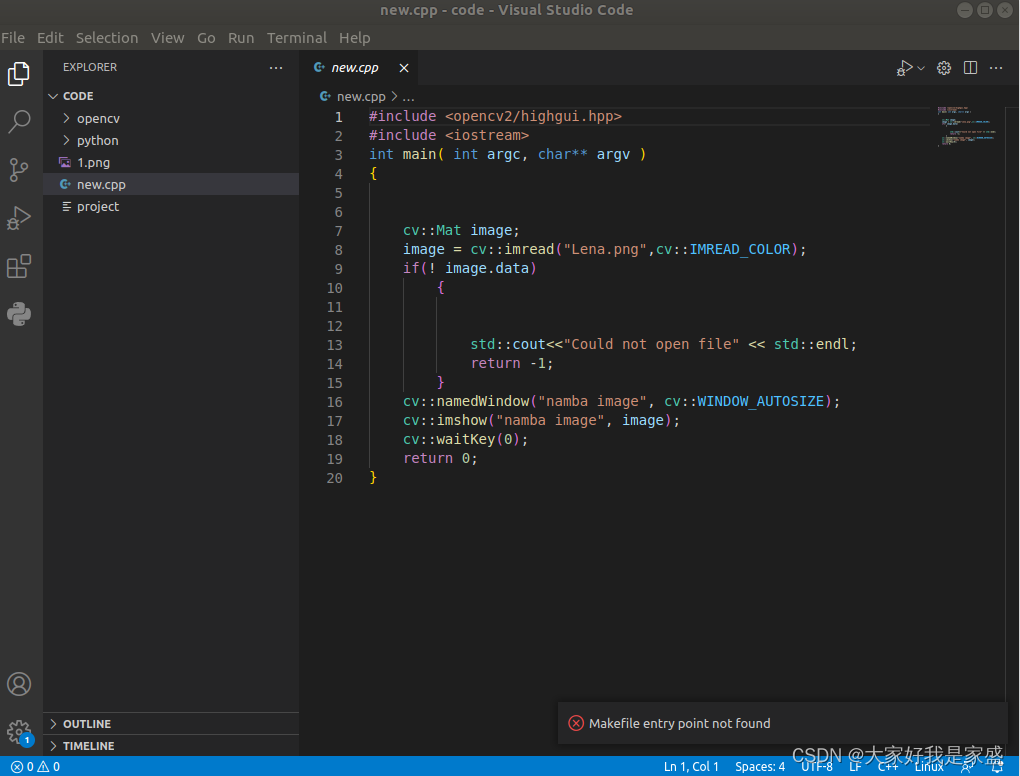
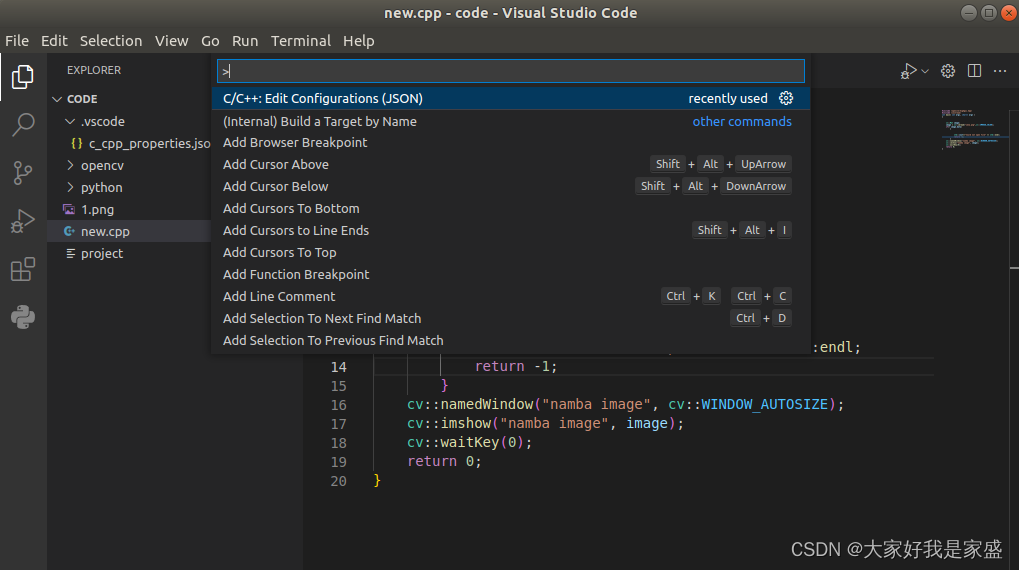
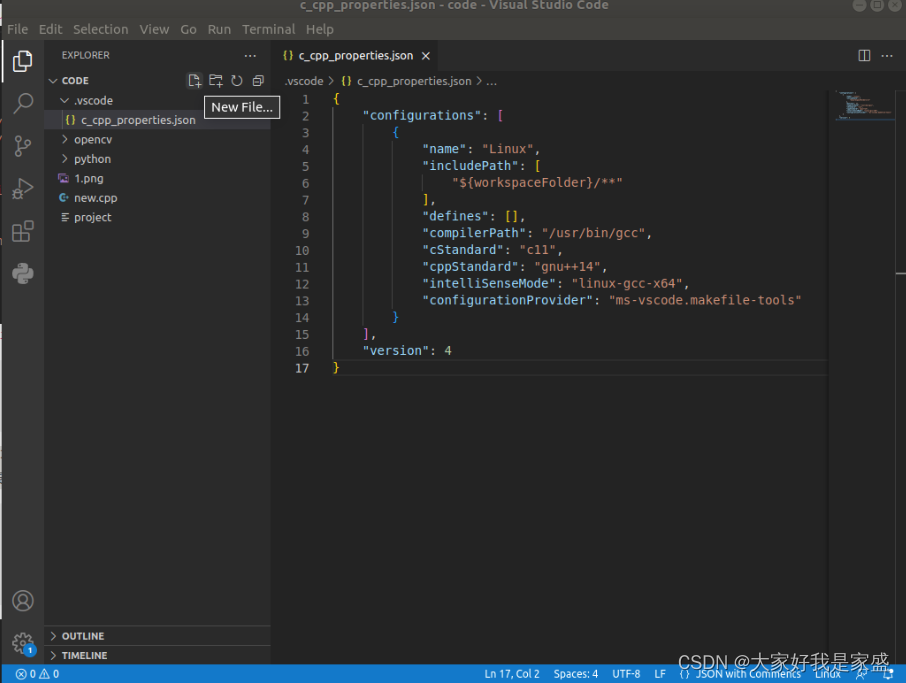
3. Open the new.cpp file and press ctrl+shift+p, which will open the command tray, and select C/C++ in it: Edit Configurations( JSON) Open c_cpp_properties.json as shown below
4. Edit IncludePath in c_cpp_properties.json to add /usr/local/include/opencv4/**
{


    "configurations": [
        {


            "name": "Linux",
            "includePath": [
                "/usr/local/include/opencv2**"
            ],
            "defines": [],
            "compilerPath": "/usr/bin/gcc",
            "cStandard": "c11",
            "cppStandard": "gnu++14",
            "intelliSenseMode": "linux-gcc-x64"
        }
    ],
    "version": 4
}
As shown in the figure below 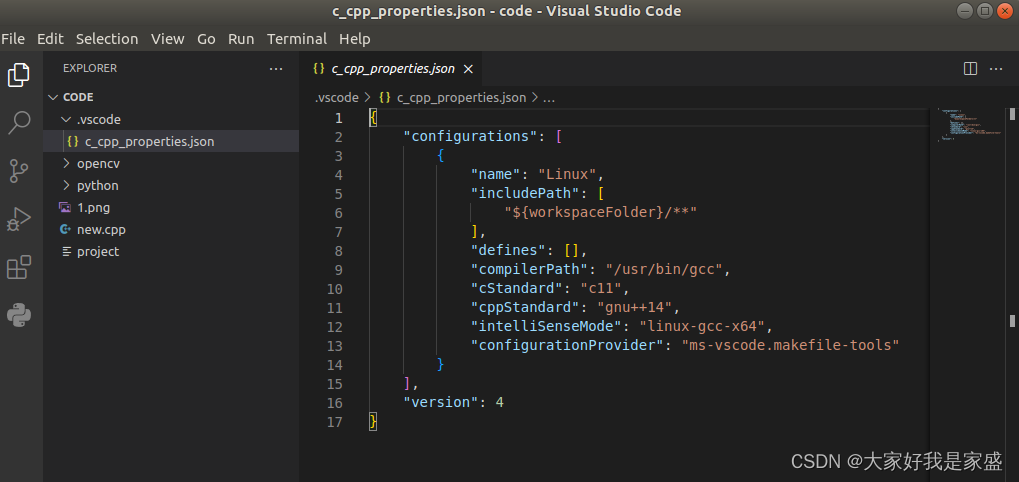
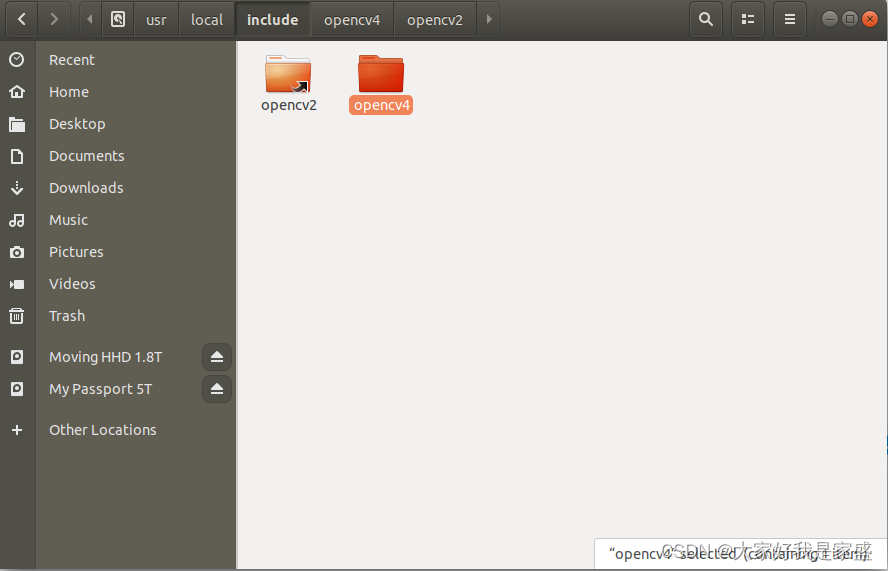
, if an error is reported: 致命错误: opencv2/core.hpp:没有这样的文件或目录”
the main reason is that there is a problem with the opencv4 folder
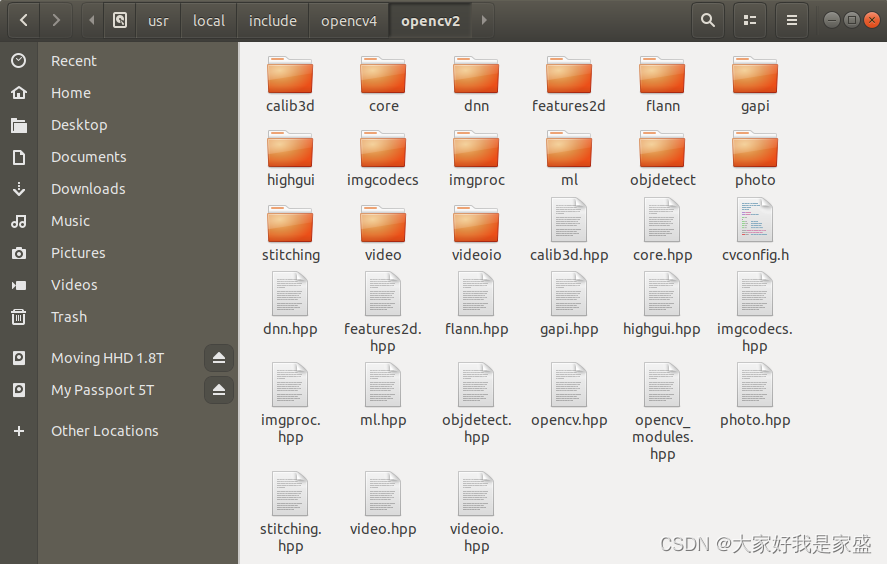
Solution: Copy /usr/include/opencv4 to /usr/include/opencv2
sudo ln -s /usr/local/include/opencv4/opencv2/ /usr/local/include/opencv2
If an error is reported: error while loading shared libraries: libopencv_highgui.so.406: cannot open shared object file: No s
error while loading shared libraries: It means that there is a problem with the shared library.
Check the dynamic library (shared library) configuration file
sudo gedit /etc/ld.so.conf
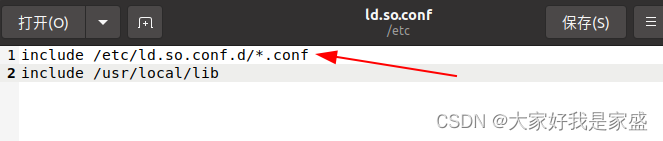
Then update
sudo ldconfig
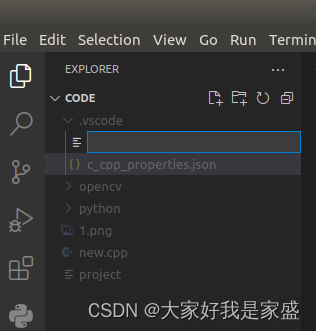
5. Now create another file and name it Makefile, our folder structure should look like the code snippet below
Top Left Click on File +
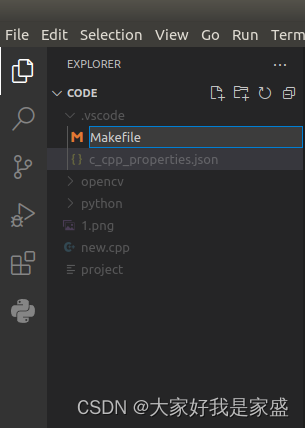
project
|--new.cpp
|--1.png
|--Makefile
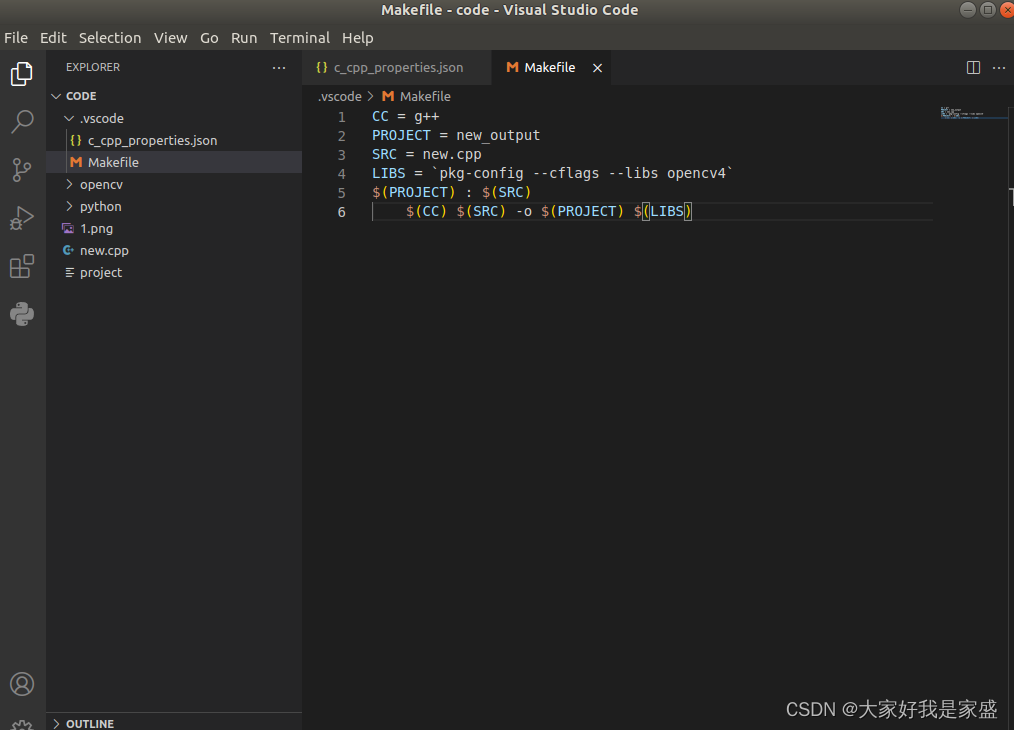
Type the following code in the Makefile. It is best to type the code below rather than copy and paste as this may cause errors.
(Note: When entering the command, make sure the last line starts with a tab and not four spaces)
CC = g++
PROJECT = new_output
SRC = new.cpp
LIBS = `pkg-config --cflags --libs opencv4`
$(PROJECT) : $(SRC)
	$(CC) $(SRC) -o $(PROJECT) $(LIBS)
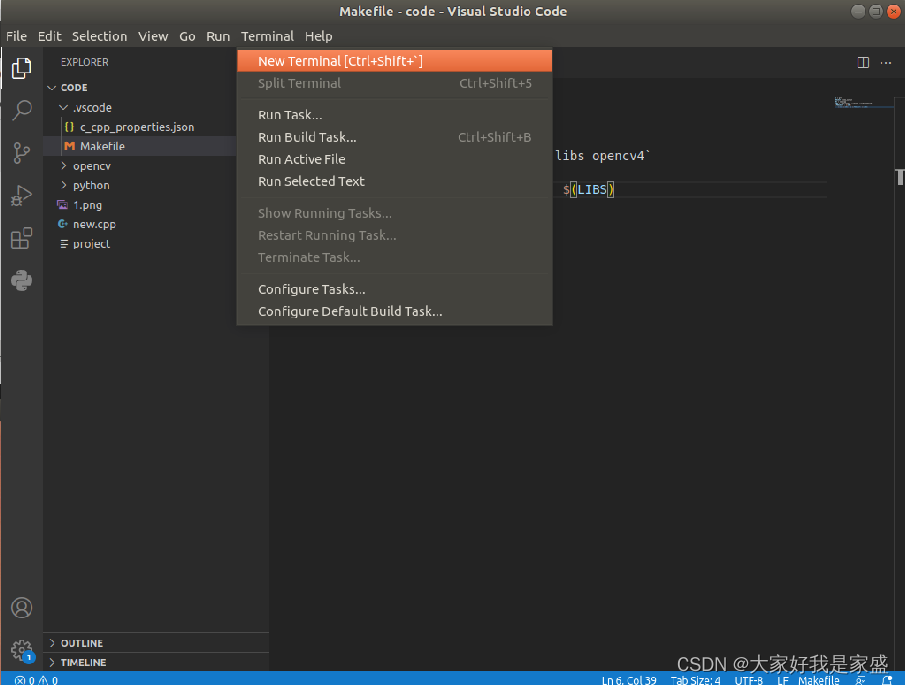
6. Now type make in the terminal in VS Code. This should give you an executable named new_output
Create one if you don't have a terminal:
Note here that the Makefile must be placed in the same file as the code, otherwise an error will be reported
smile@smile-X3-S:~/Documents/code$ make
make: *** No targets specified and no makefile found.  Stop.