Scheduled automatic backup of SQL Server database
Step 1: Open the "sqlserver configuration management tool"

Step 2: Open sql server proxy and tcp


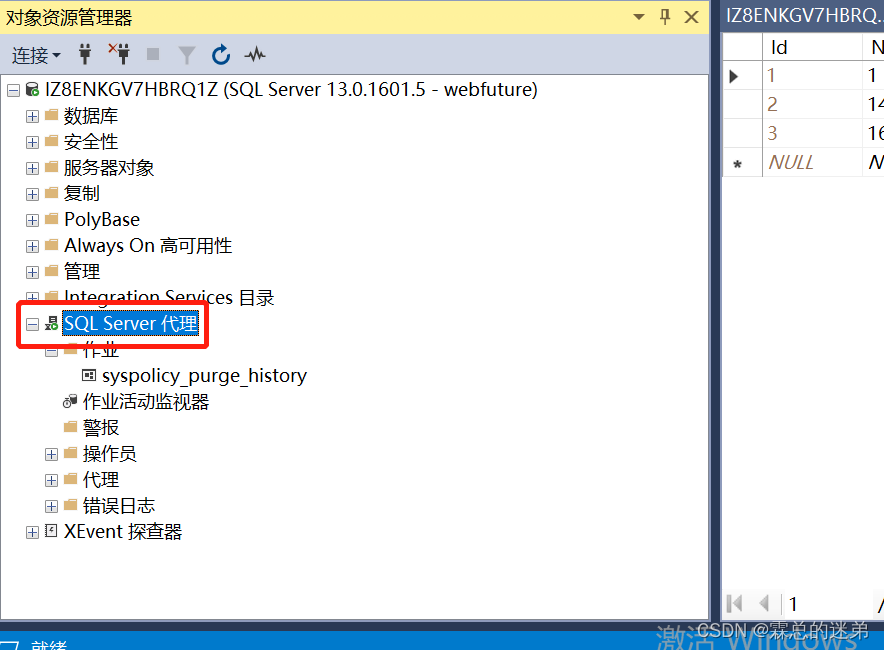
Step 3: Log in to sqlserver and find "SQL Server Agent"

Step 4: If "SQL Sever Agent" is disabled, (you can skip this step if it is not disabled)

Execute the following script under the master database:
sp_configure 'show advanced options', 1;
GO
RECONFIGURE;
GO
sp_configure 'Agent XPs', 1;
GO
RECONFIGURE
GO
As shown below:

Step 5: Check the icon in front of "SQL Server Agent" to confirm that the agent is enabled, and if SQL Server is not enabled, right-click to open the start button. Turn on the proxy.
Step 6: Perform automatic backup: Click Jobs under SQL Server Agent. Right-click New Job. As shown in the figure: Name: It is generally recommended to use the same name as the database.

Don’t be in a hurry to confirm, first click "Step-New"
Step name: The name is generally the same as the database name
Database (D): Select the database to be backed up
Command (M): The following code, where the red part is consistent with the database to be backed up. The blue part is the path saved by the backup (it is recommended to manually back up the path first to ensure that the path backup is correct)
declare @name varchar(250)set@name=' D:\ database daily backup \SmartGovPortall1 \ SmartGovPortal _'+convert(varchar(50),getdate(),112)+'.bak'
BACKUP DATABASE [SmartGovPortal] TO
DISK=@name
WITH NOFORMAT,NOINIT,
NAME=N'SmartGovPortal -Full Database Backup',SKIP,NOREWIND,NOUNLOAD

After clicking OK, click "Plan - New"
Name: custom name: generally the same as the database name
Occurs: set to backup every day
Occurs every: Set to execute every hour

After setting, you can view the backup file with the suffix .bak in the backup address
