This series records the deployment and system construction of deep learning architectures such as CUDA+cudnn+pytorch+YOLOv5+tensorrt on win10 step by step. Welcome to follow up!
Table of contents
1.2.1 Correspondence between graphics card driver and cuda:
1.2.2 Correspondence between pytorch and cuda
2.1. Visit CUDA official website and configure your own download and installation package
2.3. Configure environment variables (this step is necessary if you want to use CUDA in VS)
3.2. View the configuration of CUDA environment variables
0. Understand CUDA
CUDA (Compute Unified Device Architecture) is a general-purpose computing architecture developed by Nvidia based on its own graphics card, based on a new parallel programming model and instruction set architecture, allowing users to make full use of the GPU of the N card to perform complex and efficient parallel computing. Such as deep learning.
1. Precautions
1.1 Graphics card driver
Right-click on the blank space on the desktop to open the NVDIA control panel, and check whether the version and graphics card model of the control panel shown in the figure below appear. If so, it means that the graphics card driver is installed.
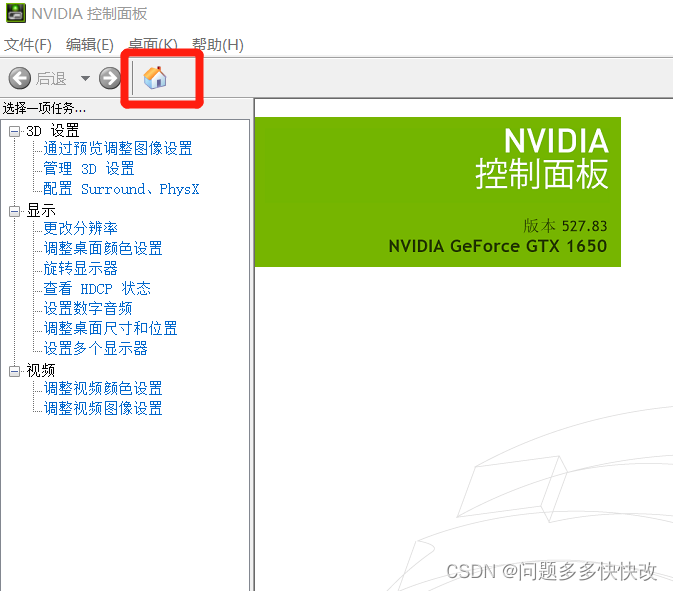
If not, you need to install it. The download method is as follows:
NVIDIA driver download ![]() https://www.nvidia.cn/Download/index.aspx?lang=cn
https://www.nvidia.cn/Download/index.aspx?lang=cn
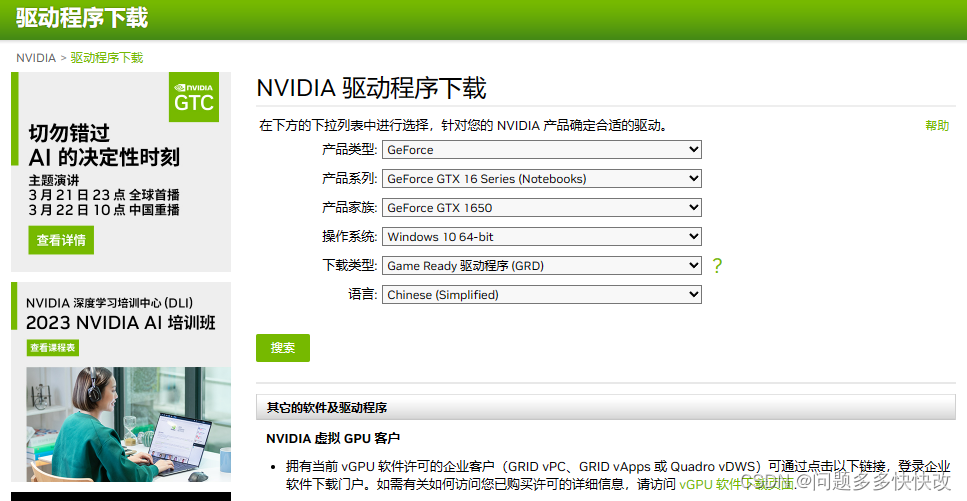 Select a driver that is compatible with the server graphics card. For the installation guide, refer to the NVIDIA graphics card driver.
1.2 Determining relevance
CUDA is mostly used in deep learning scenarios, so there is a high probability that the deployment of deep learning frameworks such as cudnn and pytorch cannot be avoided, so you must pay attention. As the saying goes, "your cuda is not only for your graphics card, but also for cudnn and pytorch. ", this is because cuda can't just download the latest version at a glance, but depends on the correspondence between your graphics card driver and cuda, pytorch and cuda:
1.2.1 Correspondence between graphics card driver and cuda:
Generally, the driver version determines the upper limit of the CUDA version that can be used. For example, the new version of the graphics card driver can support the old CUDA runtime. However, old graphics cards may not be able to be updated to the latest graphics card drivers. For example, Fermi graphics cards can only be installed with 391 drivers, so only CUDA9.1 can be used. In addition, the graphics card hardware is related to CUDA compute capability. Of course, streaming multiprocessor can also be specified during compilation. The new architecture supports more features.
It is worth noting that each version of the graphics card driver has a corresponding CUDA Driver Version. The graphics card model and CUDA Driver Version model can be viewed through nvidia-smi, and CUDA is backward compatible . In my case, versions below 12.1 can be installed:

See more version relations here:
| CUDA Toolkit | Linux x86_64 Driver Version | Windows x86_64 Driver Version |
|---|---|---|
| CUDA 11.6 Update 2 | >=510.47.03 | >=511.65 |
| CUDA 11.6 Update 1 | >=510.47.03 | >=511.65 |
| CUDA 11.6 GA | >=510.39.01 | >=511.23 |
| CUDA 11.5 Update 2 | >=495.29.05 | >=496.13 |
| CUDA 11.5 Update 1 | >=495.29.05 | >=496.13 |
| CUDA 11.5 GA | >=495.29.05 | >=496.04 |
| CUDA 11.4 Update 4 | >=470.82.01 | >=472.50 |
| CUDA 11.4 Update 3 | >=470.82.01 | >=472.50 |
| CUDA 11.4 Update 2 | >=470.57.02 | >=471.41 |
| CUDA 11.4 Update 1 | >=470.57.02 | >=471.41 |
| CUDA 11.4.0 GA | >=470.42.01 | >=471.11 |
| CUDA 11.3.1 Update 1 | >=465.19.01 | >=465.89 |
| CUDA 11.3.0 GA | >=465.19.01 | >=465.89 |
| CUDA 11.2.2 Update 2 | >=460.32.03 | >=461.33 |
| CUDA 11.2.1 Update 1 | >=460.32.03 | >=461.09 |
| CUDA 11.2.0 GA | >=460.27.03 | >=460.82 |
| CUDA 11.1.1 Update 1 | >=455.32 | >=456.81 |
| CUDA 11.1 GA | >=455.23 | >=456.38 |
| CUDA 11.0.3 Update 1 | >= 450.51.06 | >= 451.82 |
| CUDA 11.0.2 GA | >= 450.51.05 | >= 451.48 |
| CUDA 11.0.1 RC | >= 450.36.06 | >= 451.22 |
| CUDA 10.2.89 | >= 440.33 | >= 441.22 |
| CUDA 10.1 (10.1.105 general release, and updates) | >= 418.39 | >= 418.96 |
| CUDA 10.0.130 | >= 410.48 | >= 411.31 |
| CUDA 9.2 (9.2.148 Update 1) | >= 396.37 | >= 398.26 |
| CUDA 9.2 (9.2.88) | >= 396.26 | >= 397.44 |
| CUDA 9.1 (9.1.85) | >= 390.46 | >= 391.29 |
| CUDA 9.0 (9.0.76) | >= 384.81 | >= 385.54 |
| CUDA 8.0 (8.0.61 GA2) | >= 375.26 | >= 376.51 |
| CUDA 8.0 (8.0.44) | >= 367.48 | >= 369.30 |
| CUDA 7.5 (7.5.16) | >= 352.31 | >= 353.66 |
| CUDA 7.0 (7.0.28) | >= 346.46 | >= 347.62 |
1.2.2 Correspondence between pytorch and cuda
The correspondence between pytorch and cuda is as follows:
官网:Previous PyTorch Versions | PyTorch
CUDA Toolkit版本及可用PyTorch对应关系总结(参考官网)
| CUDAToolkit版本 | 可用PyTorch版本 |
|---|---|
| 7.5 | 0.4.1 ,0.3.0, 0.2.0,0.1.12-0.1.6 |
| 8.0 | 1.1.0,1.0.0 ,0.4.1 |
| 9.0 | 1.1.0,1.0.1, 1.0.0,0.4.1 |
| 9.2 | 1.7.1,1.7.0,1.6.0,1.5.1,1.5.0,1.4.0,1.2.0,0.4.1 |
| 10.0 | 1.2.0,1.1.0,1.0.1 ,1.0.0 |
| 10.1 | 1.7.1,1.7.0,1.6.0,1.5.1,1.5.0, 1.4.0,1.3.0 |
| 10.2 | 1.12.1,1.12.0,1.11.0,1.10.1,1.10.0,1.9.1,1.9.0,1.8.1,1.8.0,1.7.1,1.7.0,1.6.0,1.5.1,1.5.0 |
| 11.0 | 1.7.1,1.7.0 |
| 11.1 | 1.8.0 |
| 11.3 | 1.12.1,1.12.0,1.11.0,1.10.1,1.10.0,1.9.1,1.9.0,1.8.1,1.8.0 |
| 11.6 | 1.13.1,1.13.0,1.12.1,1.12.0 |
| 11.7 | 1.13.1,1.13.0 |
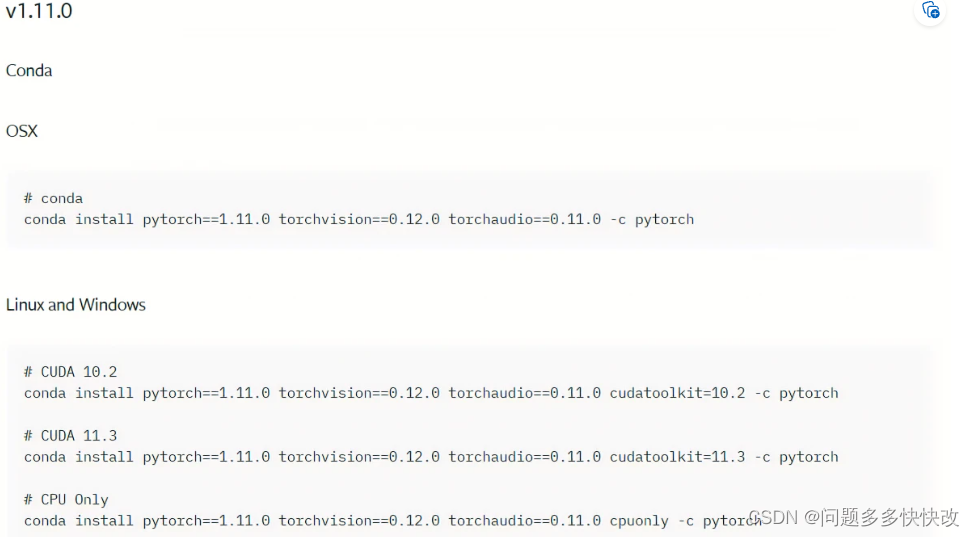
cuda版本确定后,pytorch要依赖此cuda版本,因为pytroch安装跟cuda对应的,比如下图,torch1.11.0只适配cuda10.2、11.3;不适配cuda10.1等其他版本cuda。
而如果是你之后要用到YOLO的话,此时最好就得下载下来,看看其中的requirements.txt文件,其中也对pytorch版本提出了要求:
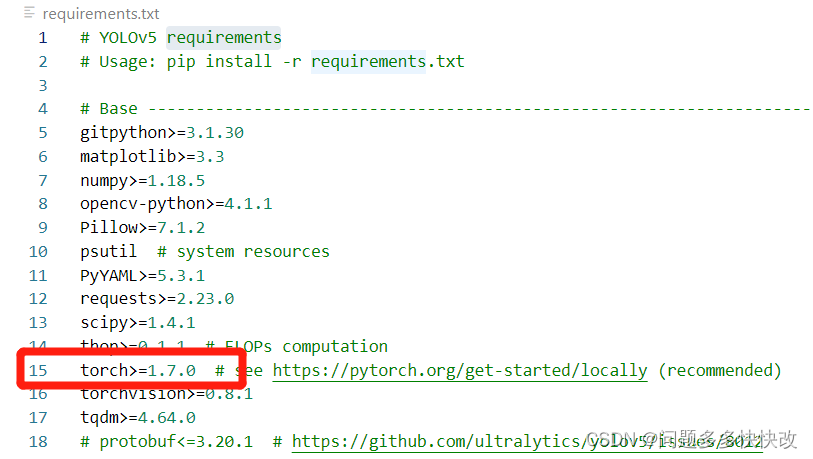
我这是 yolov5,其他版本的下载自己去github上拉就好。
2.cuda安装
CUDA toolkit下载
CUDA toolkit下载地址: CUDA Toolkit Archive | NVIDIA Developer
由于不确定最新版的cuda是否可以与pytorch兼容,而且最新的cuda在后续的深度学习中也容易出问题,毕竟在这套架构里并不是每一个软件都能跟cuda进行同步更新并保证可以适配,例如截止到2023年5月7日,cuda已经最新版本是12.1,但pytouch最新版本能够兼容的cuda只有11.8.
为保险起见,我们这里安装11.1的cuda,正如我上面所说,显卡驱动是能够向下兼容低版本的cuda.
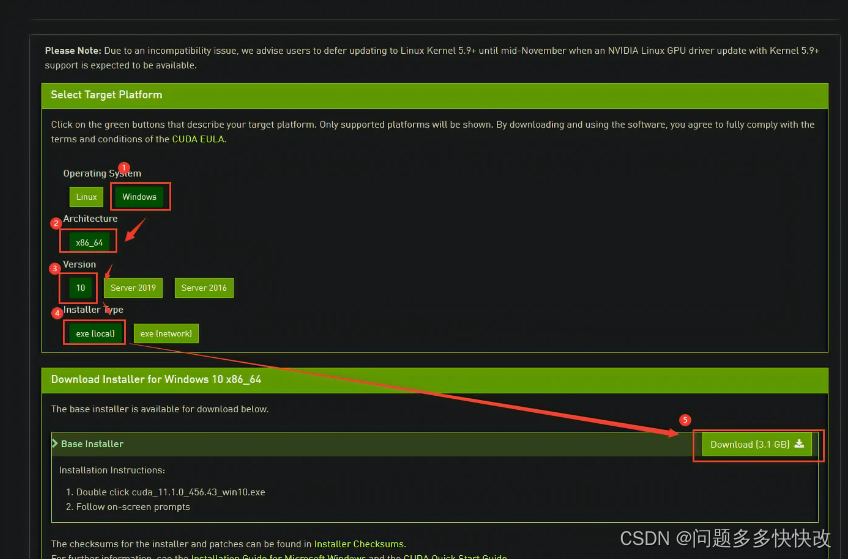
2.1、访问CUDA官网、配置自己的下载安装包
因为要下载11.1,所以点击链接:CUDA Toolkit 11.6 Update 1 Downloads | NVIDIA Developer
之后,要找到CUDA之前的存档,具体流程看图:


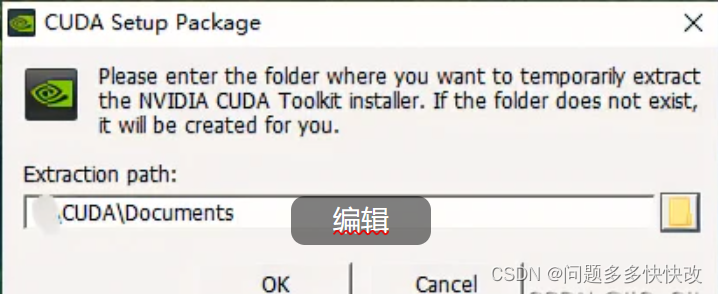
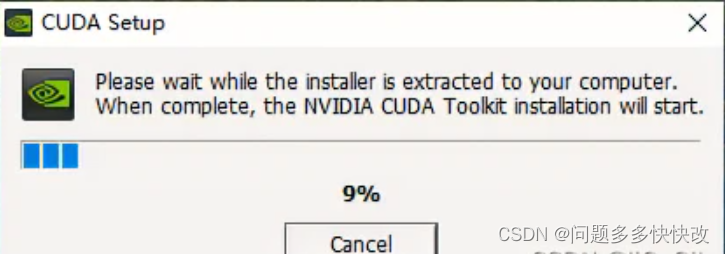
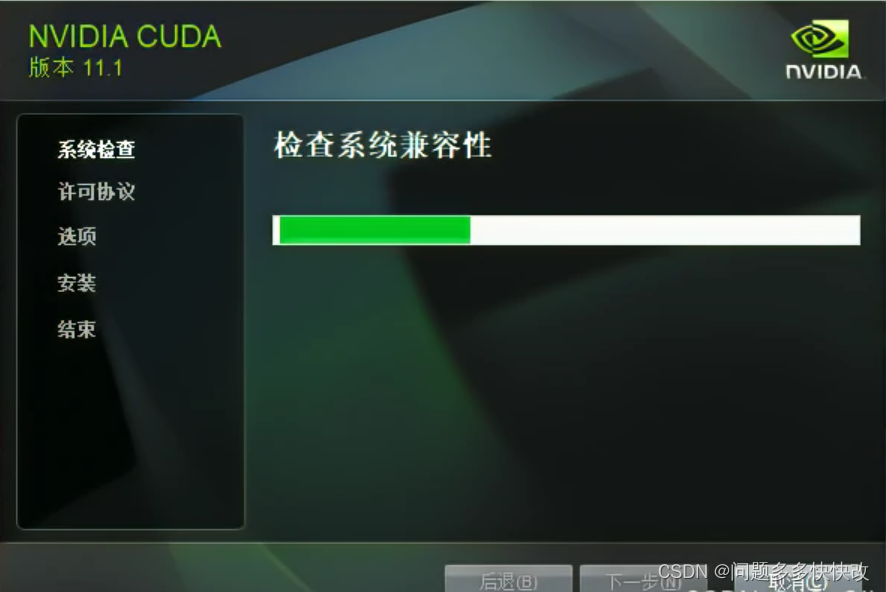
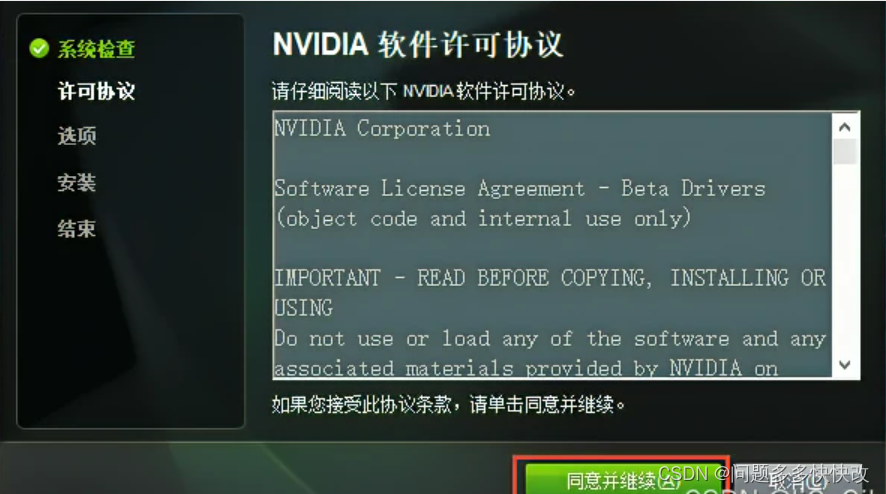
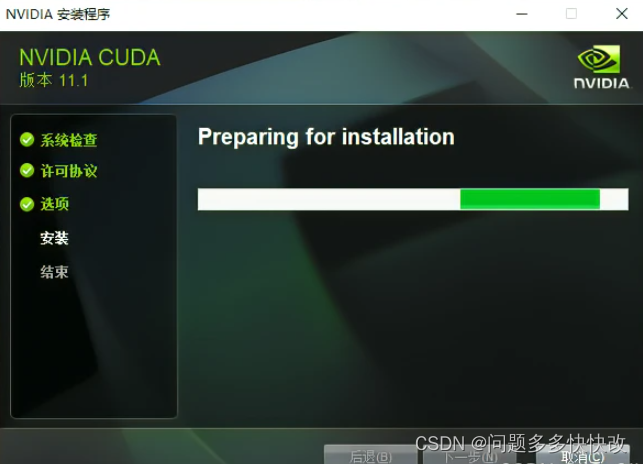
2、安装
双击安装包,选择合适的路径,即可安装(要记住这个路径,因为可能要配置环境变量)。接下来的过程,用图说话。如果有其他分区,请勿装在C盘,下图只是演示说明。
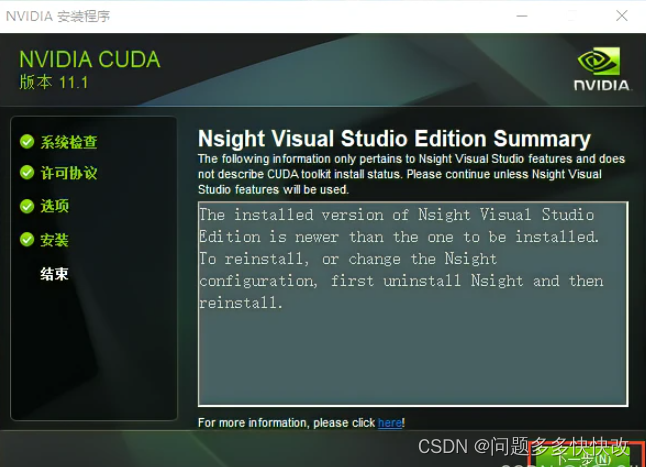
如果先前进行了cuda的安装,现在要重新安装的,需要将之前的版本卸载之后重新安装,重新安装时不再选择自定义安装,而是选择精简安装。
若之前还未进行过cuda的安装,现在的安装选择自定义:
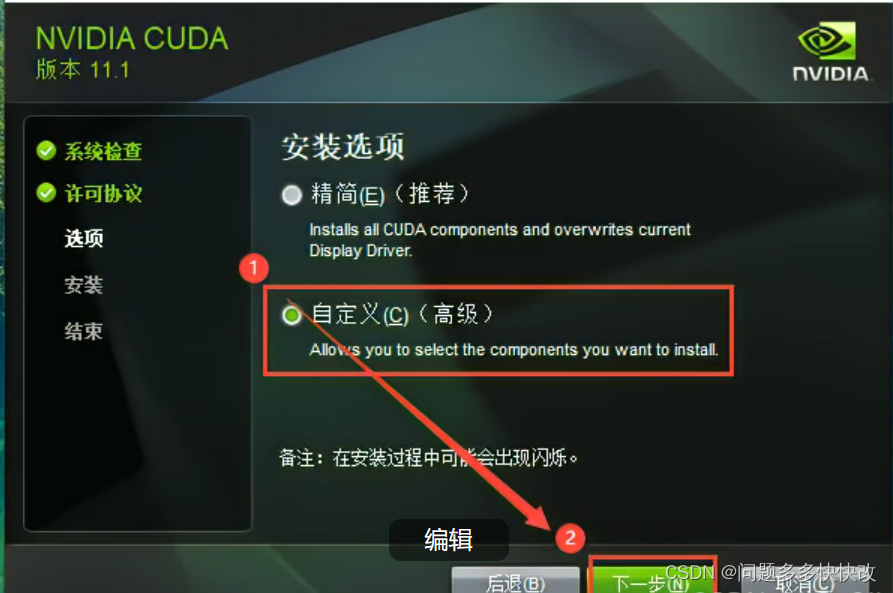
不要选Visual Studio Integration,即使选了也不能成功安装。

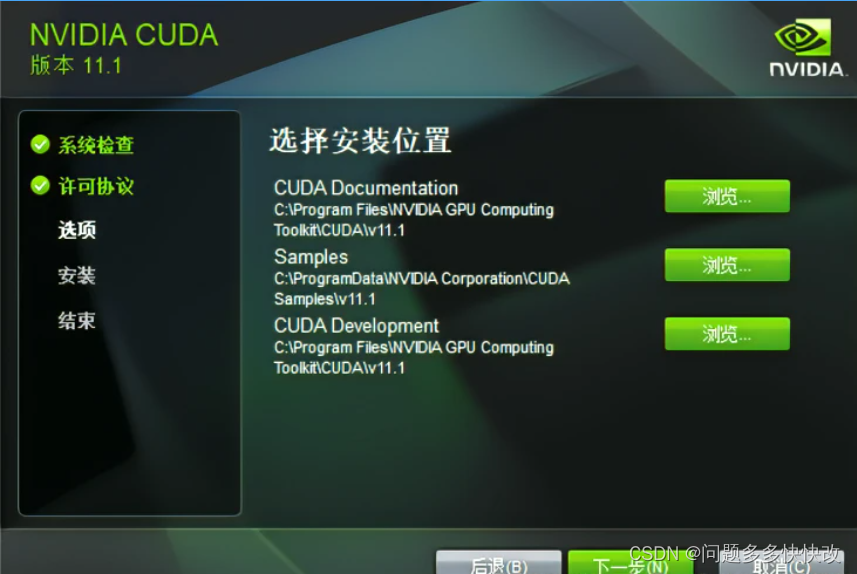
记住以下安装位置,tensorflow要求配置环境
重点提醒:一定要记住这个路径,把这个路径保留下来,后面我们还会用到!!!
安装完成后,鼠标右键此电脑->属性->高级系统设置->环境变量,查看系统变量即可看到红色框选的两项。
或者直接在电脑搜索编辑系统环境变量打开。
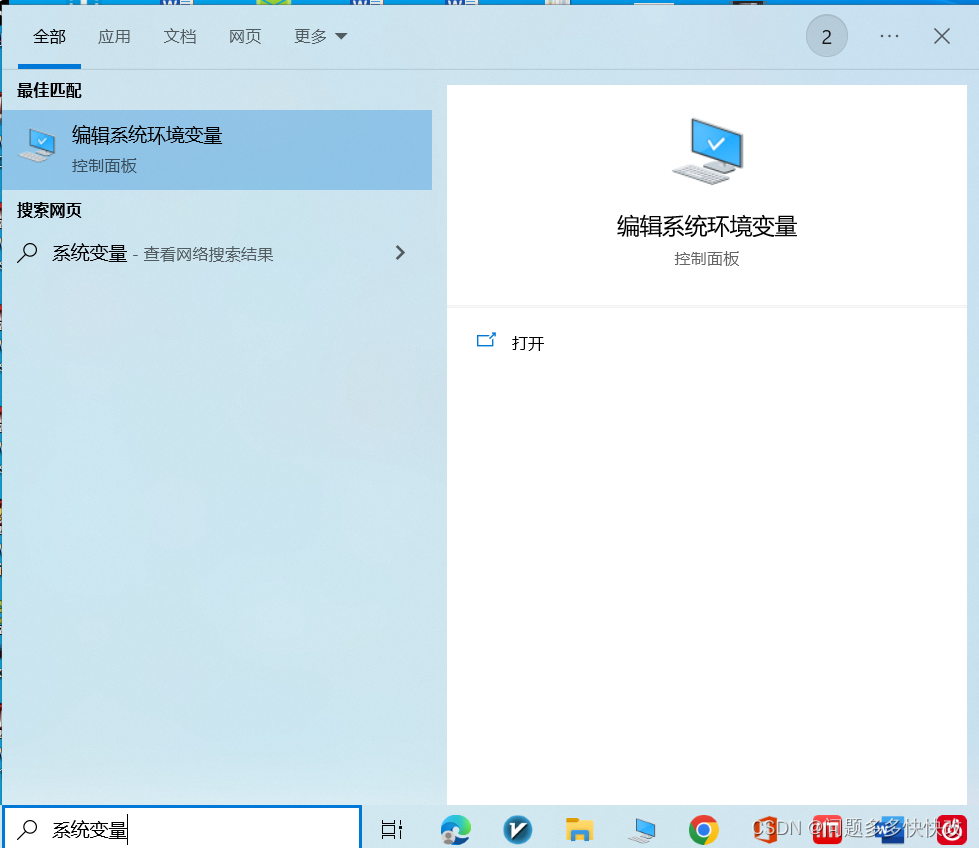
查看系统变量中是否添加了路径,如果没有需要自己添加。

2.3、配置环境变量(如果想在VS中使用CUDA就得进行这一步)
我们要是为VS配置CUDA,那就得将剩下的5个环境变量补齐。 点击新建,分别输入变量名和变量值,点击确定。大家可以类比我的CUDA安装路径和环境变量的关系进行配置(不是照搬!不是照搬!不是照搬!):%CUDA_PATH%代表的就是CUDA_PATH的路径,我的是C:\Program Files\NVIDIA GPU Computing Toolkit\CUDA\v11.1。
CUDA_SDK_PATH #变量名

C:\Program Files\NVIDIA GPU Computing Toolkit\CUDA\v11.1 #变量值


CUDA_LIB_PATH #变量名

%CUDA_PATH%\lib\x64 #变量值


CUDA_BIN_PATH #变量名

%CUDA_PATH%\bin #变量值


CUDA_SDK_BIN_PATH #变量名

%CUDA_SDK_PATH%\bin\win64 #变量值


CUDA_SDK_LIB_PATH #变量名

%CUDA_SDK_PATH%\common\lib\x64 #变量值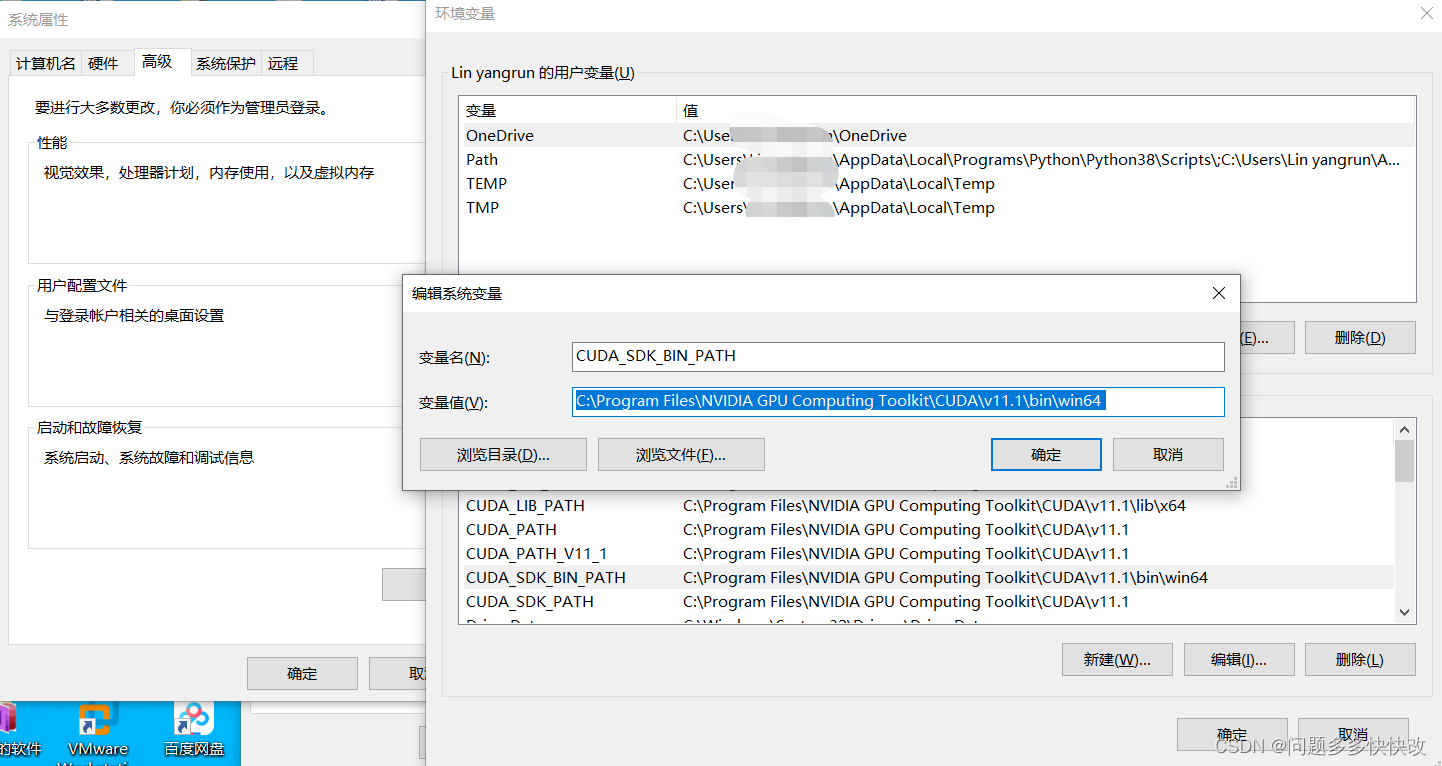
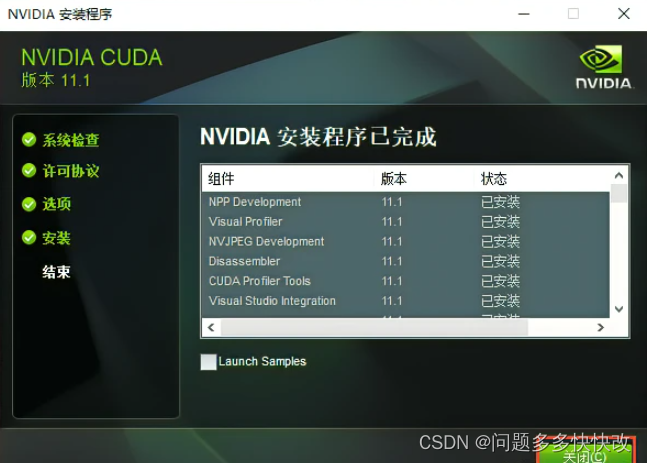
至此,CUDA的安装就完成了。
3、验证
3.1、查看CUDA版本
键盘win+R键,输入cmd,并回车,打开CMD命令框。输入如下命令 :
nvcc --version只要显示了CUDA的版本,就算成功了! (保险起见多验证几步)

3.2、查看CUDA的环境变量配置情况
键盘win+R键,输入cmd,并回车,打开CMD命令框。输入如下命令 :
set cuda
如果没有进行步骤中2.3的变量添加的话,那么得到的界面信息应该是下面这样
C:\Users\as>nvcc --version
nvcc: NVIDIA (R) Cuda compiler driver
Copyright (c) 2005-2021 NVIDIA Corporation
Built on Mon_May__3_19:41:42_Pacific_Daylight_Time_2021
Cuda compilation tools, release 11.1, V11.1
Build cuda_11.1.r11.3/compiler.29920130_0


C:\Users\as>set cuda
CUDA_PATH=C:\Program Files\NVIDIA GPU Computing Toolkit\CUDA\v11.1
CUDA_PATH_V11_3=C:\Program Files\NVIDIA GPU Computing Toolkit\CUDA\v11.1
cuda安装成功!
参考文章:
https://blog.csdn.net/GenuineMonster/article/details/116596761