Article directory
review
Through the second chapter of "Learning spring security step by step", how to modify the default user? 》Introduced how to modify the user name and password through configuration, step by step from configuring the default user in the configuration file to configuring the login user name and password in the code through memory, but in actual development, it is useless to know how to configure these, after all, all User data is stored in the database, and we have to read the user from the database to authenticate the login. Through the fourth chapter of "Step by Step Snow Spring Security", what is the login process like? Where is the login user information saved? "Introduces the login process, and introduces the verification of user data during the login process. If you are not familiar with the login process, it is recommended to read the previous article to learn.
Source code download Find the security-mybatis project and download it
How to read user data from database for authentication?
To read users from the database, the currently popular frameworks include mybatis, jpa, hibernate, jdbc,... For technology selection, if you don’t know how to choose in your project, you can leave a message in the comment area, and I can give you a suggestion. Of course, many companies have architects, and we don't need to develop them to choose them. We choose mybatis
We passed the fourth chapter of "Step by Step Snow Spring Security", what is the login process like? Where is the login user information saved? 》Introduction learned that during the login process, the user information in the user system is obtained from this code.
    protected final UserDetails retrieveUser(String username, UsernamePasswordAuthenticationToken authentication) throws AuthenticationException {


        this.prepareTimingAttackProtection();

        try {


            UserDetails loadedUser = this.getUserDetailsService().loadUserByUsername(username);
            if (loadedUser == null) {


                throw new InternalAuthenticationServiceException("UserDetailsService returned null, which is an interface contract violation");
            } else {


                return loadedUser;
            }
        } catch (UsernameNotFoundException var4) {


            this.mitigateAgainstTimingAttack(authentication);
            throw var4;
        } catch (InternalAuthenticationServiceException var5) {


            throw var5;
        } catch (Exception var6) {


            throw new InternalAuthenticationServiceException(var6.getMessage(), var6);
        }
    }
In other words, the loadUserByUsername method is called through the object UserDetailsService, and the parameter username is passed in to obtain the user UserDetails in the system, and then continue to verify the login logic
After clearing this logic, the next thing is clear. We need to do 3 things:
1. Create a class and implement the loadUserByUsername method of the UserDetailsService interface to obtain users from the database.
2. Create a user entity class to implement UserDetails interface, when implementing the loadUserByUsername method, returns the entity class of this user
3. Configure the implementation class associated with UserDetailsService
create project
Create project: security-mybatis
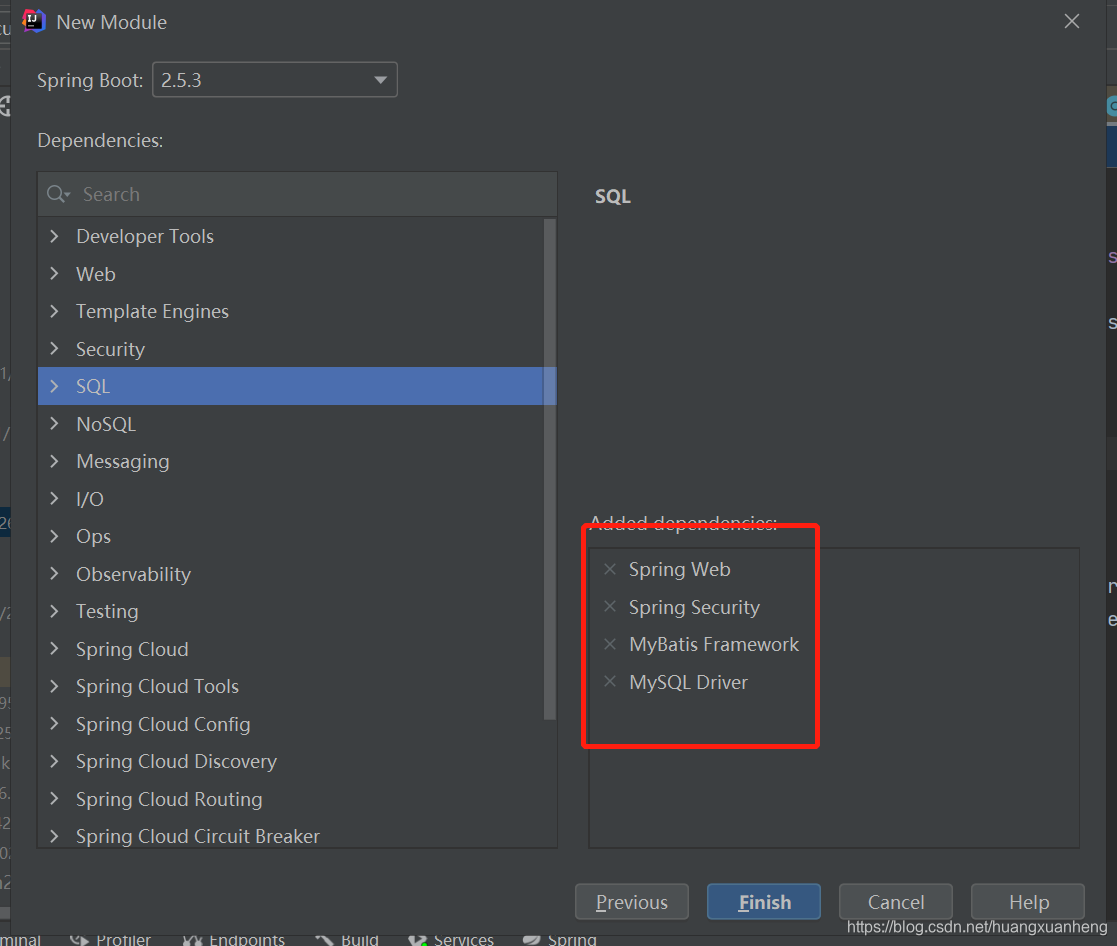
Select maven-related dependencies
In order to make it easier for everyone to copy, I will also post the dependencies here
<dependency>
            <groupId>org.springframework.boot</groupId>
            <artifactId>spring-boot-starter-security</artifactId>
        </dependency>
        <dependency>
            <groupId>org.springframework.boot</groupId>
            <artifactId>spring-boot-starter-web</artifactId>
        </dependency>

        <dependency>
            <groupId>com.alibaba</groupId>
            <artifactId>fastjson</artifactId>
            <version>1.2.70</version>
        </dependency>

        <!--mysql数据库驱动-->
        <dependency>
            <groupId>mysql</groupId>
            <artifactId>mysql-connector-java</artifactId>
            <scope>runtime</scope>
        </dependency>

        <!--mybatis-->
        <dependency>
            <groupId>org.mybatis.spring.boot</groupId>
            <artifactId>mybatis-spring-boot-starter</artifactId>
            <version>2.1.0</version>
        </dependency>
Create entity class: User, implement interface UserDetails
public class User implements UserDetails {


    private String password;
    private String username;
    private boolean accountNonExpired=true;
    private boolean accountNonLocked=true;
    private boolean credentialsNonExpired=true;
    private boolean enabled;

    private List<GrantedAuthority>authorities;
    @Override
    public Collection<? extends GrantedAuthority> getAuthorities() {


        return authorities;
    }

    @Override
    public String getPassword() {


        return password;
    }

    @Override
    public String getUsername() {


        return username;
    }

    @Override
    public boolean isAccountNonExpired() {


        return accountNonExpired;
    }

    @Override
    public boolean isAccountNonLocked() {


        return accountNonLocked;
    }

    @Override
    public boolean isCredentialsNonExpired() {


        return credentialsNonExpired;
    }

    @Override
    public boolean isEnabled() {


        return enabled;
    }


}
When we introduced the login process earlier, we introduced the verification of several fields of user information. If it is FALSE, the login will fail. Here, I am lazy as a case explanation. By default, accountNonExpired, accountNonLocked, and credentialsNonExpired are used. The field value is set to true, because there are no these fields in my user table, and my table creation statement is also very simple
<!--用户表-->
CREATE TABLE `h_user` (
                          `username` varchar(50) NOT NULL,
                          `password` varchar(500) NOT NULL,
                          `enabled` tinyint(1) NOT NULL,
                          PRIMARY KEY (`username`)
) ENGINE=InnoDB DEFAULT CHARSET=utf8mb3;


INSERT INTO `h_user` (`username`, `password`, `enabled`) VALUES ('harry', '123456', '1');
INSERT INTO `h_user` (`username`, `password`, `enabled`) VALUES ('mike', '123456', '1');
create mapper
@Mapper//指定这是一个操作数据库的mapper
public interface UserMapper {

    @Select("select * from h_user where username=#{username}")
    User findUserByUsername(String username);
}
Create the UserDetailsServiceImpl class and implement the interface UserDetailsService
@Service
public class UserDetailsServiceImpl implements UserDetailsService {


    @Resource
    private UserMapper userMapper;
    @Override
    public UserDetails loadUserByUsername(String username) throws UsernameNotFoundException {


        User userByUsername = userMapper.findUserByUsername(username);
        return userByUsername;
    }
}
Configure spring security associated database
    @Override
    protected void configure(AuthenticationManagerBuilder auth) throws Exception {


        auth.userDetailsService(userDetailsService);
    }
Don't forget to configure the data source
spring:
  #数据库连接配置
  datasource:
    driver-class-name: com.mysql.cj.jdbc.Driver
    url: jdbc:mysql://127.0.0.1:3306/harry?characterEncoding=utf-8&useSSL=false
    username: root
    password: xxx    #xxx就是你的数据库密码
At this point, our configuration is basically complete.
Next, let's create a Controller casually to test
@RestController
public class HelloController {


    @RequestMapping("/sayHello")
    public String sayHello(){


        return "十年生死两茫茫,不思量,自难忘----苏轼,hello";
    }

    @RequestMapping("/home")
    public String home(){


        return "天生我材必有用,千金散尽还复来----李白,hello";
    }

}
Test effect
Start the project, access interface: http://127.0.0.1:8080/sayHello, because you have not logged in yet, at this time, it will automatically jump to the login page, enter our user name and password in the database, and click Login to log in successfully , the interface can return data normally.
Source code download Find the security-mybatis project and download it, remember to change the configuration of the database and run the project