LoginController class
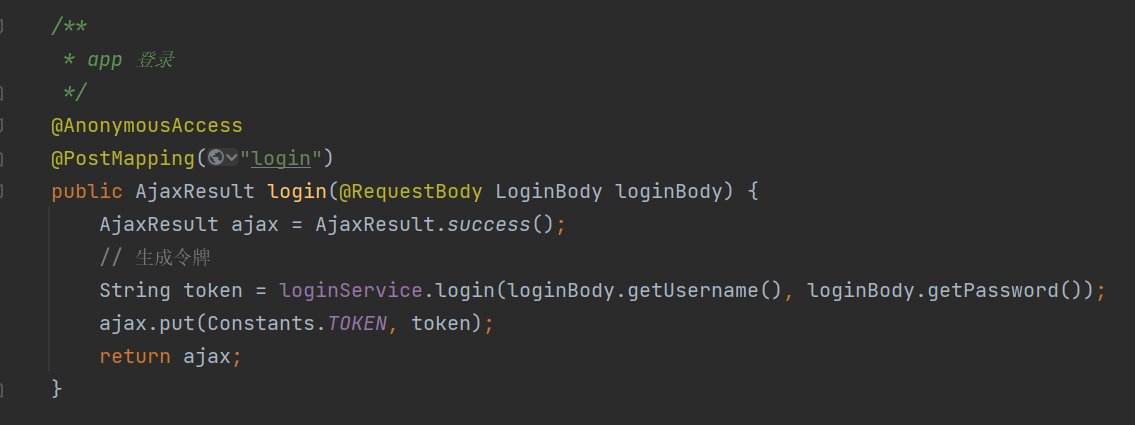
specific code
/**
     * app 登录
     */
    @AnonymousAccess
    @PostMapping("login")
    public AjaxResult login(@RequestBody LoginBody loginBody) {
        AjaxResult ajax = AjaxResult.success();
        // 生成令牌
        String token = loginService.login(loginBody.getUsername(), loginBody.getPassword());
        ajax.put(Constants.TOKEN, token);
        return ajax;
    }
Login verification - AppLoginService class

specific code
@Resource
private AppAuthenticationProvider authenticationManager;

  /**
     * 登录验证
     *
     * @param username 用户名
     * @param password 密码
     * @return 结果
     */
    public String login(String username, String password) {
        // 用户验证
        Authentication authentication;
        try {
            // 该方法会去调用UserDetailsServiceImpl.loadUserByUsername
            authentication = authenticationManager
                    .authenticate(new UsernamePasswordAuthenticationToken(username, password));
        } catch (Exception e) {
            if (e instanceof BadCredentialsException) {
                AsyncManager.me().execute(AsyncFactory.recordLogininfor(username, Constants.LOGIN_FAIL, MessageUtils.message("user.password.not.match")));
                throw new UserPasswordNotMatchException();
            } else {
                AsyncManager.me().execute(AsyncFactory.recordLogininfor(username, Constants.LOGIN_FAIL, e.getMessage()));
                throw new ServiceException(e.getMessage());
            }
        }
        AsyncManager.me().execute(AsyncFactory.recordLogininfor(username, Constants.LOGIN_SUCCESS, MessageUtils.message("user.login.success")));
        LoginUser loginUser = (LoginUser) authentication.getPrincipal();
        recordLoginInfo(loginUser.getUserId());
        // 生成token
        return tokenService.createToken(loginUser);
    }
AppAuthenticationProvider class
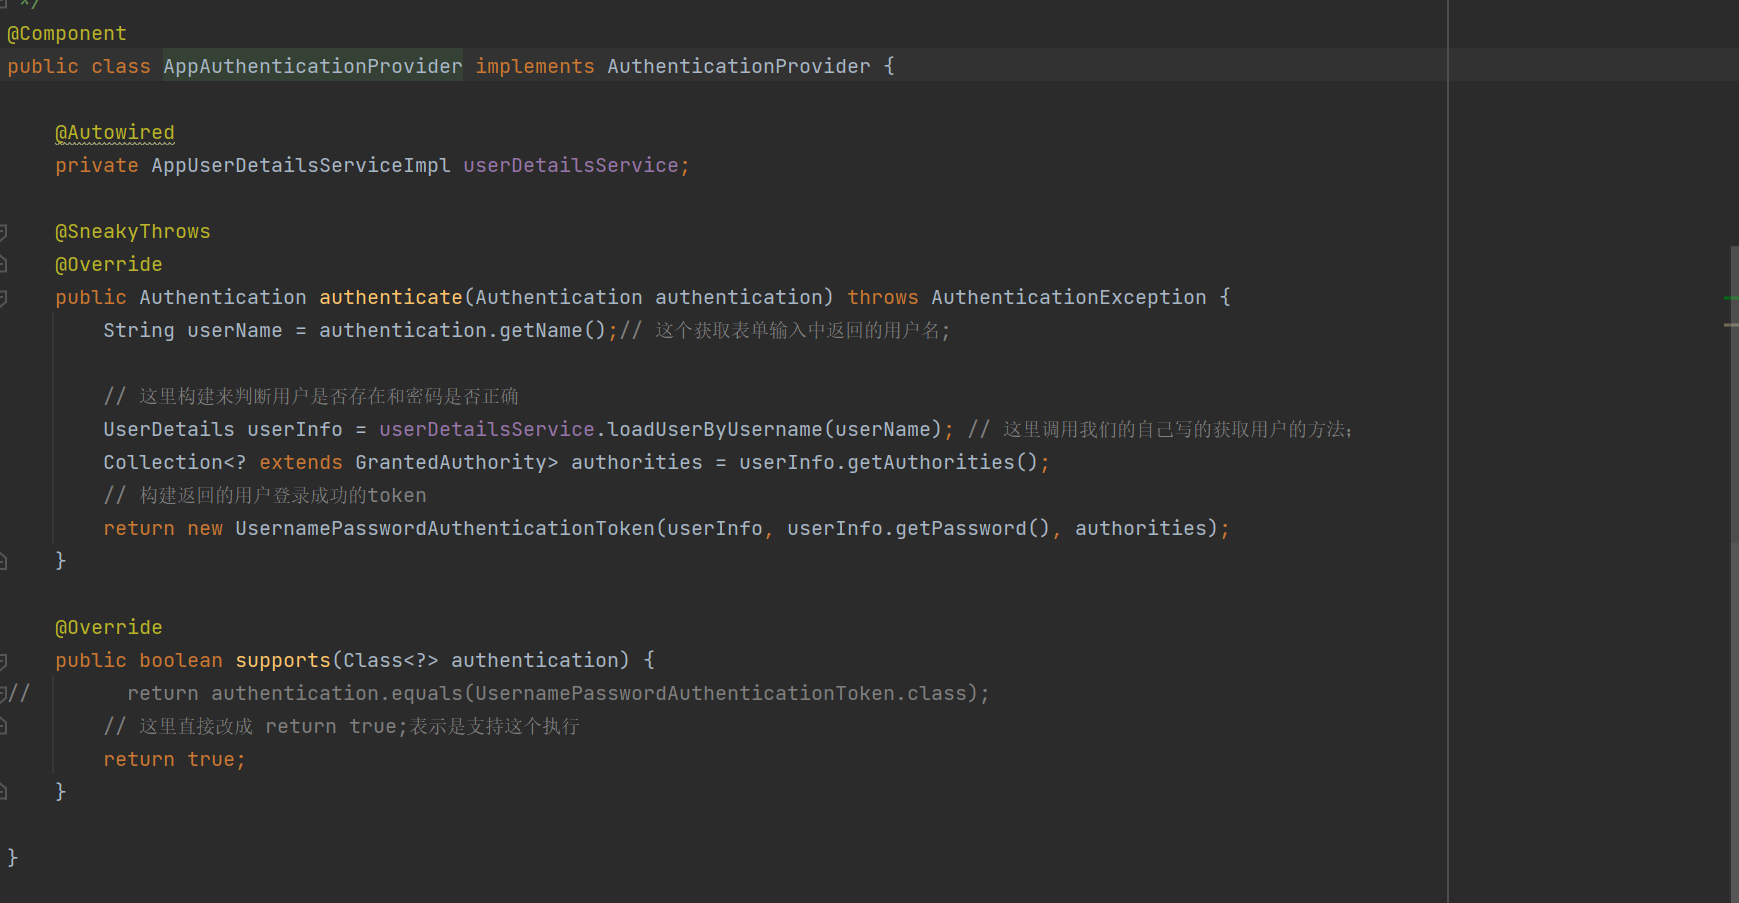
specific code
@Component
public class AppAuthenticationProvider implements AuthenticationProvider {

    private static final Logger log = LoggerFactory.getLogger(UserDetailsServiceImpl.class);

    @Autowired
    private AppUserDetailsServiceImpl userDetailsService;

    @SneakyThrows
    @Override
    public Authentication authenticate(Authentication authentication) throws AuthenticationException {
        String userName = authentication.getName();// 这个获取表单输入中返回的用户名;
        Object password = authentication.getCredentials();//这个获取表单输入中返回的密码;

        // 这里构建来判断用户是否存在和密码是否正确
        UserDetails userInfo = userDetailsService.loadUserByUsername(userName); // 这里调用我们的自己写的获取用户的方法;

        if(!SecurityUtils.matchesPassword(password.toString(),userInfo.getPassword())){
            log.info("用户不存在/密码错误,{}", userName);
            throw new ServiceException("用户不存在/密码错误");
        }

        Collection<? extends GrantedAuthority> authorities = userInfo.getAuthorities();
        // 构建返回的用户登录成功的token
        return new UsernamePasswordAuthenticationToken(userInfo, userInfo.getPassword(), authorities);
    }

    @Override
    public boolean supports(Class<?> authentication) {
//        return authentication.equals(UsernamePasswordAuthenticationToken.class);
        // 这里直接改成 return true;表示是支持这个执行
        return true;
    }

}
AppUserDetailsServiceImpl class
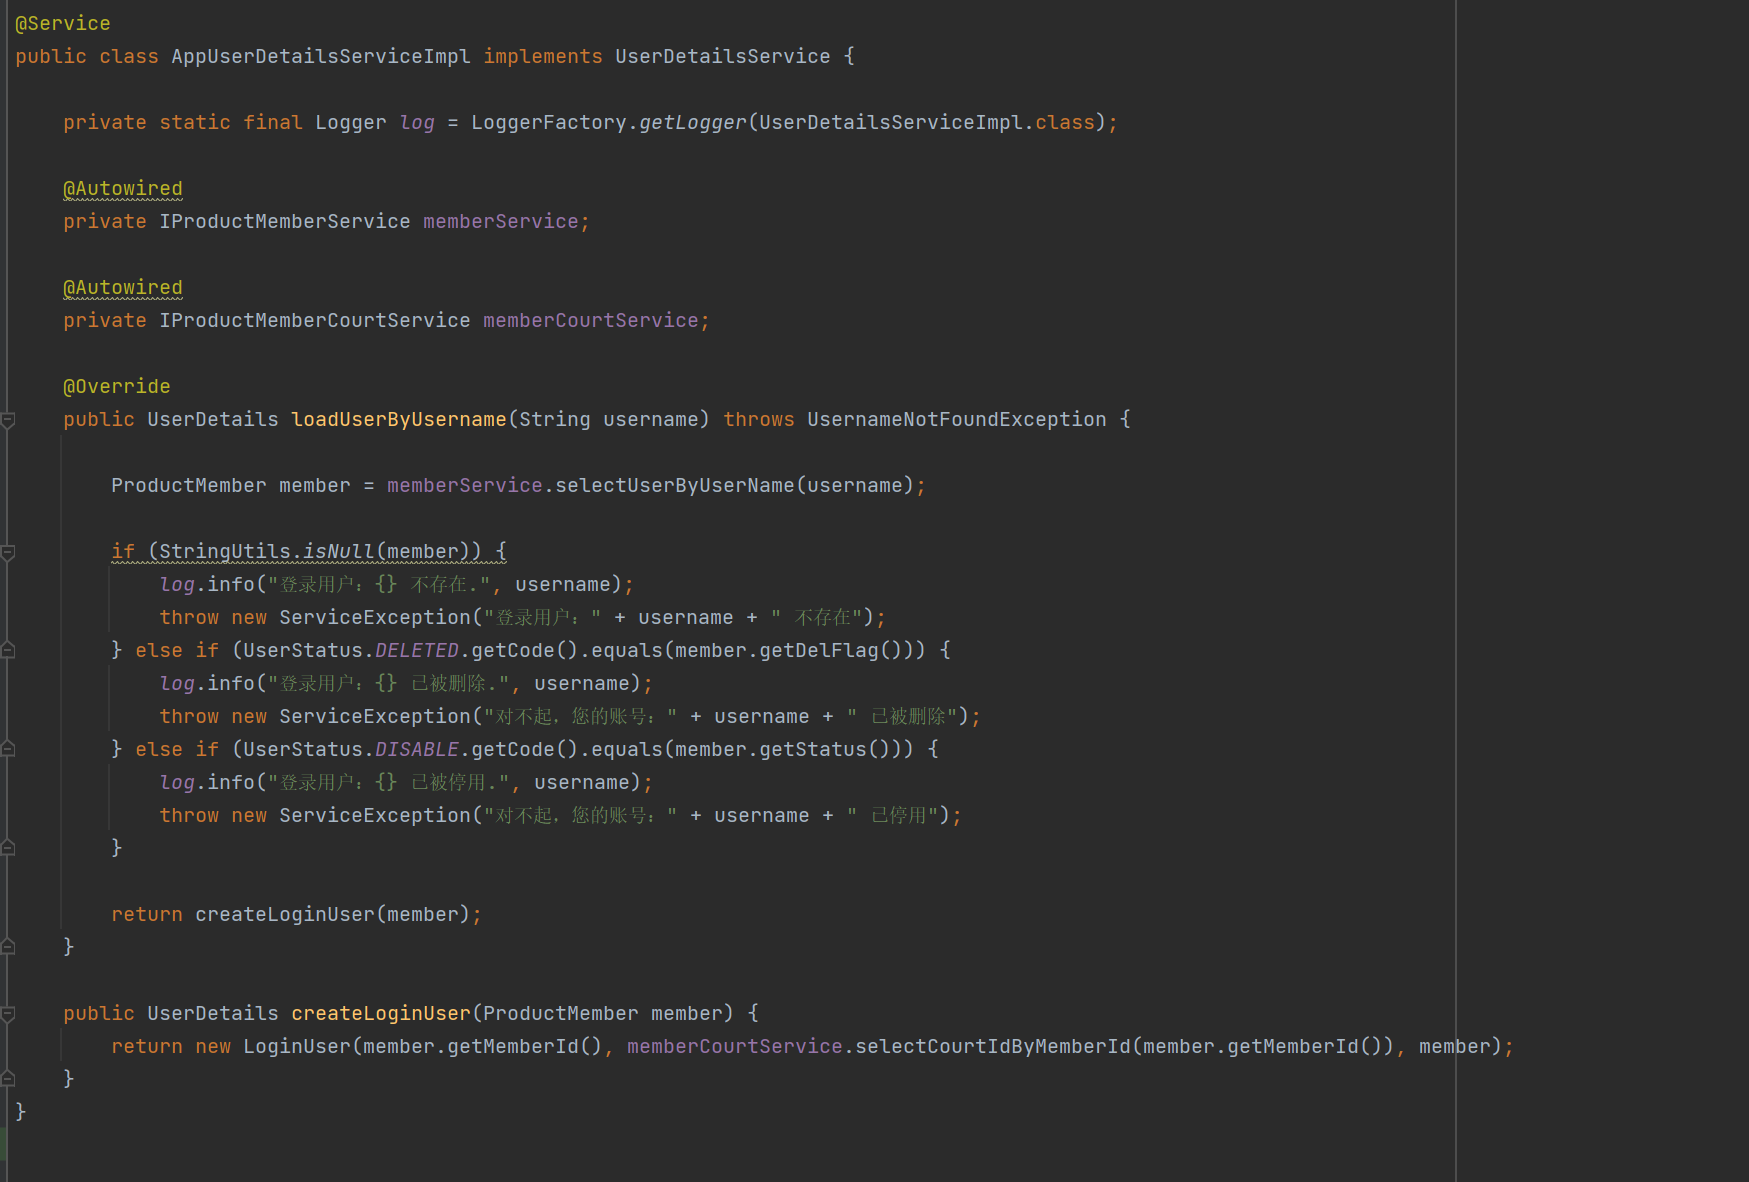
specific code
@Service
public class AppUserDetailsServiceImpl implements UserDetailsService {
private static final Logger log = LoggerFactory.getLogger(UserDetailsServiceImpl.class);
@Autowired
private IProductMemberService memberService;//自己写的接口
@Autowired
private IProductMemberCourtService memberCourtService;
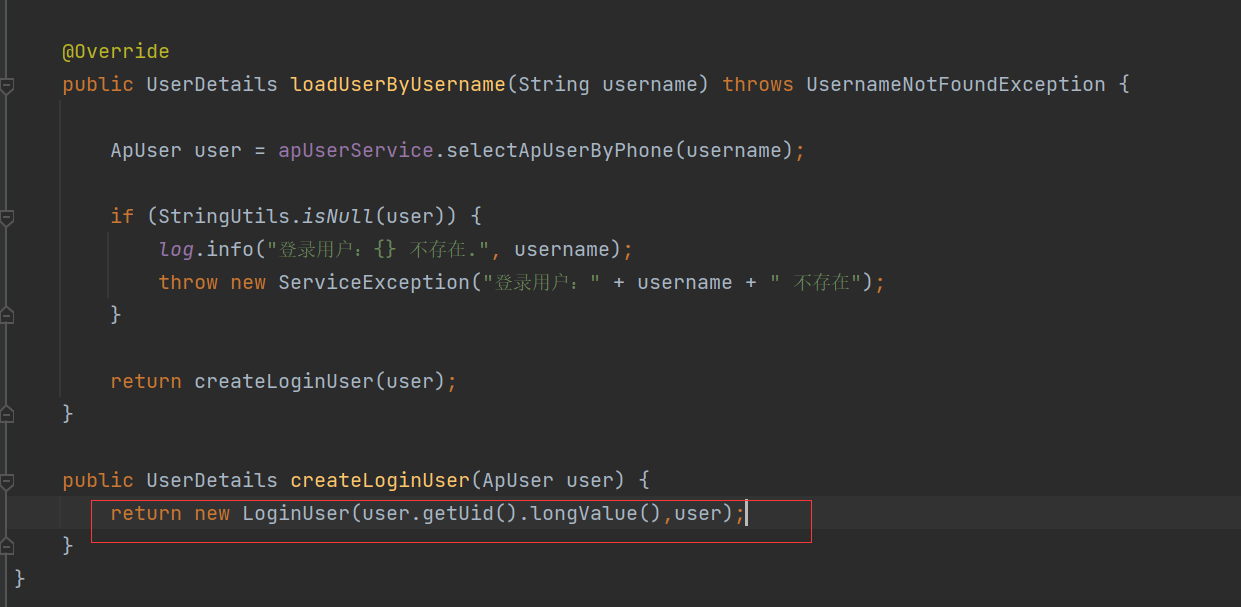
@Override
public UserDetails loadUserByUsername(String username) throws UsernameNotFoundException {
ProductMember member = memberService.selectUserByUserName(username);//验证登录用户
if (StringUtils.isNull(member)) {
log.info("登录用户:{} 不存在.", username);
throw new ServiceException("登录用户:" + username + " 不存在");
} else if (UserStatus.DELETED.getCode().equals(member.getDelFlag())) {
log.info("登录用户:{} 已被删除.", username);
throw new ServiceException("对不起,您的账号:" + username + " 已被删除");
} else if (UserStatus.DISABLE.getCode().equals(member.getStatus())) {
log.info("登录用户:{} 已被停用.", username);
throw new ServiceException("对不起,您的账号:" + username + " 已停用");
}
return createLoginUser(member);
}
public UserDetails createLoginUser(ProductMember member) {
return new LoginUser(member.getMemberId(), memberCourtService.selectCourtIdByMemberId(member.getMemberId()), member);
}
}When running at this time, there will be conflicts! ! !
Need to condition in xxx-framework/src/main/java/.../SecurityConfig
@Qualifier("userDetailsServiceImpl")
As shown in the picture:

At this time, starting the project will not report a conflict error
Be sure to add it! ! !
The LongUser class in the figure below needs to add something
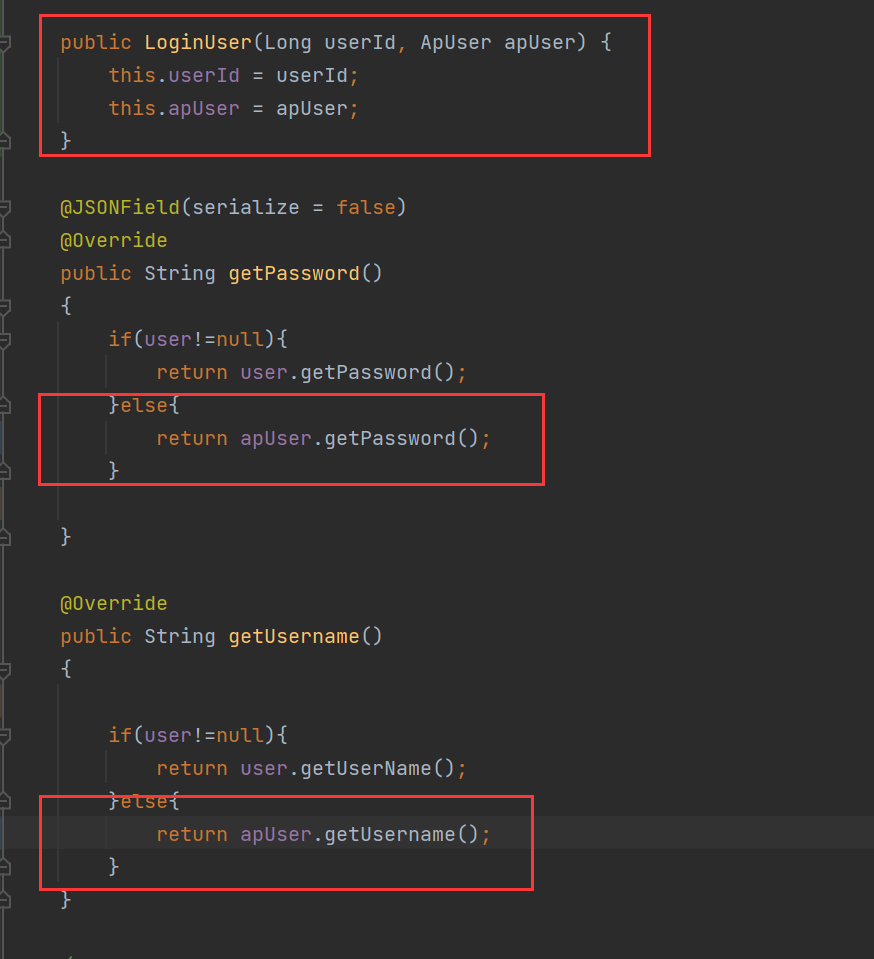
To add the getPassword() of the login entity class written by yourself in the public String getPassword(){}
The above content can already solve the problem that the new login interface scheme of app and applet does not conflict with the background management login acquisition token
The following content can be used as a reference:
Login authentication JWTtoken verification mechanism
The back-end part
/login interface
userName
password
code verification code
The front-end calls the interface after obtaining the above three elements, and the overall interface changes the following things
1. Verify user identity (account password + verification code)
2. Generate token
3. Save user login status to spring security
安全配置:定义了基本的配置信息
framework.config.SecurityConfig

UserDetailsServiceImpl 用户验证处理类

登录接口的服务类
framework.web.service.SysLoginService

JWT拦截器,拦截令牌并校验信息
framework.security.filter.JwtAuthenticationTokenFilter
detailed process
1. Call UserDetailsServiceImpl in SysLoginService to verify whether the user's password matches and the status of the user account. After the verification is passed, return the UserDetails instance, which contains the user's basic information and menu permission information. 2. Call tokenService.createToken(loginUser) to generate a
token
token Detailed process of card generation
Generate uuid random number, this random number is used as rediskey storage token
to generate a token (no time limit),
if the intercepted token expires within 10 minutes (configurable), the validity period will be automatically refreshed
前面提到了token本身无时效,有效期是通过redis控制的,因为jwt本身未提供刷新有效期的方法(可能是我不知道)。The above user called the login interface and got the token
jwt token verification
/**
 * token过滤器 验证token有效性
 *
 * @author sj
 */
@Component
public class JwtAuthenticationTokenFilter extends OncePerRequestFilter
{
    @Autowired
    private TokenService tokenService;

    @Override
    protected void doFilterInternal(HttpServletRequest request, HttpServletResponse response, FilterChain chain)
            throws ServletException, IOException
    {
        LoginUser loginUser = tokenService.getLoginUser(request);
        if (StringUtils.isNotNull(loginUser) && StringUtils.isNull(SecurityUtils.getAuthentication()))
        {
            tokenService.verifyToken(loginUser);
            UsernamePasswordAuthenticationToken authenticationToken = new UsernamePasswordAuthenticationToken(loginUser, null, loginUser.getAuthorities());
            authenticationToken.setDetails(new WebAuthenticationDetailsSource().buildDetails(request));
            SecurityContextHolder.getContext().setAuthentication(authenticationToken);
        }
        chain.doFilter(request, response);
    }
}
The code is relatively short, so I just posted it directly. This code intercepts all requests and completes the verification and refresh of the token. The specific process is as follows
1. tokenService.getLoginUser(request); Get the token from the request and verify it. If the verification is passed, it will return the LoginUser object.
2. Verify the token of the LoginUser. If it is refreshed within the time limit, it will be refreshed directly.
3. Encapsulate the LoginUser into the SecurityContextHolder User login state as global
NOTE: Clause 3 has two benefits
1. When the subsequent interceptor finds that the user is saved in the SecurityContextHolder, it will pass the verification directly.
2. Through the SecurityContextHolder, the login information of the current request can be quickly obtained.
The above has basically mentioned the basic process of JWT verification, ignoring many details
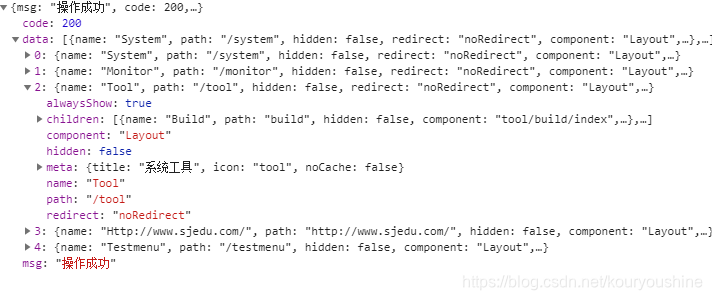
getInfo Get user information
1. Basic information of the user
2. Permissions (menu tree) owned by the user
3. RopePersmission (roleKeys) owned by the user

getRouters Get the routing information of the front-end page
This interface is completely prepared for the front-end, and the front-end permission control will be discussed later