1. Create a basic container locally ( official website )
1) Uninstall the old version (if any)
sudo apt-get remove docker docker-engine docker.io containerd runc
2) Set up Docker's repository and install from it
Update the package index and install the package to allow using the repository over HTTPS: apt apt
sudo apt-get update
sudo apt-get install \
    ca-certificates \
    curl \
    gnupg \
    lsb-release
3) Add docker's official GPG key
sudo mkdir -p /etc/apt/keyrings
curl -fsSL https://download.docker.com/linux/ubuntu/gpg | sudo gpg --dearmor -o /etc/apt/keyrings/docker.gpg
4) Set up the repository with the following command:
echo \
  "deb [arch=$(dpkg --print-architecture) signed-by=/etc/apt/keyrings/docker.gpg] https://download.docker.com/linux/ubuntu \
  $(lsb_release -cs) stable" | sudo tee /etc/apt/sources.list.d/docker.list > /dev/null
5) Install the docker engine
to update the package index and install the latest version of the docker engine, containerization and docker compose
sudo apt-get update
 sudo apt-get install docker-ce docker-ce-cli containerd.io docker-compose-plugin
6) Verify that the Docker engine is installed correctly by running the image. hello-world
sudo service docker start
 sudo docker run hello-world
2.Docker domestic image source
Create or modify /etc/docker/daemon.json file (official document of daemon.json file)
$ sudo vim /etc/docker/daemon.json
add file content
{


  "registry-mirrors" : [
    "http://registry.docker-cn.com",
    "http://docker.mirrors.ustc.edu.cn",
    "http://hub-mirror.c.163.com"
  ],
  "insecure-registries" : [
    "registry.docker-cn.com",
    "docker.mirrors.ustc.edu.cn"
  ],
  "debug" : true,
  "experimental" : true
}
Then restart docker
$ sudo systemctl daemon-reload
Set up ordinary users to use, and add the current login user to the docker user group
$ sudo gpasswd -a $USER docker
#Update user group
$ newgrp docker
#Test whether the docker command can be used normally by ordinary users
$docker ps
Verify that the Docker engine is installed correctly by running the image. hello-world
sudo service docker start
 sudo docker run hello-world
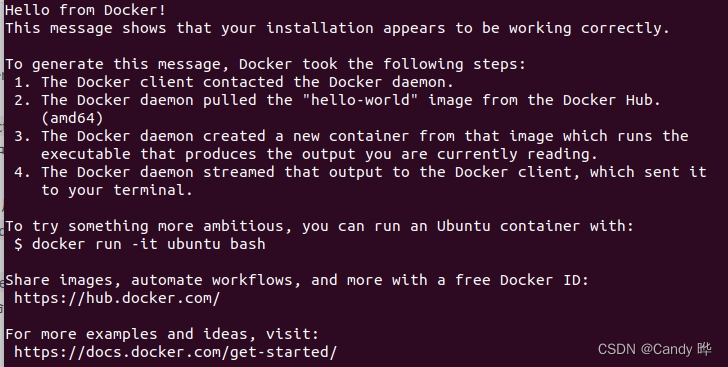
Getting this output is a success
3. Pull the image locally (for the case where the server is not connected to the Internet), and create a container ( official website )
docker pull pytorch/pytorch:1.9.1-cuda11.1-cudnn8-devel
Create a container locally (and give the shared space 15G)
docker run -itd --name=fy(名字) --shm-size 15g -v /home/fy(名字)workspace/:/workspace pytorch/pytorch:1.9.1-cuda11.1-cudnn8-devel /bin/bash
into the container
docker exec -it fy(名字)/bin/bash
4. Export this image locally and deploy it to the server
docker save -o mypeerimage.tar pytorch/pytorch:1.9.1-cuda11.1-cudnn8-devel
A tar file of mypeerimage.tar will be generated locally, packaged to the server and use the following command to decompress the image on the server
docker load < mypeerimage.tar
5. Connect to the server and repeat the steps in the third step
Create a container locally (and give the shared space 15G)
docker run -itd --name=fy(=(名字) --shm-size 15g -v /home/fy(名字)workspace/:/workspace pytorch/pytorch:1.9.1-cuda11.1-cudnn8-devel /bin/bash
into the container
docker exec -it fy(名字)/bin/bash
At this point, it is set up, upload the code program to the .../workspace directory of the server and it can be used.
lsView files in this directory
6.Common commands for docker
docker psView running containersdocker ps -aview all containersdocker start fyrun containerdocker exec -it fy /bin/bashinto the containerdocker stop fystop containerdocker rm fydelete containerdocker imagesview mirrordocker rmi xdelete x mirrormkdircreate folderrm -rf 文件夹名delete folderdocker cp 容器ID: 路径 宿主机路径Copy files in different containersdocker cp 文件名 容器ID/容器名:路径Copy the file to the container directorypwdView the absolute path of this directory