1. Introduce related dependencies
<!--swagger-->
<dependency>
    <groupId>io.springfox</groupId>
    <artifactId>springfox-swagger2</artifactId>
    <version>3.0.0</version>
</dependency>
<dependency>
    <groupId>io.springfox</groupId>
    <artifactId>springfox-swagger-ui</artifactId>
    <version>3.0.0</version>
</dependency>
  <dependency>
     <groupId>io.swagger</groupId>
     <artifactId>swagger-annotations</artifactId>
     <version>1.5.22</version>
 </dependency>
<dependency>
     <groupId>com.github.xiaoymin</groupId>
     <artifactId>swagger-bootstrap-ui</artifactId>
     <version>1.8.7</version>
</dependency>
PS: When introducing dependencies, pay attention to the swagger version corresponding to the Springboot version, otherwise a null pointer exception will occur!
Related versions: (I use springboot: 2.6.6+swagger3.0.0)
Version one:
| Spring Boot version | Swagger version |
|---|---|
| 2.5.6 | 2.9.2 |
Version two:
| Spring Boot version | Swagger version |
|---|---|
| 2.6.5 | 3.0.0 |
2. Add configuration information
Add configuration:
spring:
  mvc:
    pathmatch:
      matching-strategy: ant_path_matcher
Create a configuration class:
@Configuration
@EnableSwagger2
public class Swagger2Config {

    @Bean
    public Docket webApiConfig(){

        return new Docket(DocumentationType.SWAGGER_2)
                .groupName("webApi")
                .apiInfo(webApiInfo())
                .select()
                //过滤掉admin路径下的所有页面
                .paths(Predicates.not(PathSelectors.regex("/admin/.*")))
                //过滤掉所有error或error.*页面
                .paths(Predicates.not(PathSelectors.regex("/error.*")))
                .build();
    }

    @Bean
    public Docket adminApiConfig(){

        return new Docket(DocumentationType.SWAGGER_2)
                .groupName("adminApi")
                .apiInfo(adminApiInfo())
                .select()
                //只显示admin路径下的页面
                .paths(Predicates.and(PathSelectors.regex("/admin/.*")))
                .build();

    }

    private ApiInfo webApiInfo(){

        return new ApiInfoBuilder()
                .title("网站-课程中心API文档")
                .description("本文档描述了课程中心微服务接口定义")
                .version("1.0")
                .contact(new Contact("sun", "http://atguigu.com", "[email protected]"))
                .build();
    }

    private ApiInfo adminApiInfo(){

        return new ApiInfoBuilder()
                .title("后台管理系统-课程中心API文档")
                .description("本文档描述了后台管理系统课程中心微服务接口定义")
                .version("1.0")
                .contact(new Contact("sun", "http://atguigu.com", "[email protected]"))
                .build();
    }
}
3. Swagger annotation description
@Api(tags="")
is used on the requested class to indicate the description of the class.
tags "describe the function of the class, and can be seen on the UI interface"
@ApiOperation(value="")
is used on the requested method to explain the purpose and function of the method
value="Describe the purpose and function of the method"
@ApiImplicitParams
is used on the requested method to indicate a set of parameter descriptions
@ApiImplicitParam
@ApiImplicitParam: specify all aspects of a request parameter
value: the Chinese character description and explanation of the parameter
required: whether the parameter must be passed
paramType: where the parameter is placed
header –> request header acquisition: @·RequestHeader
query –> request parameter Acquisition: @RequestParam
path (for restful interface) –> Acquisition of request path variables:
@PathVariable
body (not commonly used)
form (not commonly used)
dataType: parameter type, default String, other values dataType="Integer"
defaultValue: default value of the parameter
@ApiResponses
is used on the request method to represent a set of responses
@ApiResponse
is used in @ApiResponses, generally used to express a wrong response information
code: number, such as 400
message: information, such as "request parameters are not filled in"
response: the class that throws an exception
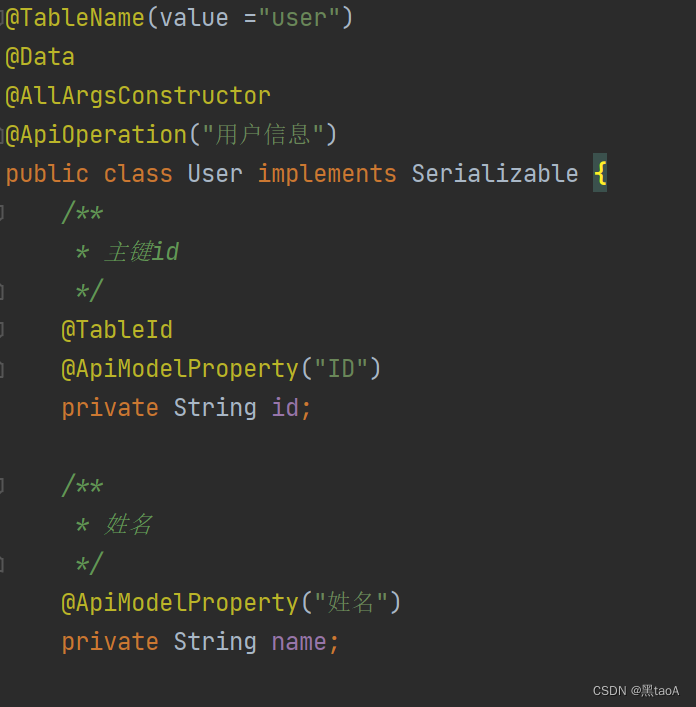
@ApiModel
has two main uses:
It is used on the response class to represent information that returns response data.
Input entity: When using scenarios like @RequestBody, the request parameters cannot be described using the @ApiImplicitParam annotation
@ApiModelProperty
is used on properties to describe the properties of the response class
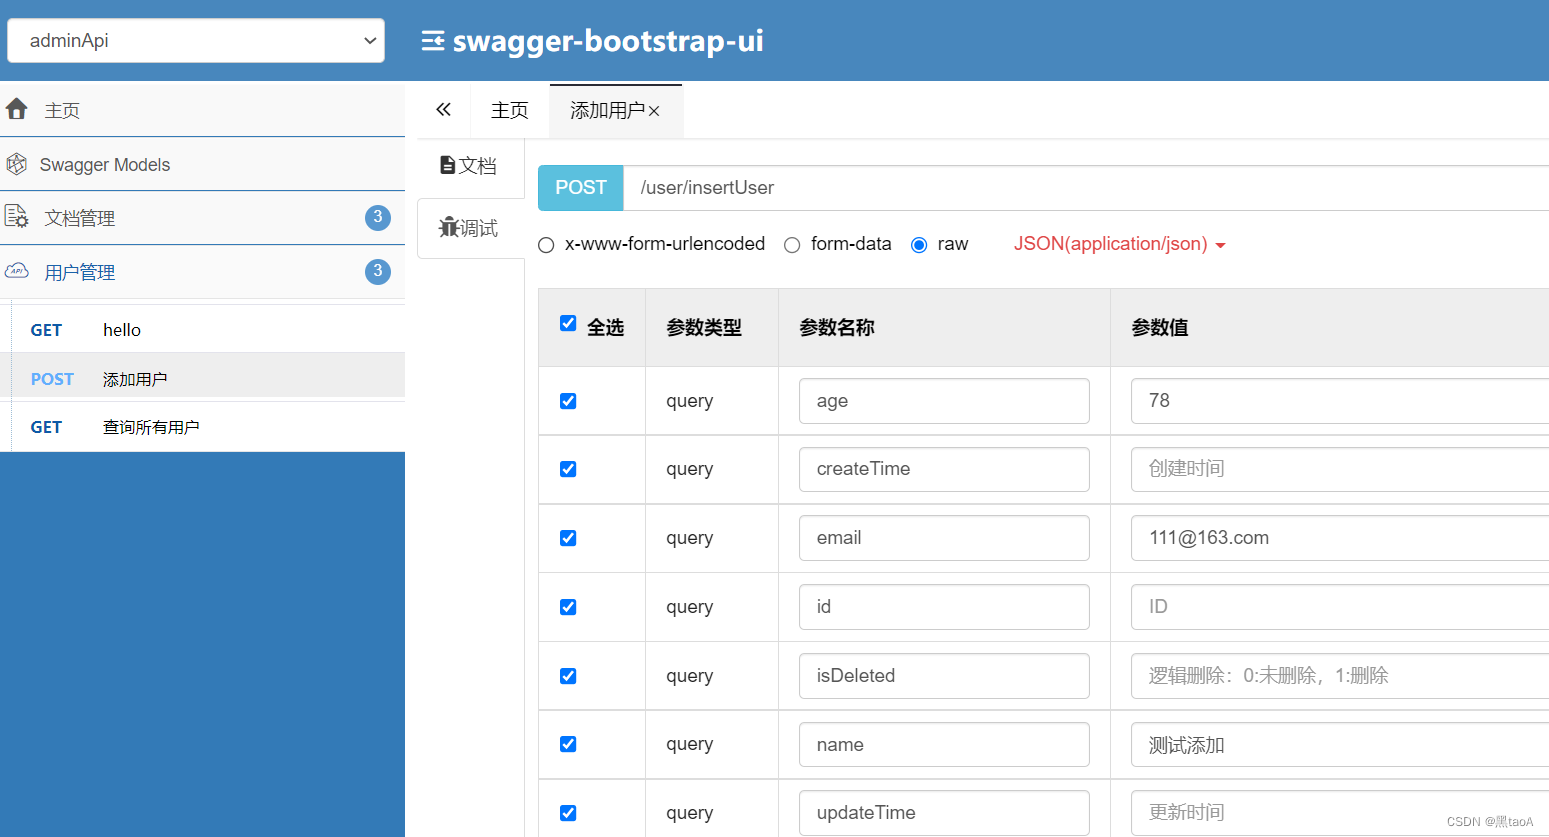
4. Page example