A simple way to connect a Linux-based remote server to PyCharm Professional Edition software
1. Download and install the PyCharm Professional Edition software, pay attention to the non-community version, the community version does not have the function of connecting to the remote server.
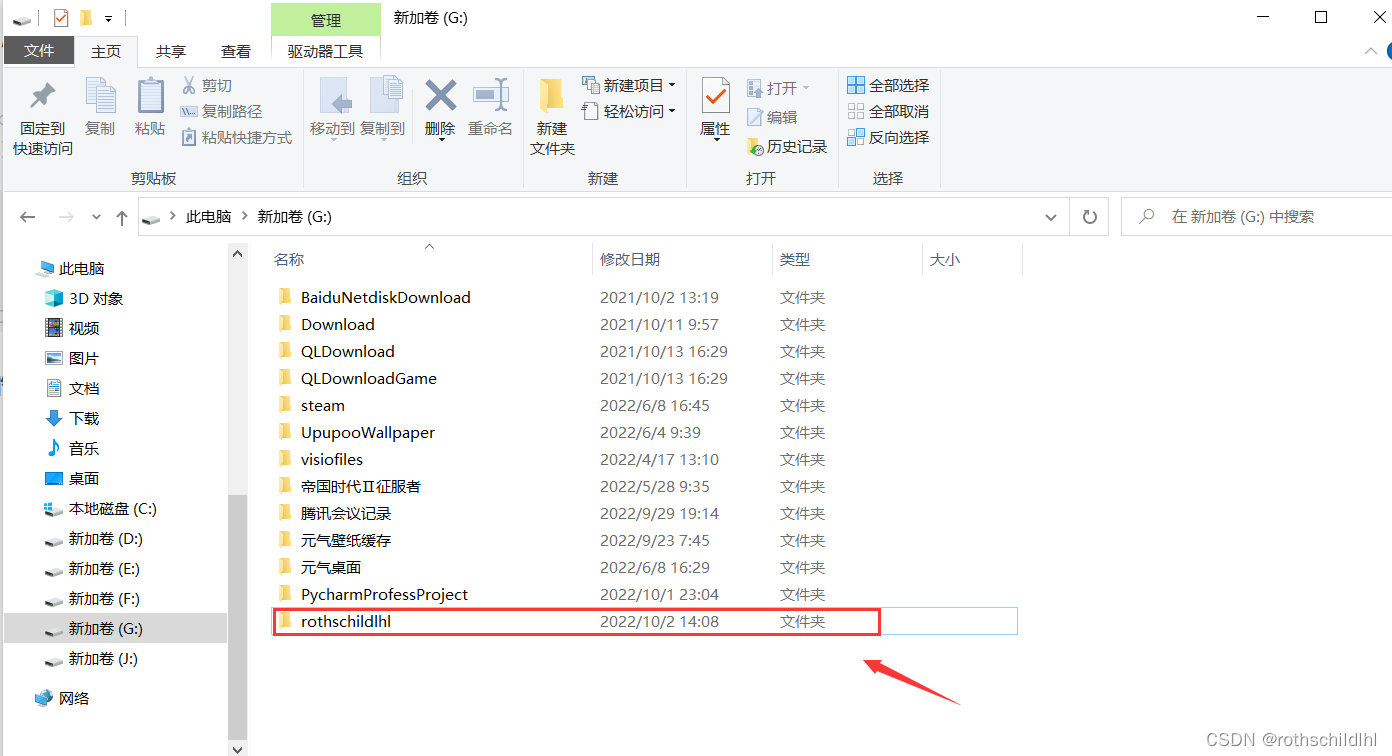
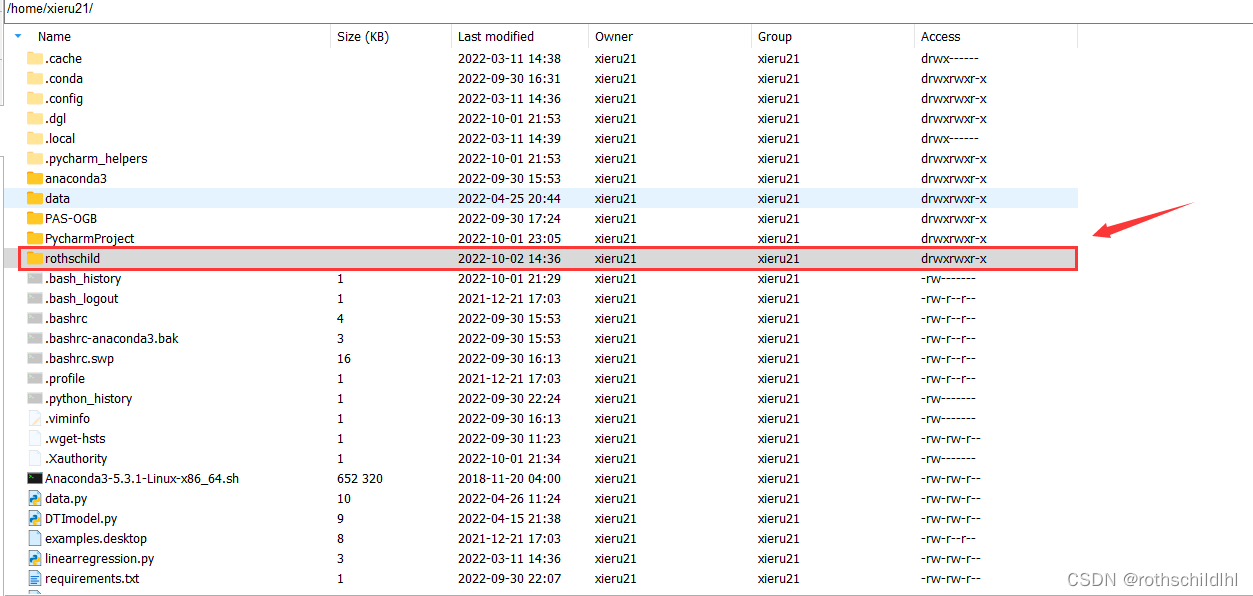
2. Create a new folder on both the local and remote servers as a storage file mapped between the local and remote servers. For example, the blogger created an empty folder called rothschildlhl on the G drive, and also created a new one on the remote server. An empty folder called rothschild.
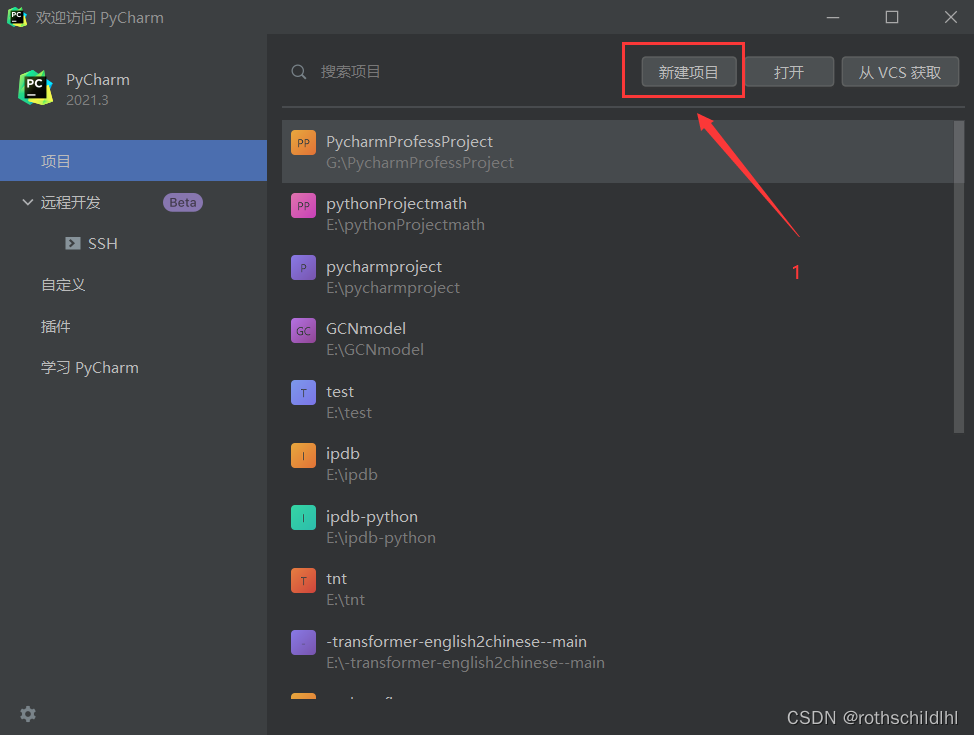
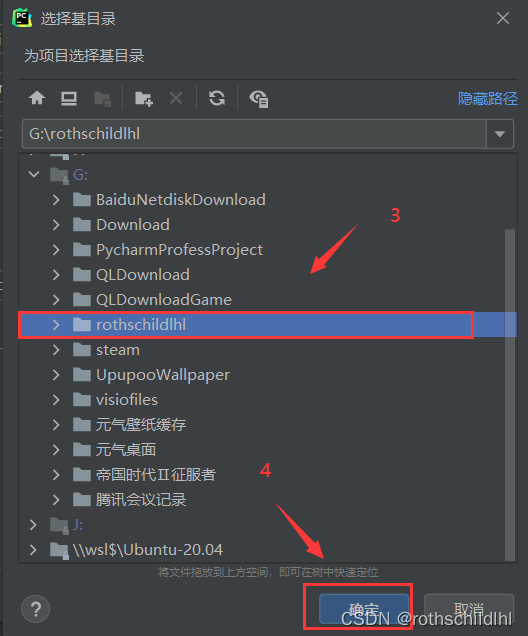
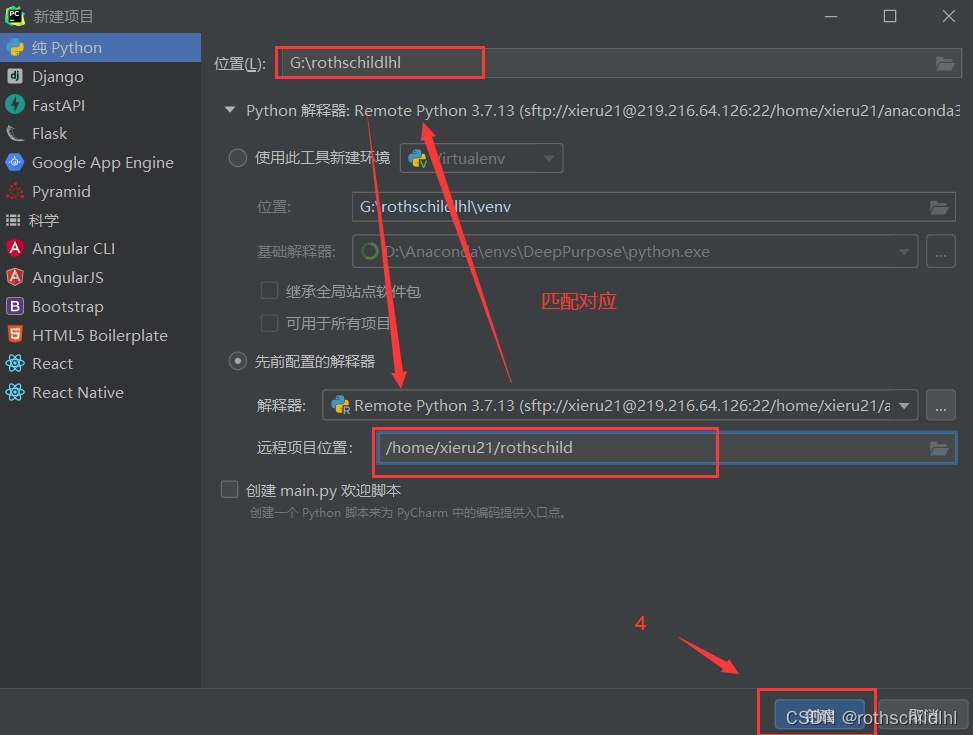
3. Open PyCharm Professional Edition, then click "New Project", and then replace the local location folder where this project was created, and replace it with the empty folder rothschildlhl created locally in the previous step.


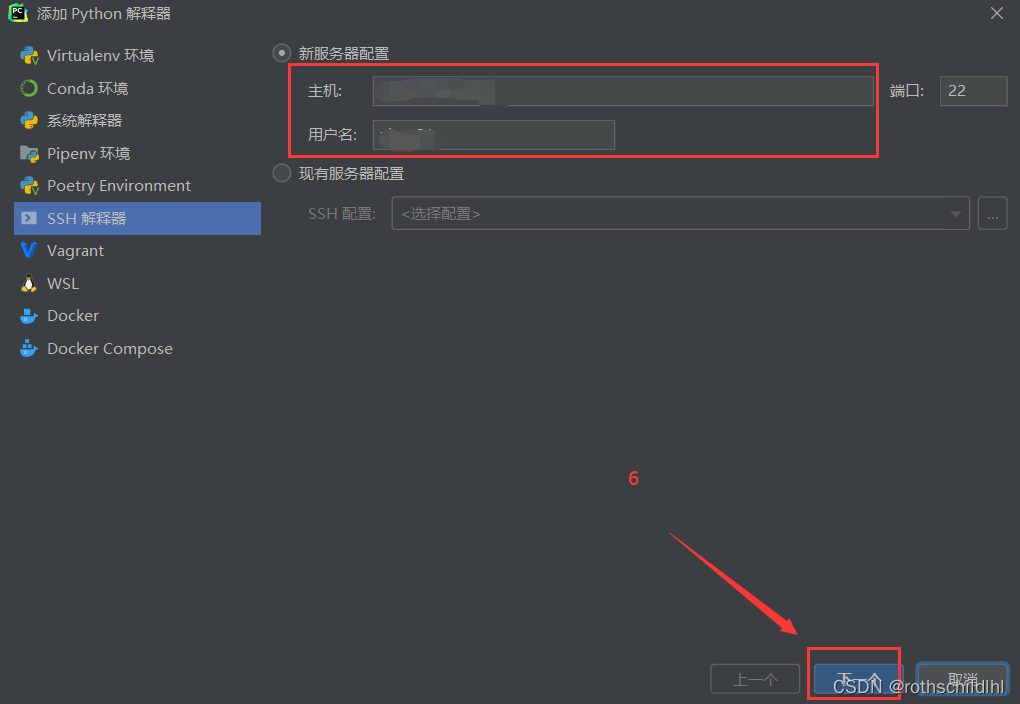
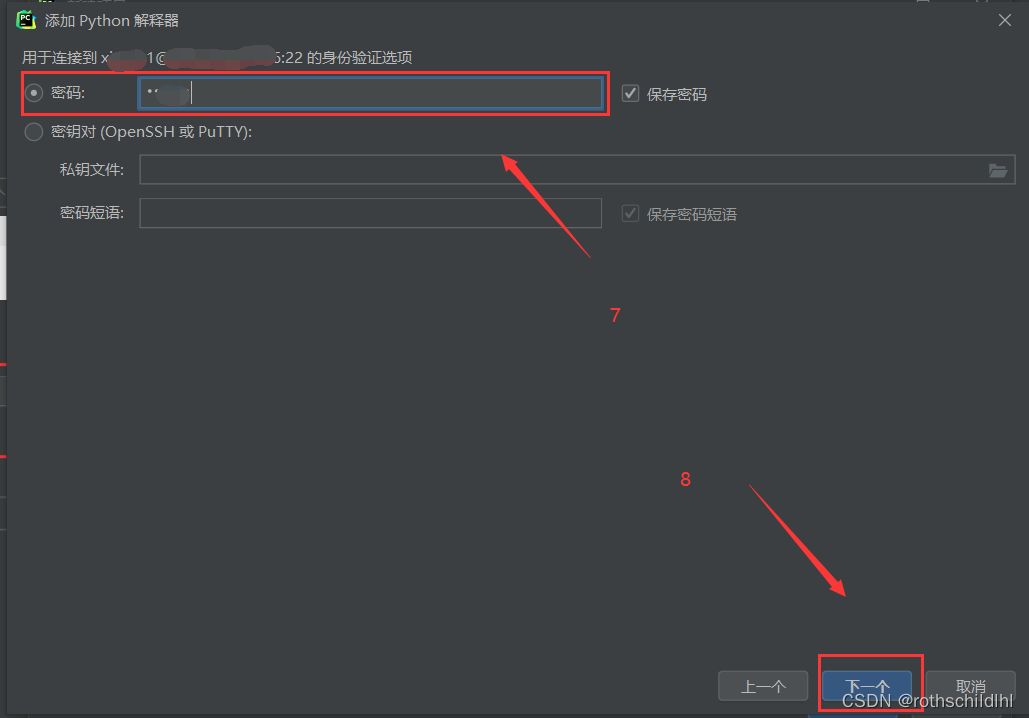
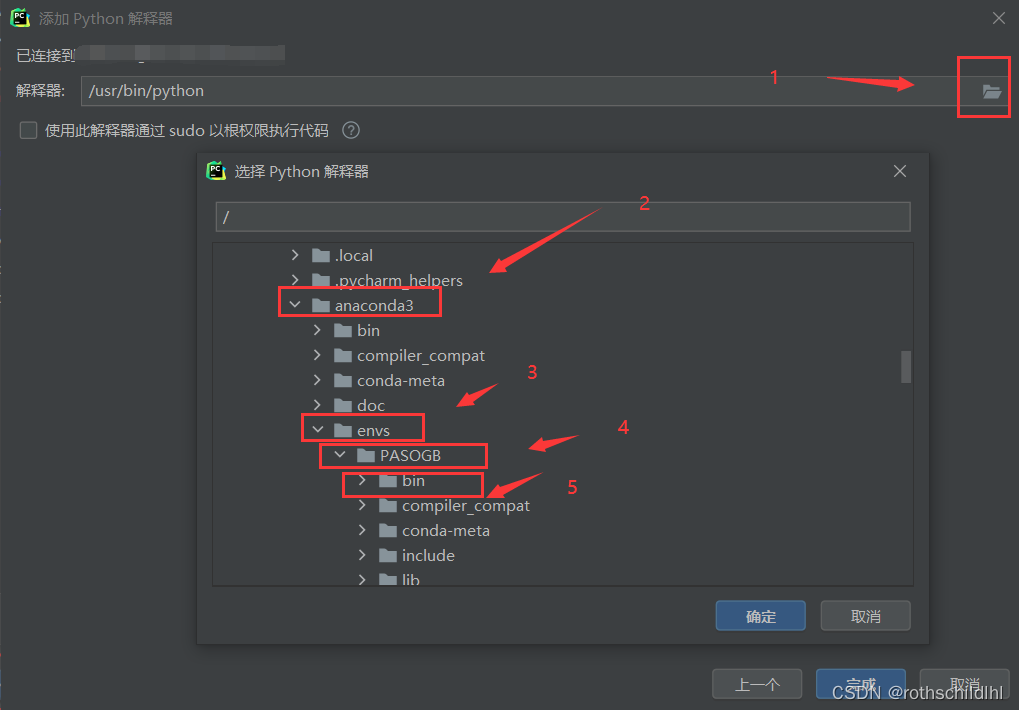
4. Follow the operation in the figure below to add a python interpreter, which is actually to add a python interpreter of a remote server, then enter the host IP and user name (usually root) of the remote server, then click Next, and then enter the corresponding user password, Click Next to connect to the remote server.


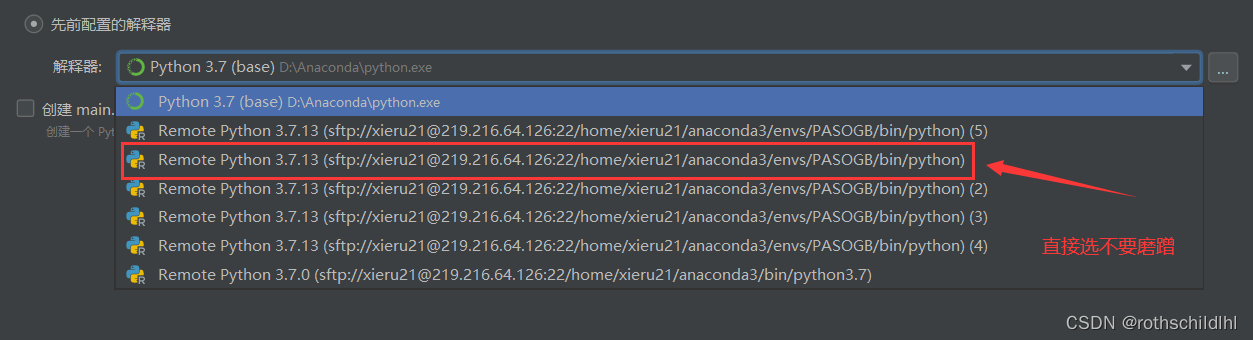
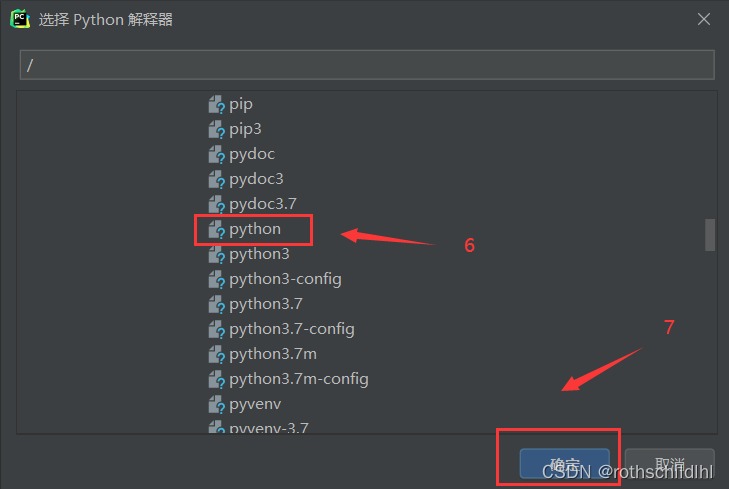
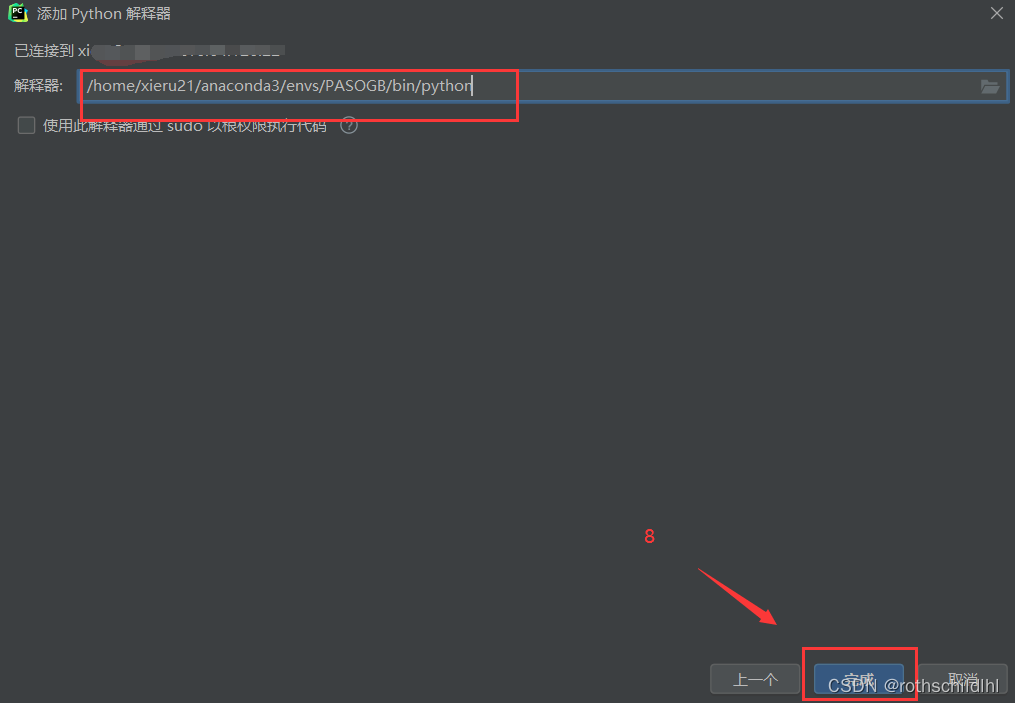
5. After successfully connecting to the remote server, you need to select a suitable python virtual environment in the remote server, create a python virtual environment, etc. Click the link below to refer to the blogger’s article, and then the blogger has created a python virtual environment on the remote server before The name is PASOGB, then see the picture below to find the bin directory of this environment, and then click to find the python.exe in the bin directory (note: do not select other files related to python, otherwise the subsequent python code cannot be compiled and run) the executable file, and then Click Finish.
Python virtual environment: Click to open the "Anaconda environment based on remote server installation and configuration and detailed plan for creating a python virtual environment" article
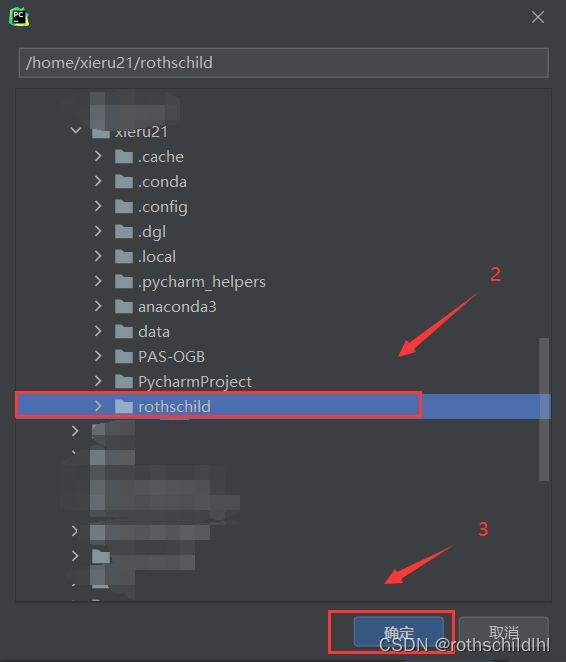
Sixth, the next step is to change the remote server to map the location of the local python project storage folder, which is to select the rothschild folder created in the first step.

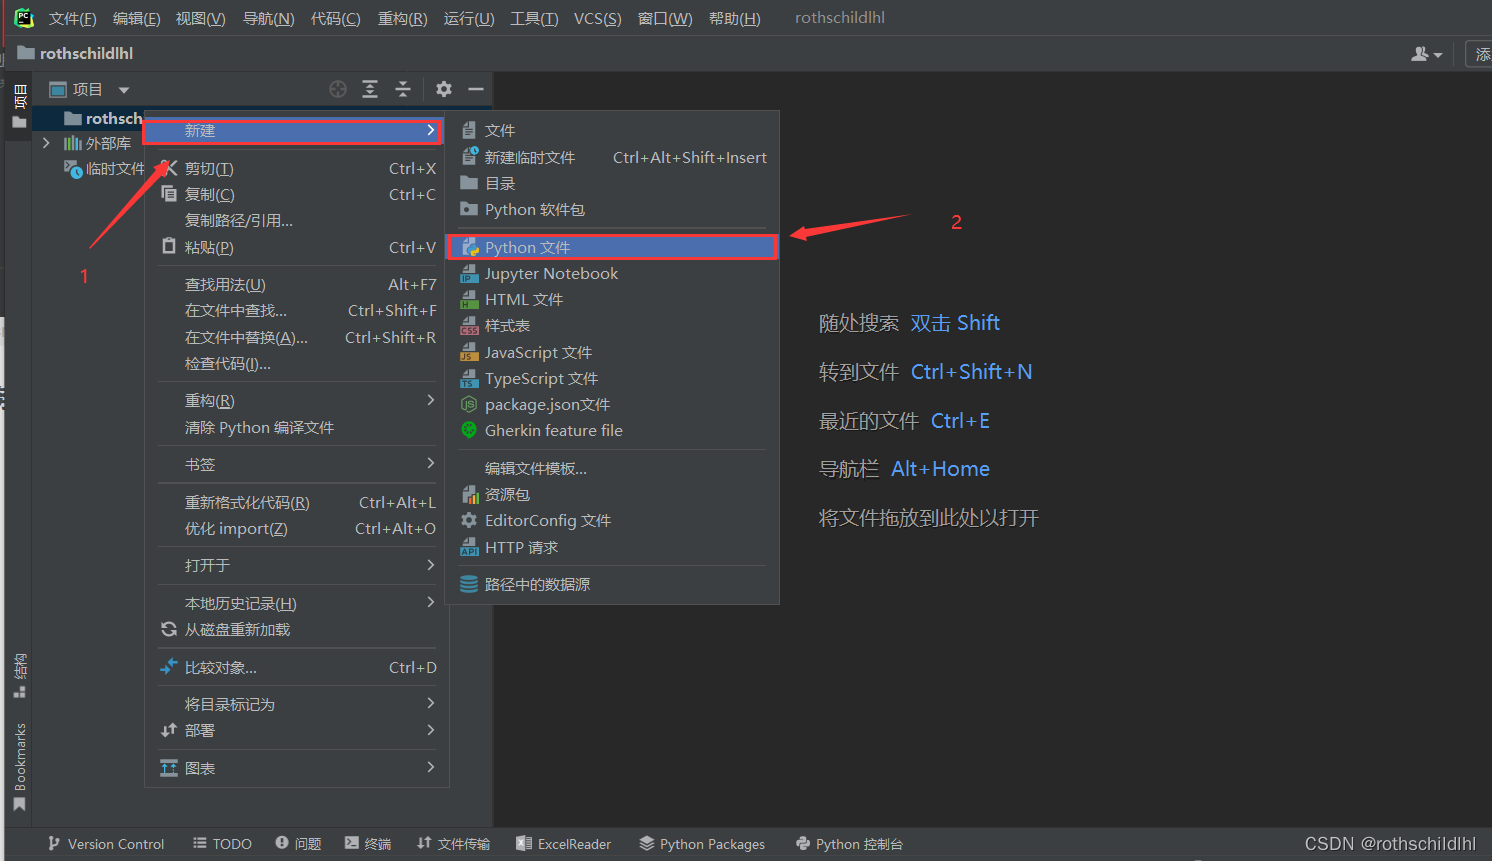
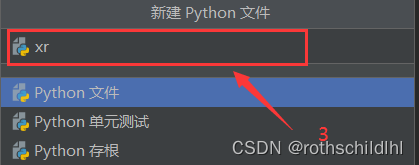
7. Next, check whether the remote server is successfully connected to the PyCharm professional software, and create a new python file called xr under the local rothschildlhl project.

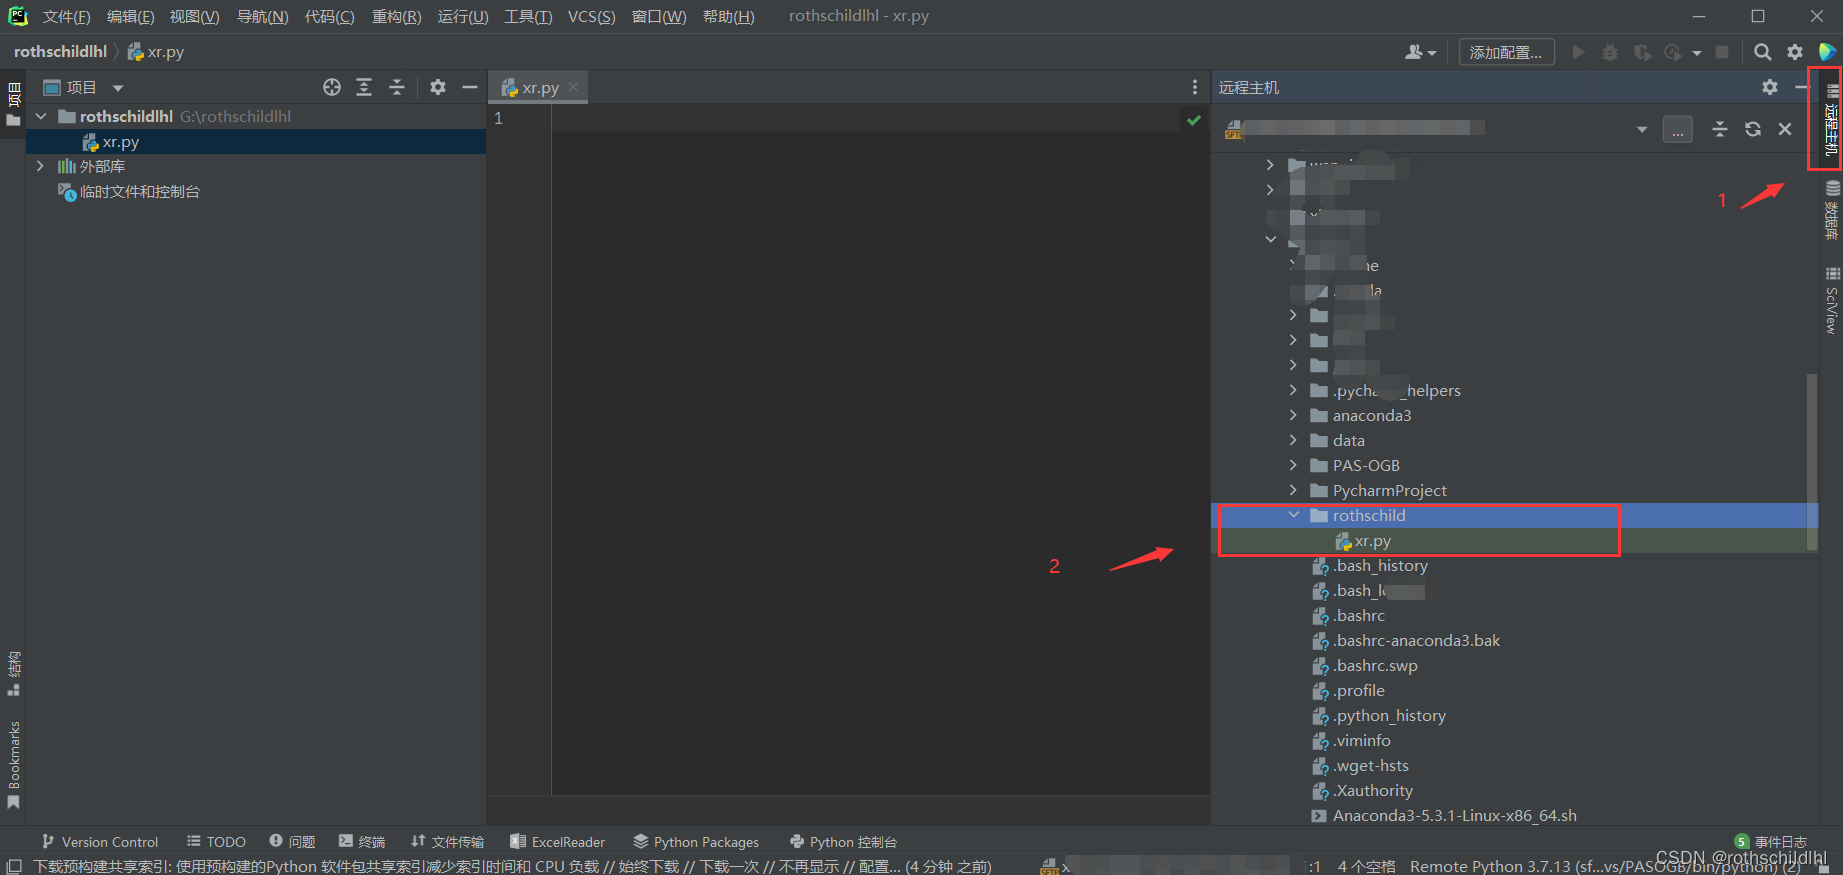
8. Click on the remote host as shown in the figure below, and then find that the newly created xr file under the local rothschildlhl project is uploaded and updated to the remote server and its supporting mapped rothschild project.
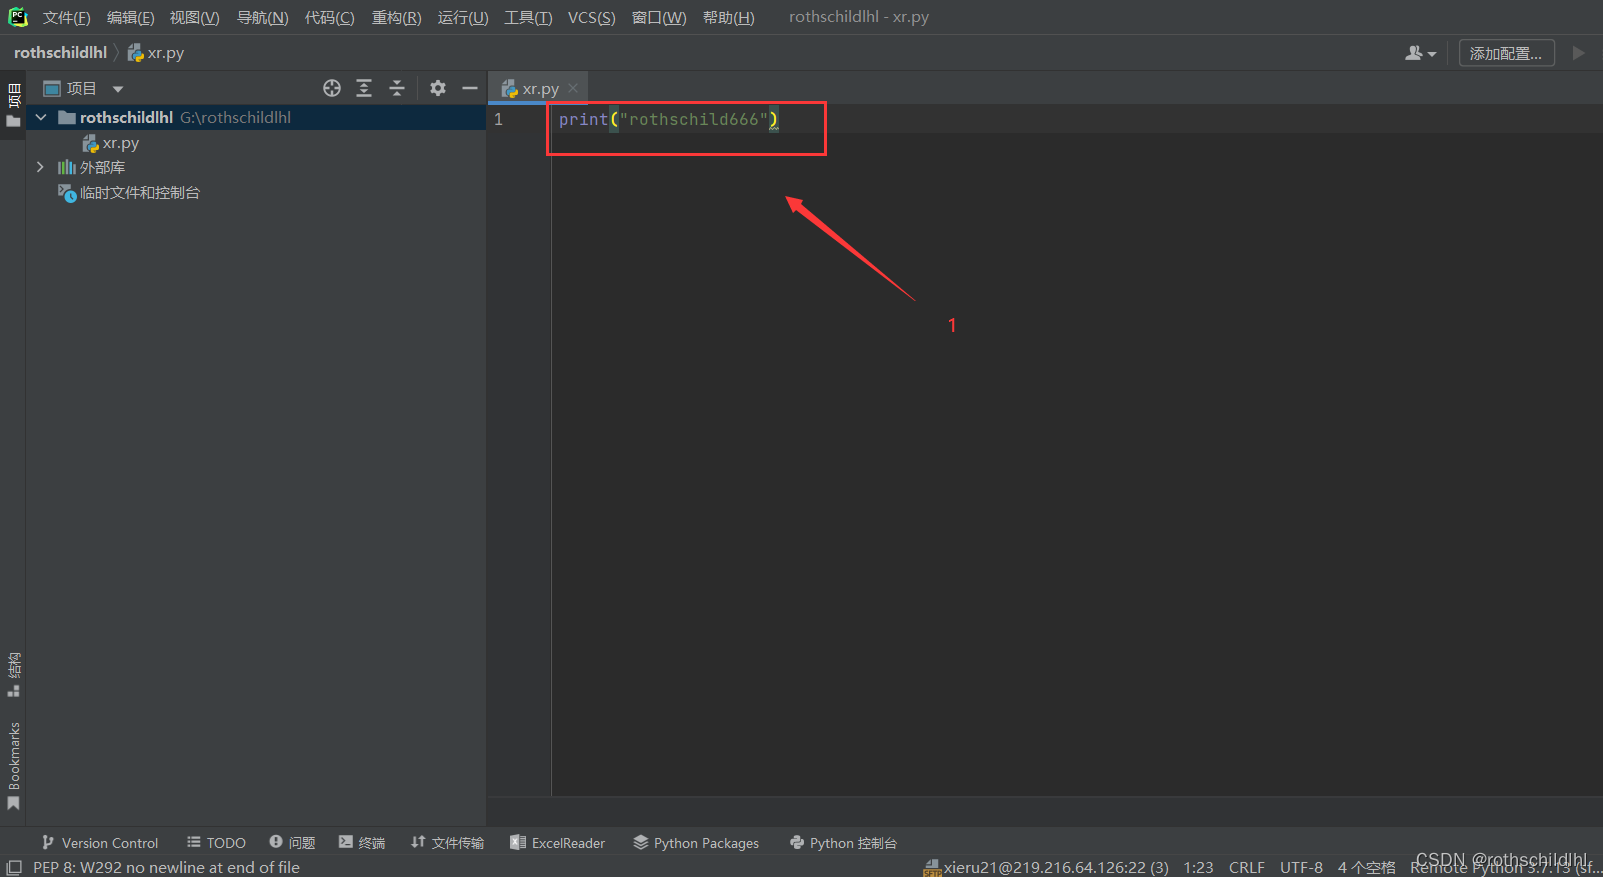
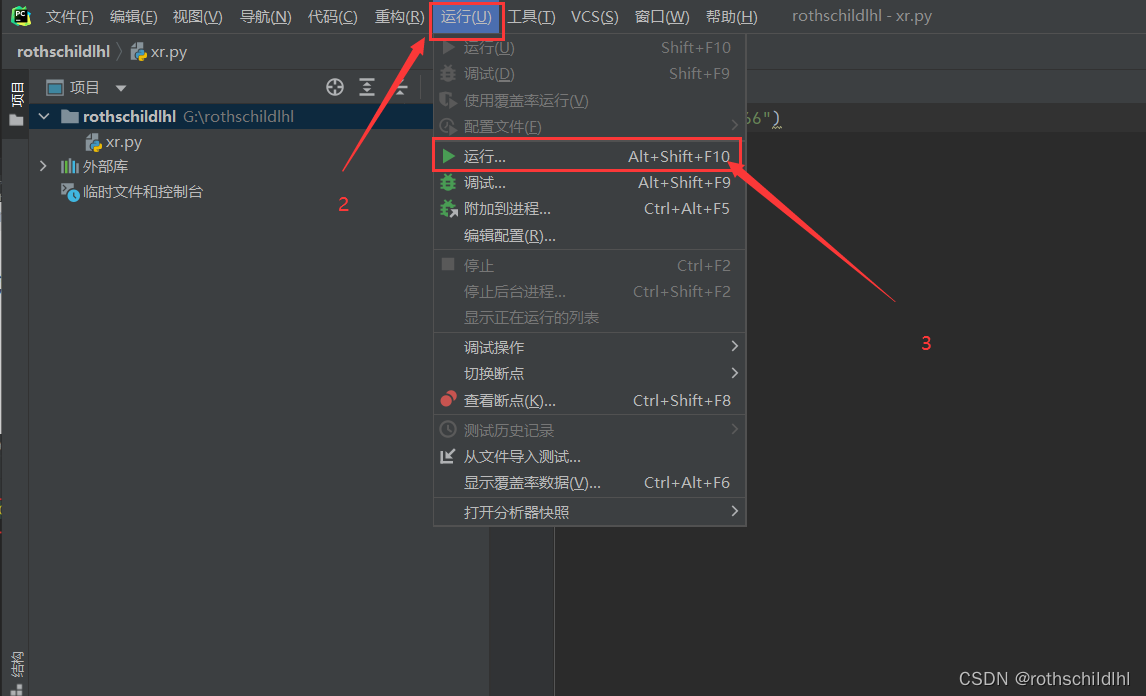
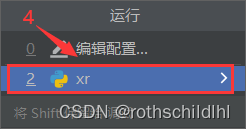
9. Then copy the following code to the previously created xr file, and then run it. If the result shown in the figure below appears, it means that the remote server connection to the PyCharm Professional Edition software has been successfully completed.
print("rothschild666")

10. If the "can't open file : [Errno 2] No such file or directory" error occurs, there is a situation that needs to be considered, that is, the newly created local file is not synchronized with the remote server that matches the mapping, and another hidden situation is that the blog Through several tests, the master found that if the python virtual environment of the same remote server is selected to re-enter the connection multiple times, this problem will be caused. pycharm selects the connection environment that has been saved before (see the figure below), instead of re-entering the IP and user and password again.