Article Directory
foreword
With today's speech being used more and more, try to study Kaldi, an open source speech recognition project.
Kaldi official website , including the installation of Kaldi and the explanation of various contents
Kaldi's github warehouse address , Kaldi's source code is stored in github
The following book is recommended, which can help understand Kaldi and has installation steps

1. What is Kaldi?
Introduction to Kaldi official website
Kaldi is a speech recognition toolkit written in C++ and licensed under the Apache License v2.0. Kaldi is intended for use by speech recognition researchers.
2. Use steps
1. Clone code
The code is as follows (example):
git clone [email protected]:kaldi-asr/kaldi.git
2. Install dependent libraries
This is the steps seen in Kaldi's INSTALL file. Generally, follow the steps provided in this file to complete the Kaldi installation, or directly check the official website or the recommended book.
This is the official Kaldi INSTALL. Look also at INSTALL.md for the git mirror installation.
[Option 1 in the following does not apply to native Windows install, see windows/INSTALL or following Option 2]

Option 1 (bash + makefile):

  Steps:
    (1)
    go to tools/  and follow INSTALL instructions there.

    (2)
    go to src/ and follow INSTALL instructions there.

Option 2 (cmake):

    Go to cmake/ and follow INSTALL.md instructions there.
    Note, it may not be well tested and some features are missing currently.
The official start, the installation steps are as follows (the most basic can execute Kaldi)
$ cd tools\extras
#执行如下脚本,检测需要安装哪些环境
$ ./check_dependencies.sh
./check_dependencies.shAfter the current cost reduction is executed, it will output the specific missing environments, and the specific execution command will be output in the terminal, and the installation operation will be performed according to the given command.安装完成之后继续执行当前脚本,重复前面的步骤,直到最终提示如下,环境安装完成
./check_dependencies.sh: all OK.
execute compile
Exit the directory to the root directory of the kaldi project and perform the following steps
$ cd src
$ ./configure
# 数字代表开多少线程
$ make或者make -j 8
So far the compilation is successful.
But when executing the following command, an error will be reported
$ cd src
$ ./configure --shared
# 数字代表开多少线程
$ make或者make -j 8
After executing ./configure --sharedthe current command, there will be a warning, which should tell us that CUDA is not installed
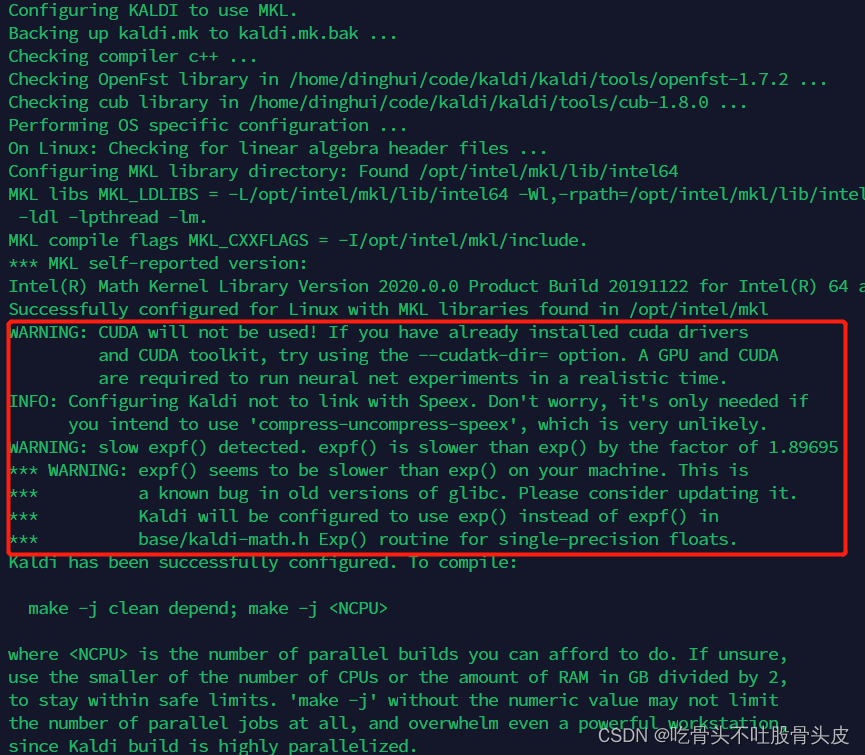
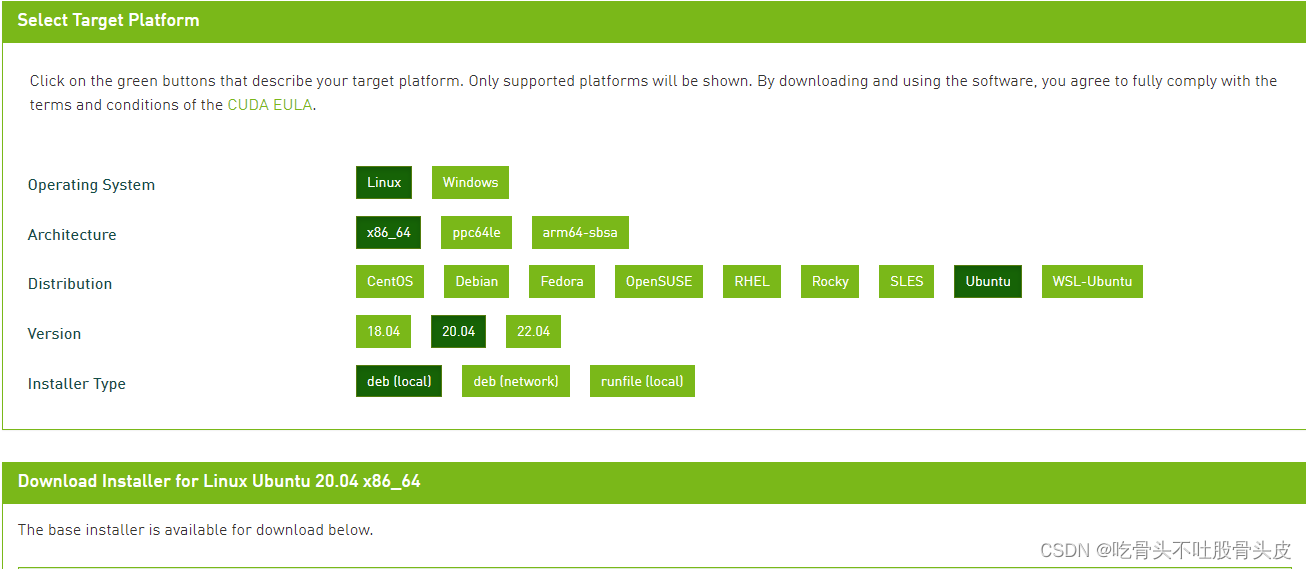
NVIDIA official website CUDA tool download , I chose the Ubuntu version of the installation
$ wget https://developer.download.nvidia.com/compute/cuda/repos/ubuntu2004/x86_64/cuda-ubuntu2004.pin
$ sudo mv cuda-ubuntu2004.pin /etc/apt/preferences.d/cuda-repository-pin-600
$ wget https://developer.download.nvidia.com/compute/cuda/11.7.0/local_installers/cuda-repo-ubuntu2004-11-7-local_11.7.0-515.43.04-1_amd64.deb
$ sudo dpkg -i cuda-repo-ubuntu2004-11-7-local_11.7.0-515.43.04-1_amd64.deb
$ sudo cp /var/cuda-repo-ubuntu2004-11-7-local/cuda-*-keyring.gpg /usr/share/keyrings/
$ sudo apt-get update
$ sudo apt-get -y install cuda
Excuting an order:
./configure --shared
Then continue to execute ./configure --sharedthe current command, there is no CUDA warning, and the subsequent execution command is circled in the red box as follows:
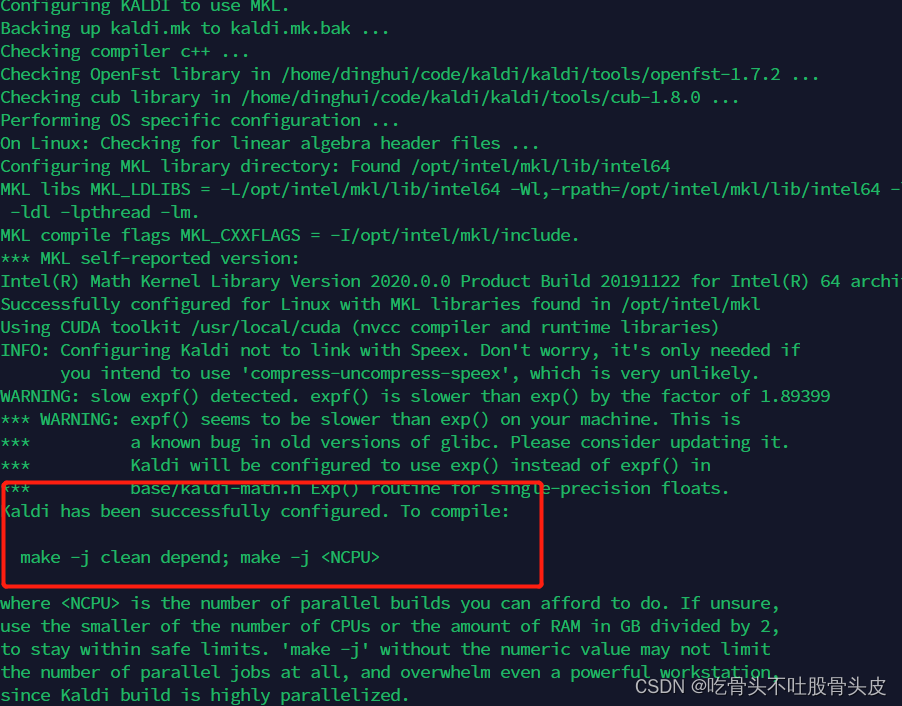
make -j clean depend
make -j 8
So far the compilation is successful
The generated .so library is stored in the following directory
cd src/lib
Summarize
This is the simplest execution step, kaldi provides a complete script to use, which facilitates our installation, nice.
Kaldi's official website , including Kaldi's installation and explanations of various contents
Kaldi's github warehouse address , Kaldi's source code is stored in github
NVIDIA official website CUDA tool download , I chose the Ubuntu version of the installation