1. Set up the Java environment
1.1yum installation (recommended)
yum install java-11-openjdk
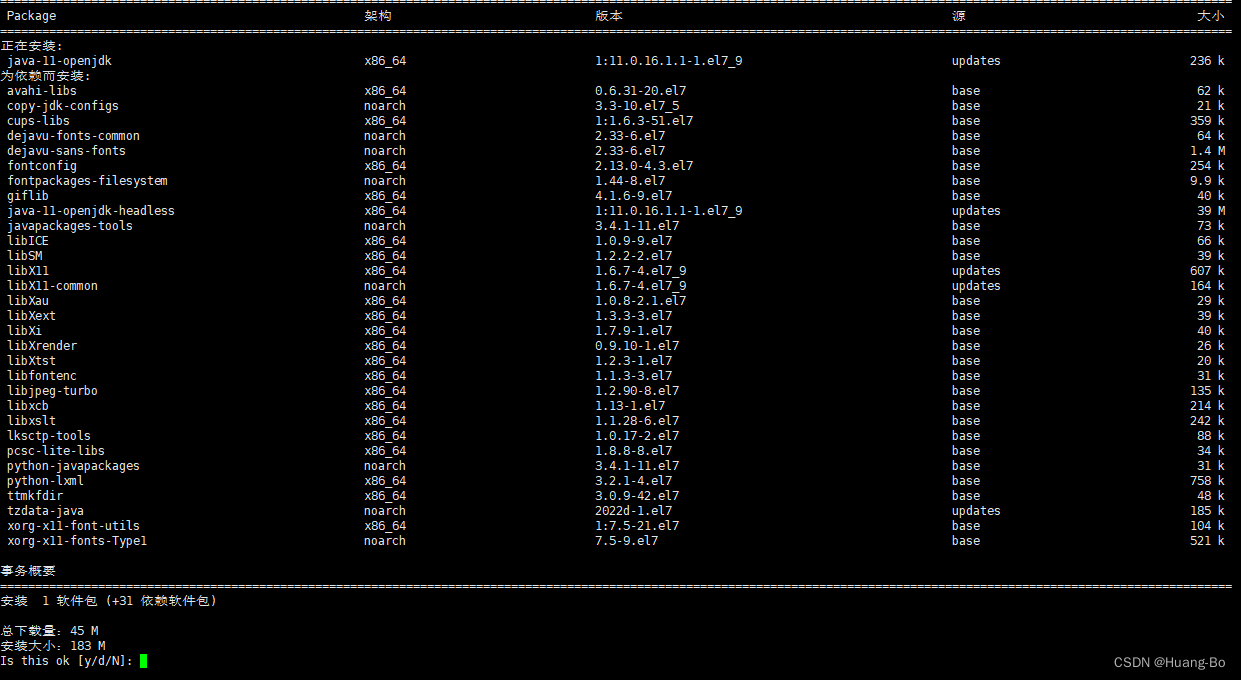
After using yum to install, there is no need to configure environment variables to directly call the java command to return the following results to prove that the java environment configuration is successful
#java -version
openjdk version "11" 2018-09-25
OpenJDK Runtime Environment 18.9 (build 11+28)
OpenJDK 64-Bit Server VM 18.9 (build 11+28, mixed mode)
1. 2. Source code installation (not recommended)
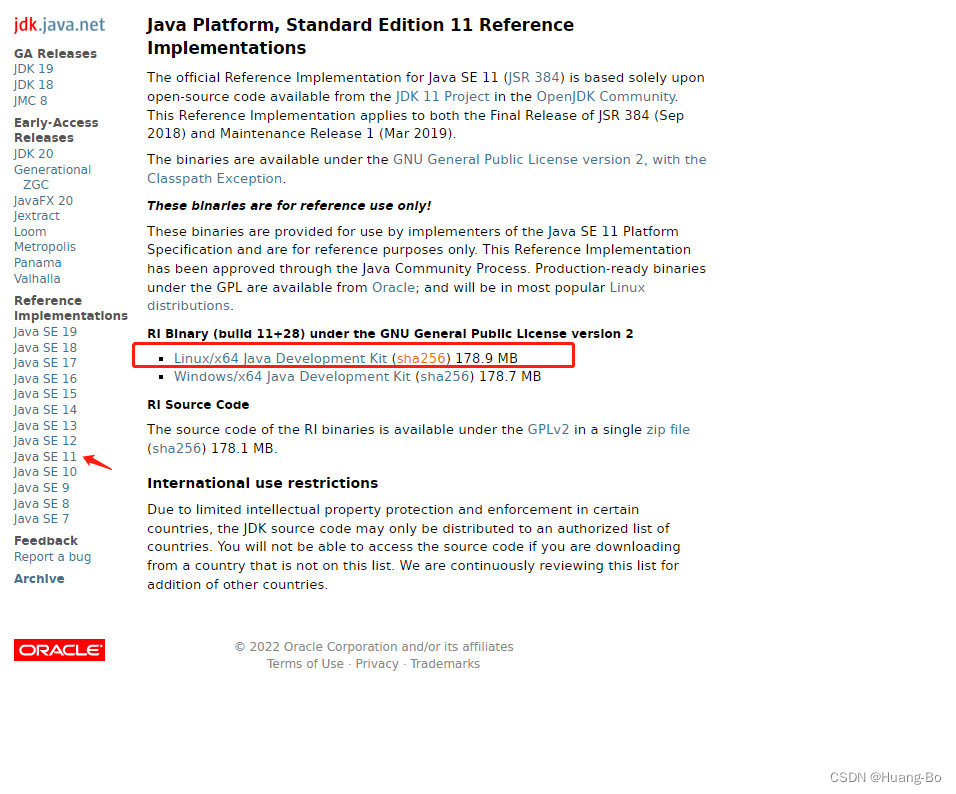
1.2.1 Download
Download method 1
wget https://download.java.net/openjdk/jdk11/ri/openjdk-11+28_linux-x64_bin.tar.gz
Download method 2
Open-jdk11 download address
can be downloaded on a single machine and
uploaded to the Linux server after downloading
1.2.2 Installation
Unzip the jdk compressed package
#tar zxvf openjdk-11+28_linux-x64_bin.tar.gz
Configure environment variables
Write the path where the jdk environment is located in the following file
#vim /etc/profile
 export JAVA_HOME=/opt/jdk-11
 export CLASSPATH=.:$JAVA_HOME/jre/lib/rt.jar:$JAVA_HOME/lib/dt.jar:$JAVA_HOME/lib/tools.jar
 export PATH=$PATH:$JAVA_HOME/bin
reload configuration file
source /etc/profile
The following results are displayed to prove that jdk has been configured
#java -version
openjdk version "11" 2018-09-25
OpenJDK Runtime Environment 18.9 (build 11+28)
OpenJDK 64-Bit Server VM 18.9 (build 11+28, mixed mode)
1.3. It is recommended to use yum to install jdk
Note: The java environment read by Jenkins by default is /usr/bin/java. If you install jdk in this way, you need to add a custom java environment path to the Jenkins startup configuration file, or set a soft link to point to /usr The path /bin/java
is not recommended to use this method to install the jdk environment. It is recommended to use the yum method for installation, which is simple and not prone to problems.
Edit the path file below
vim /etc/init.d/jenkins

2. Install Jenkins in rpm mode (choose one of rpm mode and yum mode)
2.1. Download the Jenkins installation package
2.2. Import the Jenkins rpm package and install it
Install the specified version of Jenkins, you can choose the corresponding version according to the version you want to install
rpm -ivh jenkins-2.361.2-1.1.noarch.rpm

3. Install Jenkins using yum
Jenkins official download address
3.1. Configure Jenkins installation source
sudo wget -O /etc/yum.repos.d/jenkins.repo https://pkg.jenkins.io/redhat-stable/jenkins.repo
3.2. Install ca-certificates software and import Jenkins key
yum -y install ca-certificates
sudo rpm --import https://pkg.jenkins.io/redhat-stable/jenkins.io.key
3.3. Install Jenkins
yum -y install jenkins
4. Modify the Jenkins directory
Because the directory is created by root, you need to change the user of the directory to the jenkin user or modify the permissions of the directory (choose one of the two methods)
#chown jenkins.jenkins /opt/jenkins
#chmod 777 /opt/jenkins
Edit the following path to modify the Jenkins configuration (port, working directory, user, etc.)
vim /lib/systemd/system/jenkins.service

User=jenkins
Group=jenkins
Environment="JENKINS_HOME=/opt/jenkins"
WorkingDirectory=/opt/jenkins
Environment="JENKINS_PORT=8080"
Reload the configuration file
#systemctl daemon-reload
Start Jenkins and set it to boot automatically
#systemctl enable jenkins.service --now
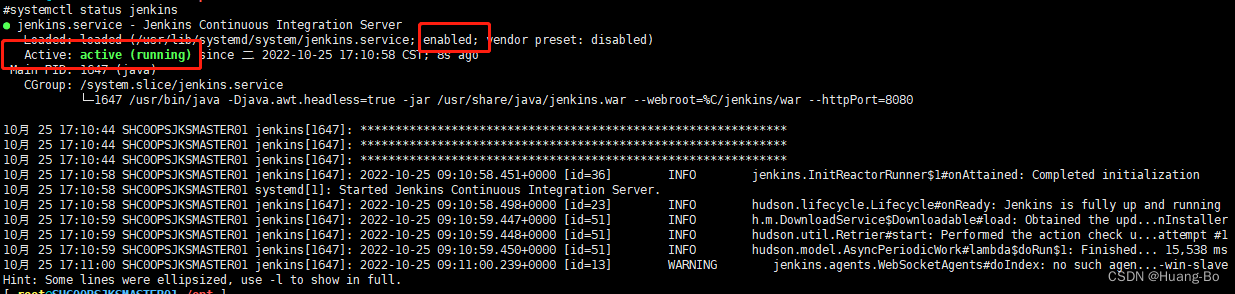
Check the running status of the Jenkins service as shown in the figure below to prove that Jenkins has been installed and can be accessed in the browser
#systemctl status jenkins
5. Access Jenkins
Enter the IP and Jenkins port in the browser to access Jenkins and
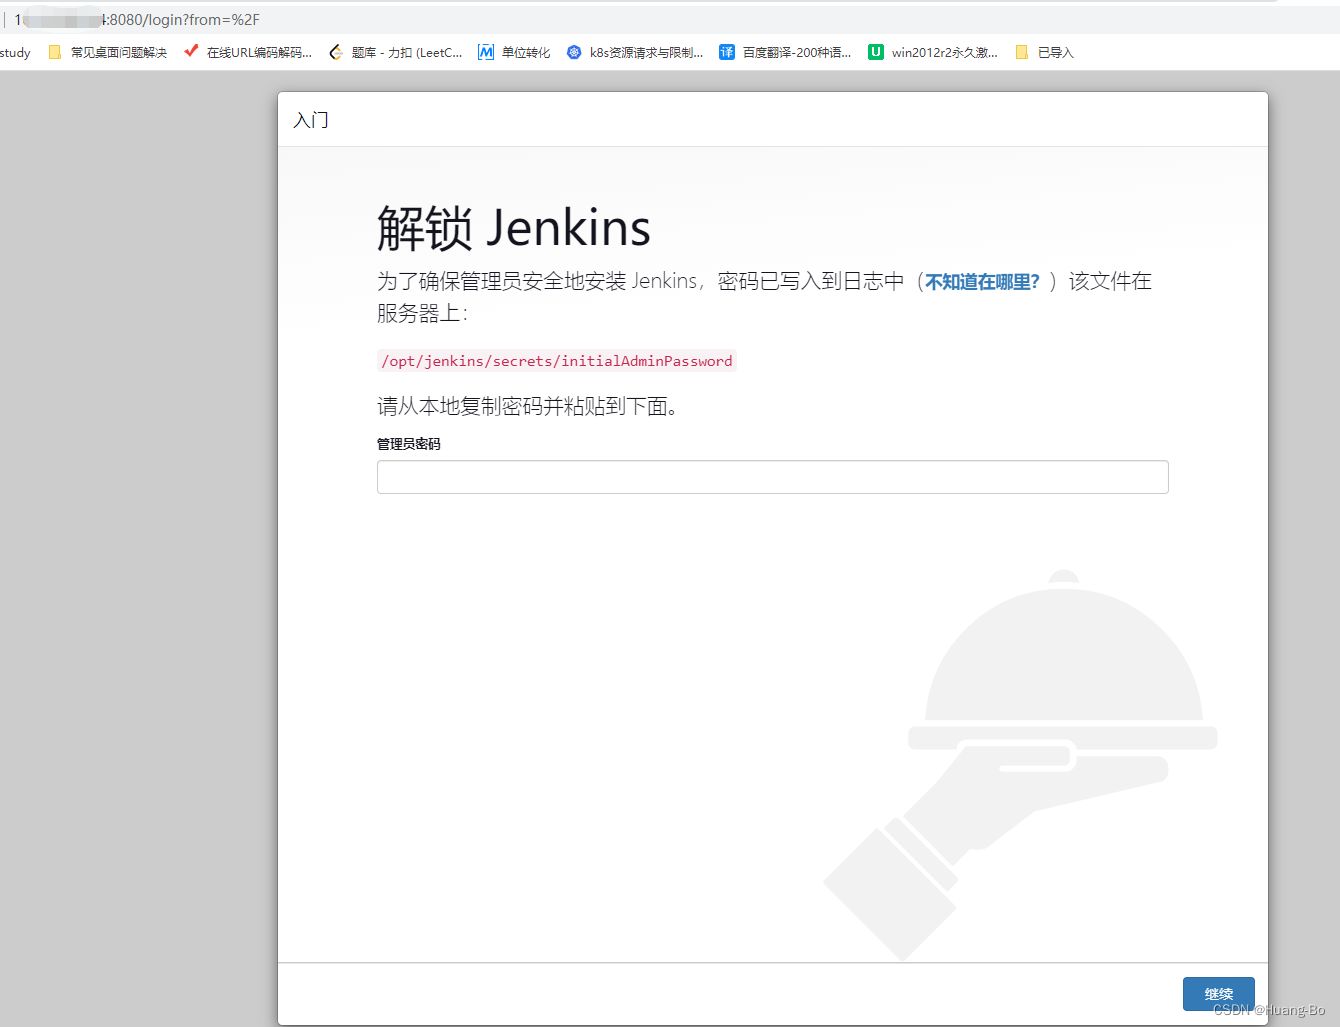
view the Jenkins web login user password
#cat /opt/jenkins/secrets/initialAdminPassword
803dafb875f14cf8bf25e337e9ed7504
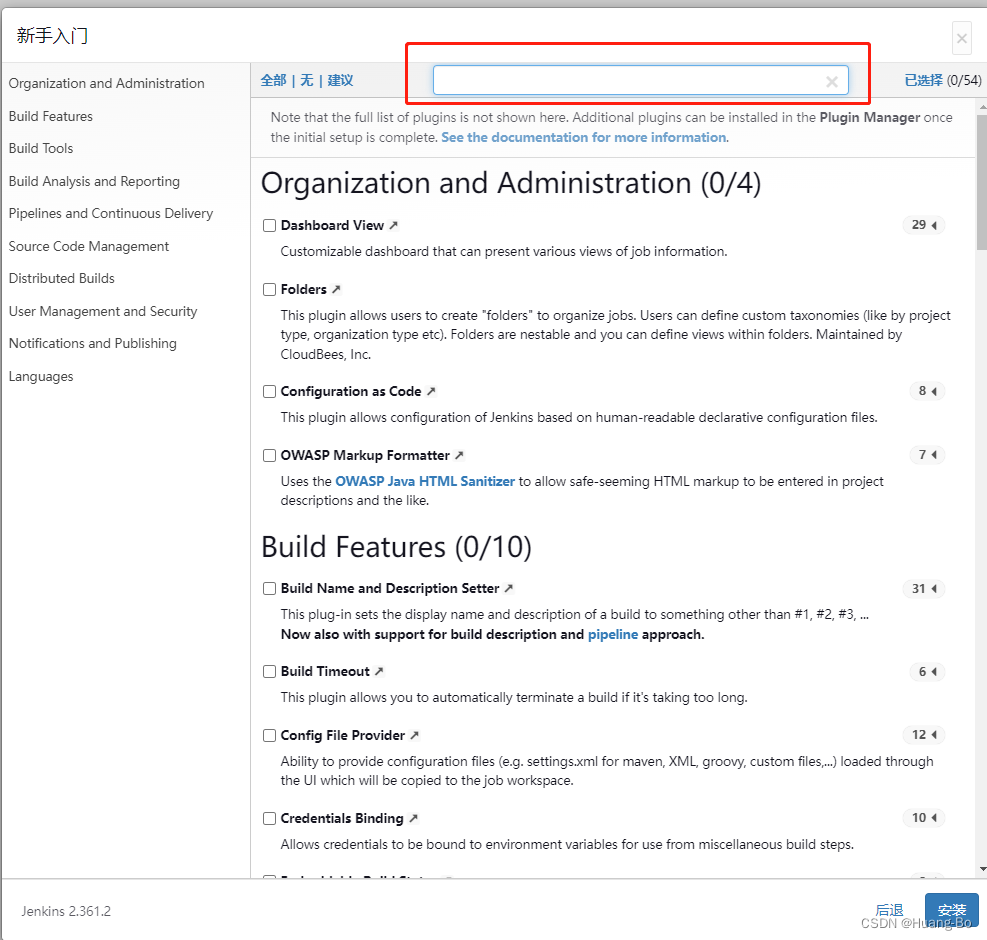
6. Install the plugin
Novices can install the plug-ins recommended by the system, or
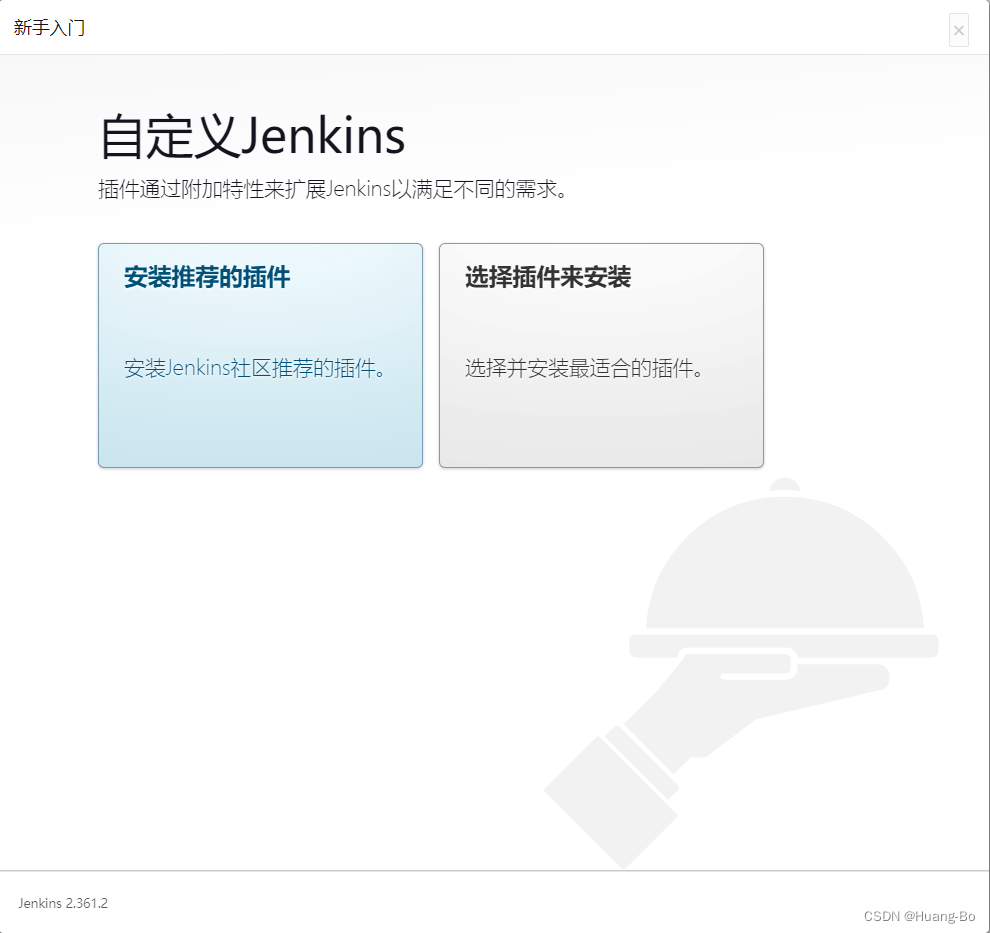
customize the installation of specified plug-ins.
At this point, the installation of Jenkins is complete!