Review the written code directly

Markup language, no logic processing.

In the middle is a piece of filling text, which has no practical meaning, and is used to test layout, etc.
The front and back are called tags,

HTML elements reference - HTML: HyperText Markup Language | MDN (mozilla.org)
Head is generally not rendered on the main body of the web page, such as some title bars.
The body is actually rendered to the user,

h1 is the heading on the theme of the page.

The standards for writing web pages may vary due to different versions, so when explaining, a type specification is required.

Create a folder, and create a file, vscode opens.
Can enter one! then tab,

Enter body and directly tab, it will help you write <> these.
After the input is complete, just open the file just now with the browser.
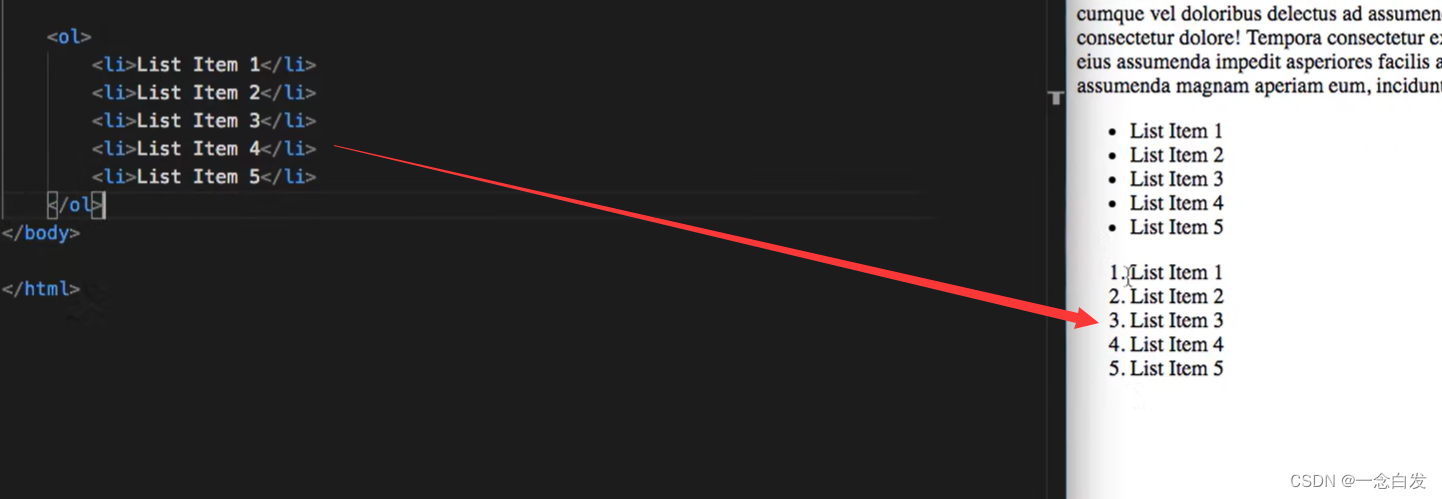
h1 to h6 are fine.
Alt + shift + ↓ can copy a line, vscode.


Annotation standard format.

Entering lorem and pressing tab will help you complete a lot of text for example.

This will generate 10 words.
p is for paragraphs.
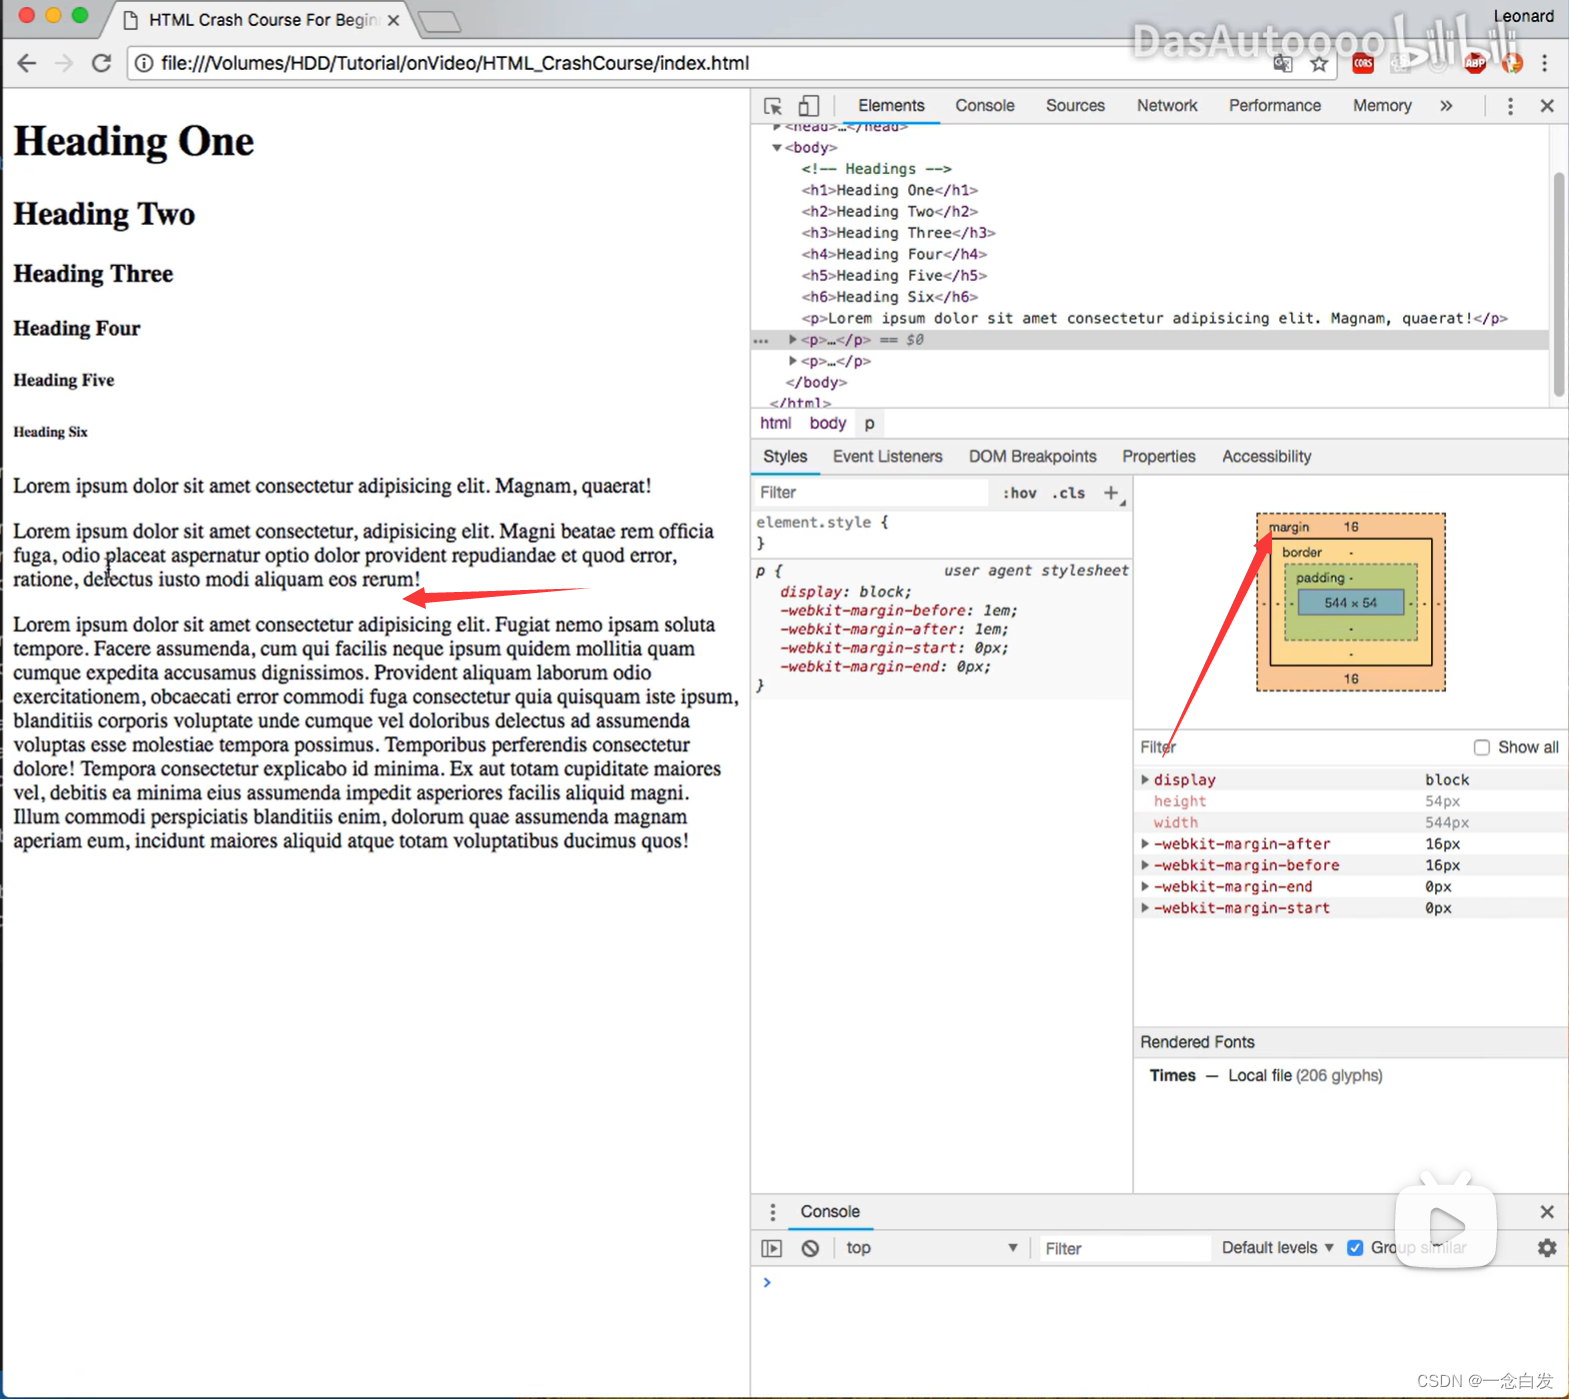
Regarding the blank space between paragraphs, we can right-click the inspector developer mode, and then select a line to see that margin controls the blank space, and its size is 16px below.


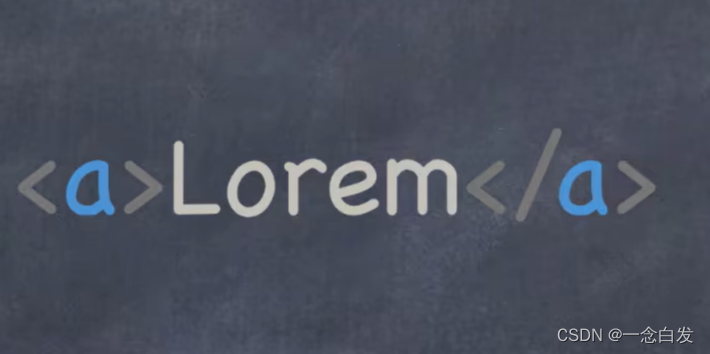
a represents the attribute attribute,

The above is after adding attributes, which means adding a hyperlink to the following text.
Usage is written in the first tag.


Write this one more sentence, and you can open the link in a new page.


Tr table row, th table head, td table data。

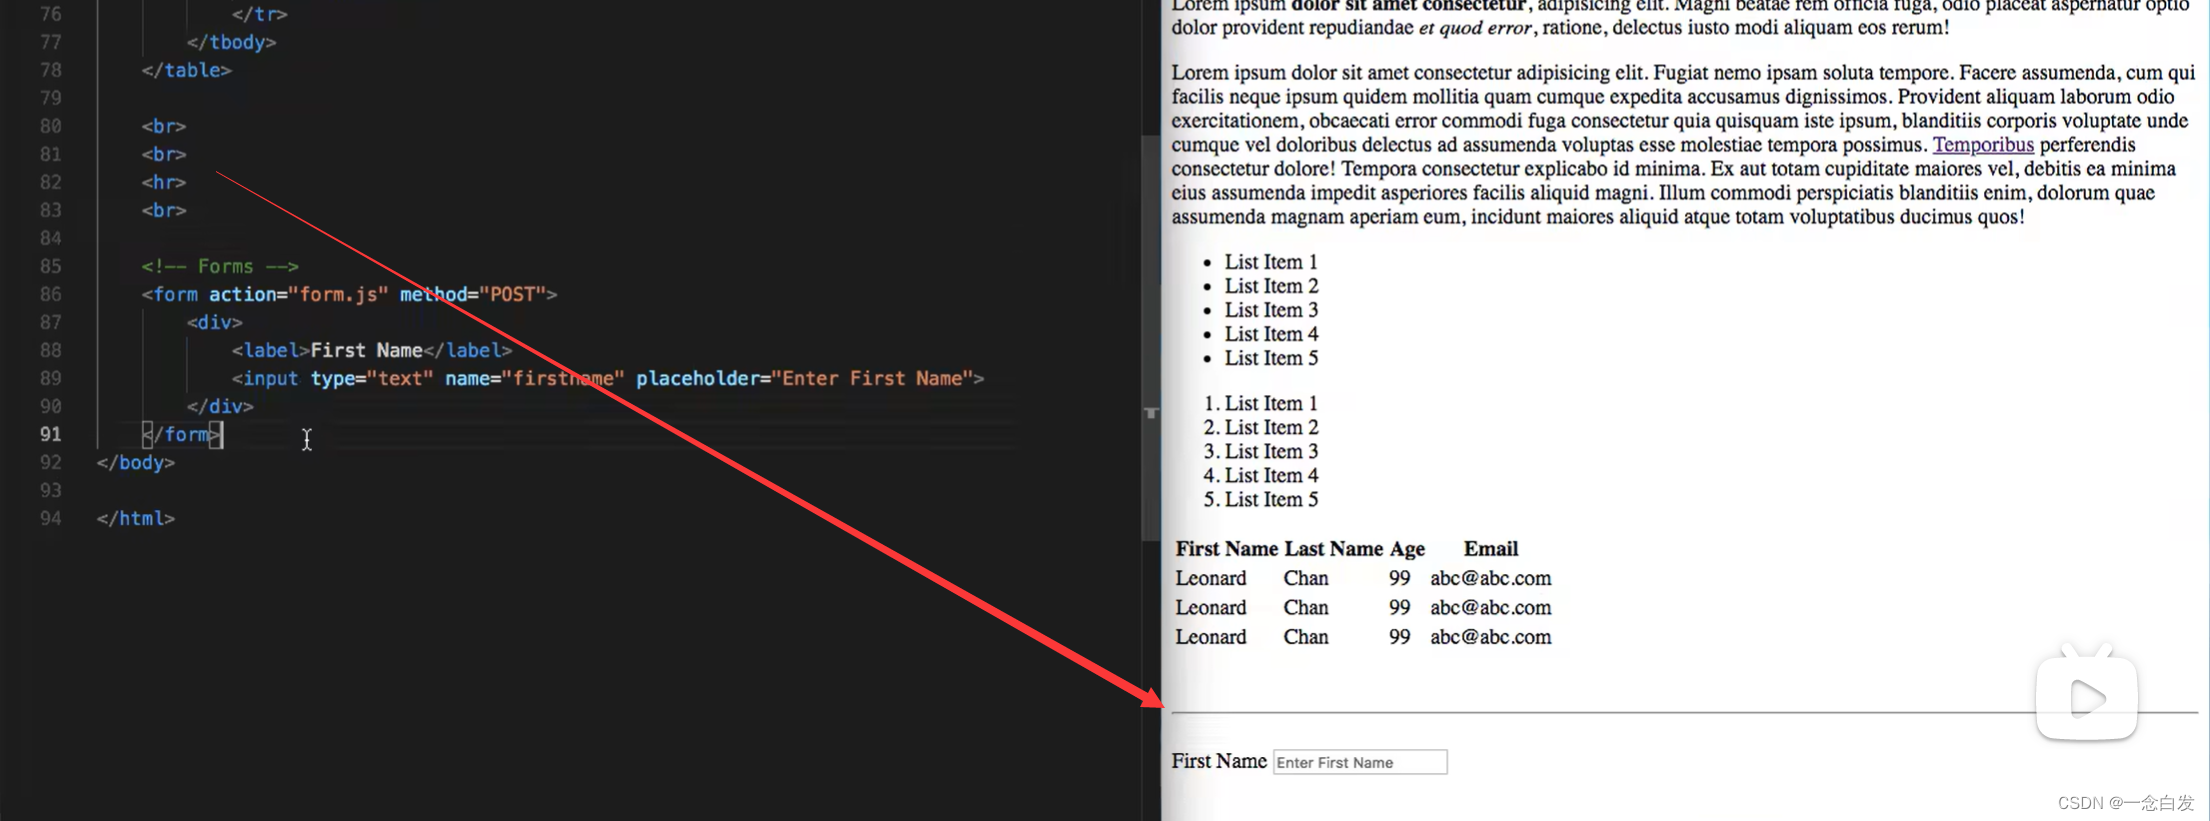
First of all, there is more than one type here, name="firstname", this means that after we input, there may be a submission, the submission will interact with the background server, then the submission will be stored in this firstname Interact with the background.

For example, we can add an action here, that is, after we submit, he will find the corresponding file name behind the action, and use this file to deal with some logical problems after submission.
Line breaker,hr horizontal line
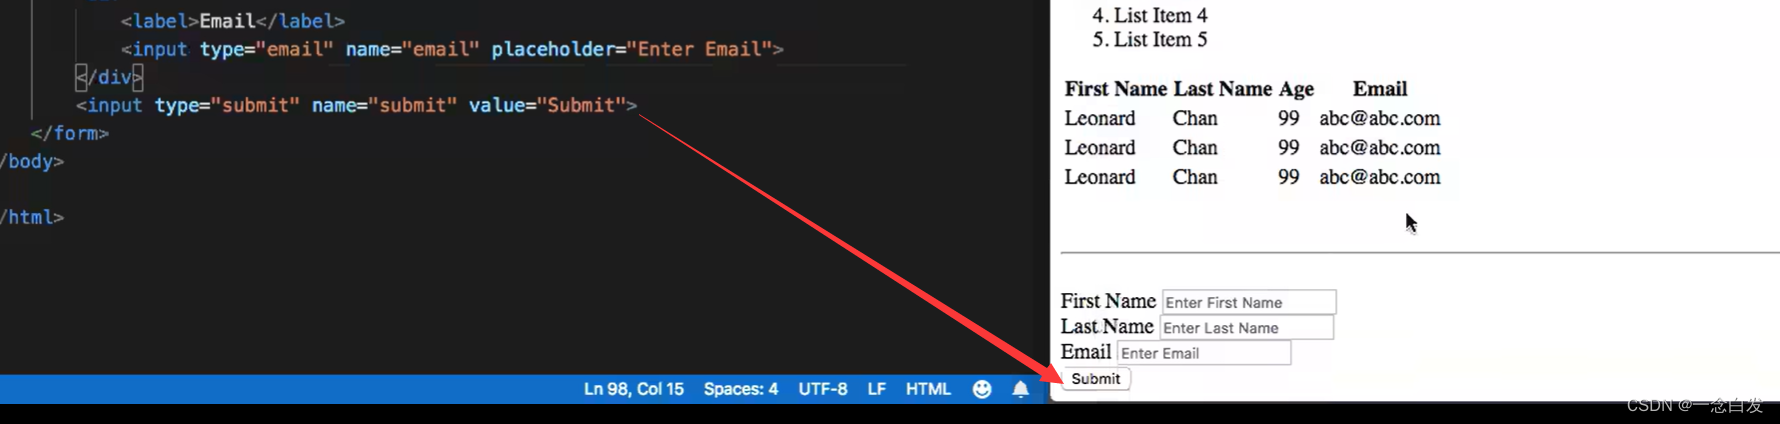
This is just a button.

It always appears at the bottom, here you can add a CSS content, here change the margin to 1000, which means that the interval between the next statement and the previous statement is 1000, so there is a large blank here.

After we click submit, he will not be able to find the form.js file here.

The button above is inside the form, and the button can also be written separately here.

Here is to get a picture, src, which indicates the source of the picture, which can be on the network or a local file. Then alt, this is a text, indicating what should be displayed when the picture cannot be displayed normally.

Note that a sentence of style is added in front of this, which is CSS content, which means that the width of the picture is always the width of the browser page.

To quote some words, this can be prettier with CSS.


HTML: HyperText Markup Language | MDN (mozilla.org)
=============================================================================================================================================================================================
CSS


The semicolon behind here, the last component can be omitted, but adding it is the best, best practice.
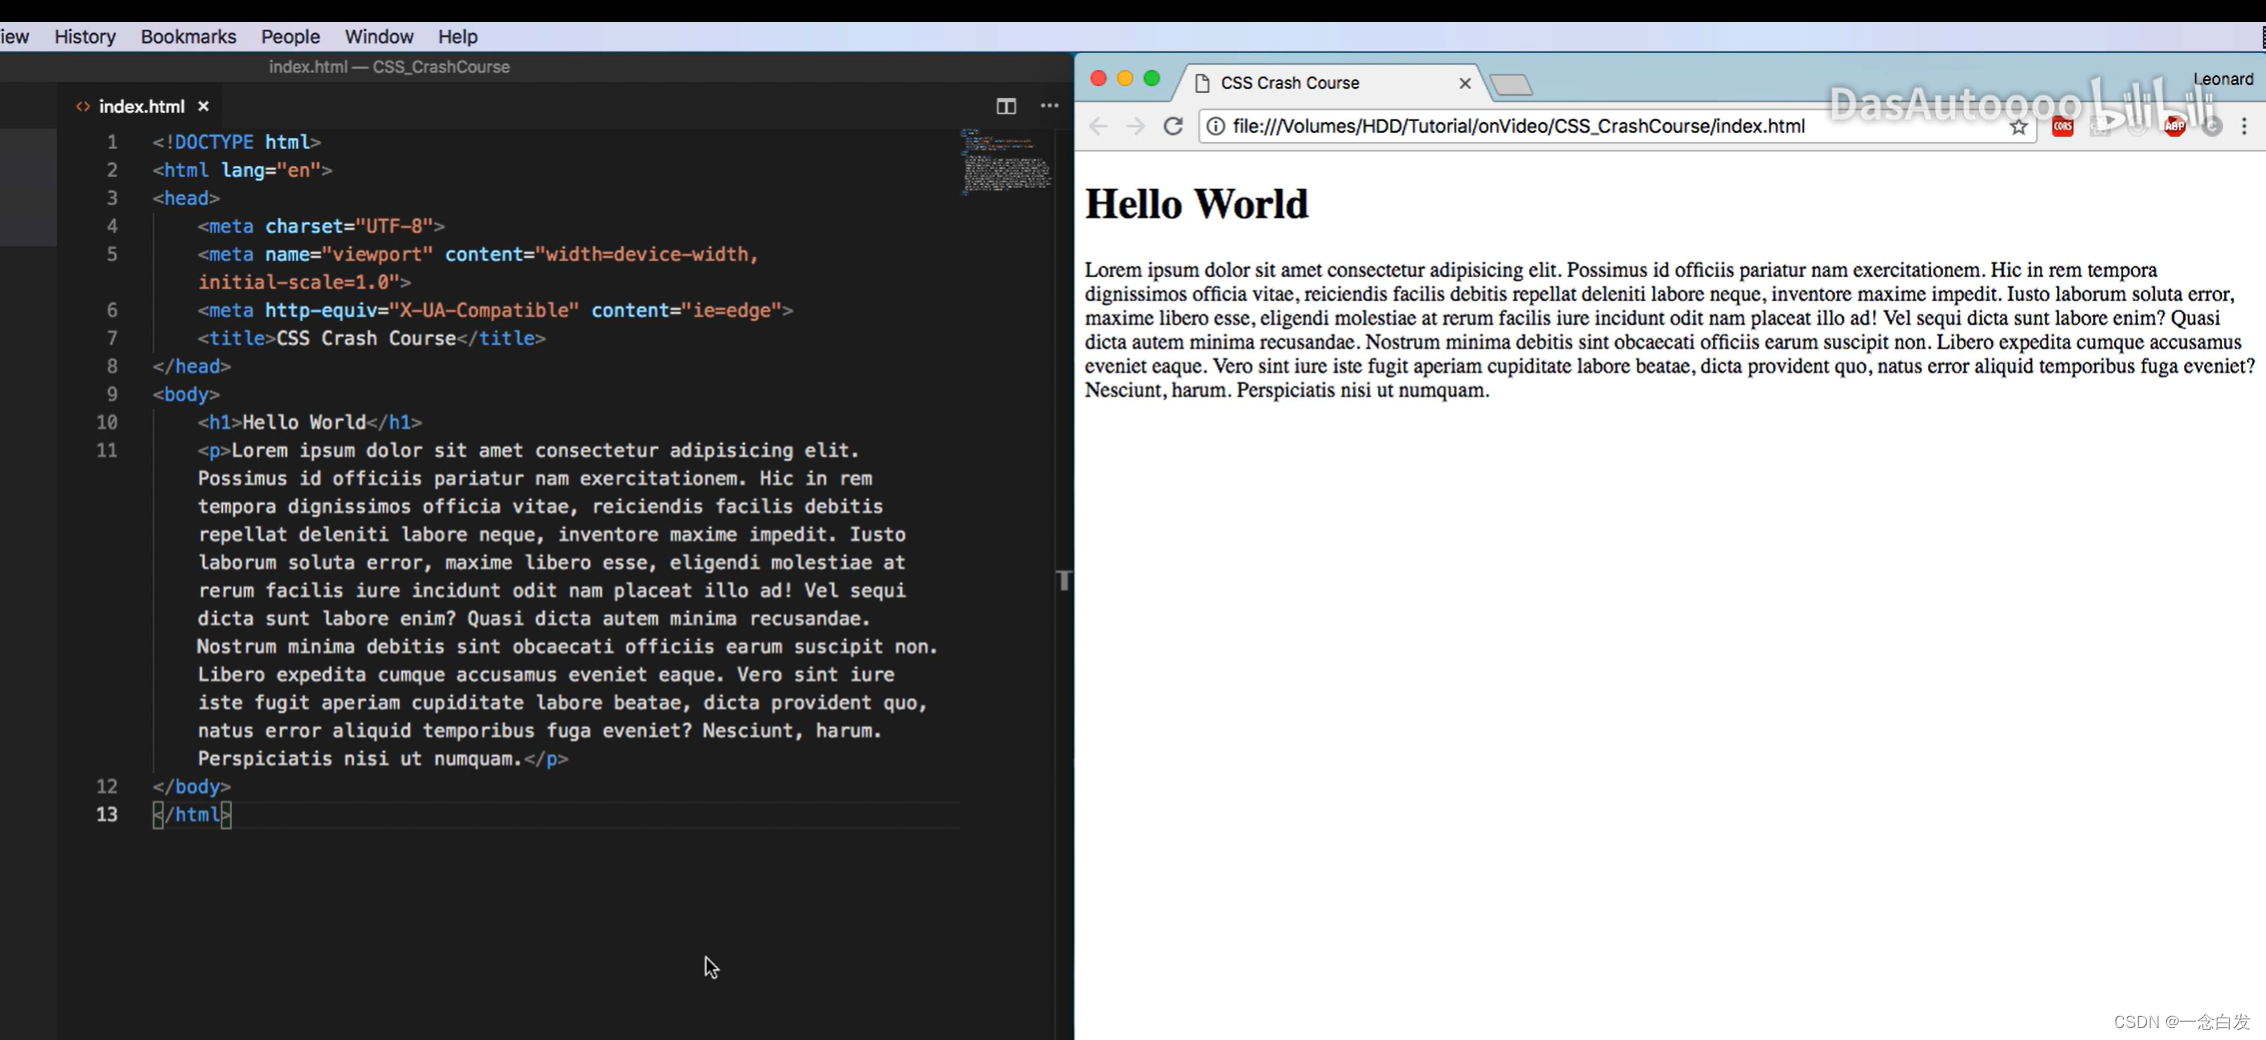
Prepare the basic HTML first, here he will use it directly! Let’s prepare for the initial framework. The head will be filled with a lot of things that we haven’t seen before. Ignore it for now, just find the title, make a modification, and then write our body.

The first two are more commonly used.

This is the second type.

The third type.
The third is more troublesome for maintaining CSS code.
The first is best.
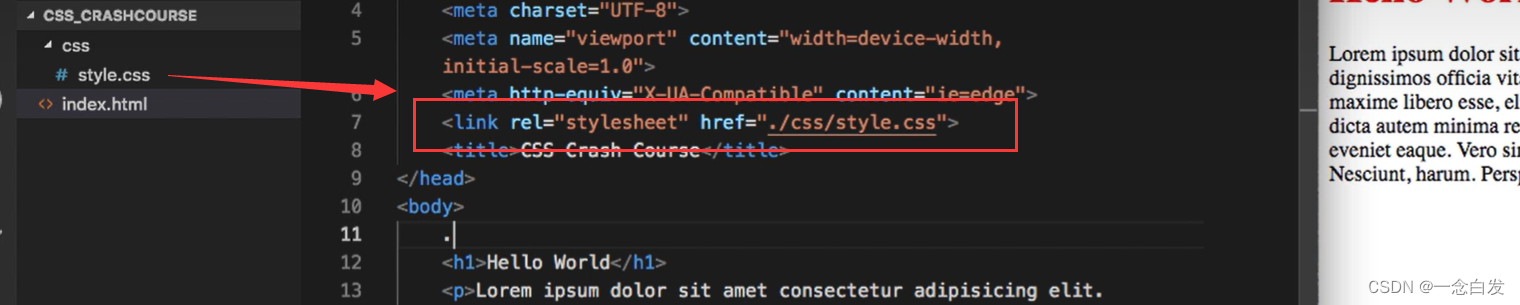
Here you need to make a link first.

Then put the things to be processed in a box first.
Here we are using a class box.
CSS We said that his first component is a selector. Here are three ways:

First of all, we modify the color, and we have to make it clear whose color to change. This is determined by the selector.
According to the above, for the selector, we can directly write the name of the tag, or the name of the class of the tag, or the id name.
In this way, when the CSS works, it will perform a process for all statements with the same name as the specified one.
At the same time, for id and class, we usually make the id unique in the current HTML file, class, usually the same class is a class.
CSS selectors - Learn web development | MDN (mozilla.org)
There are many selectors, the above website.


Here we don't want him to hold both ends,

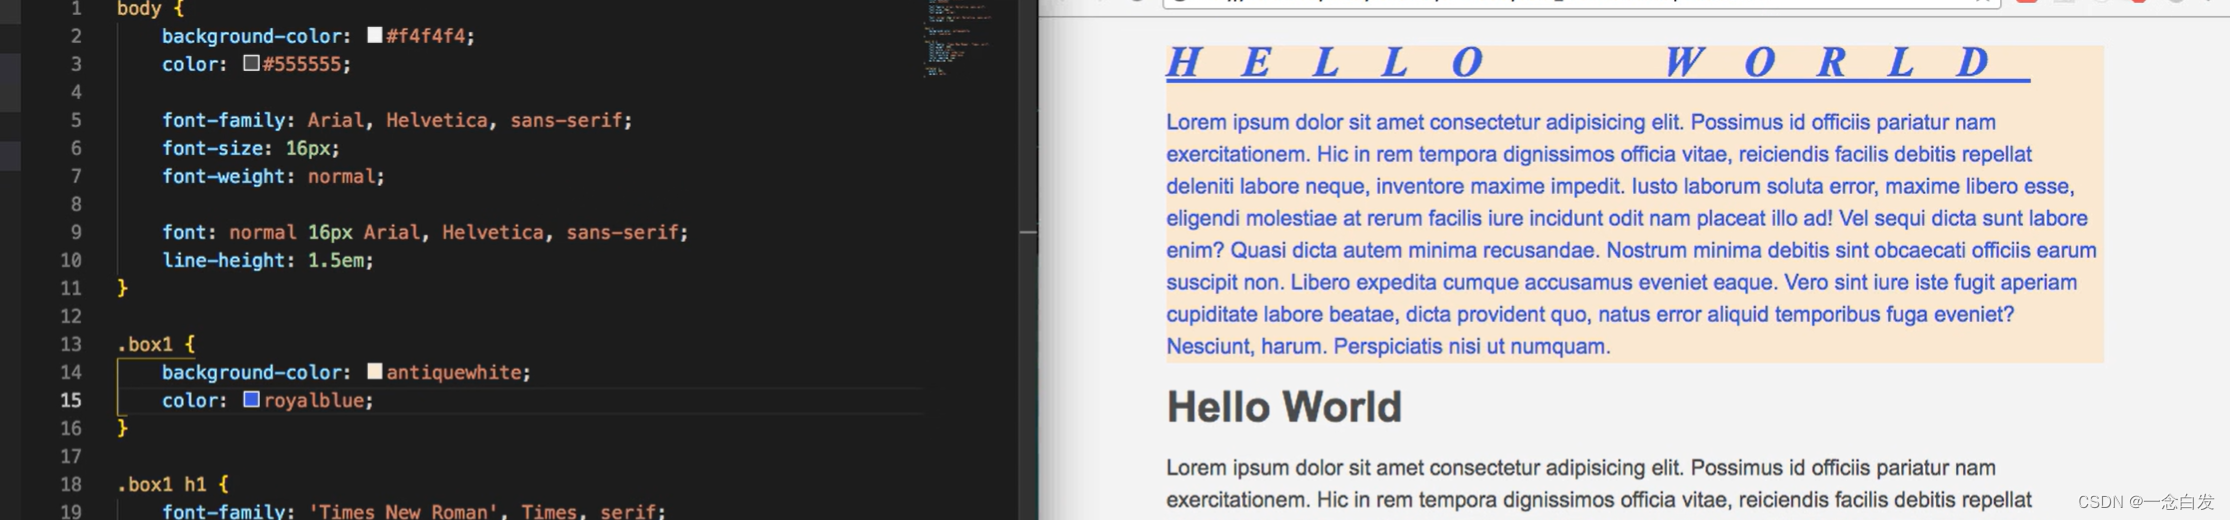
Then put a class on the outside, this is because we want it to be in the center, the background color is also in the center, so that the two ends are white.
When entering the class div, you can directly enter .class and tab.

The first sentence is shortened and the second inning is centered.


There are commonly used built-in color strings and color conversion related things.

About fonts.
First of all, serif and san-serif mean whether there is a border or not. It mainly depends on the L letter, the corner part or the two ends. If there is no serif, the thickness of the entire L is the same, but the one with serif is slightly different.
In addition, the first one is different from the last three. In addition to the last edge-related designation, there are two more. The front is the font. Two means that there is a priority. If you can’t find the first one, use the second one.
Then some have quotation marks and some do not, because there are two words in him, so in order not to be ambiguous, they are enclosed in quotation marks to indicate a whole.
The latter two, mono space, represent monospaced fonts, and each letter occupies the same width.

More fonts.


Here we can make a modification to the color of the entire page, that is, write body, and then the background color inside will be changed to what you specified. Then you can also modify the color, which represents the color of all the text inside.
Note that there is a priority problem here. The priority specified in the body is relatively low, that is, if an additional specification is made for a certain font after specifying the body, then the additionally specified color will be used. (Note that it doesn’t matter where the body is written below!)

Modify the font.

Modify the font size.

The weight of the font is bolded.

It can be shortened together, and the bottom line is equal to the top three lines.
If the top and bottom are different, the bottom will cover the top.

It can also be specified in this way, h1 inside box1.

Modify underline, capitalization, letter spacing, word spacing.

Modify line spacing.


Here, when two paragraphs of text are adjacent, how to determine the width of their middle part, he will take the larger margin of the two paragraphs of text as the distance between the two borders.
instead of:


The order of the first one on the right: top right bottom left order,
The second one, Up=Down 5, Left=Right 10. If the top, bottom, left, and right are the same, just write one.
The third one is upper left = lower right
We can see from the background color that only the content part is added:


Change the width alone

akin.

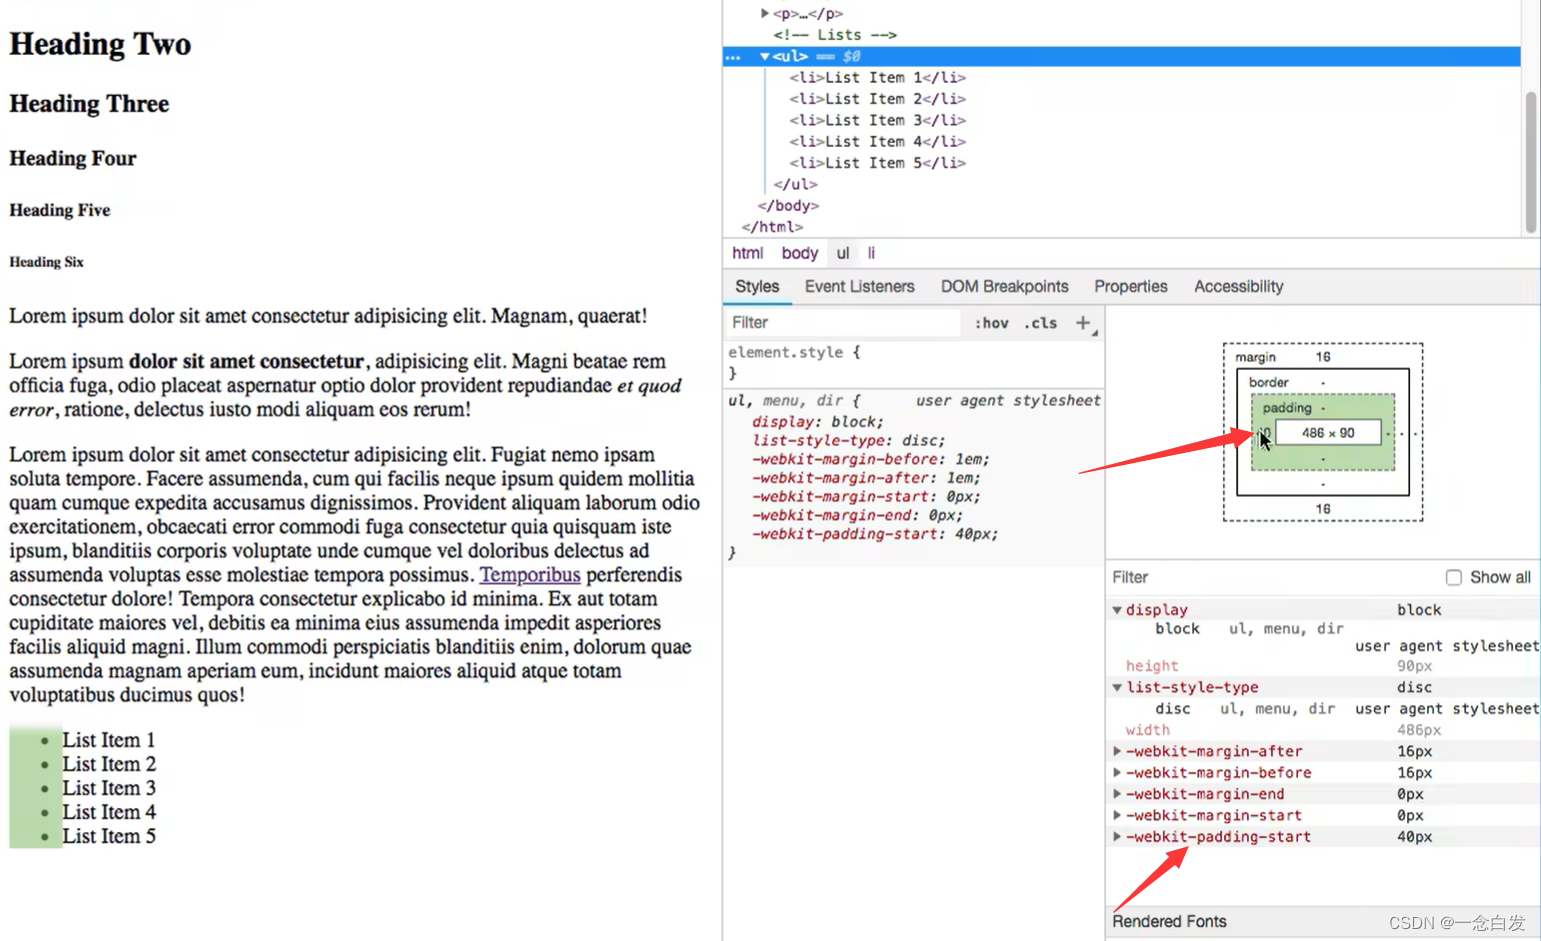
Click the button above, we can click on the webpage, and then select the corresponding div or something.
So we can observe the width of these boxes in the tools below.


rounded corners.

Want to get rid of the dots here.
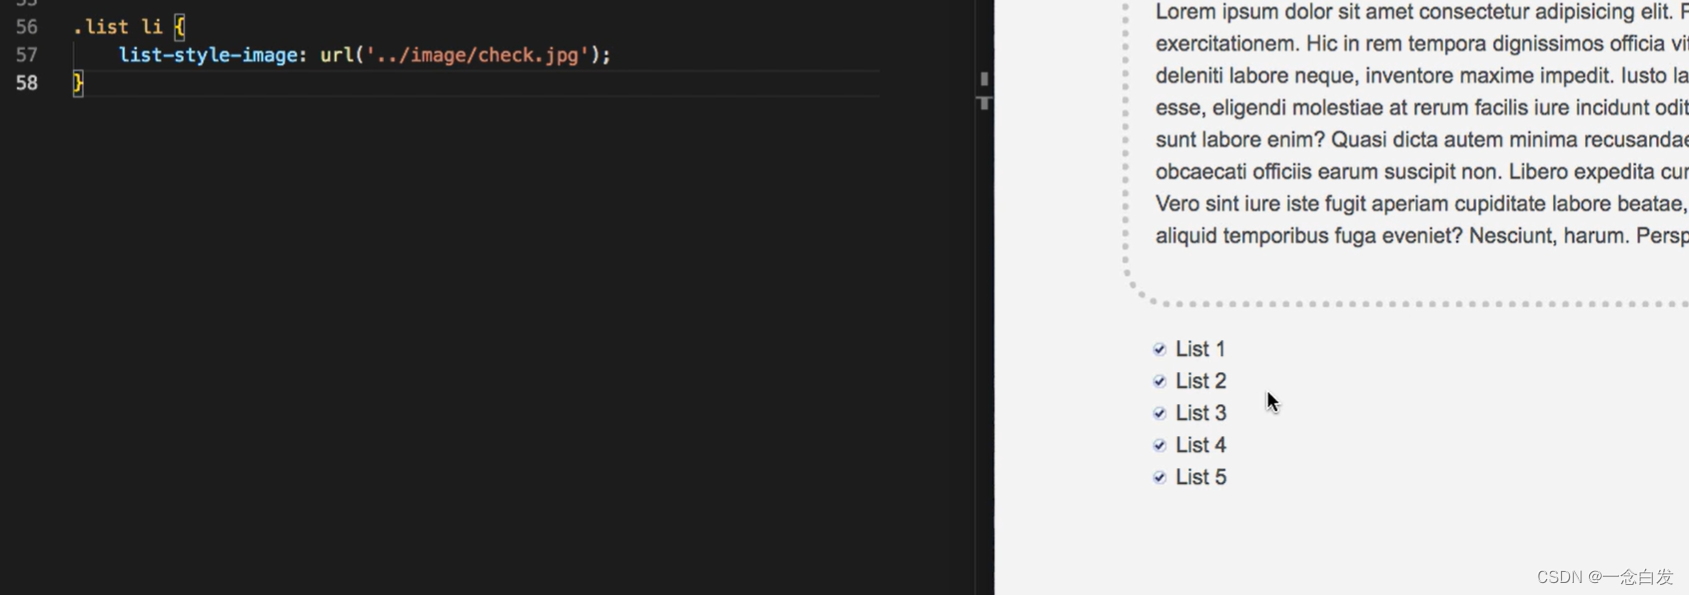
The picture we need to provide must be processed, and the size of the picture must be small and placed here.

Can be displayed in the center, etc.

There are also some self-contained forms.

The first button here is to modify some common properties.
Then a hover is added to the second one, indicating the state when the mouse is placed on it.

Here active is the state when clicked.

If one more button is added, the styles of the two are the same, because it is written for the tag of the button.

Add a hyperlink to list these.
You can see that the default style of hyperlinks is a blue underline.

Here you can modify and cancel the underline, add color, and then he also has the color when the mouse is placed on it, and the color after the hyperlink is clicked.
The reason why it is all red here is because looking at the above, their hyperlinks are all linked to #, here is the original website plus a #, there is no change, after visiting, they all point to this, so they are all red.


Modify one and it won't be red anymore.


Then if we want to change these three arrangements. Arranged left and right, big and small.

It is useless to add one to the left here. Because they are divs, the default is to occupy the entire width. So the first one takes up the full width, the next one starts from the far left, that's the beginning.
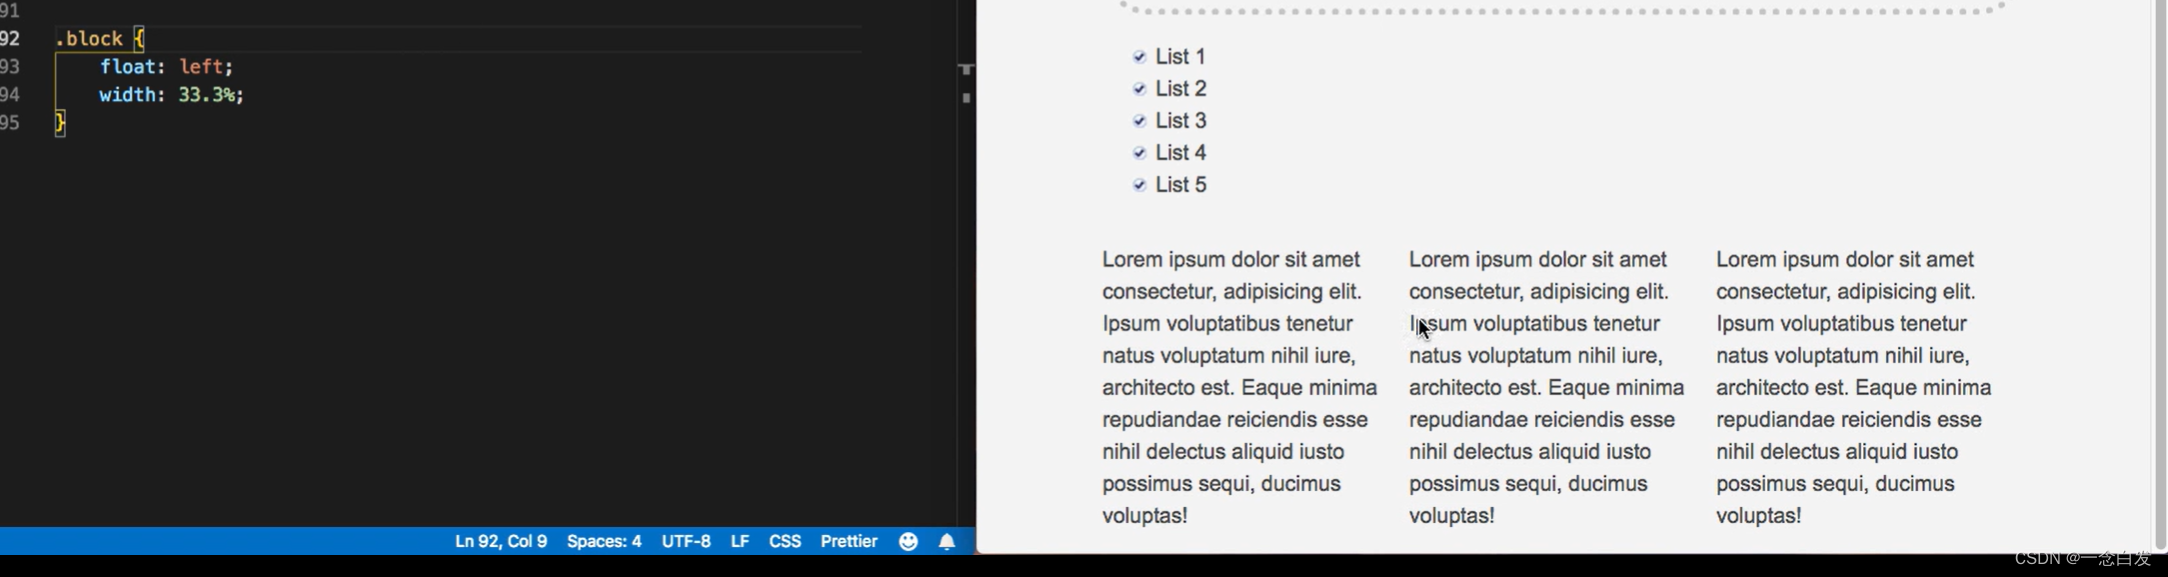
Just modify the width they occupy.

Because of the added frame here, the right side can't fit, so I went down another one. It is because his width does not calculate the border, so the border part is outside 33.3%.
We can consider the border to be inside 33.3%.


Click the tab to complete it, and the id is the tag of main-blovk above.

Add two more paragraphs.


After each float is used up, do a clear, make a class above, and then:

Clear:both


Here, firstly, .list2 li will target all list items, and then nth-child (parameter), is for all list items, select one or a part of them, specifically who to choose, and input parameters.
Then the input here is even, that is, all the even numbers. If it is an odd number, write odd.


The default is static.


In absolute cases, top, left, these represent the offset relative to the window page (the upper left corner of the entire webpage slides to the top as the origin). That is to say, in this case, he becomes completely floating.

If it is relative, then he originally had a position before the offset, so an offset is performed relative to the original position.
Note here, after he shifts, the area he originally occupied still exists. In the absolute situation above, he has completely become floating, so there is no need to keep the original area, so the area below is directly squeezed up.


The box here is relative, but we didn't offset it.
Then the h1 and h2 in it are absolute. At this time, an offset is performed, and it will use the upper left corner of the box as the origin for absolute offset.
The reason is to change the box to relative.
If you remove the box and change it to relative, then they will become absolute, which is absolutely based on the upper left corner of the current webpage when it slides to the top.
In fact, the top and left are not offsets, top 30px means that the distance from the top direction to the origin is 30.


This fixed is fixed for the window.

CSS content is much more than HTML!
Links and recommendations that appear in the video (if you don't understand English, click Change language in the upper right corner to change the language):
CSS selectors - Learn web development | MDN
CSS selector
<color> - CSS: Cascading Style Sheets | MDN
color value
HSL to RGB | RGB to HSL | Colour Calculator | Hex Color Converter
HSL, RGB, HEX mutual conversion
Fundamental text and font styling - Learn web development | MDN
Font Basics
CSS Font Stack: Web Safe and Web Font Family with HTML and CSS code.
Occupancy statistics of various fonts on Win/Mac
font selection platform
The Type — Text / Design / Culture
Typography/Type Technology
Word Talk Word Smooth - Typography-themed podcast
Three books are recommended - Western Fonts, Western Fonts 2, Western Typesetting
Learn to style HTML using CSS - Learn web development | MDN
CSS learning site with lots of examples and practice questions
=================================================================================================================================================================================================

JS is compiled while executing, unlike C++, which is compiled first and then executed.


This can also be written in the console.


click

empty.


converted to a string.


If it is ===, no type conversion will be performed. If the types are different, it must be unequal. == will perform type conversion and then judge.


I said before that variables can be declared with var and let. The difference between them is the scope. Variables declared with var have no scope. No matter where they are declared or accessed, they can be accessed. Let is different, it considers the scope of the declaration, and can only be accessed if it is declared in the current scope.
const to declare constants, const also has scope.


You can use dots to access objects here, and you can also use this [].
The above name is regarded as the attribute name inside the object, a certain type of variable, "Simon" is regarded as the value corresponding to the variable.
Contact is similar. It is also an attribute name and a variable of a certain type. The only difference is that its type is an object type. Then there is the value of this object.
Note the two ways of creating variables.

In this way, directly accessing a member that does not exist will result in a new member.

The middle three are directly empty.
Direct access to the output will output undefined, but there is no error.

It ignores undefined parts.

pop can delete the last element, shift can delete the first element, push can add, reverse can reverse,

unshift is added at the first position.

The return value here is directly written function. The argument here is a parameter.

Here is a function that returns.
So the x used for acceptance above is a function.
For Beginners: JavaScript Quick Start_哔哩哔哩_bilibili
============================================================================================================================================================================================
DOM
For Beginners: DOM Quick Start_哔哩哔哩_bilibili


Change to what it looks like in the DOM structure.

This plugin can see the DOM structure of the website.

After writing an HTML

Open the console, we enter the js code, here we can get the document, and then through the function of the document, we can get any node of the tree just now.

Here is to directly return all the bodies that can be found, that is, a body array, so here we can get our body with [0].


Here is tag.classname.
In fact, when talking about selectors, I said that this is layer by layer from the outside to the inside, which means that the tag is li and the class is list.


When this is obtained by id, what is returned is no longer a collection array, but a single one, because we usually guarantee that the id is not repeated.


Here is actually using a method similar to CSS to find specific statements in HTML.

With or without ALL, the difference is that when it is not, it will search from the first line down, and return when it finds the first one, and find all of them with All.
When this query is obtained, it can be regarded as the merger of several other interfaces, which is more general. And the type is not limited. In the last example above, the type has two layers, which is more precise. Get did not work before.

After getting it, we can get its corresponding attribute, and then modify the attribute.
That is to play like this, you can modify all CSS properties.
Note that when changing, the naming rules are somewhat different.


You can also play like this.
Add a sentence:

After selecting, you can also change things here.

When we delete the h1 class in the HTML code.

Here it is possible to specify a class for him in the code.


There are additions, and naturally they can also be deleted.
So now there are two ways to modify the style of the text, one is to directly .style() and then assign and modify. The second is by modifying the class it is in, and if the CSS property is written according to the class, then the property will naturally be modified accordingly.

Toggle is a switch. If it is toggled in the class, it will be removed from the class, and it will be added to the class again.

If you want to realize the operation of turning red after clicking, you need to add an event listener. The first parameter here is what to monitor, here is the click event to monitor, and the function will be executed after the click event occurs.
We can also make a modification to the text content of HTML:


It is also possible to return this thing directly


Note the difference between textContent and innerHTML here.
The former just returns the text content, while the latter returns the real content contained in <h1></h1>, and the content contained here contains <em>, which is also returned together.
So the former can only change the text, while the latter can directly assign HTML statements into it.
Get the attributes of HTML:


It can be modified after being obtained here, for example, a modification is made to the class to which it belongs.

Add attributes.


After writing the method, when using it, just use sitename as a public open member, and get direct assignment directly.

Static methods are called using the class name, not the object.
============================================
HTML script defer attribute | rookie tutorial (runoob.com)
webGL rendering,
WebGL tutorial (yanhuangxueyuan.com)
Canvas canvas_WebGL context (yanhuangxueyuan.com)

webGL is a set of API for rendering, how to use it?

After learning DX, we know that the core thing of drawing operation is something called context, and all API calls are called from him.
So GL is the same here. When you find that the drawing functions of HTML and CSS cannot satisfy you, you can use the API of web GL to realize the desired picture.
So how to use it? It has been said that the key point is the context, so we will get the context here. To get the context, you first need a canvas object. After you have the canvas, one of the properties of the canvas is the context.
After having the context, in fact, rendering mainly consists of three parts: preparing the camera, preparing objects in the scene, and getting the first two into the renderer. Just render.
The Road to the Growth of Technical Art - Games202 Homework (Extra 2), WebGL Basics-Knowledge
I read an article written by myself in the webGL document before, basically these add up to enough.
Basically have a general understanding, and then search while doing homework.
.
202 homework