introduce
Because my company's business needs the browser to display Hikvision surveillance video, I will record it here. In case you don't remember the next time you use it. This surveillance video solution has a delay of about 10s, and it can still be used if the company does not mandate it. If you mind the 10s delay, you can use the third-party platform liveNVR streaming media player is more mature. There is also a delay of about 3s. You can directly convert rtsp to flv, which can be played directly in the browser. Just refer to the corresponding official website document to call its interface, but there is a fee. There is a trial period of half a month.
Native video supports playback streams
1. The media formats supported by native H5 mainly include MP4, OGG, WebM, M3U8
2. M3U8 format playback is poorly supported on PC browsers
3. Unable to play rtmp stream video, because flv is not natively supported
final rendering

1. nginx configuration
download nginx
http://nginx.org/en/download.html nginx official website download address
Note: The nginx installation path cannot appear in Chinese, otherwise the nginx command will not find the internal command
Open the command line under the nginx installation path, enter nginx -v to check whether the installation is successful
Basic commands such as starting nginx will not be elaborated here

I am using version 1.17.10
Configure nginx.conf
worker_processes  1;

#error_log  logs/error.log;
#error_log  logs/error.log  notice;
#error_log  logs/error.log  info;
#error_log  logs/error.log  debug;

#pid        logs/nginx.pid;

events {
    worker_connections  1024;
}

# 添加RTMP服务
rtmp {
    server { #此为rtmp推流开启的端口
        listen 1935; # 推流使用的端口,默认1935端口在推流时可以省略,改为其他端接口需要自行指定
        chunk_size 4000;
        application live {
            live on;  #开启直播
            gop_cache on;
        }
    }
    #一个rtsp流对应一个端口,需要实现多个推流可以定义多个server改变不同的端口
}

# HTTP服务
http {
    include       mime.types;
    default_type  application/octet-stream;

    #access_log  logs/access.log  main;

    server {   # 此为nginx服务启动开启的端口
        listen       8081; # 监听端口,默认80端口,nginx成功启动后在浏览上输入127.0.0.1:8081可以看到一个页面

        location /stat.xsl {
            root html;
        }
        location /stat {
            rtmp_stat all;
            rtmp_stat_stylesheet stat.xsl;
        }
        location / {
            root html;
        }
        location /live {
            flv_live on;
            chunked_transfer_encoding on;
            add_header 'Access-Control-Allow-Origin' '*';
            add_header 'Access-Control-Allow-Credentials' 'true';
        }
    }
}
2. Install ffmpeg
FFmpeg is a set of open source computer programs that can be used to record, convert digital audio and video, and convert them into streams. Adopt LGPL or GPL license. It provides a complete solution for recording, converting and streaming audio and video. It contains libavcodec, a very advanced audio/video codec library. In order to ensure high portability and codec quality, many codes in libavcodec are developed from scratch.
ffmpeg.org official website download address
Note: I am using the windows version, pay attention to version issues
Configure environment variables, the directory is ffmpeg/bin
Enter ffmpeg -version on the command line to check whether the configuration is successful
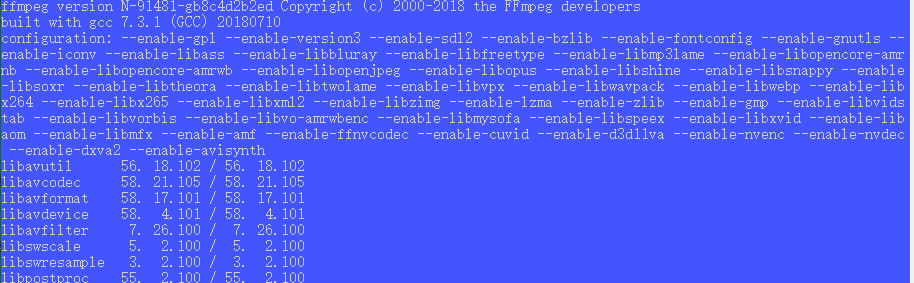
Effect picture of ffmpeg installation success
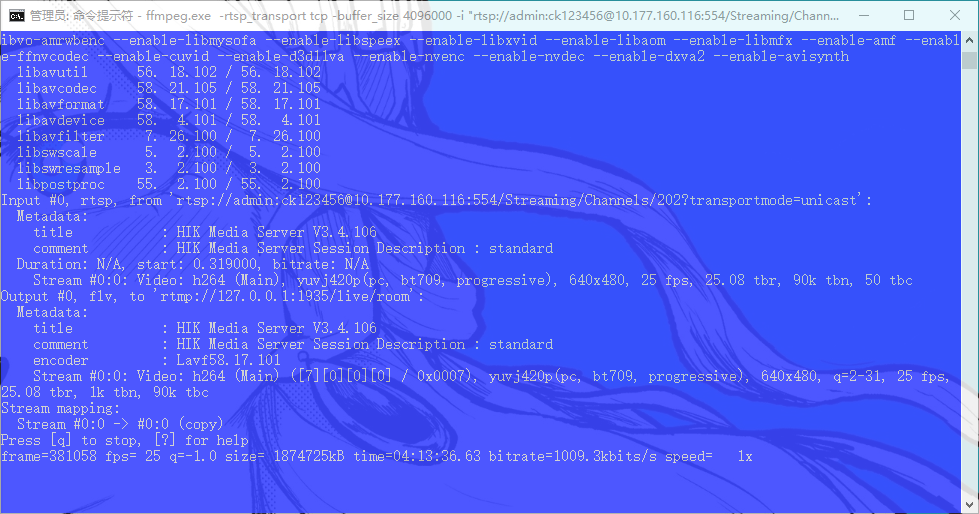
Open the command line and start streaming
ffmpeg.exe -rtsp_transport tcp -buffer_size 4096000 -i "rtsp://admin:[email protected]:554/Streaming/Channels/202?transportmode=unicast" -vcodec copy -acodec copy -f flv "rtmp://127.0.0.1:1935/live/room"
注:
1.rtsp://admin:[email protected]:554/Streaming/Channels/202?transportmode=unicast  是需要推流的rtsp地址
2.rtmp://127.0.0.1:1935/live/room  是nginx中nginx.conf配置的,如需修改请修改nginx.conf配置文件
3.多个rtsp地址推流需要开启多个命令行,修改上面命令rtsp的流和对应rtmp://127.0.0.1:1935
Effect picture of successfully starting streaming
3. VLC player
可以下载vlc播放器测试rtsp流以及推流后的rtmp,flv流地址是否正确。
使用vlc播放器测试播放rtsp,flv,rtmp等网络串流在此不多做阐述,可以自行百度
四、前端vue代码
npm install --save flv.js //注意flv版本问题,也可以直接csdn引入
flv.js是来自Bilibli的开源项目。它解析FLV文件喂给原生HTML5 Video标签播放音视频数据,使浏览器在不借助Flash的情况下播放FLV成为可能.
<template>
<video id="videoElement" class="centerVideo" controls autoplay muted style="width:100%;height: 100%"></video>
</template>
 <script>
import flvjs from 'flv.js'
export default {
  name: "videojs",
  data(){
    return{
      flvPlayer:null
    }
  },
  mounted() {
      this.$nextTick(()=>{
        this.show()
      })
  },
  methods:{
    show(){
      let video = document.getElementById('videoElement')
      if(flvjs.isSupported()){
        this.flvPlayer = flvjs.createPlayer({  // 此处配置可以按需参考flv.js文档
          type:'flv',
          url:'http://127.0.0.1:8081/live?port=1935&app=live&stream=room',
          isLive:true,
          hasAudio:false,
          hasVideo:true
        },{
          enableWorker: true,
          enableStashBuffer: false,
          lazyLoad: false,
          lazyLoadMaxDuration: 0,
          lazyLoadRecoverDuration: 0,
          deferLoadAfterSourceOpen: false,
          fixAudioTimestampGap: true,
          autoCleanupSourceBuffer:true,
        });
        this.flvPlayer.attachMediaElement(video)
        this.flvPlayer.load()
        this.flvPlayer.play()
      }else {
        console.log("由于视频文件损坏或是该视频使用了你的浏览器不支持的功能")
      }
    }
  }
}
</script>
注:
url:'http://127.0.0.1:8081/live?port=1935&app=live&stream=room' 是flv推流地址
1935端口对应nginx.conf中rtmp服务配置的server中的端口
8081端口对应nginx服务开启的端口
总结
此解决方案还是明显有所不足,毕竟有10s的延迟。如果需要多个监控只能开启多个命令行进行配置。显得有点死板。由于项目着急一时半会找不到更好的解决方案。各位大佬如果有更好的关于rtsp播放转码的解决方案,欢迎下方评论。上方代码有不足之处欢迎指正。