Table of contents
1. File view command
vim can open files and view the data inside, but vim always has the risk of modifying data, so we introduce other commands mainly used to view files here.
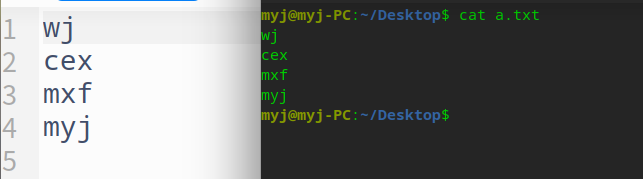
1.1 cat
1.1.1 For viewing file data
Examples are as follows:
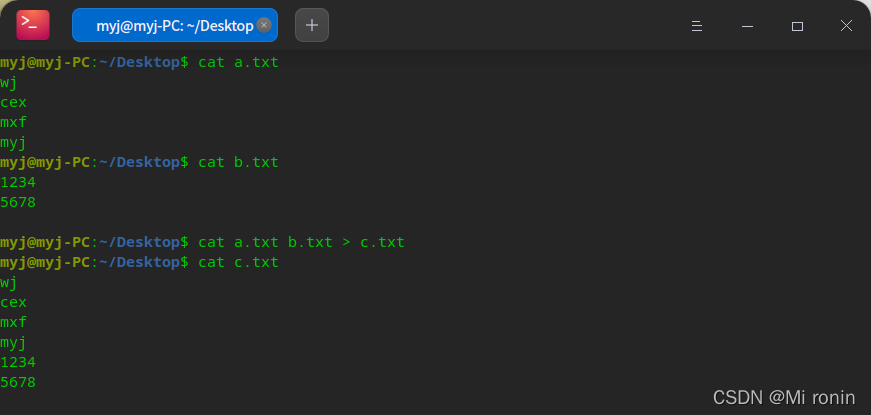
1.1.2 For merging files
cat a.txt b.txt > c.txt (merge a and b into c)
1.1.3 Write data to the file
cat > d.txt
ctrl+d to end input
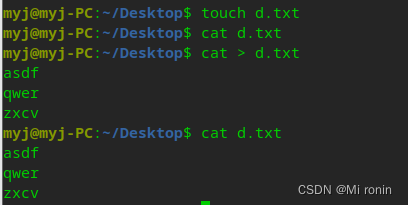
Note: This operation will first clear the file D.txt, and then enter the data from scratch (be careful not to lose the source data when using it)

1.1.4 Input data to the end of the file
cat >> d, dxt
ctrl+d to end input
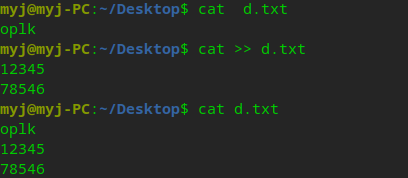
** Note: '' >> '' moves the cursor to the end of the file, and then writes data (the original data will not be lost)**
1.2 more
When the content of the file is not fully displayed on the screen, you can use the more command to display the content on a split screen.
Use the command format: more filename
The example is as follows: more /etc/vim/vimrc 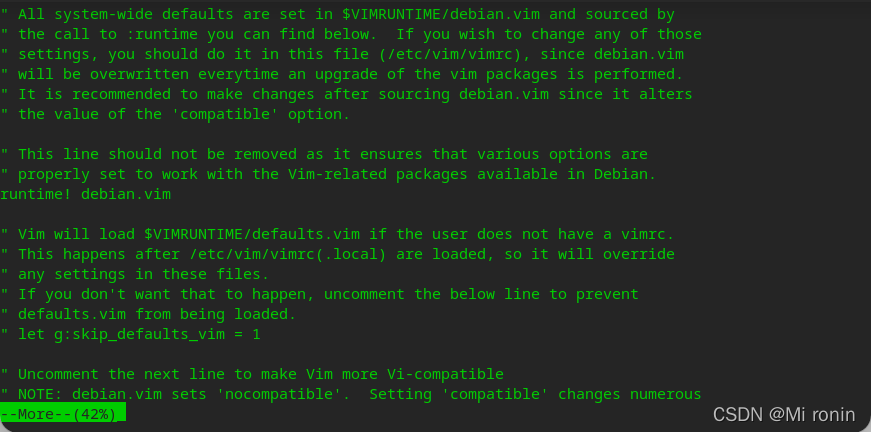
At this time, you can check the remaining data down by using a space (the content of the jump is more than %) or a carriage return (checking down a little bit).
If you don't want to continue to check in the middle, you can directly exit through q;
the red hat system can be checked through the arrow keys.
1.3 less
This command is used in the same way as more, but there are some subtle differences:
- The content of the file displayed by less will not be left on the terminal interface
- There is no percentage % in the lower left corner of the file content displayed by less
- The content of the file displayed by less can be viewed through the arrow keys (more can only go down)
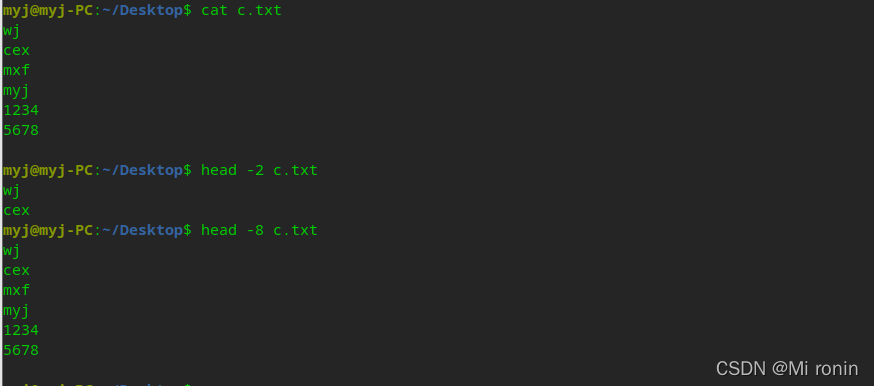
1.4 head
Display the first n lines of the file;
Use the command format: head -n filename
If -n is not written here, the first 10 lines will be viewed by default
1.5 tail
1.5.1 Display the content of the last n lines of the file
Command format: tail -n filename
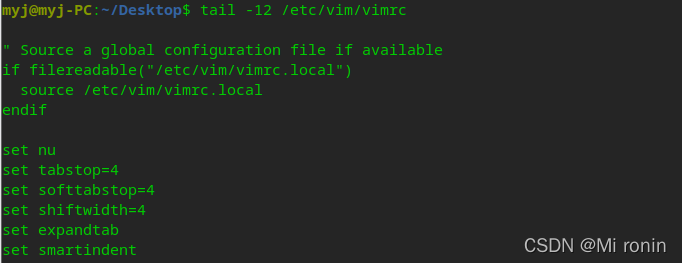
Do not write the number of lines to be viewed (do not write -n), and the bottom 10 lines will be viewed by default.
1.5.2 For viewing log files
The tail command is often used to view log files, because log files generally only view the recently generated log data, that is to say, the end of the log file is mostly viewed;
For example, through the command: tail -f filename (-f follow real-time tracking display information at the end of the file)
Then restart a terminal, and then use the command cat >> filename to input information in real time, and the terminal opened by tail -f filename on the left will be displayed synchronously.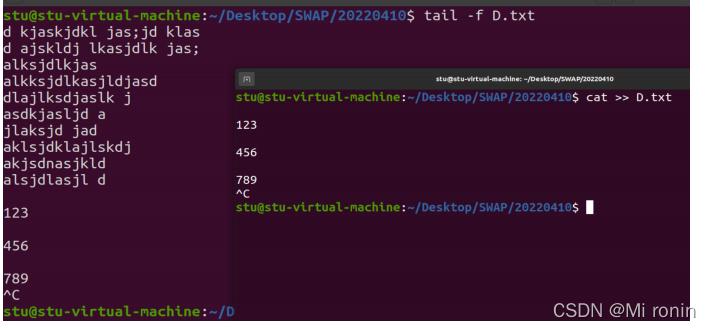
2. User management commands
2.1 Storage of basic user information
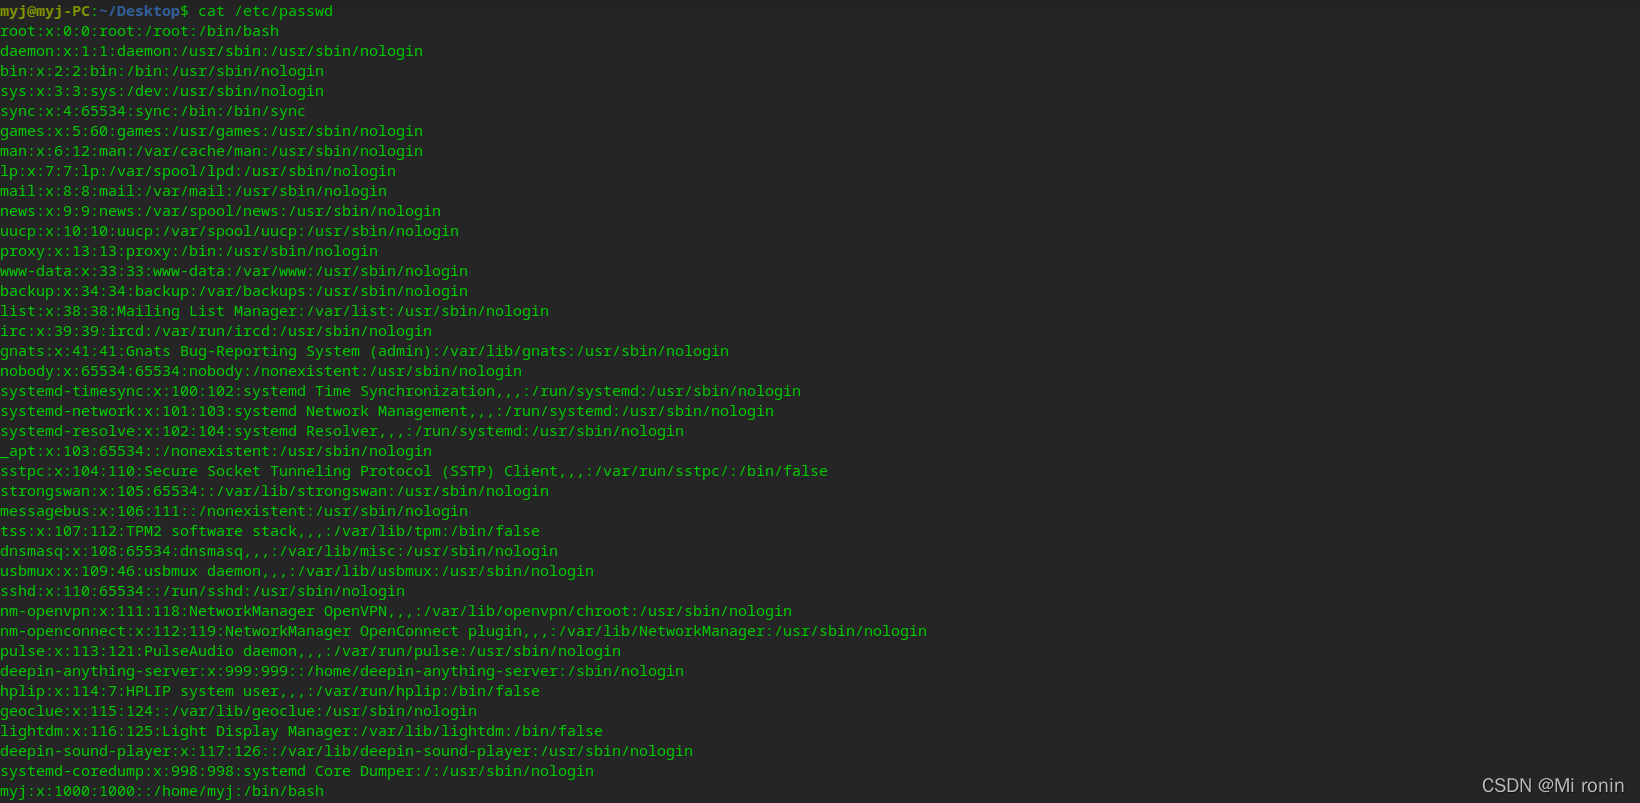
Storage location: /etc/passwd

For security, all user passwords are encrypted separately and stored in a file (/etc/shadow), which can only be viewed by root.
username $ encryption algorithm id $ key $ ciphertext
2.2 Add new user
When creating a user, Uncle Lai usually creates a home directory with the same name and puts it under /home;
Red Hat will create a home directory with the same name when creating a new user;
Ubuntu is not the same, it will not automatically add the home directory, we add it manually, or if we want to automatically add the home directory, we can add new users through the graphical interface.
Command format: useradd user_name
2.3 Change password
Use the passwd command to change the password;
passwd user_name (modify user password)
Note: If you want to change a very simple password (such as 123456), but the system refuses to pass it, thinking that the password is too simple, you can switch to the super user and change the password.
2.4 Delete user
Use the command userdel to delete a user;
- 1. First ensure that the user is not logged in
- 2. When userdel deletes a user, the home directory will not be deleted (the data in the home directory is still useful)
- 3. If you want to delete the home directory, you can use the userdel -r user_name command