Small chat: This content is a detailed tutorial on configuring the Tomcat server for Idea development Web projects. Most of the JavaWeb learning stage will use Tomcat as the server. Although it is no longer necessary to install and configure Tomcat by yourself later (because most Java development will use SpringBoot, and SpringBoot has a built-in Tomcat server by default, of course it can be changed to other), but everything is accumulated step by step to be better Control, so it is essential to understand and use Tomcat first.
If necessary: "Tomcat10 Download and Install"
- 1. Create a new Java Web project
- 2. Configure the Tomcat10 server in the Web project
- 3. Launch Access Demo
- essay
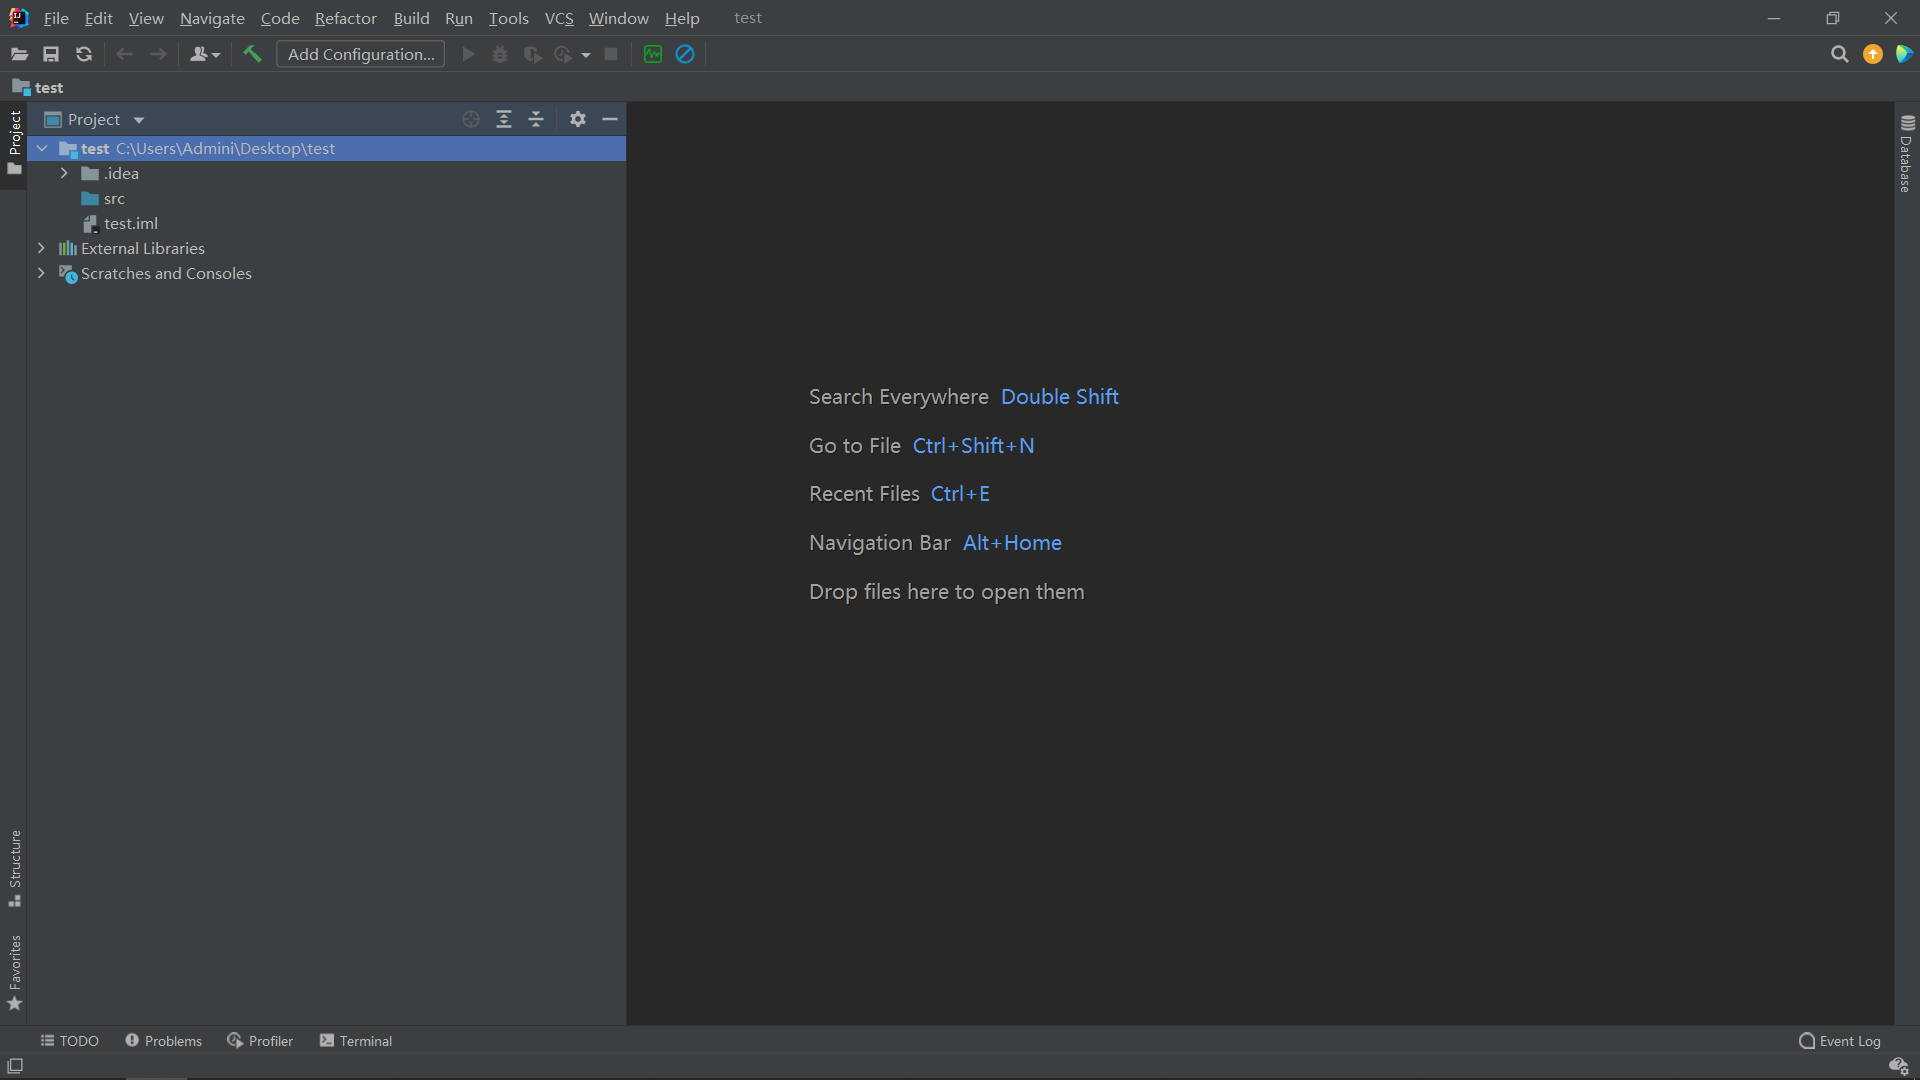
1. Create a new Java Web project
- Create a new normal Java project
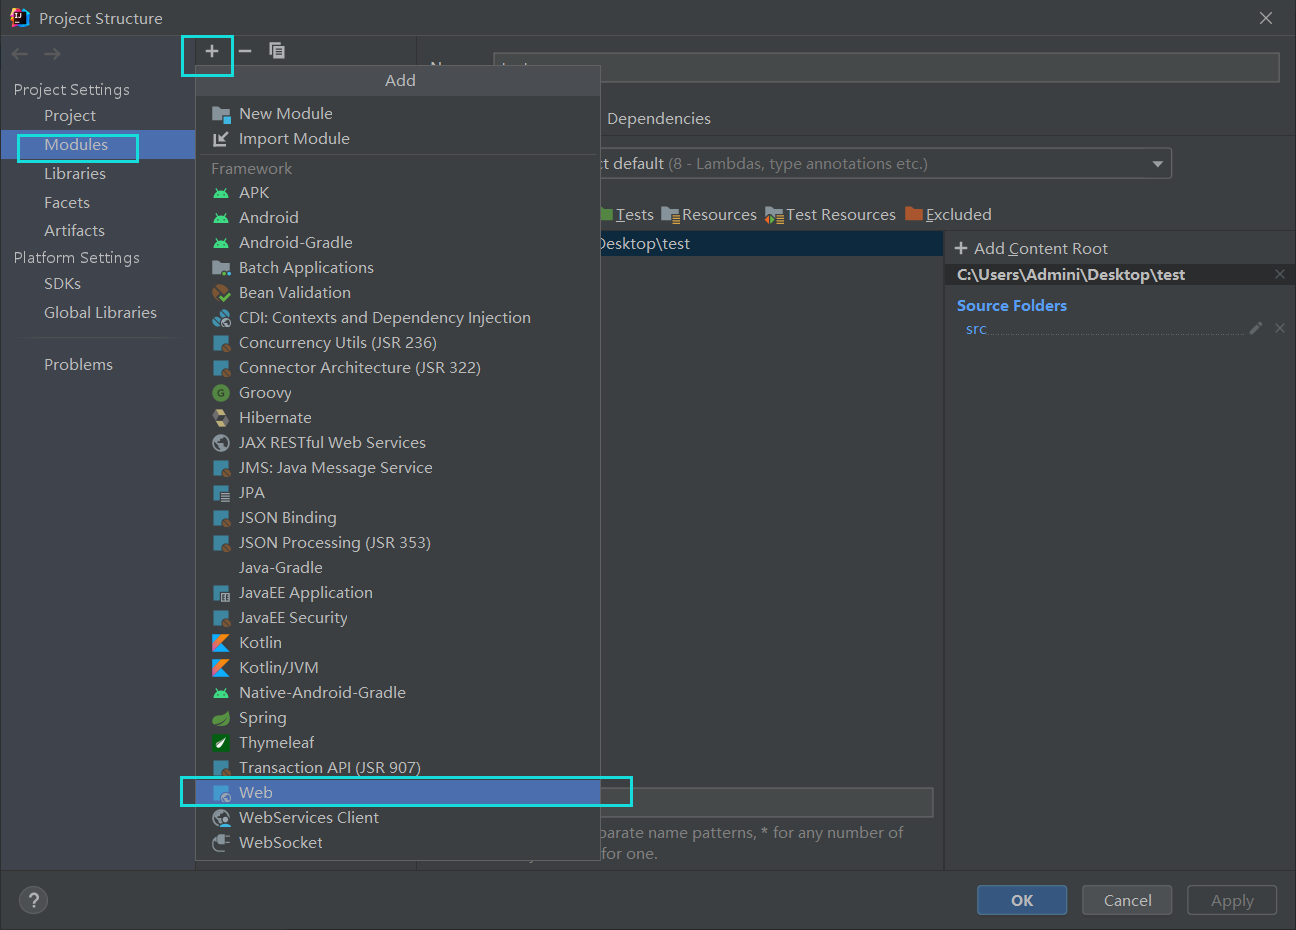
- Add web function module
Step 1: Open File ——> Project Settings ——> Modules
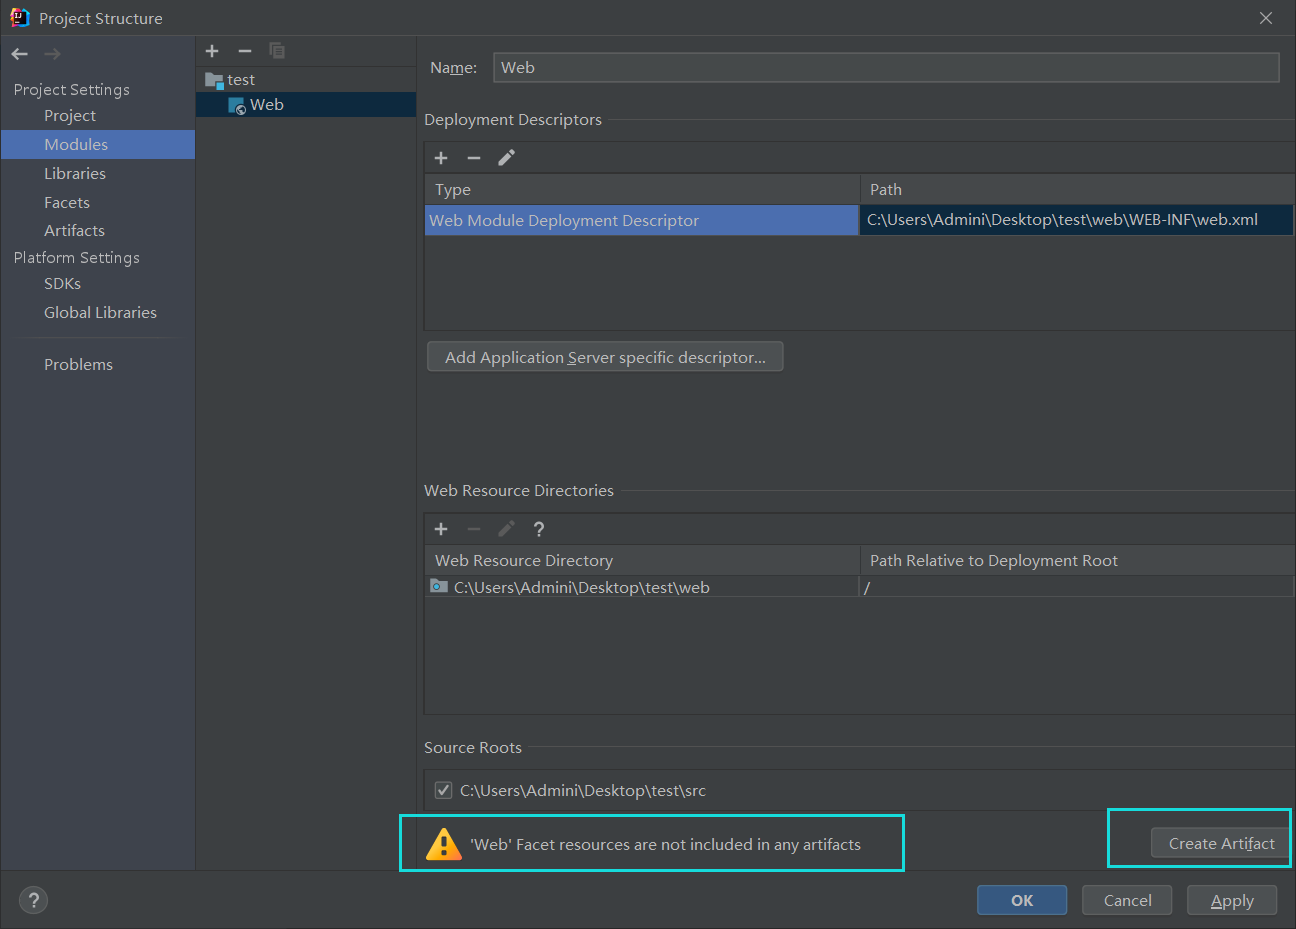
Step 2: According to the warning prompt, go to Artfacts to configure the product (click "Create Artfacts", it will automatically configure Artfacts for us, of course, you can also configure it yourself)
Step 3: After selecting "ok", the "web" working directory necessary for the Web project will be automatically generated
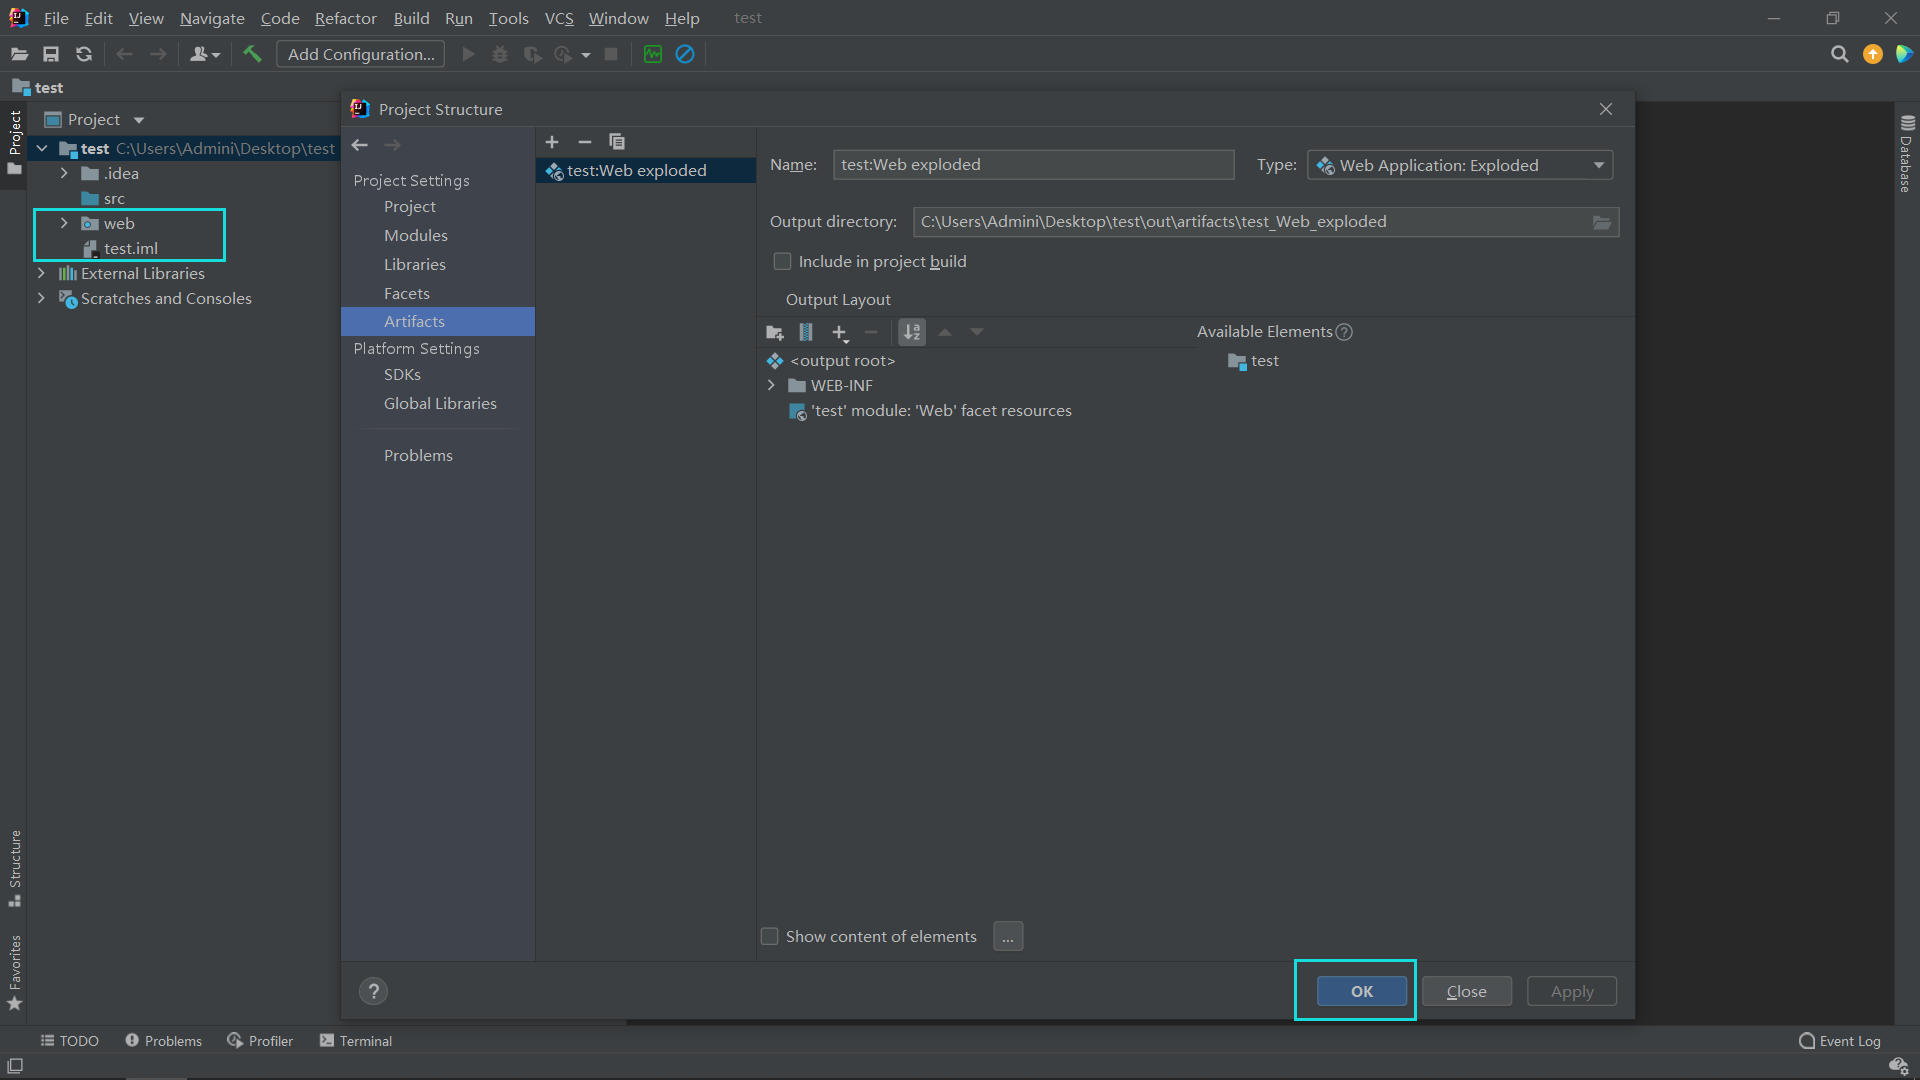
At this point, the Java Web project is built.
2. Configure the Tomcat10 server in the Web project
There is no version limit for this operation, just choose the Tomcat you downloaded and installed.
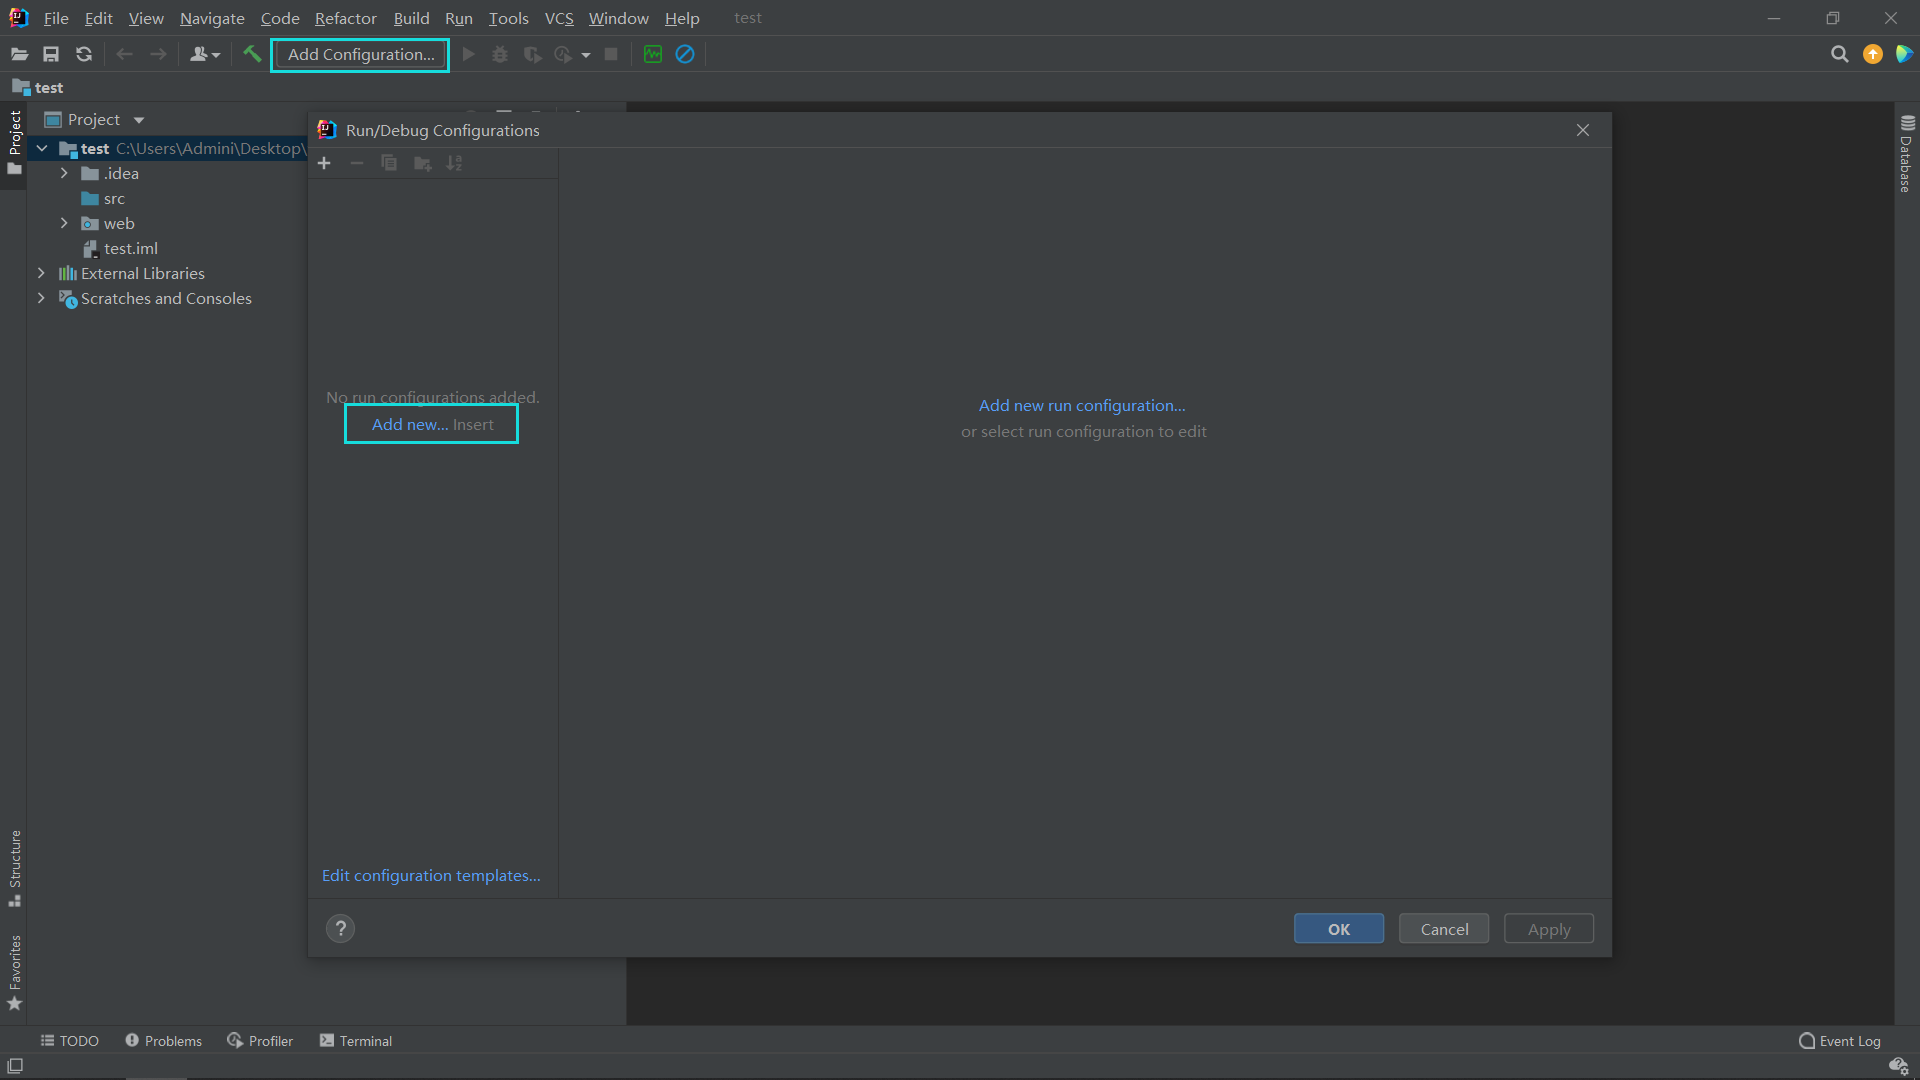
Step 1: Click Add Configurations… ——> “+” / Add new…
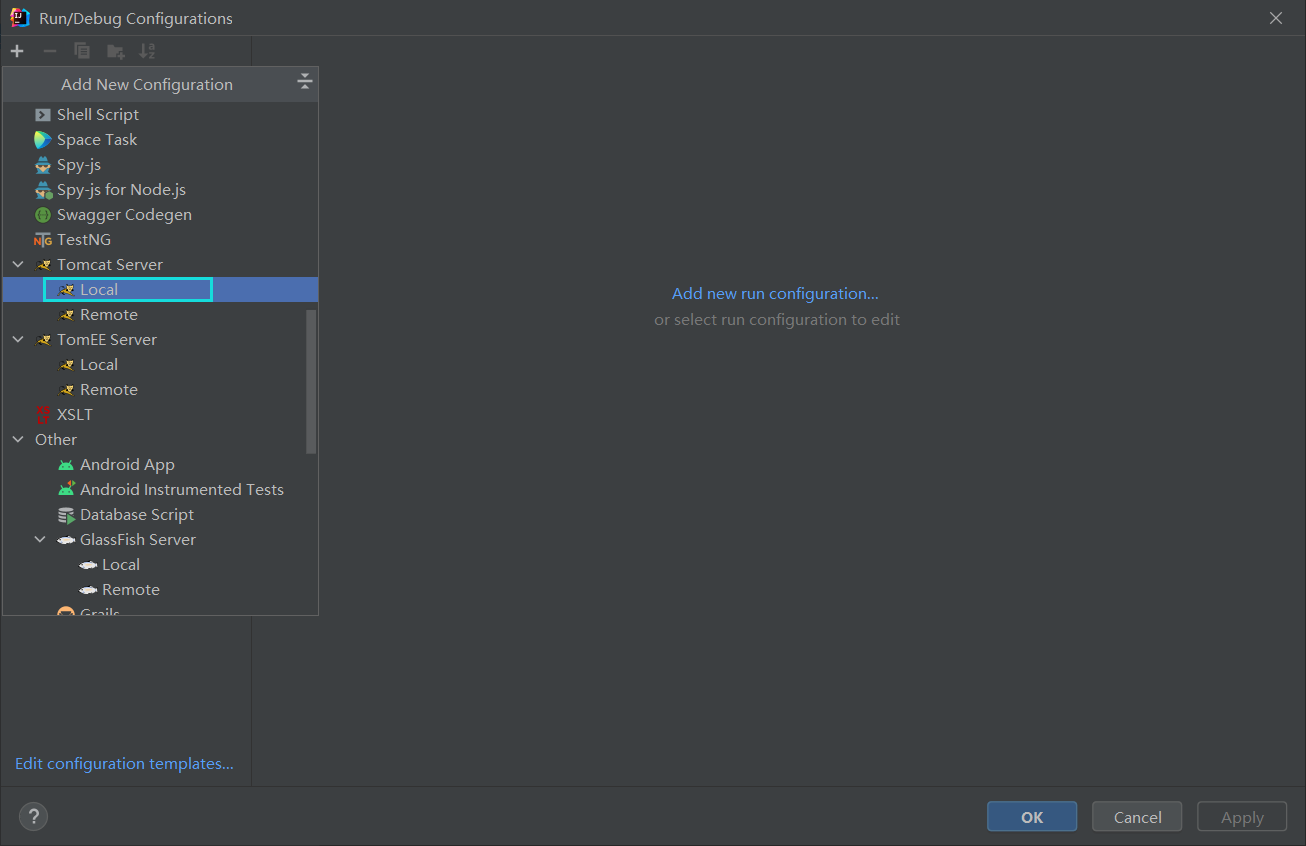
Step 2: Pull down and select Local under Tomcat Server (don’t choose wrong)
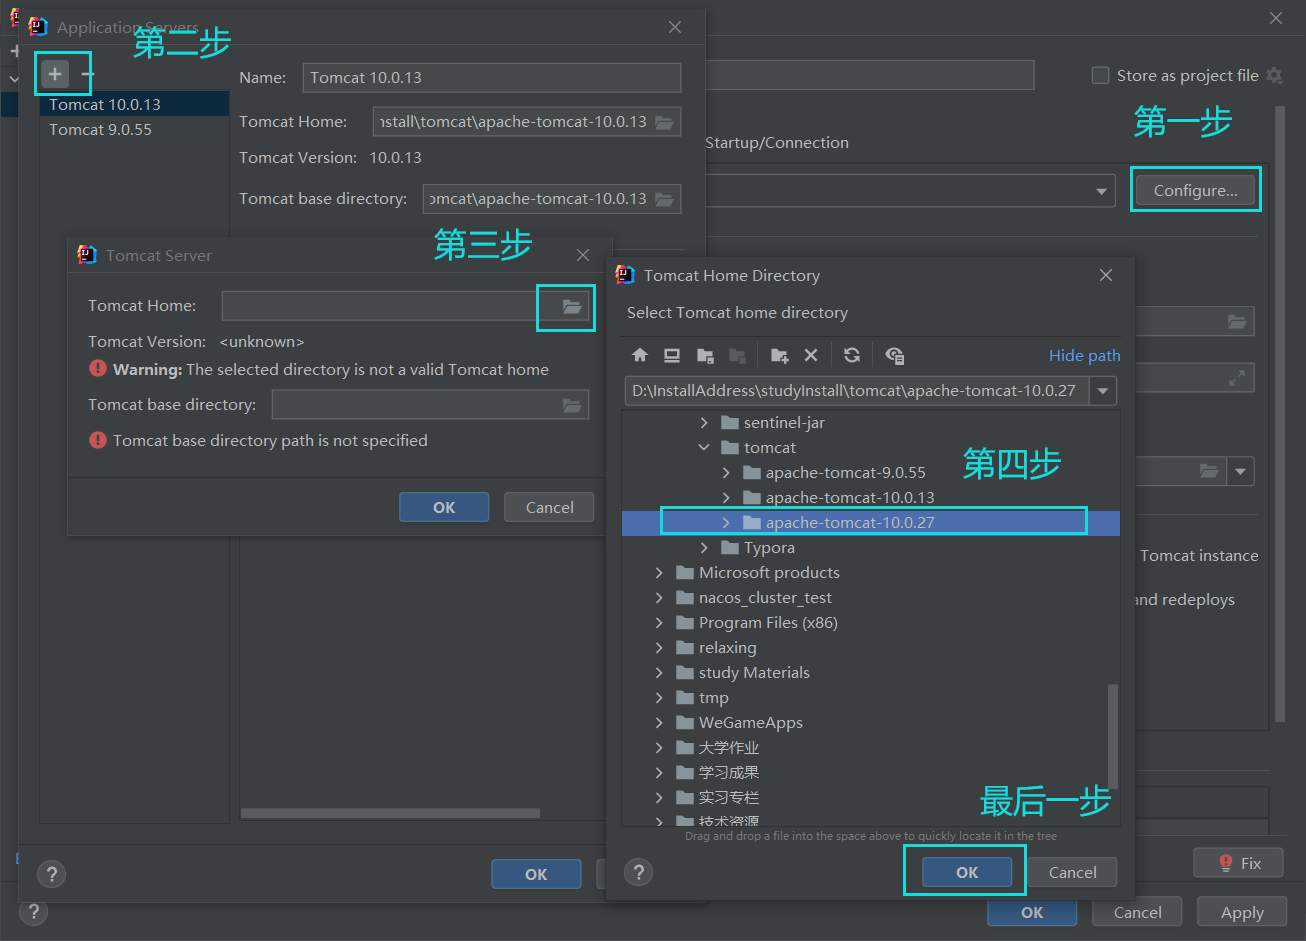
Step 3: Operate in accordance with the instructions in the figure, select the path of your Tomcat installation, and confirm with OK all the way.
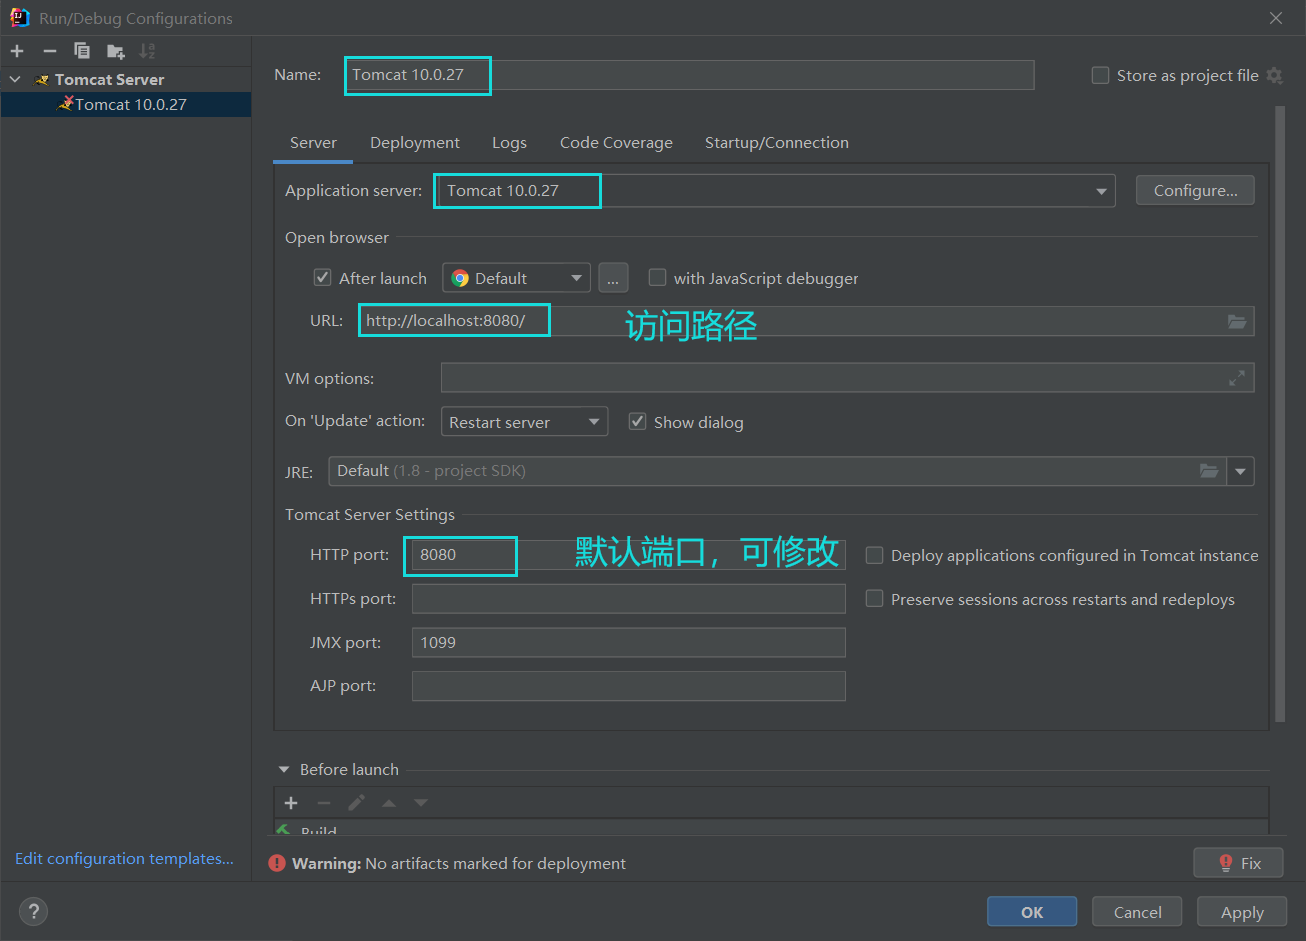
Step 4: Well, go back to our main configuration interface (it will be fine if you close it and reopen it with "ok" all the way). You can see that the Tomcat server version has been selected
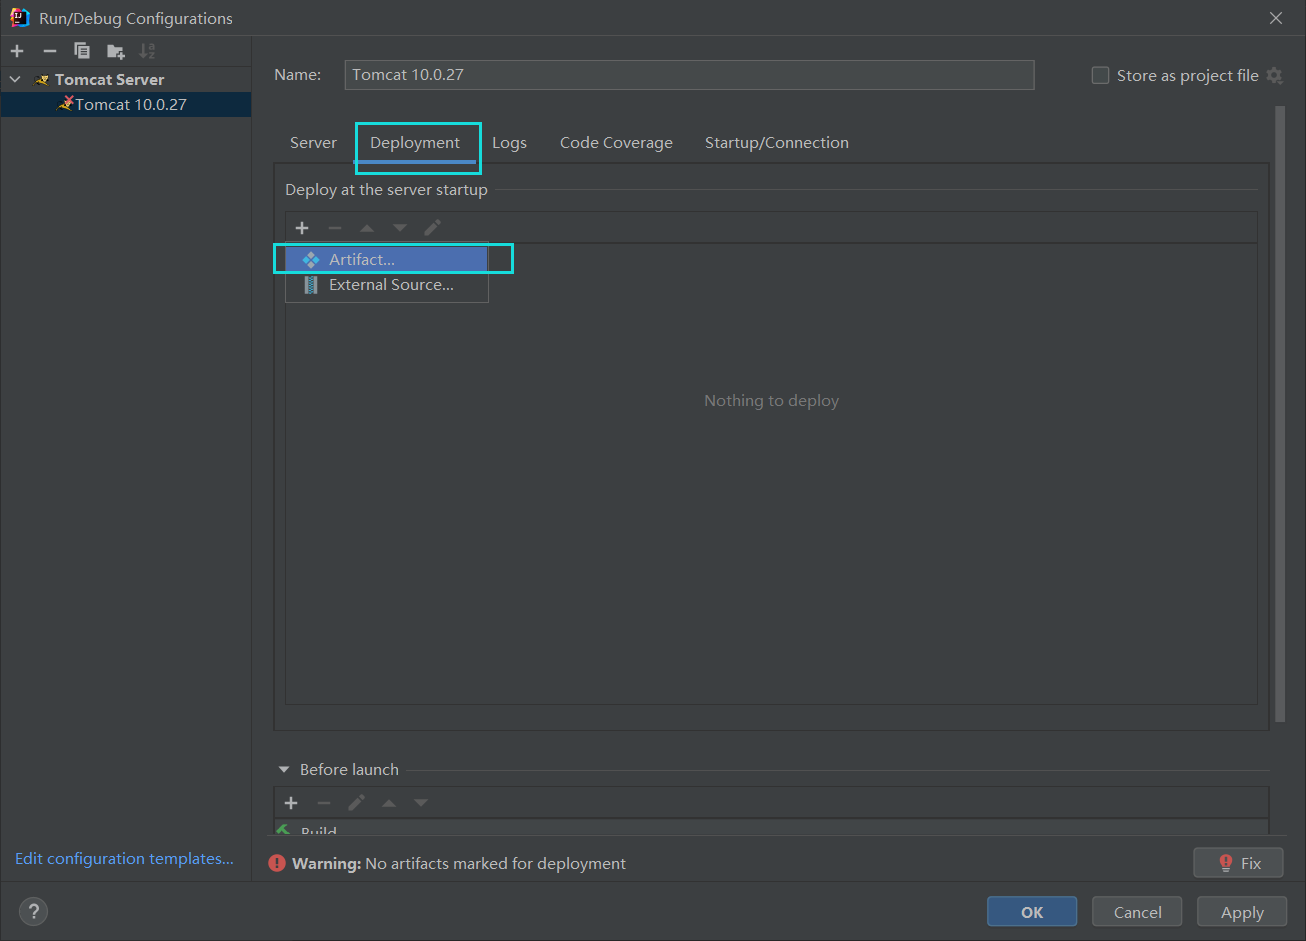
Step 5: Switch to Deployment to configure our Artifact package. If it is not a web environment, the "Artifact" option will not appear (so we have configured and added it before)
Step 6: Modify the "virtual directory", which can be changed to "/project name" or directly "/"
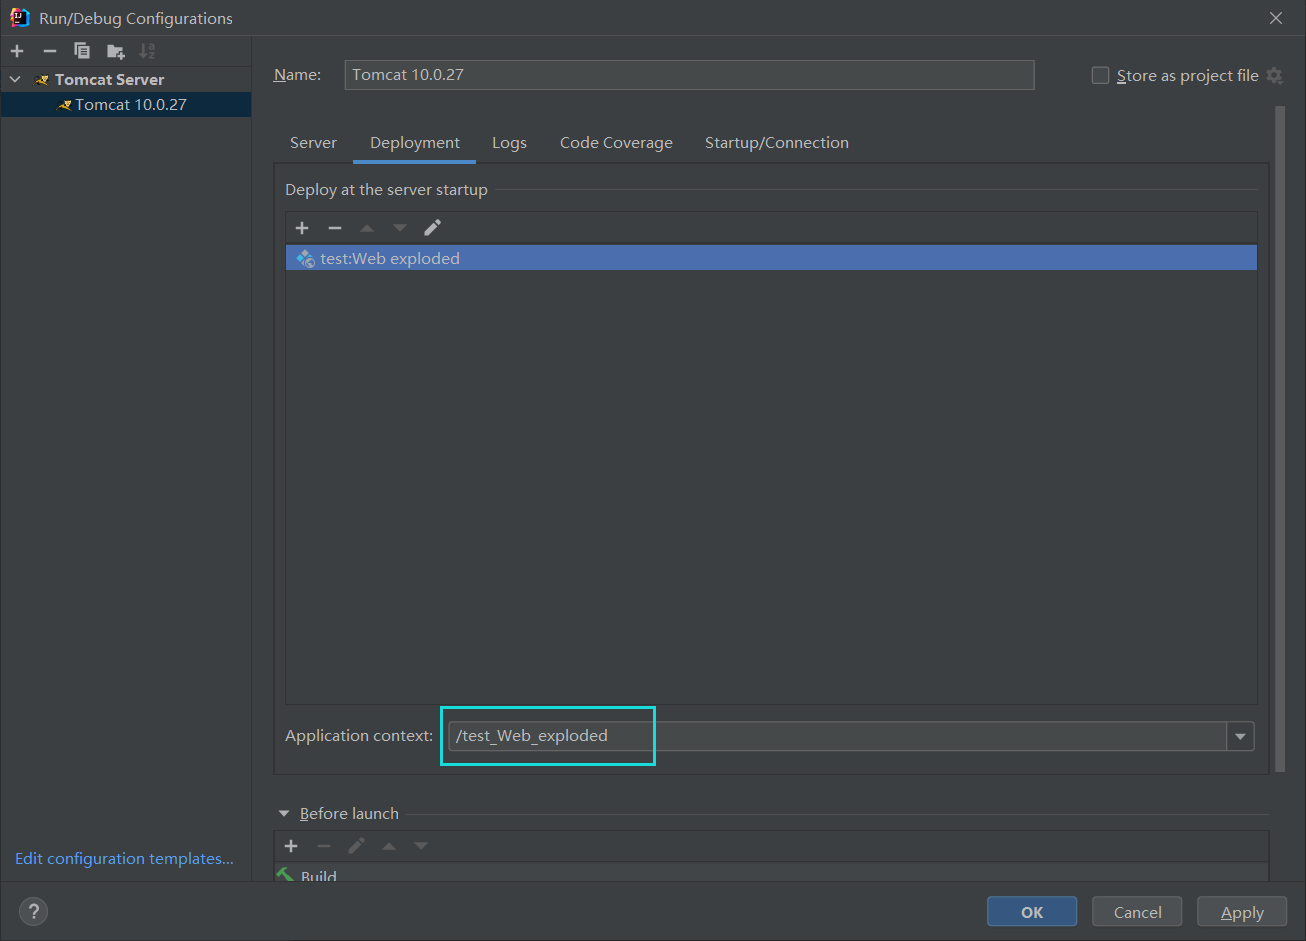
What is a virtual directory, you can think of it as adding a layer of subpaths to the default access path, so the access path becomes: http://localhost:8080/虚拟目录. You can also directly set the virtual directory to "/", so that the access that is opened directly after the Tomcat service is activated is http://localhost:8080/generally set to "/" during learning and development. It is more convenient, and the actual production environment is different. I will set it to "/test" here.

So far the Tomcat server configuration is complete
3. Launch Access Demo
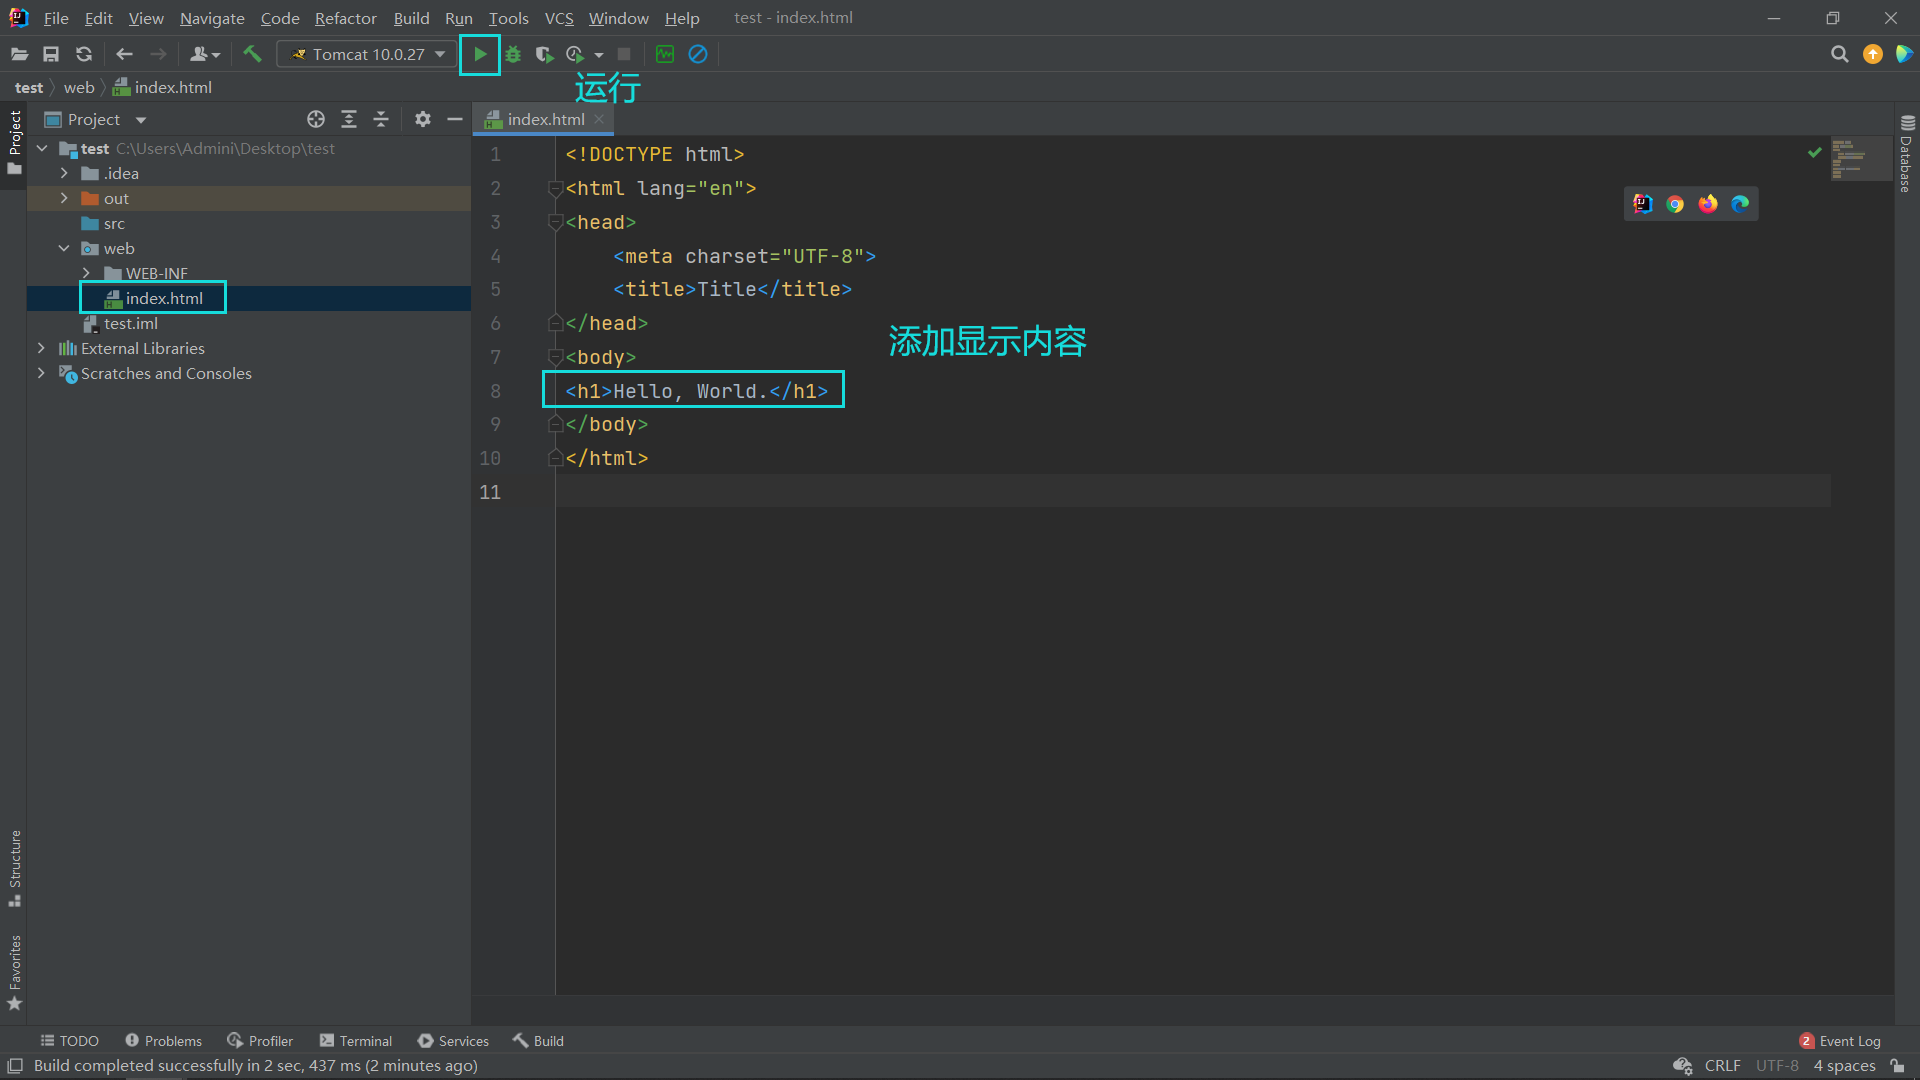
Because there is nothing in our web directory, the Tomcat service http://localhost:8080/test/will access the index page under the web by default, so we need to create a new index.jspor index.htmlto display the content. (If there are all available, priority access will be given index.html)
- Create a new web/index.html and start the service
Click to run, or use the shortcut key Shift + F10 to run
-
run success window
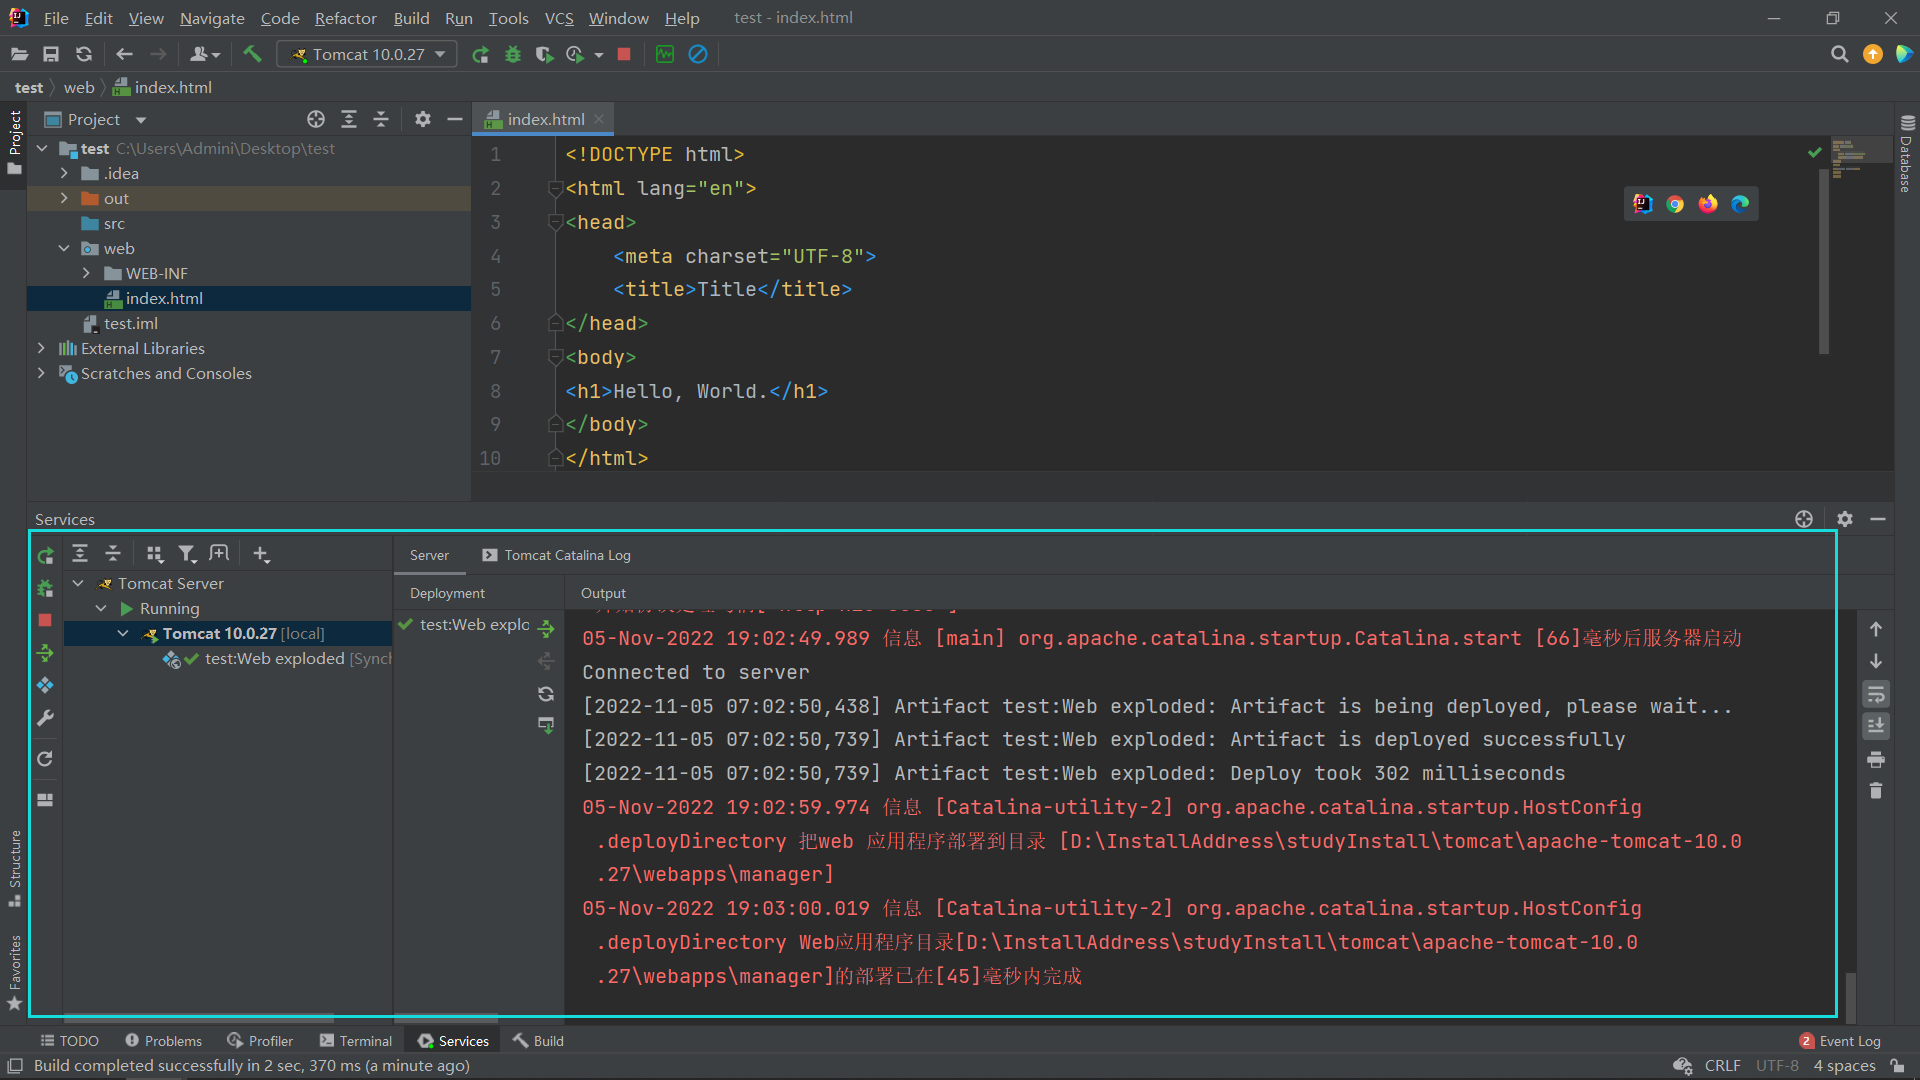
-
The browser window is displayed
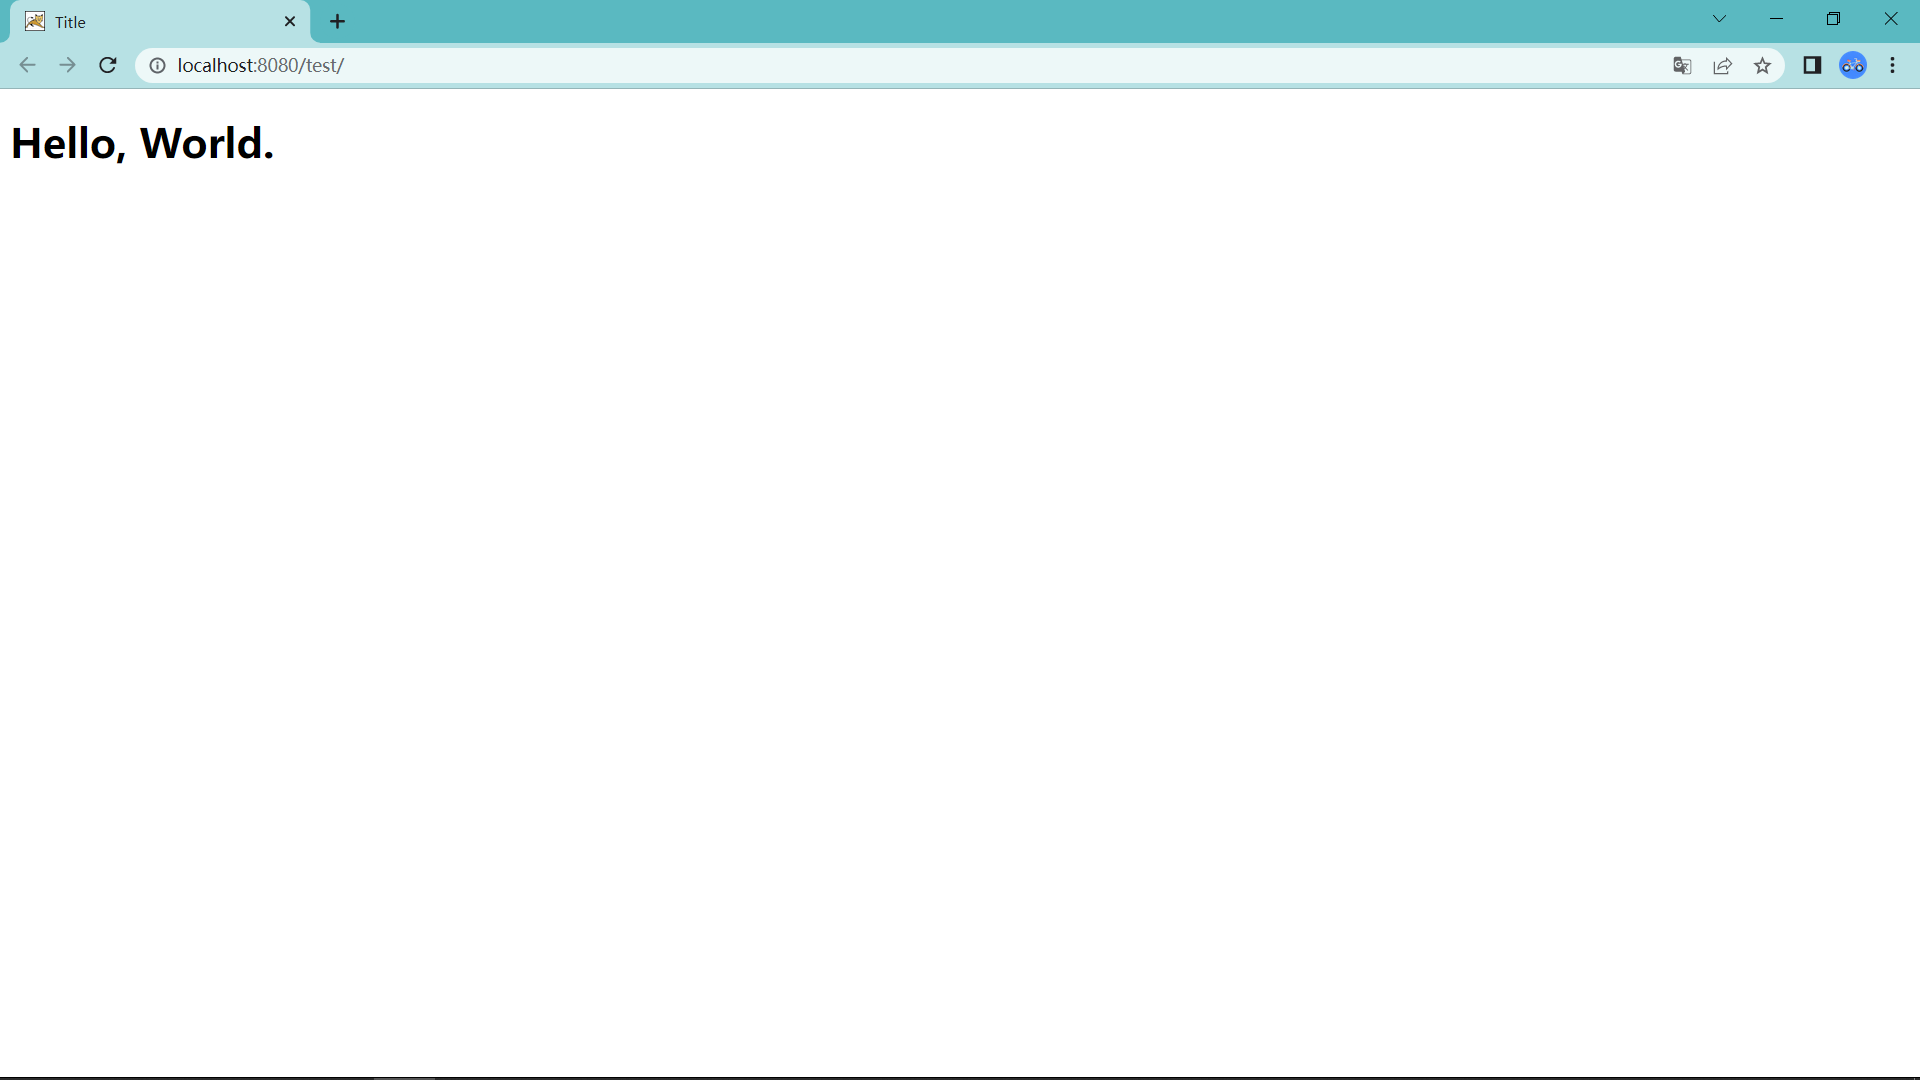
So far, the operation demonstration of Idea using Tomcat is completed
essay
