What I want to learn in this article is how to use if to judge whether a component is displayed or hidden , and how to use a for loop to render repeated content such as a list.
1. Use of if syntax
In the applet, we can use wx:if="{ {condition}}" to determine whether the code block needs to be rendered

You can also use wx:elif and wx:else to add else judgment:

The above is the introduction of the two methods, let's test the first one first
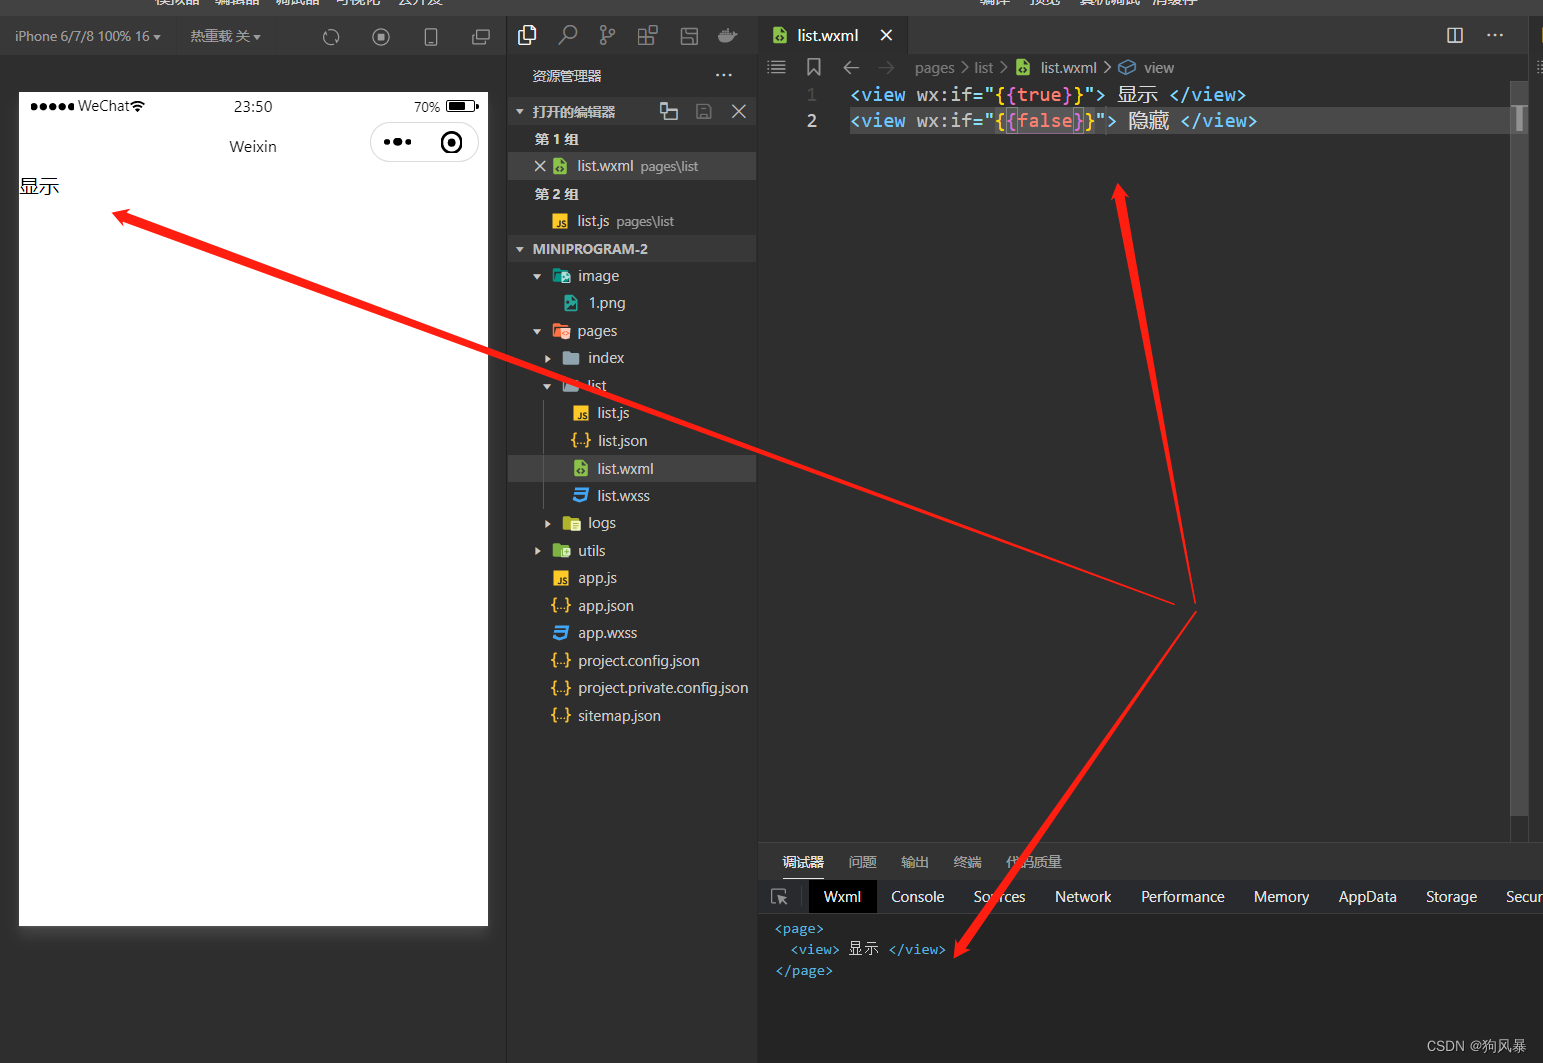
Through the picture, we found that the hidden code is hidden and not rendered. At this time, we can know that wx:if can control the hidden display of the component
Next, add conditions to judge
We now add a sex value of 2 to the data in pages

We found that when sex is equal to 2, the code will render the right component, so we can use if to multiple judge the components that need to be rendered
An additional content here is
wx:if vs. hidden
①The operation mode is different
wx:if controls the display and hiding of elements by dynamically creating and removing elements
hidden controls the display and hiding of elements by switching styles (disolay: none/block)
② Suggestions for use
When switching frequently , it is recommended to use hidden
When the control conditions are complex , it is recommended to use wx:if with wx:elif and wx:else to switch between display and hide
2.for syntax use
We all know that the for syntax is used for looping in programming languages, and it is the same in small programs, but its usage is similar to if, and it needs to be used by adding wx: in front
Through wx:for, the repeated component structure can be rendered in a loop according to the specified array. The syntax is as follows:
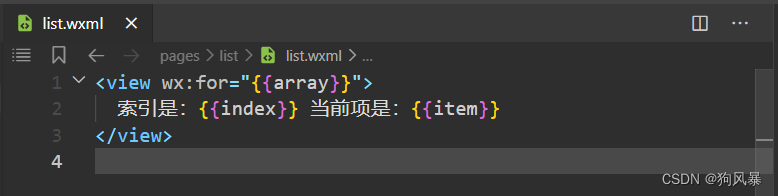
<view wx:for="{

   {array}}">
  索引是:{

   {index}} 当前项是:{

   {item}}
</view>
By default, the index of the loop item is represented by index ; the current loop item is represented by item
Let's try to give data an array first

page({
  data: {
    list:['华为','苹果','三星']
  }
})
<view wx:for="{
{list}}">
索引是:{
{index}} 当前项是:{
{item}}
</view>
In this way, the same effect as in the picture can be rendered, which saves us a lot of effort to do the same thing.
Some people will ask here, can the loop variable be changed ? Of course, we have such a method
Manually specify the variable name for the index and current item (emphasis*)
Use wx:for-index to specify the variable name of the index of the current loop item
Use wx:for-item to specify the variable name of the current item
The sample code is as follows:
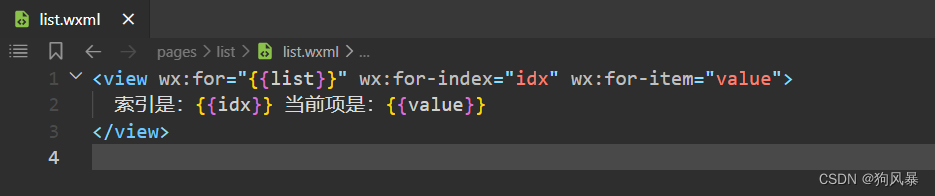
<view wx:for="{

   {list}}" wx:for-index="idx" wx:for-item="value">
  索引是:{

   {idx}} 当前项是:{

   {value}}
</view>
From the figure, we can see that their variable names have been modified through wx:for-index and wx:for-item , but careful students will find that our terminal will prompt such a content

This is, there is actually a wx:key attribute in our for loop
Translating that sentence is now, you can provide the attribute "wx:key" to "wx:for" to improve performance.
So we can add a wx:key later
<view wx:for="{

   {list}}" wx:for-index="idx" wx:for-item="value" wx:key="idx">
  索引是:{

   {idx}} 当前项是:{

   {value}}
</view>
This prompt can be dismissed.