Let me share, the first way to connect the STM32 development board to the network: connect to esp8266.
esp8266 and STM32 are connected by serial port communication, esp8266 is connected to the network, and the received data is transmitted to STM32 through the serial port, and then STM32 receives the message and responds accordingly.
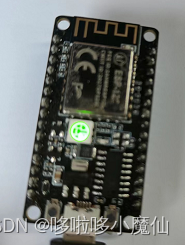
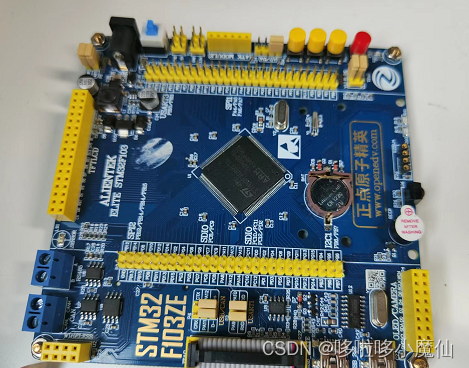
The development board used is shown in the figure: esp-12 and punctual atom stm32f103zet6.
First of all, let's grasp what serial communication is:
The concept of serial communication (Serial Communications) is very simple, the serial port sends and receives bytes bit by bit. The opposite of serial communication is parallel communication. Data transmission is generally transmitted in bytes, with 8 bits in a byte. Take a parallel communication as an example, that is, there will be 8 wires, and each wire represents a bit. One byte can be transmitted in one transmission, and serial port communication means that there is only one line for data transmission, and only one bit can be transmitted at a time. To transmit a byte, it needs to be transmitted 8 times.
The serial port (USART) of the single-chip microcomputer has a receiving end and a sending end. RX refers to the data reception of the serial port communication, and TX refers to the data transmission of the serial port communication. Two single-chip microcomputers can use the serial port for data transmission.
We can use the serial port of esp8266 and STM32 for data transmission.
The wiring method between esp8266 and STM32 is as follows:
| esp6266 | STM32 |
| RX | TX |
| TX | RX |
| VCC | VCC |
| GND | GND |
Because we want to connect STM32 to the network, we first connect esp8266 to the network. You can use AT commands or code burning. Here I use code to use esp8266 as an http server to receive data.
#include <ESP8266WiFi.h>
const char* ssid = "改成自己的";
const char* password = "改成自己的";
//静态地址、网关、子网掩码
WiFiServer server(80);
IPAddress local_IP(192, 168, 1, 80);//固定IP地址,避免IP变化影响通信
IPAddress gateway(192, 168, 1, 1);
IPAddress subnet(255, 255, 255, 0);
String ss = "";
String httpResponse = "HTTP/1.0 200 OK\r\n"
                      "Connection: close\r\n"
                      "Content-Type: application/json;\r\n"
                      "\r\n"
                      "{\"code\":1}";
void setup() {
  Serial.begin(115200);
  WiFi.config(local_IP, gateway, subnet);//设置静态IP
  WiFi.mode(WIFI_STA);
  WiFi.begin(ssid, password);//路由器的WiFi名称和密码
  while (WiFi.status() != WL_CONNECTED) {
    delay(500);
    Serial.print(".");
  }
  Serial.println(WiFi.localIP());
   server.begin();
}

void loop() {
  WiFiClient incomingClient = server.available();
  if (incomingClient) {
    if (incomingClient.find("\r\n\r\n")) {
      while (incomingClient.available()) {
        ss = ss + char(incomingClient.read());
      }
    }
    Serial.println(ss);
    incomingClient.print(httpResponse);
    ss = "";
  }
}
STM32 terminal code, here you can directly use the serial port code of punctual atom, note that the baud rate of the two MCUs must be the same
Code project click the link below to download
GitHub - qq-hh/qq-hh-My_Project_stm32
The connection is complete, after uploading the code to test,

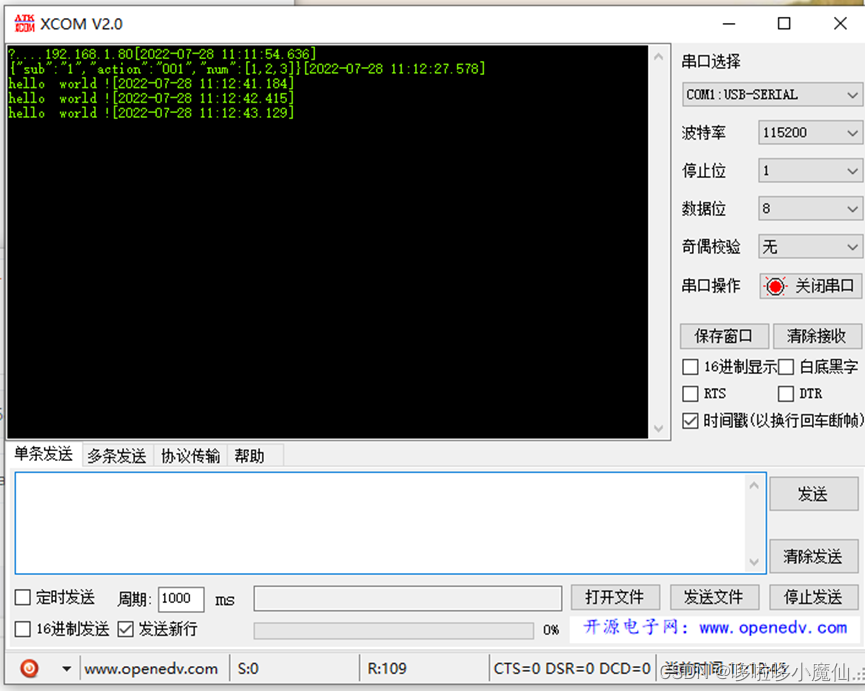
The stm32 development board can receive the network data received by the esp8266 through the serial port.