1 Introduction
Compile the Android system using Ubuntu20.04 to build Android10 source code compilation
2. Detailed steps
1. Download VMware Workstation Pro
The latest version of VMware Workstation Pro16 is used here as an example. The official website download address is: Windows virtual machine | Workstation Pro | VMware | CN Select the trial version

The installation process is relatively simple, here is a detailed introduction.
2. Download Ubuntu20.04
The 20.04 version is used here, and the official download address is: Ubuntu system download | Ubuntu
Find the corresponding Ubuntu version and download it
3. Install Ubuntu20.04 on the VM
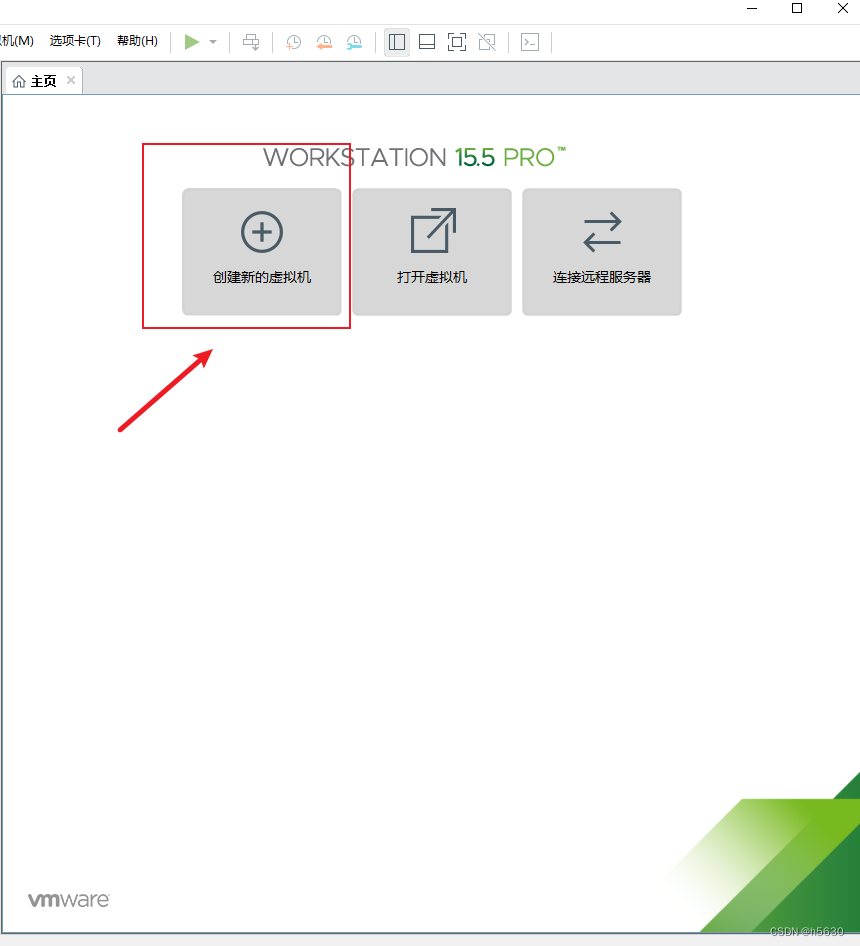
1. Select to create a new virtual machine on the VM home page, as shown in the figure below
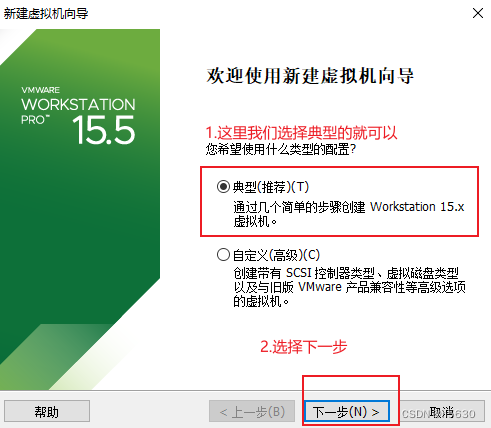
2. Select Typical installation
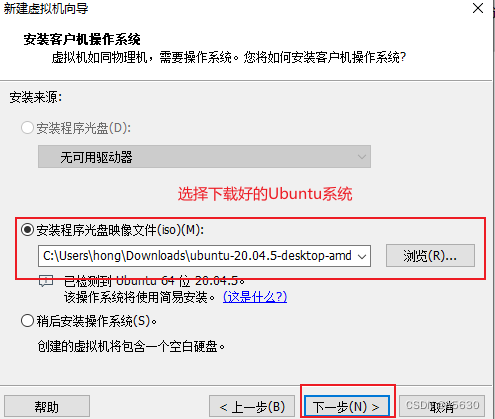
3. Find the downloaded Ubuntu system in the installer CD image file, as shown in the figure below
4. Fill in the user information

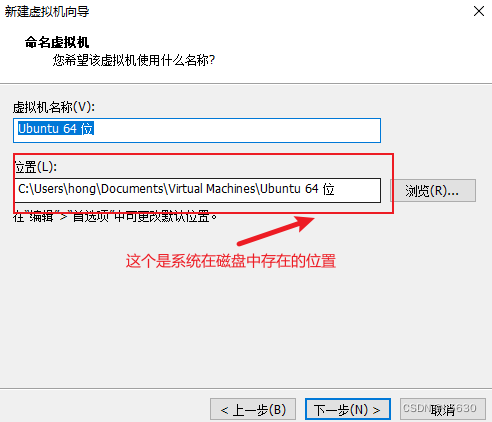
5. Set the disk location of the system in the physical machine
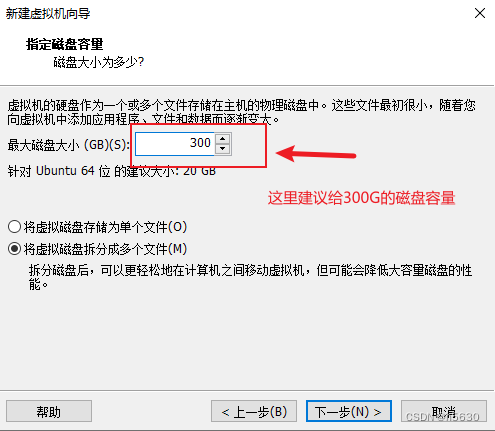
6. Set the size of the disk
The recommended size of the disk is 300G. The source code of the Android system is quite large (the source code of Android 10 downloaded at that time was nearly 100G), and the subsequent compilation will be about 200G, in case the disk space is insufficient, causing the Android system to fail to compile.
7. Set the memory and processor of Ubuntu
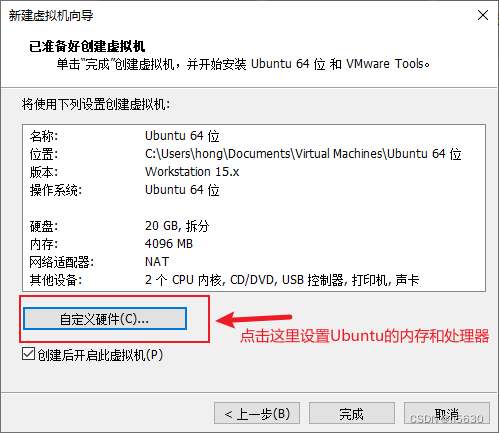
Set the memory to 16G (it is recommended to set the memory to 16G, if it is too small, there will be many abnormal problems, such as memory overflow, etc., and various strange problems), and the processor is 8 cores. In addition, it should be noted that on the processor, you need to tick the virtualized VT, otherwise, after the Android system is compiled successfully, the Android emulator cannot be started with the emulator command.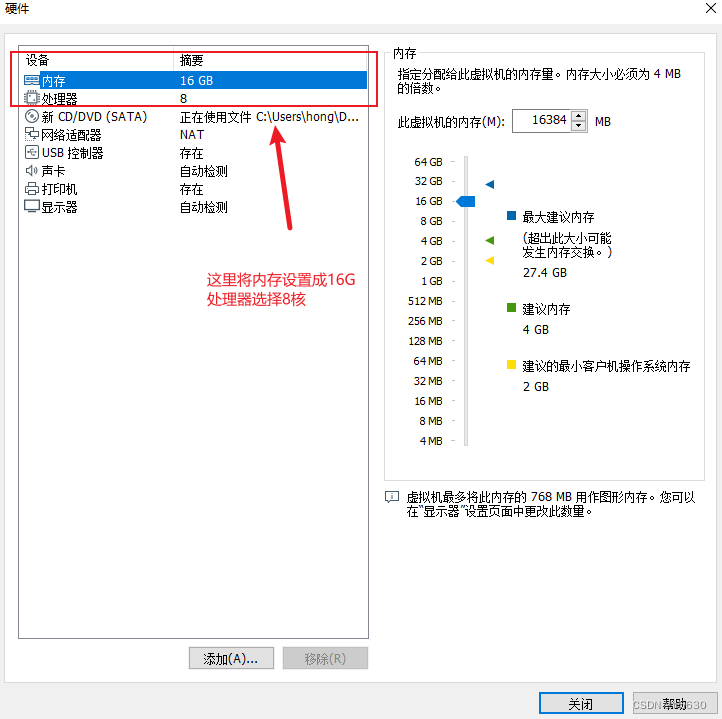

Click Finish, the Ubuntu system can be installed on the VM
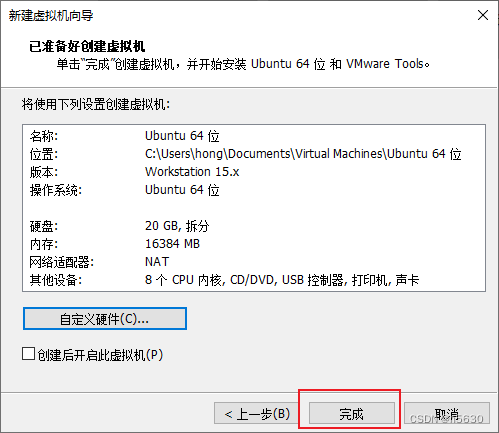
The Ubuntu after successful installation is as follows. At this point, the installation of Ubuntu 20.04 on the VM is completed.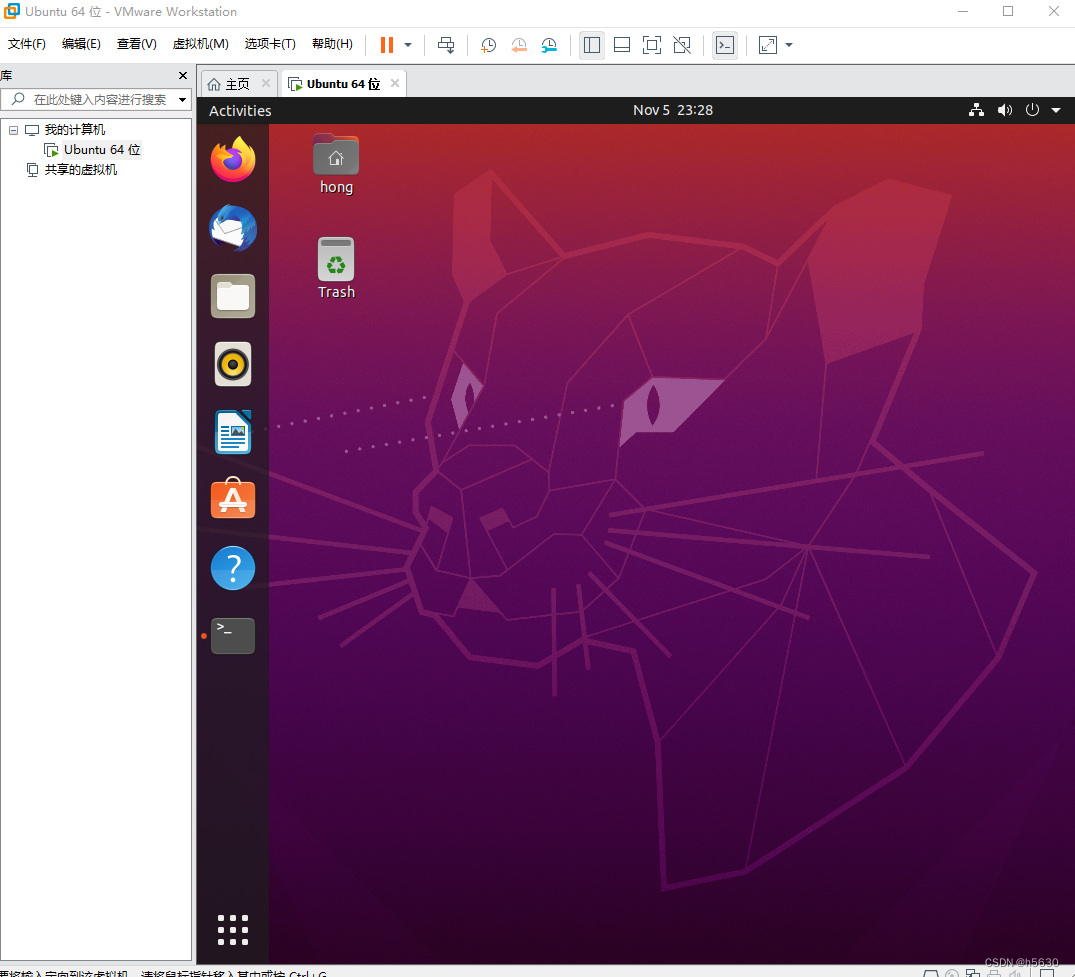
4. Download Android source code
Before downloading the Android source code, you need to install the compilation dependency library and tool download.
1. Install git
sudo apt-get install git
After the installation is successful, check the git version
git --version The git version appears, that is, the installation is successful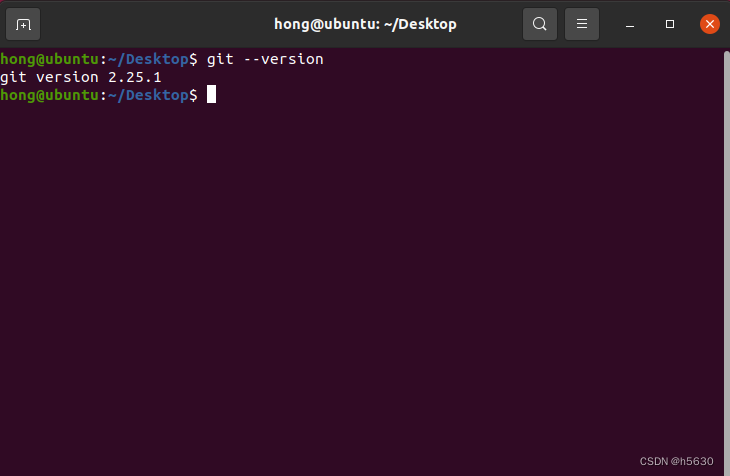
After downloading git, set up a git account
git config --global user.email "[email protected]"
git config --global user.name "xxxxx"
2. Install jdk
sudo apt-get install openjdk-8-jdk
3. Configure the PATH environment variable
mkdir ~/bin
echo "PATH=~/bin:\$PATH" >> ~/.bashrc
source ~/.bashrc
4. Install the curl library
sudo apt-get install curl
5. Download repo and set permissions
curl https://mirrors.tuna.tsinghua.edu.cn/git/git-repo > ~/bin/repo
chmod a+x ~/bin/repo
6. Install python
sudo apt-get install python
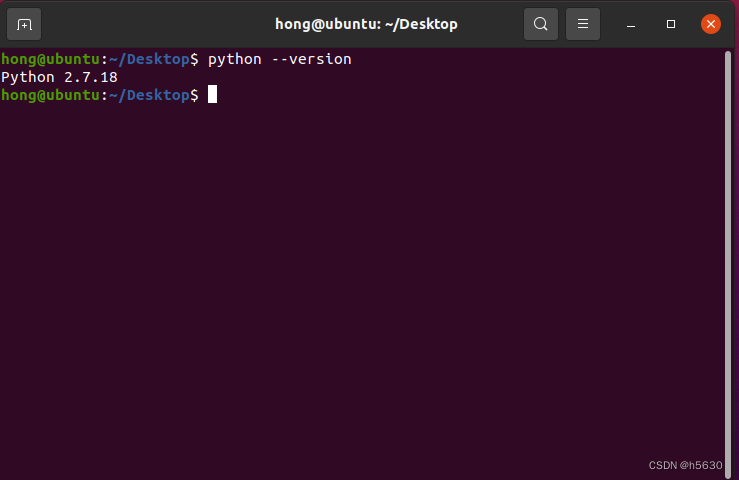
Check python version
python --versionIf you see the version of python, the installation is successful
download source code
1. Create the Android source code directory:
mkdir source
cd source
mkdir android_10
cd android_10
2. Set the address of repo, the tanna source used here:
export REPO_URL='https://mirrors.tuna.tsinghua.edu.cn/git/git-repo/'
3. Initialize the warehouse:
repo init -u https://aosp.tuna.tsinghua.edu.cn/platform/manifest
4. Make Android version and initialize:
repo init -u https://aosp.tuna.tsinghua.edu.cn/platform/manifest -b android-10.0.0_r10
5. Start synchronizing the code source:
repo sync
The Android source code is very large and needs to be synchronized for a long time. If there is a place stuck for a long time during the synchronization process, you can use ctrl+z to interrupt the synchronization and repo sync to synchronize
Compile the source code
1. Install dependencies
sudo apt-get install libx11-dev:i386 libreadline6-dev:i386 libgl1-mesa-dev g++-multilib
sudo apt-get install -y git flex bison gperf build-essential libncurses5-dev:i386
sudo apt-get install tofrodos python-markdown libxml2-utils xsltproc zlib1g-dev:i386
sudo apt-get install dpkg-dev libsdl1.2-dev libesd0-dev
sudo apt-get install git-core gnupg flex bison gperf build-essential
sudo apt-get install zip curl zlib1g-dev gcc-multilib g++-multilib
sudo apt-get install libc6-dev-i386
sudo apt-get install lib32ncurses5-dev x11proto-core-dev libx11-dev
sudo apt-get install libgl1-mesa-dev libxml2-utils xsltproc unzip m4
sudo apt-get install lib32z-dev ccache
sudo apt-get install libssl-dev
There will be two problems in the above installation dependencies
(1) Installing sudo apt-get install libesd0-dev will report the error Unable to locate package libesd0-dev
Solution:
sudo gedit /etc/apt/sources.list  //在行尾添加如下两行的内容
deb http://us.archive.ubuntu.com/ubuntu/ xenial main universe
deb-src http://us.archive.ubuntu.com/ubuntu/ xenial main universe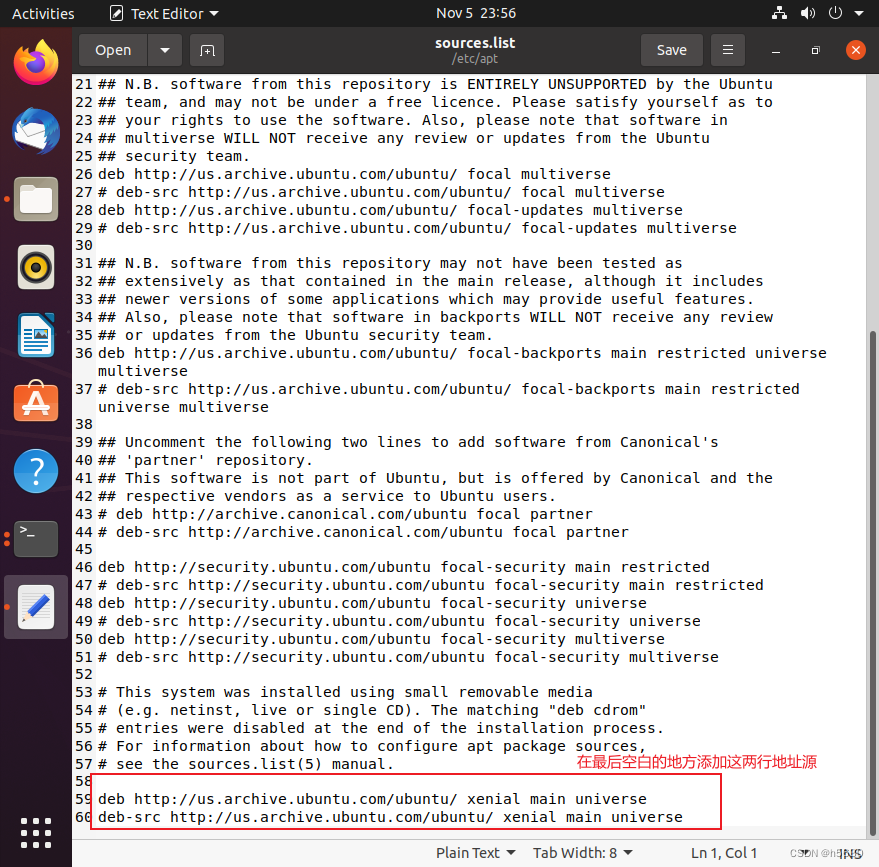
(2) 安装sudo apt-get install lib32ncurses5-dev可能报"lib32ncurses5-dev : Depends: libncurses5-dev (= 6.0+20160213-1ubuntu1) Unable to correct problems, you have held broken packages."
Solution:
1. Install aptitude
sudo apt install aptitude2. Install lib32ncurses5-de
It should be noted that the installation of this lib32ncurses5-de needs to be switched to root authority (the first installation of Ubuntu root password is random, you can use sudo passwd root) to enter or modify the password
sudo passwd rootUse su to enter to switch to the root user
su
Just enter the root password. There is a # at the front of the root user command line, that is, switch to the super user and install lib32ncurses5-de
aptitude install lib32ncurses5-devWhen installing, you will be prompted whether to keep the current version, first enter n, and then you will be prompted whether to downgrade, enter y
start compiling
source build/envsetup.sh
lunch 21  (X86版本)
make -j8
Here -j8 means to allow 8 threads to participate in the compilation. This number generally meets the number of cpu cores * 2. You can view related cpu information through cat /proc/cpuinfo.
The compilation is successful, as shown below

Start the emulator
emulator


Successfully run, this is the Android source code compiled manually by ourselves.