Event address: CSDN 21-day Learning Challenge
Table of contents
foreword
After some time ago research, from the introduction of LeNet-5 handwritten digits to a recent study of weather recognition. I want to make a big vote, because I am engaged in C++/Qt development and am familiar with Qt, so I want to implement a face recognition based on Qt interface.
If you are unfamiliar with the concept of convolutional neural networks, you can take a look at this article: What does convolution actually do?
If you want to understand the training process of neural networks, or how to build an environment, you can read this article: Environment Construction and Training Process
ps: Some time ago, some friends responded that although they could train normally, they did not understand many functions, so I will introduce all the functions used here, so don’t be too long-winded.
The basic idea
Specific steps are as follows:
- First need to collect data, my idea is to call the camera through OpenCV to collect face photos.
- Then perform preprocessing, mainly to classify the data set, training set, validation set, and test set. Pick appropriate parameters, such as loss function. Image grayscale, normalization, etc.
- To start training the model, create label key-value pairs in advance.
- Test the face recognition effect, capture the face photo through OpenCV, then preprocess the image and finally pass it into the model, and then print the recognition result on the screen in the form of text, and cycle until you enter q to exit.
About the environment
| library | Version |
|---|---|
| python | 3.7.0 |
| tensorflow | 2.1 |
| OpenCV | 3.4.2 |
| pyQt | 5.15.7 |
OpenCV
OpenCV is a cross-platform computer vision library released under the BSD license (open source) and can run on Linux, Windows, Android and Mac OS operating systems. It is lightweight and efficient – it consists of a series of C functions and a small number of C++ classes, and provides interfaces to languages such as Python, Ruby, and MATLAB, and implements many common algorithms in image processing and computer vision.
OpenCV is written in C++ language, and its main interface is also C++ language, but still retains a large number of C language interfaces. The library also has extensive Python, Java and MATLAB/OCTAVE (version 2.5) interfaces. The API interface functions of these languages can be obtained through the online documentation. Now also provides support for C#, Ch, Ruby.
Features of OpenCV
- Open source computer vision library written in C/C++;
- The purpose of use is to develop real-time applications;
- Independent of operating system, hardware and graphics manager;
- With general image/video loading, saving and obtaining modules;
- Application development kit with low-level and high-level.
Features that OpenCV has
- Operations on image data, including allocating, freeing, copying, setting, and transforming data;
- Input and output of images and videos;
- Algorithmic programs with operations on matrices and vectors and linear algebra;
- Can operate on various dynamic data structures;
- Have basic digital image processing capabilities;
- Various structures can be analyzed;
- Calibration of the camera;
- analysis of movements;
- identification of targets;
- Has basic GUI functionality.
Install OpenCV
It is recommended to use Anaconda to install more easily.
Key API
Import method:import cv2
imread
Function: Read image file
Function prototype: imread(filename, flags)
parameter introduction :
| parameter | illustrate |
|---|---|
| filepath | Read the full path to imge |
| flags | Flag bit, the format of the read image {cv2.IMREAD_COLOR, cv2.IMREAD_GRAYSCALE, cv2.IMREAD_UNCHANGED} |
Here is a detailed introduction to the parameters of flags:
| flag bit | illustrate |
|---|---|
| cv2.IMREAD_COLOR | The default parameter, read in a color image, ignore the alpha channel, can be replaced by 1 as an actual parameter |
| cv2.IMREAD_GRAYSCALE | Read in a grayscale image, you can use 0 as an argument instead |
| cv2.IMREAD_UNCHANGED | As the name implies, read in the full image, including the alpha channel, which can be replaced by -1 as an argument |
Note: The alpha channel, also known as the A channel, is an 8-bit grayscale channel. This channel uses 256-level grayscale to record the transparency information in the image, and defines transparent, opaque and semi-transparent areas, where black means full transparency, White means opaque, grey means translucent
namedWindow
Function ·: Create a new display window. The type of window can be specified.
Function prototype: void nameWindow(const string& winname,int flags = WINDOW_AUTOSIZE) ;
Parameter introduction :
| parameter | illustrate |
|---|---|
| winname | the name of the window |
| WINDOW_AUTOSIZE | The identity of the window, the default is WINDOW_AUTOSIZE |
The second parameter is explained in detail here:
| Classification of logos | illustrate |
|---|---|
| WINDOW_AUTOSIZE | The window size automatically adapts to the picture size and cannot be changed manually. |
| WINDOW_NORMAL | User can resize this window |
| WINDOW_OPENGL | OpenGL is supported when the window is created |
Example
When using cv2.imshow(), if the image is too large, it will be incomplete and cannot be adjusted. Therefore cv2.imshow(), add such a statement in front of it: cv2.namedWindow('image', 0), the obtained image frame can be resized by itself, and can be stretched and adjusted freely.
It should be noted here that the window names in namedWindow and imshow need to be the same, otherwise multiple windows will be created.
waitKey: Indicates the waiting time, in milliseconds. 0 means keep waiting.
import cv2
import sys

img = cv2.imread("C:\\Users\\Administrator\\Desktop\\9.jpg", 1)  # 参数1:图片路径。参数2:显示原图
cv2.namedWindow("aa", 0)
cv2.imshow("aa", img)
cv2.waitKey(0) # 0表示不自动退出  如5000表示等待5秒
operation result:
cv2.VideoCapture(0)
The parameter 0 means that the first camera in the computer is used by default. If you need to read an existing video, the parameter is changed to the path where the video is located,
such as
cap=cv2.VideoCapture('video.mp4')
CascadeClassifier
There are 4 cascade classifiers trained with haar features in data\haarcascades under OpenCV:
- haarcascade_frontalface_alt.xml
- haarcascade_frontalface_alt_tree.xml
- haarcascade_frontalface_alt2.xml
- haarcascade_frontalface_default.xml
does not discuss cascaded classifiers here, and interested friends will go and learn more about them.
The haarcascade_frontalface_alt2. classifier is used in this project. Add a classifier through the CascadeClassifier function.
classfier = cv2.CascadeClassifier("./model/haarcascade_frontalface_alt2.xml")
cap.isOpened()
Determines whether the video object is successfully read, and returns True if the video object is successfully read, and False if it fails.
ok, frame = cap.read()
When reading a frame of data, the return value ok is a boolean type. If it is read correctly, it will return True. If the reading fails or the end of the video is read, it will return False. The frame is the image of each frame, where the image is a three-dimensional matrix, that is, frame.shape = (640,480,3), and the read image is the BGRformat.
cv2.cvtColor(frame, cv2.COLOR_BGR2GRAY)
Function: color space conversion function, the first parameter is the image to be converted, and the second parameter is what format to convert to
Format introduction :
| Format | illustrate |
|---|---|
| cv2.COLOR_BGR2RGB | Convert BGR format to RGB format |
| cv2.COLOR_BGR2GRAY | Convert BGR format to grayscale image |
classfier.detectMultiScale
Function : Detect all the faces in the picture, and save the coordinates and size of each face in a vector (represented by a rectangle)
Function prototype : void detectMultiScale(const Mat& image,CV_OUT vector
Parameter introduction :
| parameter | illustrate |
|---|---|
| image | The image to be detected is generally a grayscale image to speed up the detection speed; |
| objects | The rectangular frame vector group of the detected object; |
| scaleFactor | Indicates the scaling factor of the search window in two consecutive scans. The default is 1.1, that is, each search window expands by 10% in turn; |
| minNeighbors | Indicates the minimum number of adjacent rectangles that constitute the detection target (3 by default). If the number of small rectangles that make up the detection target and less than min_neighbors - 1 will be excluded. If min_neighbors is 0, the function will return all the detected candidate rectangles without any operation. This setting value is generally used in the user-defined combination program of the detection results; |
| flags | Either use the default value or use CV_HAAR_DO_CANNY_PRUNING. If set to CV_HAAR_DO_CANNY_PRUNING, the function will use Canny edge detection to exclude areas with too many or too few edges, so these areas are usually not the areas where faces are located; |
| minSize和maxSize | Used to limit the range of the obtained target area. |
cv2.rectangle
Function : Draw a simple, specified thickness or filled rectangle by two vertices on the diagonal.
Here it is mainly used to frame the face area.
Function prototype : void rectangle(Mat& img, Point pt1, Point pt2, const Scalar& color, int thickness=1, int lineType=8, int shift=0)
Parameter introduction :
| parameter | illustrate |
|---|---|
| img | image. |
| pt1 | A vertex of the rectangle. |
| pt2 | Another vertex on the diagonal of the rectangle |
| color | 线条颜色 (RGB) 或亮度(灰度图像 )(grayscale image)。 |
| thickness | 组成矩形的线条的粗细程度。取负值时(如 CV_FILLED)函数绘制填充了色彩的矩形。 |
| line_type | 线条的类型。见cvLine的描述 |
| shift | 坐标点的小数点位数。 |
框出人脸区域
通过 OpenCV 的 Harr 分类器检测人脸,并输出识别结果(x,y,w,h)。
图片坐标以左上角为原点;
(x,y)代表人脸区域左上角坐标;
w代表人脸区域的宽度(width);
h代表人脸区域的高度(height)。
x, y, w, h = faceRect  # 原图上框出需要保存的图
color = (0, 0, 255)  # 识别出人脸后要画的边框的颜色,RGB格式

# frame 是原图,(x - 10, y - 10) 是图片的左上角的那个点,(x + w + 10, y + h + 10)是图片右下角的点 color, 2 颜色和线的宽度
cv2.rectangle(frame, (x - 10, y - 10), (x + w + 10, y + h + 10), color, 2)
imwrite
功能:用于将图像保存到指定的文件,可以为各种格式的图像。
函数原型:imwrite(const String & filename,InputArray img,const std::vector & params = std::vector<int>() )
参数介绍:
| 参数 | 说明 |
|---|---|
| filename | 需要保存图像的文件名,要保存图片为哪种格式,就带什么后缀。 |
| img | 要保存的图像。 |
| params | 表示为特定格式保存的参数编码。 |
编码参数:
| 编码 | 说明 |
|---|---|
| IMWRITE_JPEG_QUALITY Python :cv.IMWRITE_JPEG_QUALITY | 对于JPEG,它可以是从0到100的质量(越高越好)。默认值为95。 |
| IMWRITE_JPEG_PROGRESSIVE Python:cv.IMWRITE_JPEG_PROGRESSIVE | 启用JPEG功能,0或1,默认为False。 |
| IMWRITE_JPEG_OPTIMIZE Python:cv.IMWRITE_JPEG_OPTIMIZE | 启用JPEG功能,0或1,默认为False。 |
| IMWRITE_JPEG_RST_INTERVAL Python:cv.IMWRITE_JPEG_RST_INTERVAL | JPEG重启间隔,0 - 65535,默认为0 - 无重启。 |
| IMWRITE_JPEG_LUMA_QUALITY Python:cv.IMWRITE_JPEG_LUMA_QUALITY | 单独的亮度质量等级,0 - 100,默认为0 - 不使用。 |
| IMWRITE_JPEG_CHROMA_QUALITY Python:cv.IMWRITE_JPEG_CHROMA_QUALITY | 单独的色度质量等级,0 - 100,默认为0 - 不使用。 |
| IMWRITE_PNG_COMPRESSION Python:cv.IMWRITE_PNG_COMPRESSION | 对于PNG,它可以是从0到9的压缩级别。值越高意味着更小的尺寸和更长的压缩时间。如果指定,则策略更改为IMWRITE_PNG_STRATEGY_DEFAULT(Z_DEFAULT_STRATEGY)。默认值为1(最佳速度设置)。 |
| IMWRITE_PNG_STRATEGY Python:cv.IMWRITE_PNG_STRATEGY | 其中一个品种:: ImwritePNGFlags,默认为IMWRITE_PNG_STRATEGY_RLE。 |
| IMWRITE_PNG_BILEVEL Python:cv.IMWRITE_PNG_BILEVEL | 二进制级别PNG,0或1,默认为0。 |
| IMWRITE_PXM_BINARY Python:cv.IMWRITE_PXM_BINARY | 对于PPM,PGM或PBM,它可以是二进制格式标志,0或1.默认值为1。 |
| IMWRITE_WEBP_QUALITY Python:cv.IMWRITE_WEBP_QUALITY | 覆盖EXR存储类型(默认为FLOAT(FP32))对于WEBP,它可以是1到100的质量(越高越好)。默认情况下(不带任何参数),如果质量高于100,则使用无损压缩。 |
| IMWRITE_PAM_TUPLETYPE Python:cv.IMWRITE_PAM_TUPLETYPE | 对于PAM,将TUPLETYPE字段设置为为格式定义的相应字符串值。 |
| IMWRITE_TIFF_RESUNIT Python:cv.IMWRITE_TIFF_RESUNIT | 对于TIFF,用于指定要设置的DPI分辨率单位; 请参阅libtiff文档以获取有效值。 |
| IMWRITE_TIFF_XDPI Python:cv.IMWRITE_TIFF_XDPI | 对于TIFF,用于指定X方向DPI。 |
| IMWRITE_TIFF_YDPI Python:cv.IMWRITE_TIFF_YDPI | 对于TIFF,用于指定Y方向DPI。 |
| IMWRITE_TIFF_COMPRESSION Python:cv.IMWRITE_TIFF_COMPRESSION | 对于TIFF,用于指定图像压缩方案。请参阅libtiff以获取与压缩格式对应的整数常量。注意,对于深度为CV_32F的图像,仅使用libtiff的SGILOG压缩方案。对于其他支持的深度,可以通过此标志指定压缩方案; LZW压缩是默认值。 |
| IMWRITE_JPEG2000_COMPRESSION_X1000 Python:cv.IMWRITE_JPEG2000_COMPRESSION_X1000 | 对于JPEG2000,用于指定目标压缩率(乘以1000)。该值可以是0到1000.默认值是1000。 |
rectangle
功能:是在图像上绘制一个简单的矩形
函数原型:cv2.rectangle(img, pt1, pt2, color[, thickness[, lineType[, shift]]])
参数介绍:
| 参数 | 说明 |
|---|---|
| img | 图片路径 |
| pt1 和 pt2 | They represent the upper left corner and the lower right corner of the rectangle, respectively, and the x-coordinate axis is horizontal and the y-coordinate axis is vertical. (When the x or y of the pt1 coordinate is greater than the x or y of the pt2 coordinate, the pt1 and pt2 parameters represent the lower left and upper right corners of the rectangle respectively, and both pt1 and pt2 must be integers) |
| color | The color of the rectangle border should be noted that the three (0, 0, 255) here correspond to BGR respectively |
| thickness | If the thickness of the rectangle border is negative, such as CV_FILLED, it means to fill the entire rectangle |
| lineType | Algorithm channel |
| shift | Number of decimal places in point coordinates |
cv2.FONT_HERSHEY_SIMPLEX
Haha, this is mainly to show how many face pictures are currently captured, so that when standing there and being photographed, you have a good idea, and you don't have to wait with a smear of black eyes.
cv2.putText
Function : Add text to the picture
Function prototype : cputText(img, text, org, fontFace, fontScale, color, thickness=None, lineType=None, bottomLeftOrigin=None):
Parameter introduction :
| parameter | illustrate |
|---|---|
| image | picture |
| text | text to add |
| org | The position where the text is added to the image |
| fontFace | type of font |
| fontScale | font size |
| color | font color |
| thicknessFont weight |
word()
Function: Returns the ascii value of a character. Here for input q active end.
code
# coding: utf-8

import cv2
import sys

def catch_usb_video(window_name, camera_idx):
    '''使用cv2.imshow()的时候,如果图片太大,会显示不全并且无法调整。
    因此在cv2.imshow()的前面加上这样的一个语句:cv2.namedWindow('image', 0),
    得到的图像框就可以自行调整大小,可以拉伸进行自由调整。'''
    cv2.namedWindow(window_name, 0)

    # 视频来源,可以来自一段已存好的视频,也可以直接来自USB摄像头
    cap = cv2.VideoCapture(camera_idx)

    # 告诉OpenCV使用人脸识别分类器  级联分类器
    '''
    Haar特征是一种反映图像的灰度变化的,像素分模块求差值的一种特征。它分为三类:边缘特征、线性特征、中心特征和对角线特征。
    '''
    classfier = cv2.CascadeClassifier("./model/haarcascade_frontalface_alt2.xml")
    # 识别出人脸后要画的边框的颜色,RGB格式
    color = (0, 0, 255)
    num = 0
    while cap.isOpened():
        ok, frame = cap.read()  # 读取一帧数据
        if not ok:
            break
            # 将当前帧转换成灰度图像
        grey = cv2.cvtColor(frame, cv2.COLOR_BGR2GRAY)
        # 人脸检测,1.2和2分别为图片缩放比例和需要检测的有效点数
        faceRects = classfier.detectMultiScale(grey, scaleFactor=1.2, minNeighbors=3, minSize=(32, 32))
        #  faceRects = [405 237 222 222]
        if len(faceRects) > 0:  # 大于0则检测到人脸
            for faceRect in faceRects:  # 单独框出每一张人脸
                # 在原图上框出需要保存的图
                x, y, w, h = faceRect
                cv2.rectangle(frame, (x - 10, y - 10), (x + w + 10, y + h + 10), color, 2)
                # 将当前帧保存为图片
                # frame 是原图,(x - 10, y - 10) 是图片的左上角的那个点,(x + w + 10, y + h + 10)是图片右下角的点
                # color, 2 颜色和线的宽度
                img_name = '%s/%d.jpg' % ('./deep_learning/zhangmeng', num)
                image = frame[y - 10: y + h + 10, x - 10: x + w + 10]
                cv2.imwrite(img_name, image)
                num += 1
                if num > (500):  # 如果超过指定最大保存数量退出循环
                    break
            # 画出矩形框
            cv2.rectangle(frame, (x - 10, y - 10), (x + w + 10, y + h + 10), color, 2)
            # 显示当前捕捉到了多少人脸图片了,这样站在那里被拍摄时心里有个数,不用两眼一抹黑傻等着
            font = cv2.FONT_HERSHEY_SIMPLEX
            cv2.putText(frame, 'num:%d' % (num), (x + 30, y + 30), font, 1, (255, 0, 255), 4)
            # 超过指定最大保存数量结束程序
        if num > (500):
            break
        # 显示图像
        cv2.imshow(window_name, frame)
        c = cv2.waitKey(1)
        if c & 0xFF == ord('q'):
            break
    # 释放摄像头并销毁所有窗口
    cap.release()
    cv2.destroyAllWindows()


if __name__ == '__main__':
    catch_usb_video("face", 0)
operation result
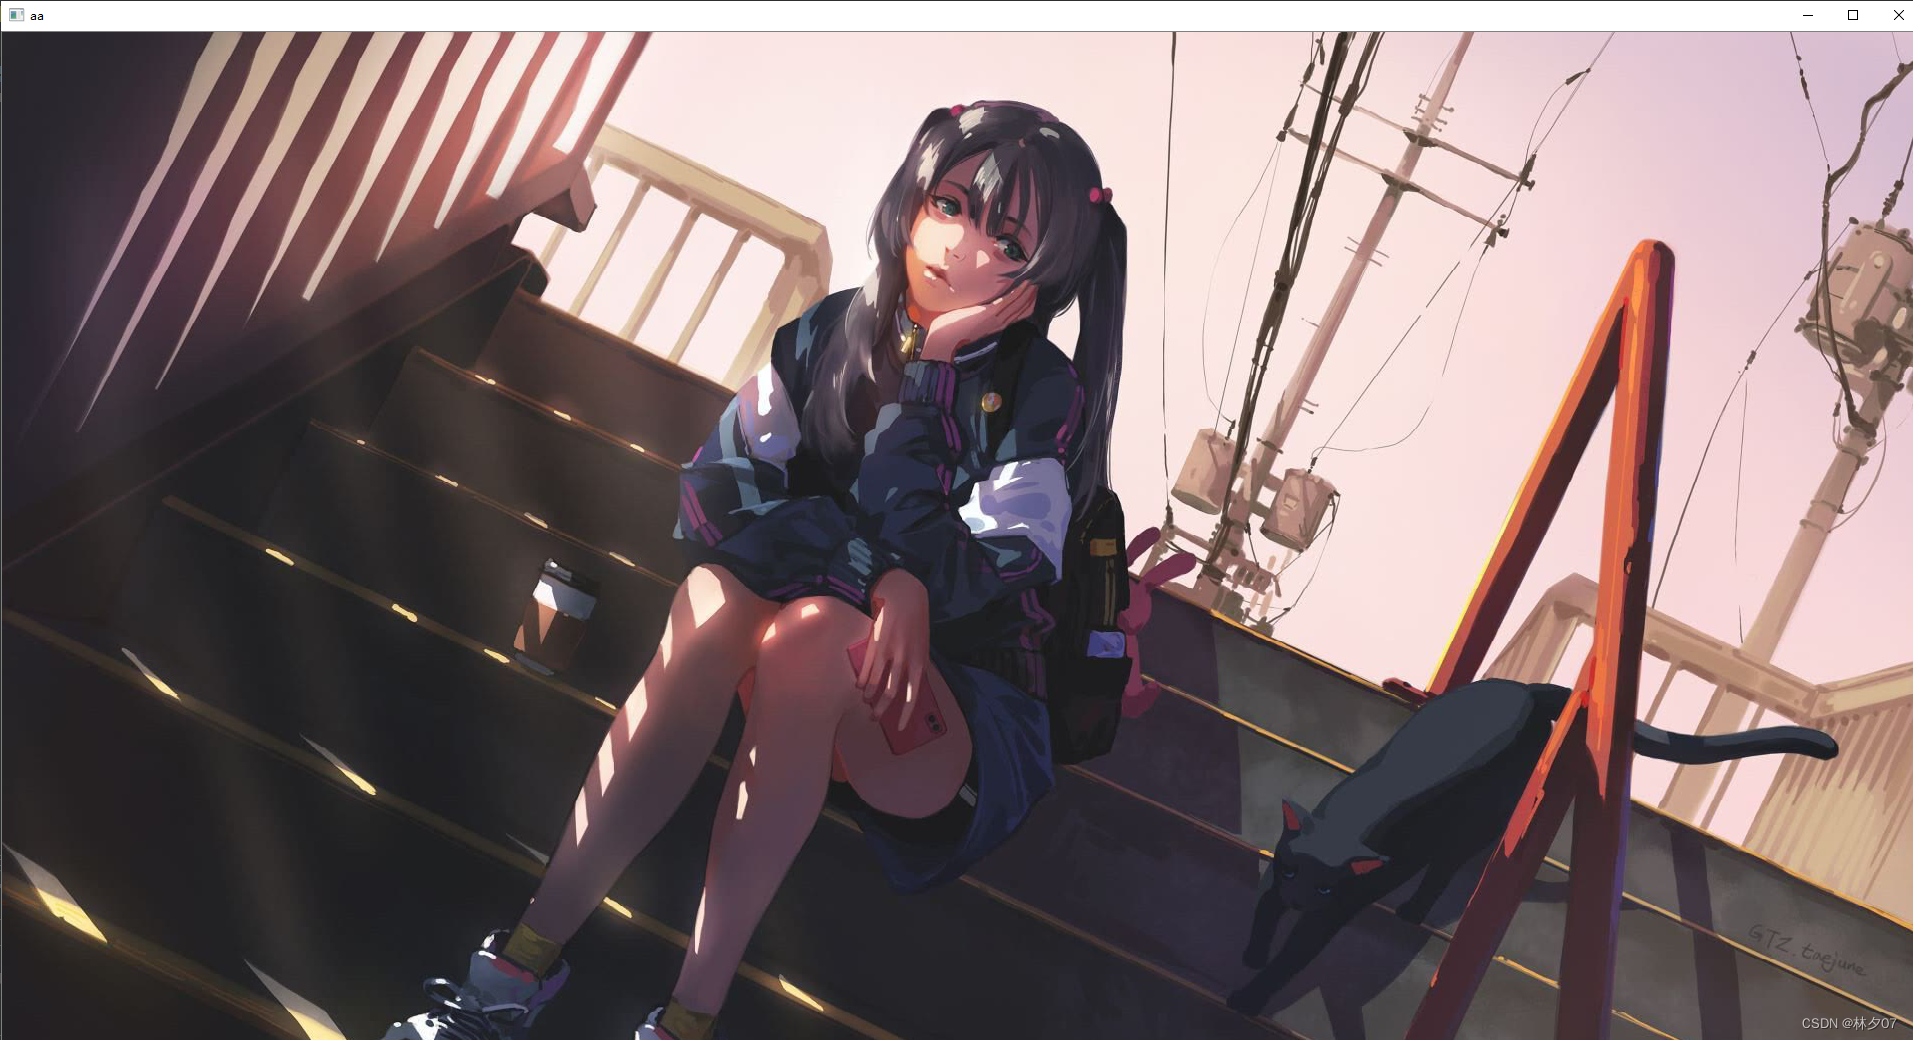
A friend of mine starred in an identification test

Here you can also see that the pictures are saved normally.

Summarize
So the first step is done here. At present, the biggest difficulty I feel is to understand some API functions related to OpenCV. There are no other excessive technologies designed.