Windows installation PyCharm2021 tutorial
1. Download and install PyCharm
1. Enter the download address of the official website PyCharm: link: http://www.jetbrains.com/pycharm/download/#section=windows .
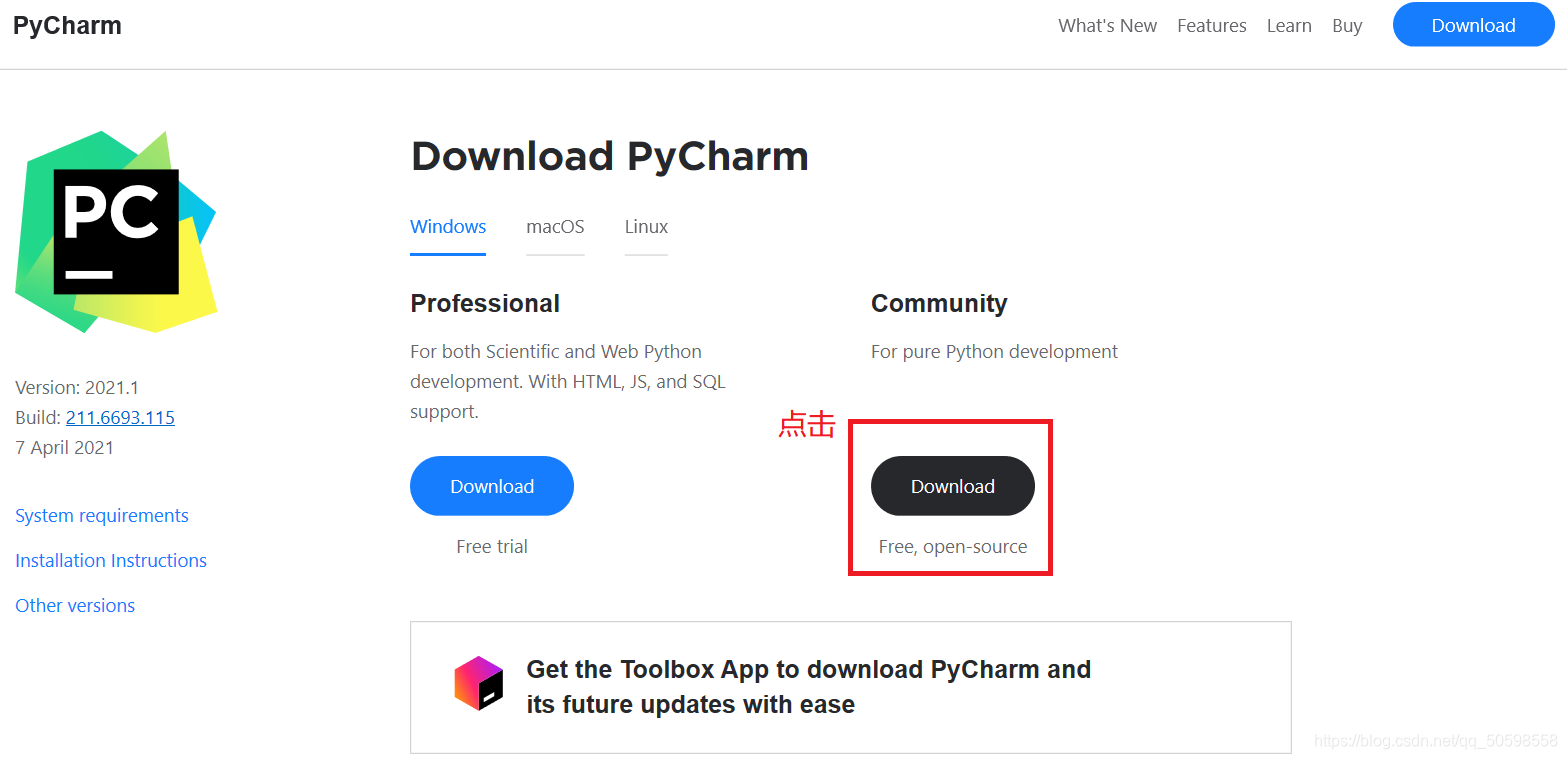
2. Professional means the professional version, and community is the community version. It is recommended to install the community version. Because it is free to use, I choose the community version. The pycharm-community-version number appears in the storage location of the downloaded file.

3. Click Install to modify the installation path. It is recommended to install a location other than the C drive. After modification, click Next. 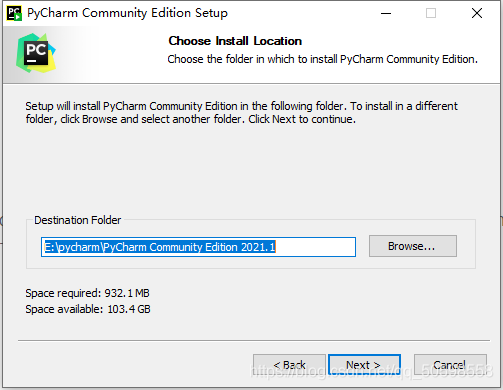
4. It is recommended not to select the .py option. This is an associated file. If it is checked, double-click the .java file on the computer to open it.

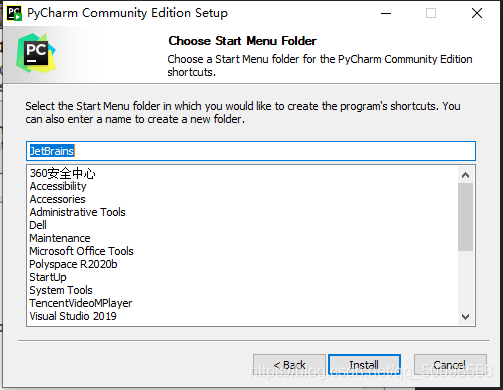
5. Next, click Install, and the installation interface appears.

2. Install Python
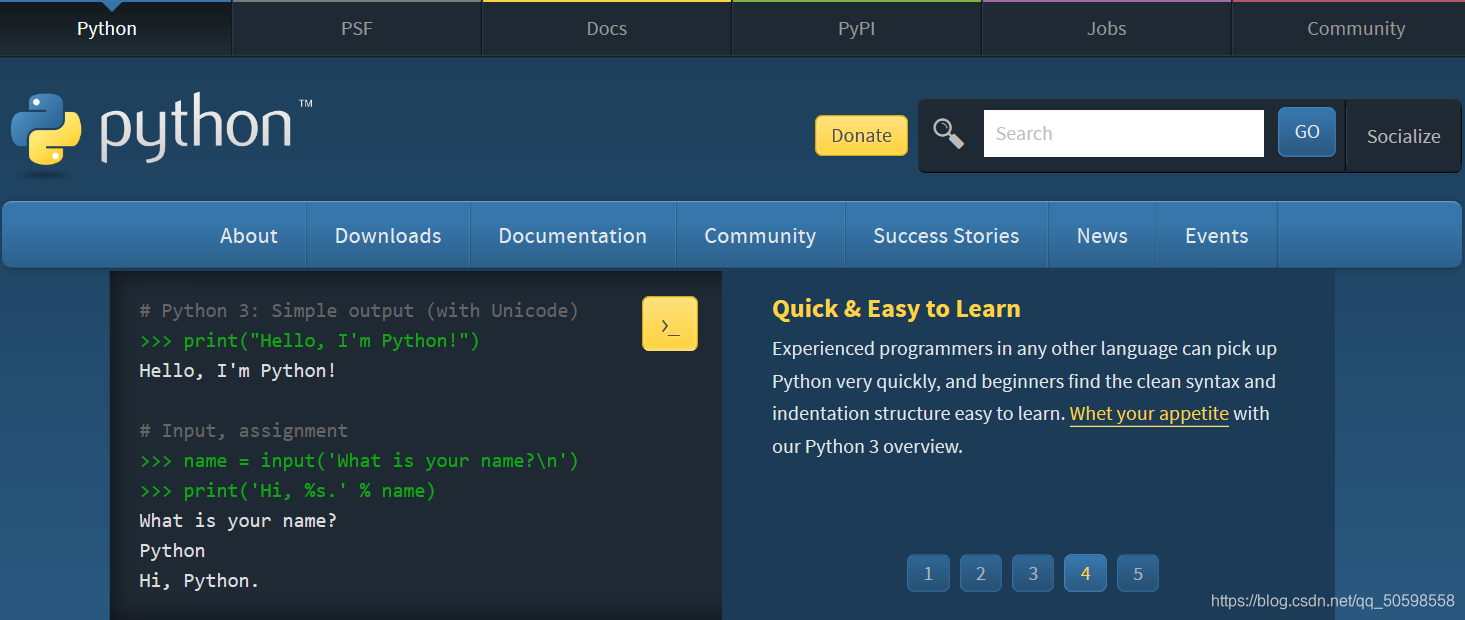
6. If you haven't downloaded the Python interpreter before, you need to download the python interpreter, otherwise pycharm will be hard to beat. Enter the python official website: https://www.python.org/ .
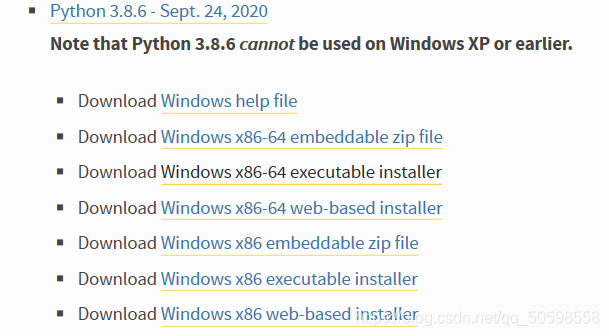
7. As shown in the figure below, select the required python version number and click Download. I chose the python3.8.6-executable executable version.
注:
①Windows x86-64Indicates the 64-bit Windows operating system;
②Windows x86Indicates 32-bit Windows operating system;
③web-based installIndicates online installation, the downloaded is an exe executable program, after double-clicking, the program will automatically download the installation file for installation, because it is online installation, there must be a network;
④executable installIndicates the program installation, the downloaded is an exe executable program, just open and install;
⑤embeddable zip fileThe zip inside is not very familiar, so the surface download is a compressed file, and the installation is complete after decompression.
8. After the download is successful, find the path of the Python installation package and open the installation package.

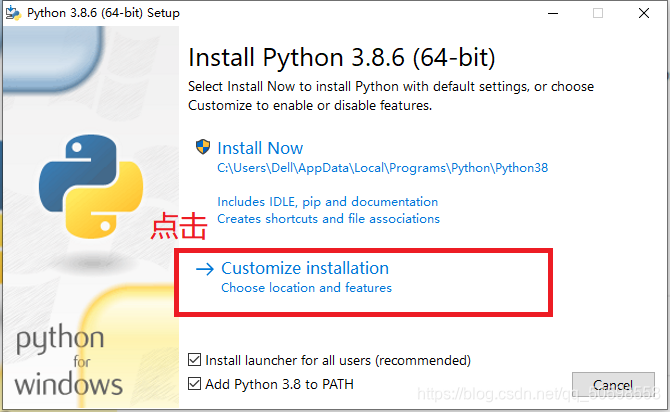
9. Open We first check all the boxes and click Customize installation below.
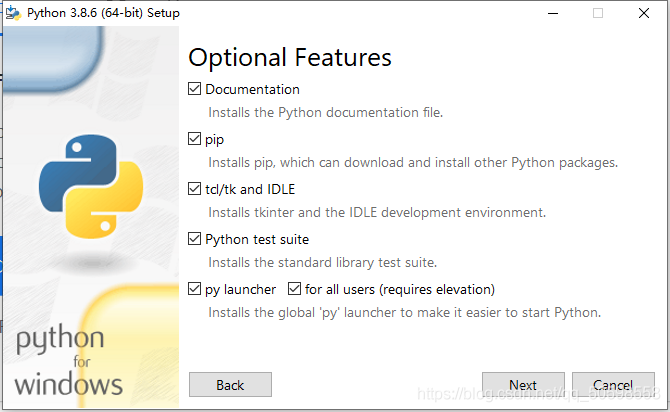
10. This is all checked, and then click Next.
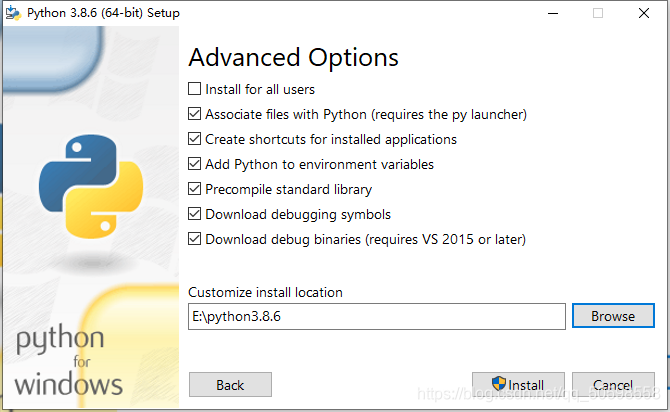
11. The first one in the following figure can be unchecked, but the others need to be checked, and the Customize install location below is the installation path of the specified Python. I chose the E disk, and click install after setting it up.
12. Start the installation

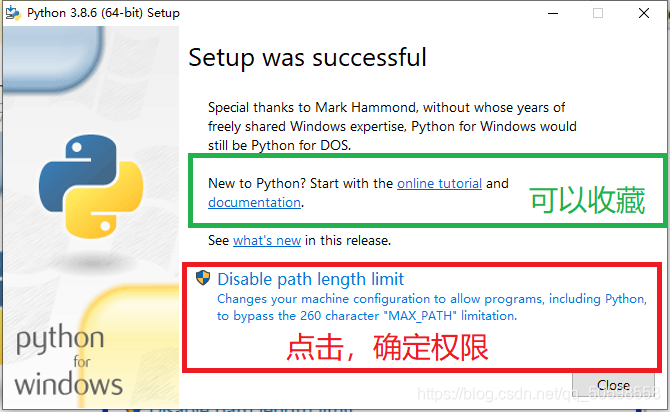
13. After the installation is successful, click Disable path length limit, and the python installation is complete.
14. Check the environment variable configuration: (This step can also be skipped)
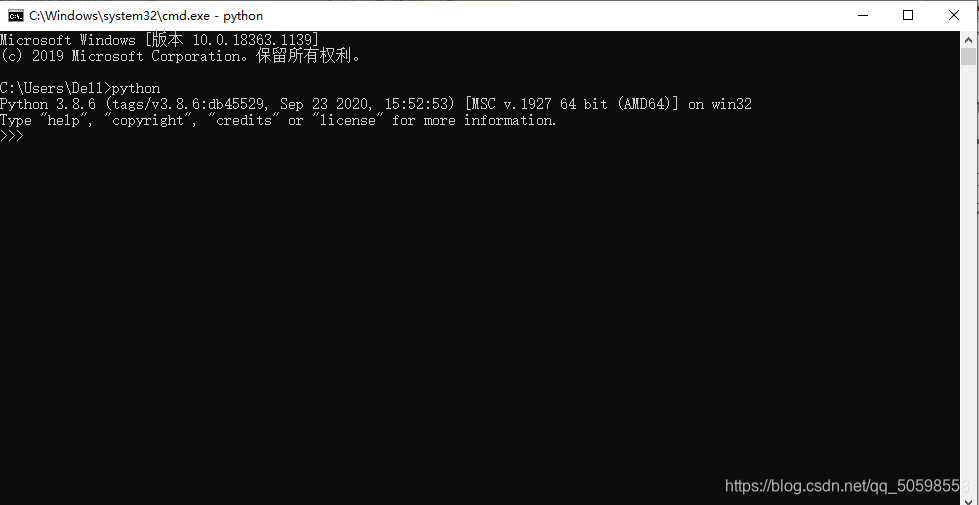
Open the win key + r, the run box will pop up, enter cmd, and open the cmd command line window. After entering python, press the Enter key. If you can enter the python command line window, the Python environment variable configuration is successful.
So far, Python 3.8.6 installation is complete
Third, configure the PyCharm environment
Before creating a project, you need to confirm whether to add the environment variable, that is, whether the bin file path is added to the system environment variable. If not, the Python interpreter may not be selected when creating the project.
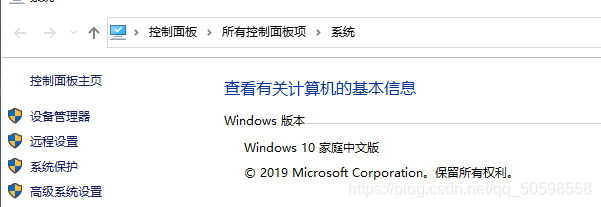
15. Right-click My Computer, click Properties, and the following interface will pop up.
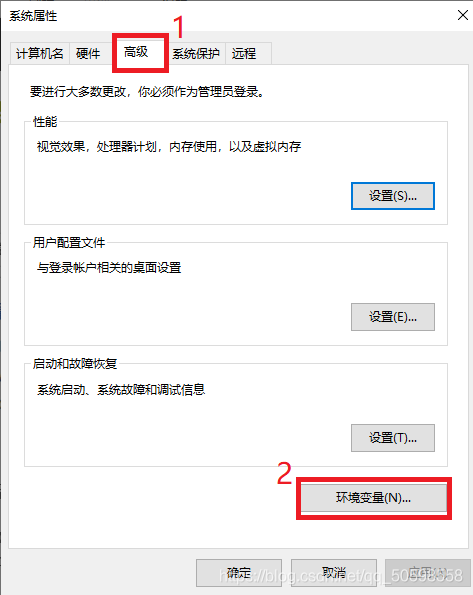
16. Click "Advanced System Settings" and click "Environment Variables".
17. Find the Path in the system variable, double-click Edit, click New, copy the pycharm program path (right-click icon on the desktop - the location of the open file), and click "OK".

Fourth, use PyCharm
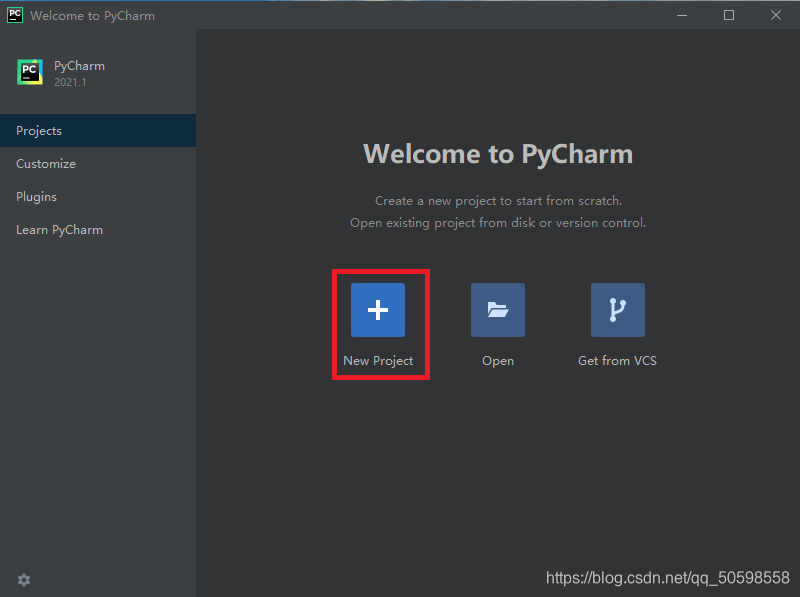
18. Double-click the icon, and click in sequence as shown in the figure below.

19. For the first use, choose to create a new project "New Project".
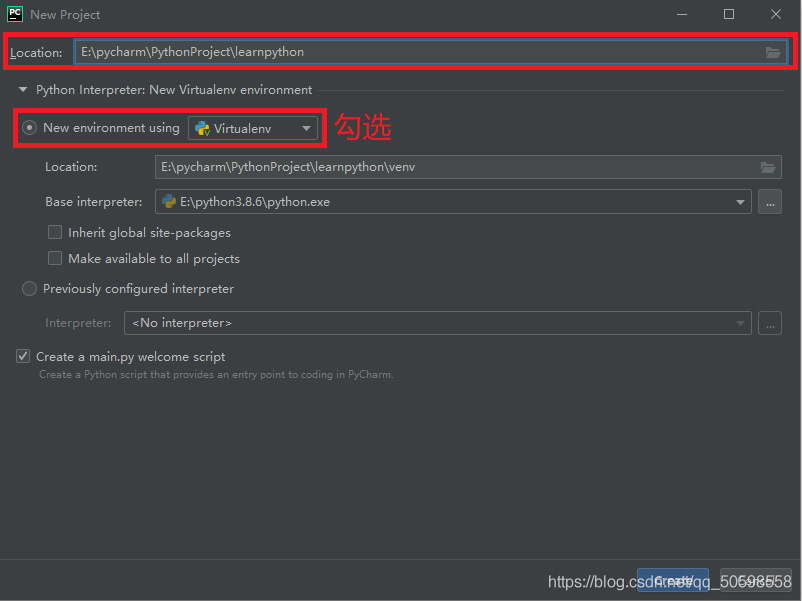
20. Modify the project storage directory. It is recommended that other than the C drive, other defaults can be used. "learnpython" is the project name defined by me.
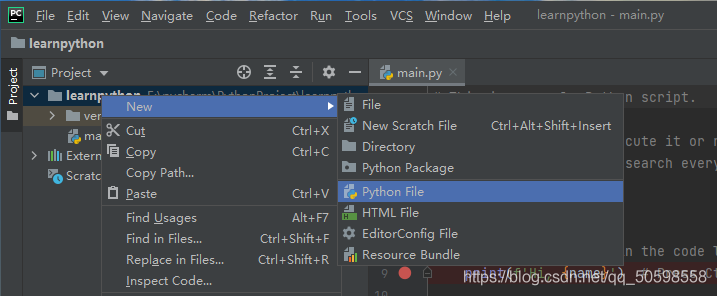
21. Select the project name learnpython, click the "right button" of the mouse, select "New", and then select "Python File".
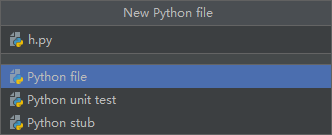
22. Create a name that is:h.pypython file.
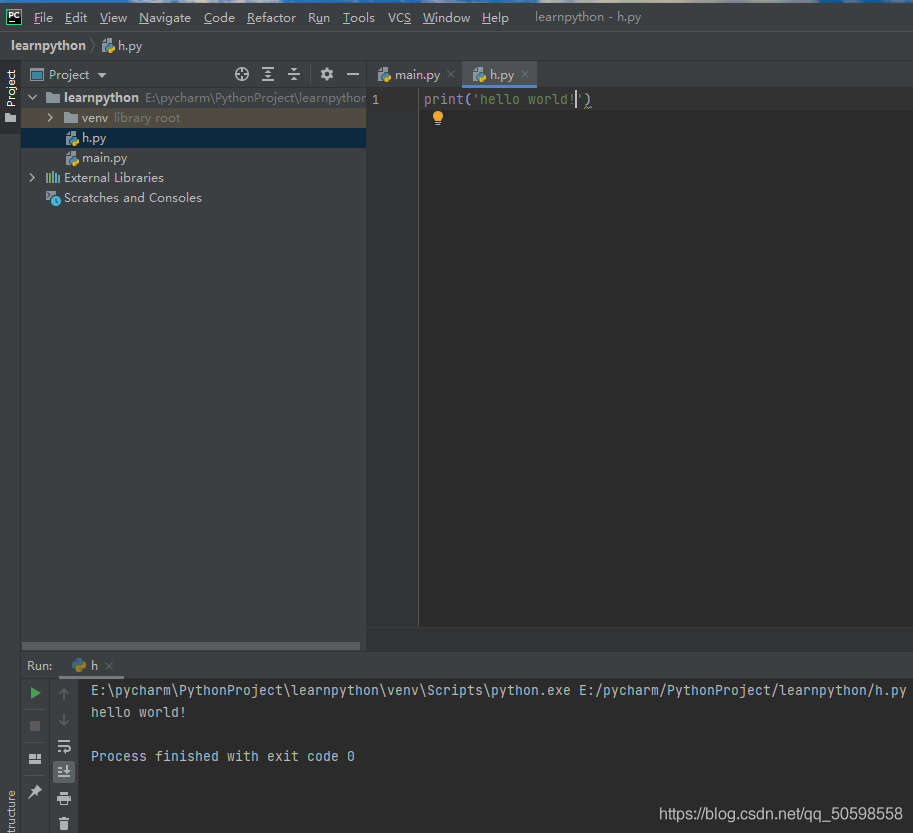
23. Add the test code and simply print a "hello world!", the first program for all programmers.
print(‘hello world!’)
24. Press "Ctrl+F5" or go to the "small green triangle" to run the code and run the result.
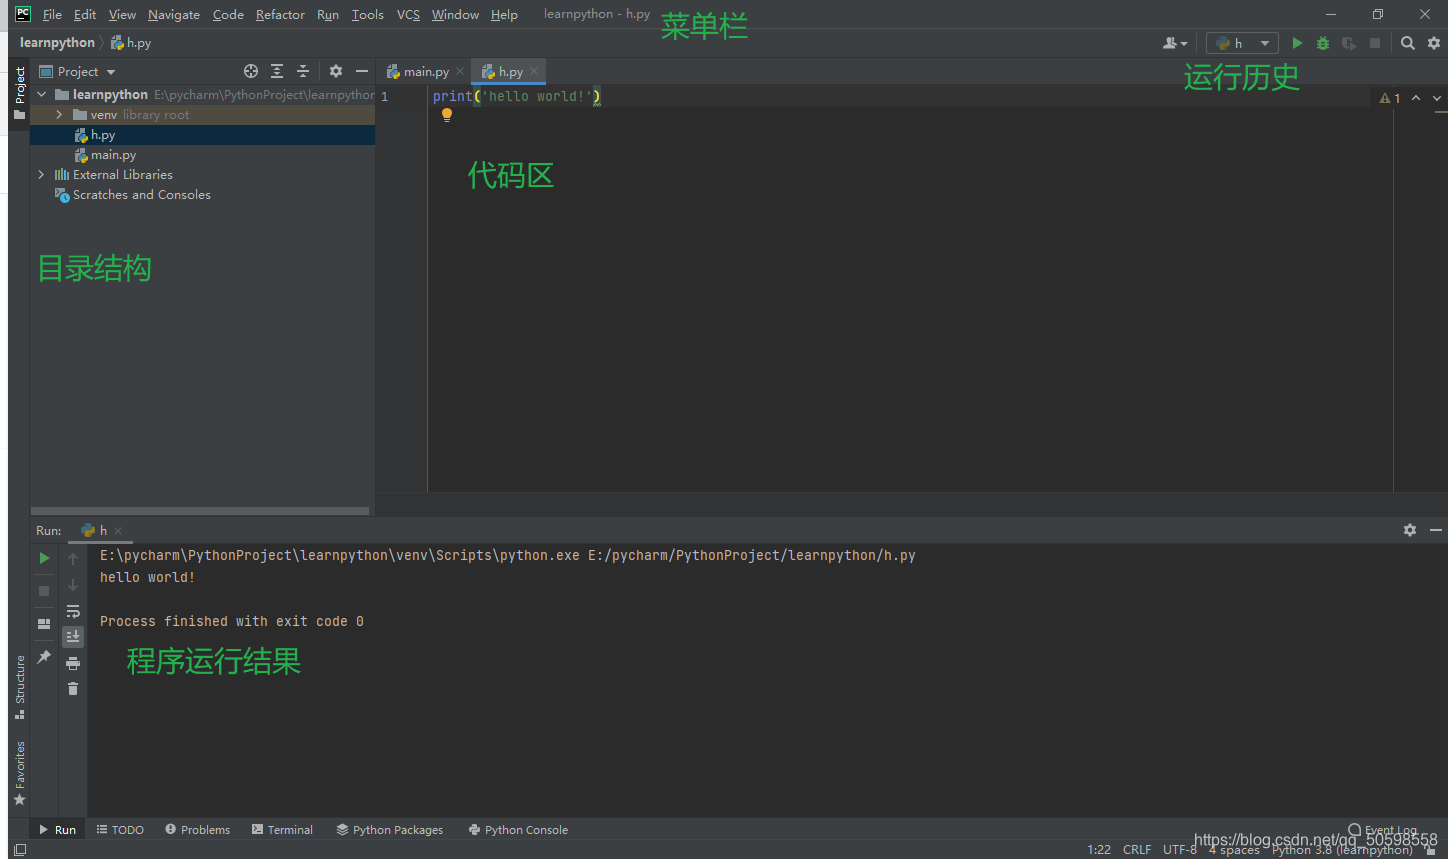
5. Introduction to PyCharm
Disclaimer: Refer to some blogger methods, not list them one by one, and start learning.