1. The main dependencies of TensorFlow
1、Protocol Buffer
Protocol Buffer is a tool developed by Google to process structured data (data with multiple attributes is called structured data). When structured data is to be persisted or transmitted over the network, it needs to be serialized first. The so-called serialization is to convert structured data into a data stream format, which is simply a string. How to serialize structured data and restore the original structured data from the serialized data stream is collectively referred to as processing structured data. This is the main problem solved by Protocol Buffer.
In addition to Protocol Buffer, XML and JSON are two commonly used structured data processing tools. However, data in Protocol Buffer format is quite different from data in XML or JSON format. First, the data obtained after Protocol Buffer serialization is not a readable string, but a binary stream. Secondly, the data information in XML or JSON format is included in the serialized data, and the serialized data can be restored without any other information. But when using Protocol Buffer, you need to define the data format (schema). Restoring a serialized data will need to use this defined data format. Because of this difference, the data serialized by Protocol Buffer is 3 to 10 times smaller than the data in XML format, and the parsing time is 20 to 100 times faster.
The files that define the data format of the Protocol Buffer are generally saved in the .proto file. Each message represents a type of structured data, and the Protocol Buffer also defines whether an attribute is required, optional, or repeated. If an attribute is required, then all instances of this message need to have this attribute; if an attribute is optional, the value of this attribute can be empty; if an attribute is repeatable, then the value of this attribute The value can be a list.
Protocol Buffer is an important tool used in the TensorFlow system. The data in TensorFlow is basically organized by Protocol Buffer.
2、Basel
Bazel is an automated build tool open source from Google. TensorFlow itself and many official samples given by Google are compiled through Bazel.
Project space (workspace) is a basic concept of Bazel. A project space can be simply understood as a folder, which contains the source code required to compile a software and the address of the symbolic link that outputs the compilation result.
2. TensorFlow installation
1. Install Anaconda
Anaconda official website download speed is very slow. I found a mirror image of Tsinghua University on Baidu:
2. Install python under anaconda
Start at the lower left corner---->anaconda3---->anaconda prompt, after opening the anaconda prompt, enter the Tsinghua warehouse image, the purpose is to use the pip command to download things faster later. Enter the following three lines of code in sequence (the third line is the operation to delete the default source, otherwise it will always be downloaded from the official website and then time out, this line is optional):
conda config --addchannels https://mirrors.tuna.tsinghua.edu.cn/anaconda/pkgs/free/
conda config --setshow_channel_urls yes
conda config --remove channels defaults #Optional line
Then type: conda create -n py36 python=3.6 anaconda
Then quietly wait for python3.6 to be installed successfully. This process may take a few minutes
3. Install tensorflow under anaconda and python3.6
a. Activate python3.6 on the anaconda command line
Enter the command line: activate py36
b. pip install tensorflow
Enter the command line: pip install tensorflow
4. The installation is successful
After completing these steps, as long as there are no errors in the middle, win7 64 can use tensorflow.
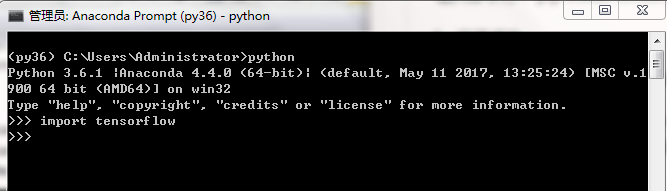
If you are worried, you can test it. First switch from prompt to python editing mode (that is, enter python), and then enter import tensorflow. If no error is reported, it means that your tensorflow installation is successful.
Well, now you can happily carry out the follow-up learning of tensorflow.