First of all, this article records the process of a 3-node fully distributed hadoop cluster built by a blogger. The environment is centos 7, 1 nameNode, and 2 dataNodes, as follows:
1. First, create 3 Centos7 virtual machines. For specific operations, you can refer to other online tutorials. This is a link to " Install VMware in Windows environment and install CentOS7 virtual machine "
2. To complete the construction of the java environment of the virtual machine, you can refer to my blog " centos7 install jdk 1.8 "
3. Close or disable the firewall, systemctl stop firewalld.service closes the firewall; systemctl disable firewalld.service closes the firewall
firewall-cmd --state View status

4. Modify the hosts file, vim /etc/hosts, annotate the original content, and add the following content, the ip address is the IP address of your own virtual machine:
192.168.10.128 master.hadoop
192.168.10.129 slave1.hadoop
192.168.10.130 slave2.hadoop
more /etc/hosts to see if it is correct, it needs to be restarted to take effect. reboot command reboot now
Here you can add the ssh key to create a passwordless public key
a. Enter ssh-keygen -t dsa -P '' -f ~/.ssh/id_dsa on the master machine to create a passwordless public key, -t means type, dsa is the generated key type, -P is the password, '' means no password, after -f is the location where the secret key is saved after it is generated
b. Enter cat ~/.ssh/id_dsa.pub >> ~/.ssh/authorized_keys on the master machine to add the public key id_dsa.pub to keys, so that you can log in to ssh without password
c. Enter ssh master on the master machine to test password-free login
d. Execute mkdir ~/.ssh on the slave1.hadoop host
e. Execute mkdir ~/.ssh on the slave2.hadoop host
f. Enter scp ~/.ssh/authorized_keys [email protected]:~/.ssh/authorized_keys on the master machine to import the public key information of the master node into the slave1.hadoop node. When importing, enter the login of the slave1.hadoop machine password
g. Enter scp ~/.ssh/authorized_keys [email protected]:~/.ssh/authorized_keys on the master machine to import the public key information of the master node into the slave2.hadoop node. When importing, enter the login of the slave2.hadoop machine password
h. Execute chmod 600 ~/.ssh/authorized_keys on the three machines to grant the key file permissions
i. Enter ssh slave1.hadoop and ssh slave2.hadoop respectively on the master node to test whether ssh is configured successfully
5. Enter the home directory, mkdir hadoop to create a hadoop folder. Upload the downloaded hadoop package to this directory, the download address of hadoop2.9;
http://hadoop.apache.org/->Click on Releases->Click on mirror site->Click on http://mirrors.tuna.tsinghua.edu.cn/apache/hadoop/common->Download hadoop-2.9.0 .tar.gz;
tar -zxvf hadoop-2.9.0.tar.gz decompress the tar package
6. Configure hadoop. This node can be temporarily configured with 128 master, and then copied to two slave nodes by scp
a. vim /home/hadoop/hadoop-2.9.0/etc/hadoop/core-site.xml, add the following content to the <configuration> node:
<property>
        <name>fs.default.name</name>
        <value>hdfs://master.hadoop:9000</value>
    </property>
    <property>
        <name>hadoop.tmp.dir</name>
        <value>/home/hadoop/tmp</value>
    </property>
    <property>
        <name>io.file.buffer.size</name>
        <value>131702</value>
    </property>
b、vim /home/hadoop/hadoop-2.9.0/etc/hadoop/hdfs-site.xml
<configuration>
    <property>
        <name>dfs.namenode.name.dir</name>
        <value>file:///home/hadoop/dfs/name</value>
    </property>
    <property>
        <name>dfs.datanode.data.dir</name>
        <value>file:///home/hadoop/dfs/data</value>
    </property>
    <property>
        <name>dfs.replication</name>
        <value>1</value>
    </property>
    <property>
        <name>dfs.namenode.secondary.http-address</name>
        <value>master.hadoop:50090</value>
    </property>
    <property>
    <name>dfs.webhdfs.enabled</name>
    <value>true</value>
    </property>
</configuration>
c、cp /home/hadoop/hadoop-2.9.0/etc/hadoop/mapred-site.xml.template /home/hadoop/hadoop-2.9.0/etc/hadoop/mapred-site.xml
vim /home/hadoop/hadoop-2.9.0/etc/hadoop/mapred-site.xml
<configuration>
<property>
        <name>mapreduce.framework.name</name>
        <value>yarn</value>
          <final>true</final>
    </property>
  <property>
     <name>mapreduce.jobtracker.http.address</name>
     <value>master.hadoop:50030</value>
  </property>
    <property>
        <name>mapreduce.jobhistory.address</name>
        <value>master.hadoop:10020</value>
    </property>
    <property>
        <name>mapreduce.jobhistory.webapp.address</name>
        <value>master.hadoop:19888</value>
    </property>
    <property>
        <name>mapred.job.tracker</name>
        <value>http://master.hadoop:9001</value>
    </property>
</configuration>
d、vim /home/hadoop/hadoop-2.9.0/etc/hadoop/yarn-site.xml
<configuration>
 <property>
        <name>yarn.nodemanager.aux-services</name>
        <value>mapreduce_shuffle</value>
    </property>
    <property>      <name>yarn.nodemanager.auxservices.mapreduce.shuffle.class</name>
        <value>org.apache.hadoop.mapred.ShuffleHandler</value>
    </property>
    <property>
        <name>yarn.resourcemanager.address</name>
        <value>master.hadoop:8032</value>
    </property>
    <property>
       <name>yarn.resourcemanager.scheduler.address</name>
        <value>master.hadoop:8030</value>
    </property>
    <property>
       <name>yarn.resourcemanager.resource-tracker.address</name>
        <value>master.hadoop:8031</value>
    </property>
    <property>
        <name>yarn.resourcemanager.admin.address</name>
        <value>master.hadoop:8033</value>
    </property>
    <property>
        <name>yarn.resourcemanager.webapp.address</name>
        <value>master.hadoop:8088</value>
    </property>
     <property>
       <name>yarn.resourcemanager.hostname</name>
       <value>master.hadoop</value>
</property>
    <property>
        <name>yarn.nodemanager.resource.memory-mb</name>
        <value>2048</value>
    </property>
</configuration>
7. Configure the JAVA_HOME of hadoop.env.sh and yarn-env.sh in the /home/hadoop/hadoop-2.9.0/etc/hadoop directory
Uncomment JAVA_HOME and set it to export JAVA_HOME=/home/java/jdk1.8.0_11
8. Configure the slaves in the /home/hadoop/hadoop-2.9.0/etc/hadoop directory, delete the default localhost, and add 2 slave nodes:
slave1.hadoop
slave2.hadoop
9. Copy the Hadoop configured on the master server to the corresponding location of each node, and transfer it through scp:
scp -r /home/hadoop  192.168.10.129:/home/
scp -r /home/hadoop  192.168.10.130:/home/
10. Start hadoop. Start the hadoop service on the master node, each slave node will automatically start, enter the /home/hadoop/hadoop-2.9.0/sbin/ directory, and start and stop hadoop on the master;
a. Initialize, enter the command: /home/hadoop/bin/hdfs namenode -format
b. Start command: /home/hadoop/bin/start-all.sh

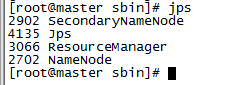
c. Enter the jps command to view the relevant information. The screenshot on the master is as follows:
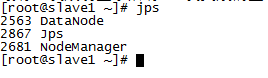
d. Enter jps on the slave node to view:
e. Stop command: stop-all.sh
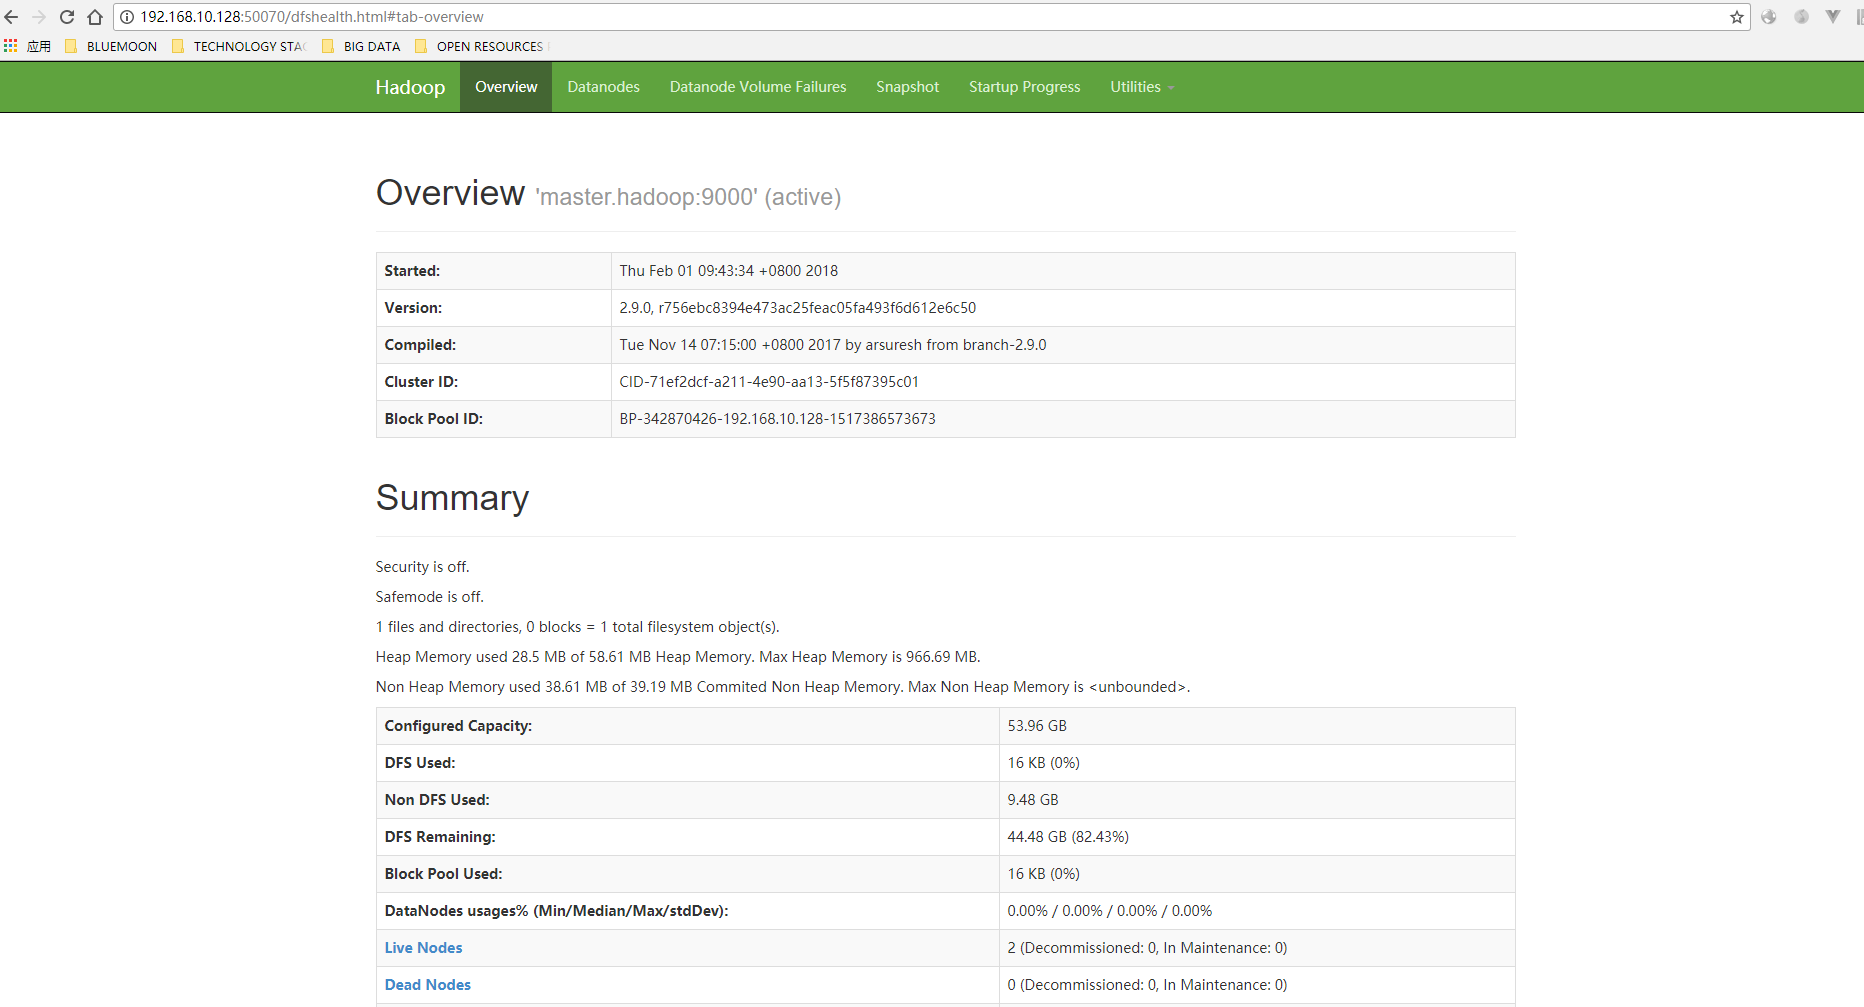
11. Access, enter http://192.168.10.128:50070, and see the following interface:
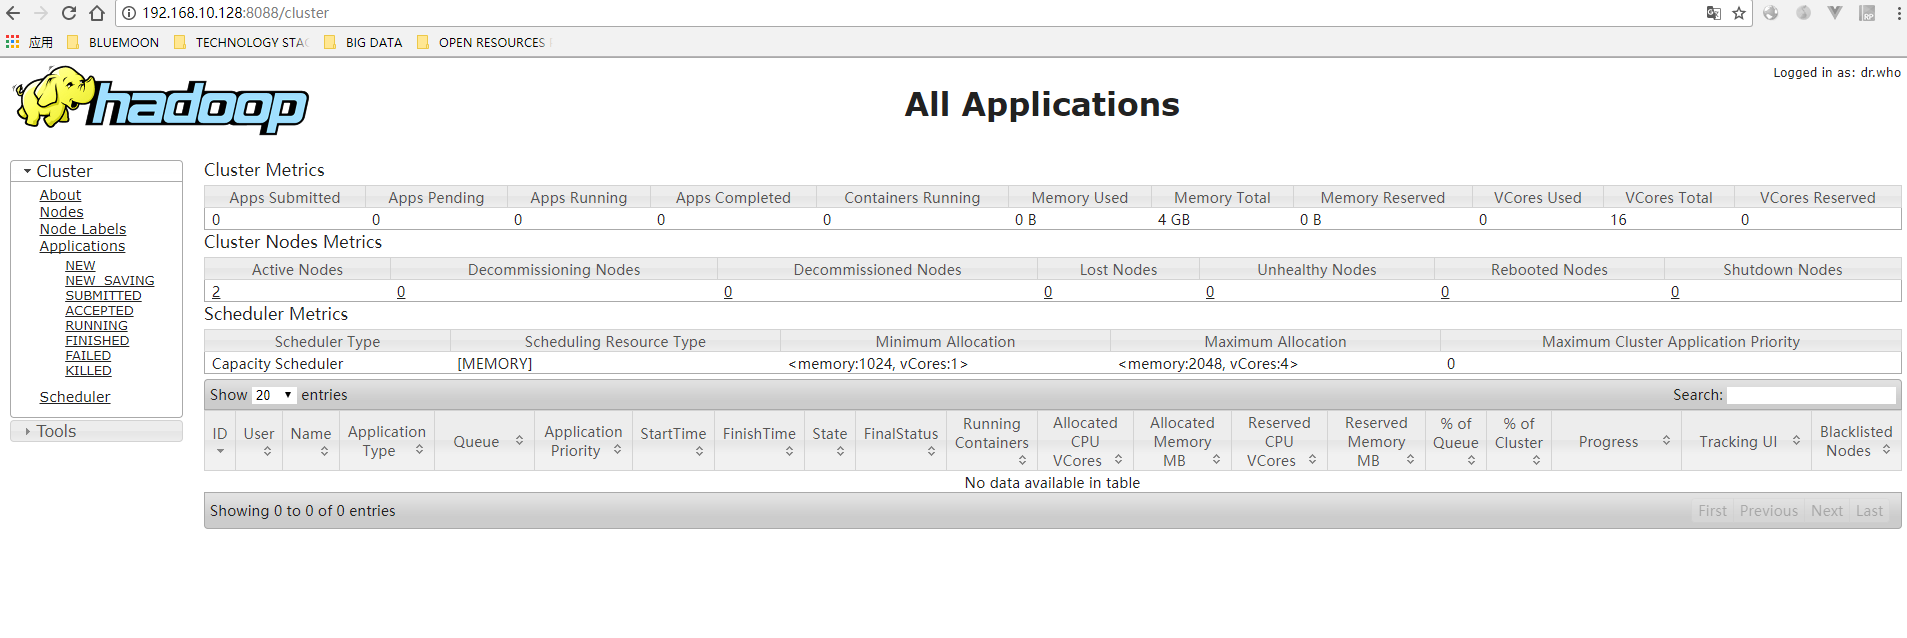
Enter http://192.168.10.128:8088 and see the following interface:
 All right. If all of the above are successful, then the construction of the hadoop cluster is basically completed;