1. Download
The official website for the download steps is as follows:
Source code
The jdk8u-dev forest for ongoing development can be cloned using this command:
hg clone http://hg.openjdk.java.net/jdk8u/jdk8u-dev;cd jdk8u-dev;sh get_source.sh.The corresponding master forest jdk8u can be cloned using this command:
hg clone http://hg.openjdk.java.net/jdk8u/jdk8u;cd jdk8u;sh get_source.sh.In addition, the source code for the last release, 8u172, is available by cloning the 8u master forest : http://hg.openjdk.java.net/jdk8u/jdk8u and using the 'jdk8u172-b11' mercurial tag.
Mercurial, a version control tool similar to git, is used here. Ubuntu installation only needs to use the following command:
sudo apt-get install MercurialAfter the installation is complete, select a directory and enter the following command in the terminal:
hg clone http://hg.openjdk.java.net/jdk8u/jdk8uThis command will clone the home directory, then enter the folder and enter:
sh get_source.shThen wait for the download to complete. Many people on the Internet say that the download here is very slow, but the author feels that it is okay, at most ten minutes.
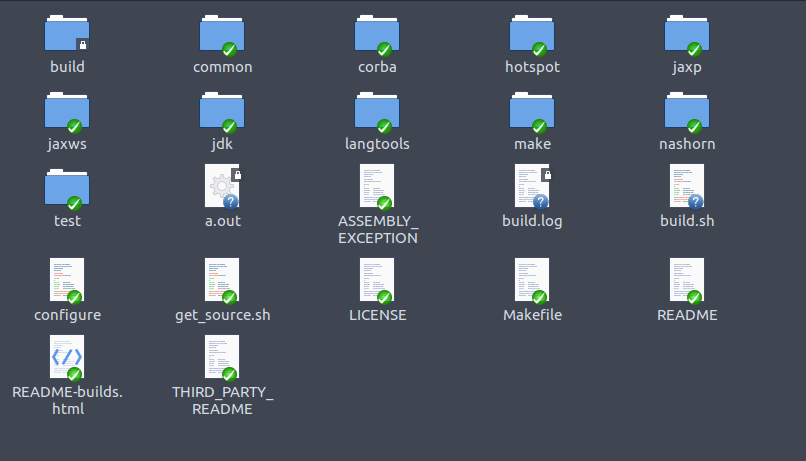
The completed folder is as follows (just pay attention to the checked folder):
2. Compile
Before compiling, you need to configure something called ROOT_JDK. Its version is one level lower than the compiled version. That is, to compile OpenJDK8, you need to install JDK7 as the environment (OpenJDK7 or OracleJDK7 can be used). The installation of JDK7 is omitted here.
After the JDK7 installation is complete, execute the command in the root directory of the OpenJDK8 source code:
#--with-boot-jdk后就是你的JDK7安装目录
sudo bash configure --with-boot-jdk=/home/iceberg/1Program/jdk1.7.0_80
There will be problems with various libraries missing in the middle, but in the last few lines, you will be prompted what command to execute to install, just follow the instructions.
PS: There is a pit here, a hint is like this
configure: error: Could not find all X11 headers
sudo apt-get install libx11-dev libxext-dev libxrender-dev libxtst-dev libxt-dev
Note that the x here should be lowercase!
Then wait for the configuration to complete
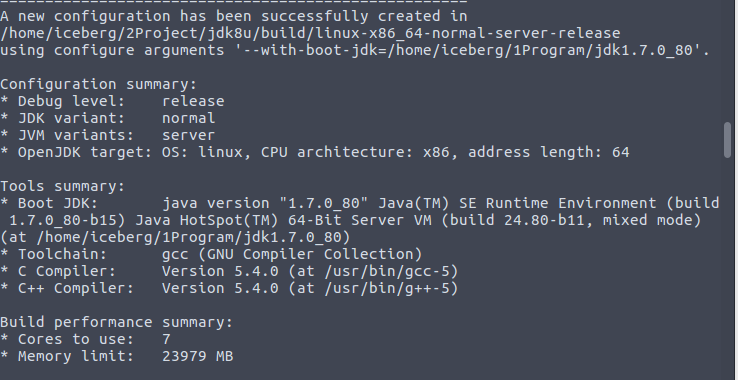
After the configuration is complete, enter the command:
sudo makeit's over