Maven is only used to manage java projects and is also developed in java
Traditional projects have many problems with package management, so maven was born:
1. When the project starts, determine the packages that may be used in the project, then download the package, copy and paste it into the project -- "maven only needs to determine the package and write the configuration information of the package in it.
2. After the package is imported, there may be a problem of package conflict. You need to find the conflicting jar package in the original jar package, and then delete -- "maven only needs to delete a node in the pom.xml configuration file. ;
3. The original project size may be large, but after using maven, the project size will become very small;
To use maven we need to understand the following concepts:
The development of a java project includes the following steps:
1. Coding
2. Compile
3. Test
4. Run
5. Packaging
6. Deployment
And maven can help us complete: compile, test, run, package, deploy; that is to say, we only need to complete the coding, and the other parts can be handed over to maven.
Let's start installing and configuring maven:
1. Download maven
2. Configure environment variables
MAVEN_HOME:D:\Software\apache-maven-3.5.3
Add maven_home to the path: %MAVEN_HOME%\bin;
Test whether the configuration is correct: cmd->mvn -v
The following introduces several repositories of a maven:
1. Local warehouse, maintain it yourself
2. Remote warehouse (private server): generally maintained by the company
3. Central warehouse: maven team maintenance
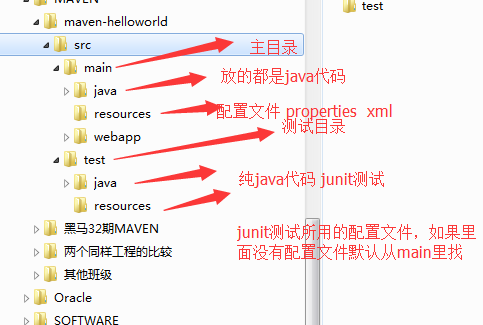
Let's put a project directory structure after using maven:
Common commands for maven:
1. clean : clean compiled files
2. compile: compiled the files in the main directory
3. test: Compile and run the code in the test directory
4. package: package
5.install: that is to send the project to the local warehouse
The above commands are in the order in which they are used
Multiple commands can be used at the same time: mvn clean package
Let's talk about the configuration steps of maven in eclipse:
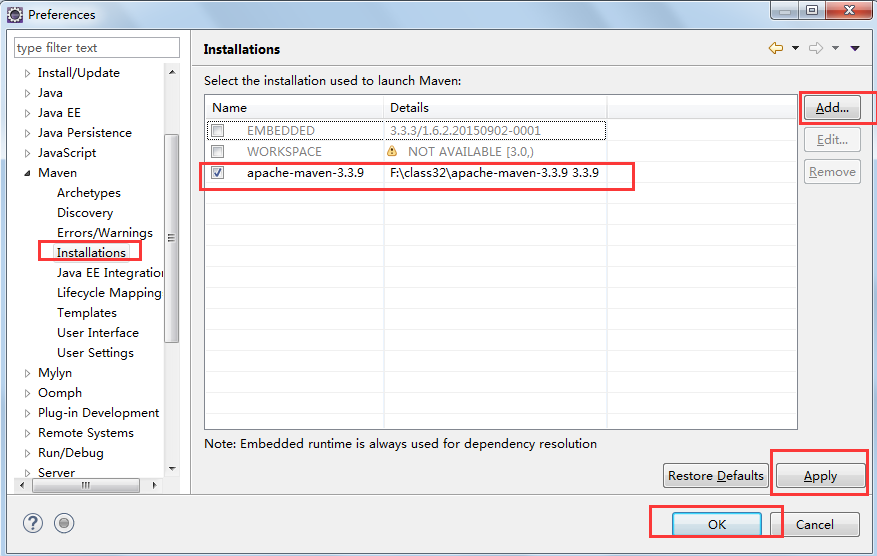
1. Configure the installation path of maven
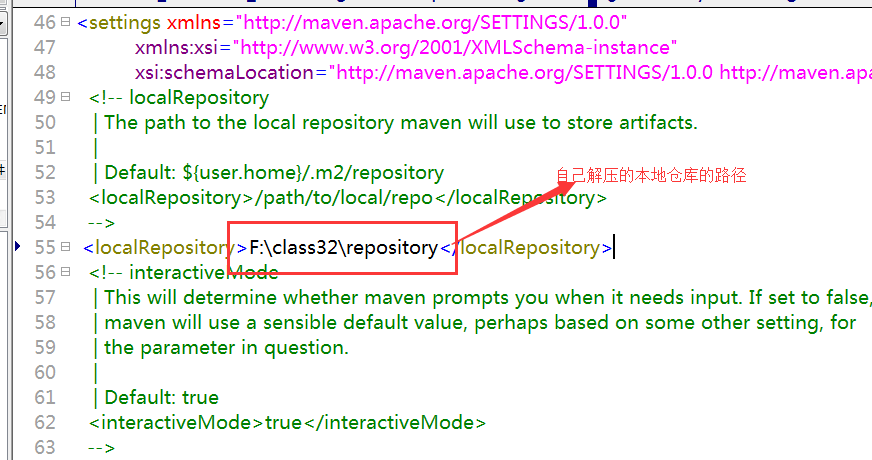
2. Configure maven's local repository address

The following is to create a maven project in eclipse:
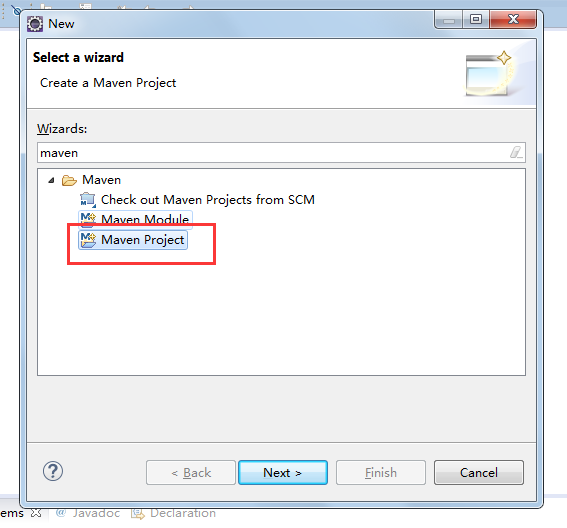
1. Create a new maven project
2. Skip the configuration and directly generate the complete maven directory structure

3. Fill in the initial configuration of the pom configuration file

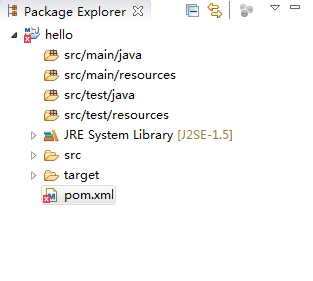
4. The completed directory looks like this:
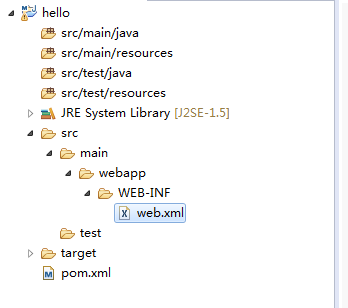
5. Handle red errors
Manually create a WEB-INF folder under the webapp folder and put a web.xml file in it
6. Handling the compiled version
Add the following code to pom.xml:
<build>
		<!-- Many plugins are configured -->
		<plugins>
			<plugin>
				<groupId>org.apache.maven.plugins</groupId>
				<artifactId>maven-compiler-plugin</artifactId>
				<version>3.5.1</version>
				<configuration>
					<source>1.7</source>
					<target>1.7</target>
					<encoding>UTF-8</encoding>
				</configuration>
			</plugin>
		</plugins>
	</build>
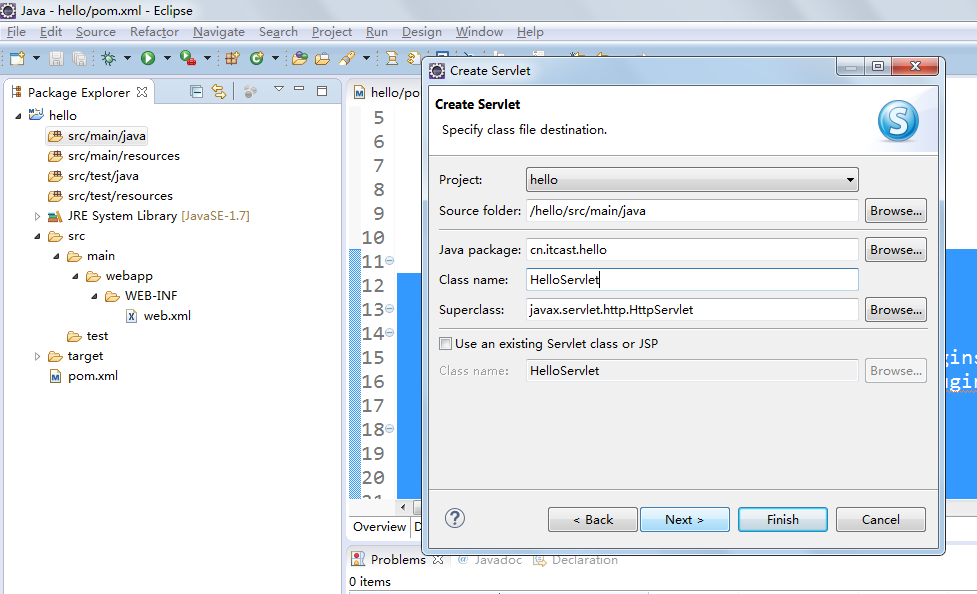
7. Create a servlet
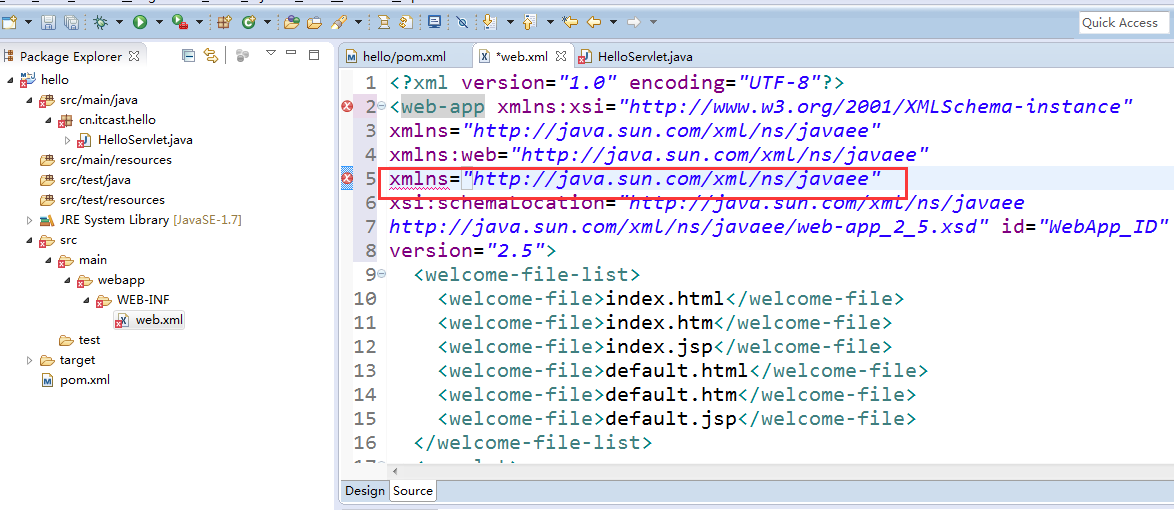
8. Modify web.xml to remove duplicate code
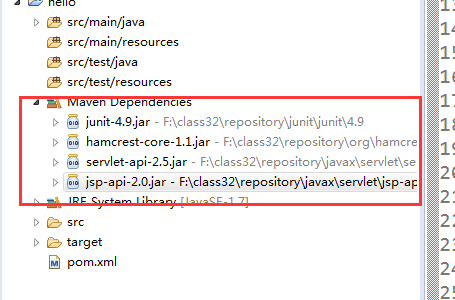
Add the jar package and add the following code in pom.xml:
<dependencies>
		<dependency>
			<groupId>junit</groupId>
			<artifactId>junit</artifactId>
			<version>4.9</version>
			<scope>test</scope>
		</dependency>
		<dependency>
			<groupId>javax.servlet</groupId>
			<artifactId>servlet-api</artifactId>
			<version>2.5</version>
			<scope>provided</scope>
		</dependency>
		<dependency>
			<groupId>javax.servlet</groupId>
			<artifactId>jsp-api</artifactId>
			<version>2.0</version>
			<scope>provided</scope>
		</dependency>

	</dependencies>
You can see that the jar package already exists in the project:
8. Start the project
Right-click the project - "run as-" maven build

Below is the dependency management
1. Add dependencies
Open the view of the maven repository

2. Rebuild the index

1. Create a maven project (same as above)
2. Skipping the skeleton (same as above)
3. Fill in the coordinate information (same as above)
4. Add the web.xml file (same as above)
5. Modify the compiled version (same as above)
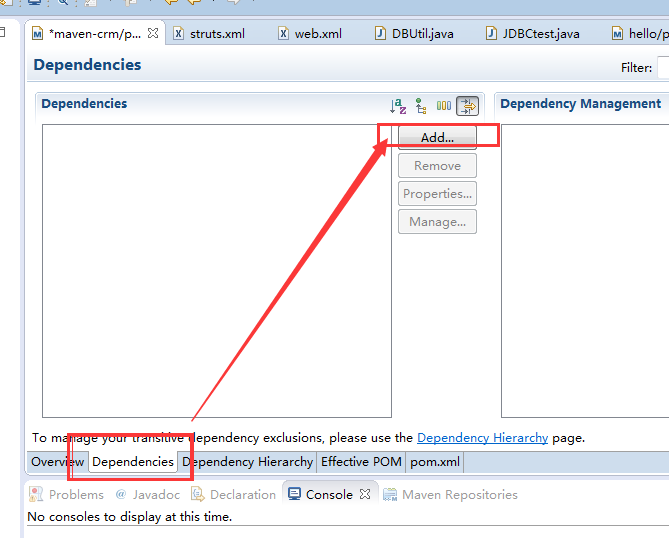
Add coordinates and select the Dependencies tab and click add
3. Manually enter the configuration properties of the dependencies to be added and select the version
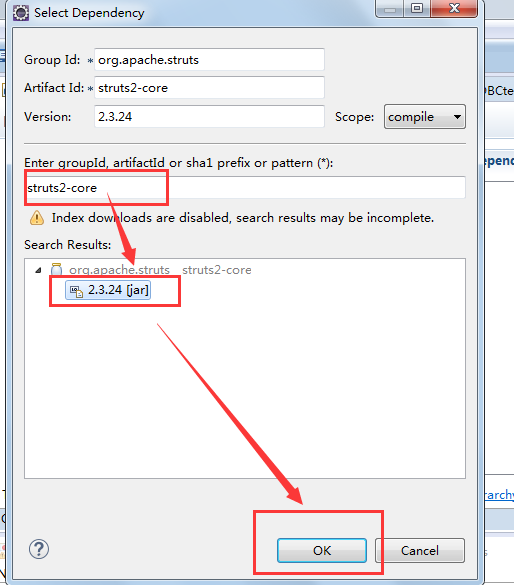
You can see that the pom.xml file has the following content
