Advanced Installer: Free for 30 days. All features.
Download address: https://www.advancedinstaller.com/download.html
Free for 30 days
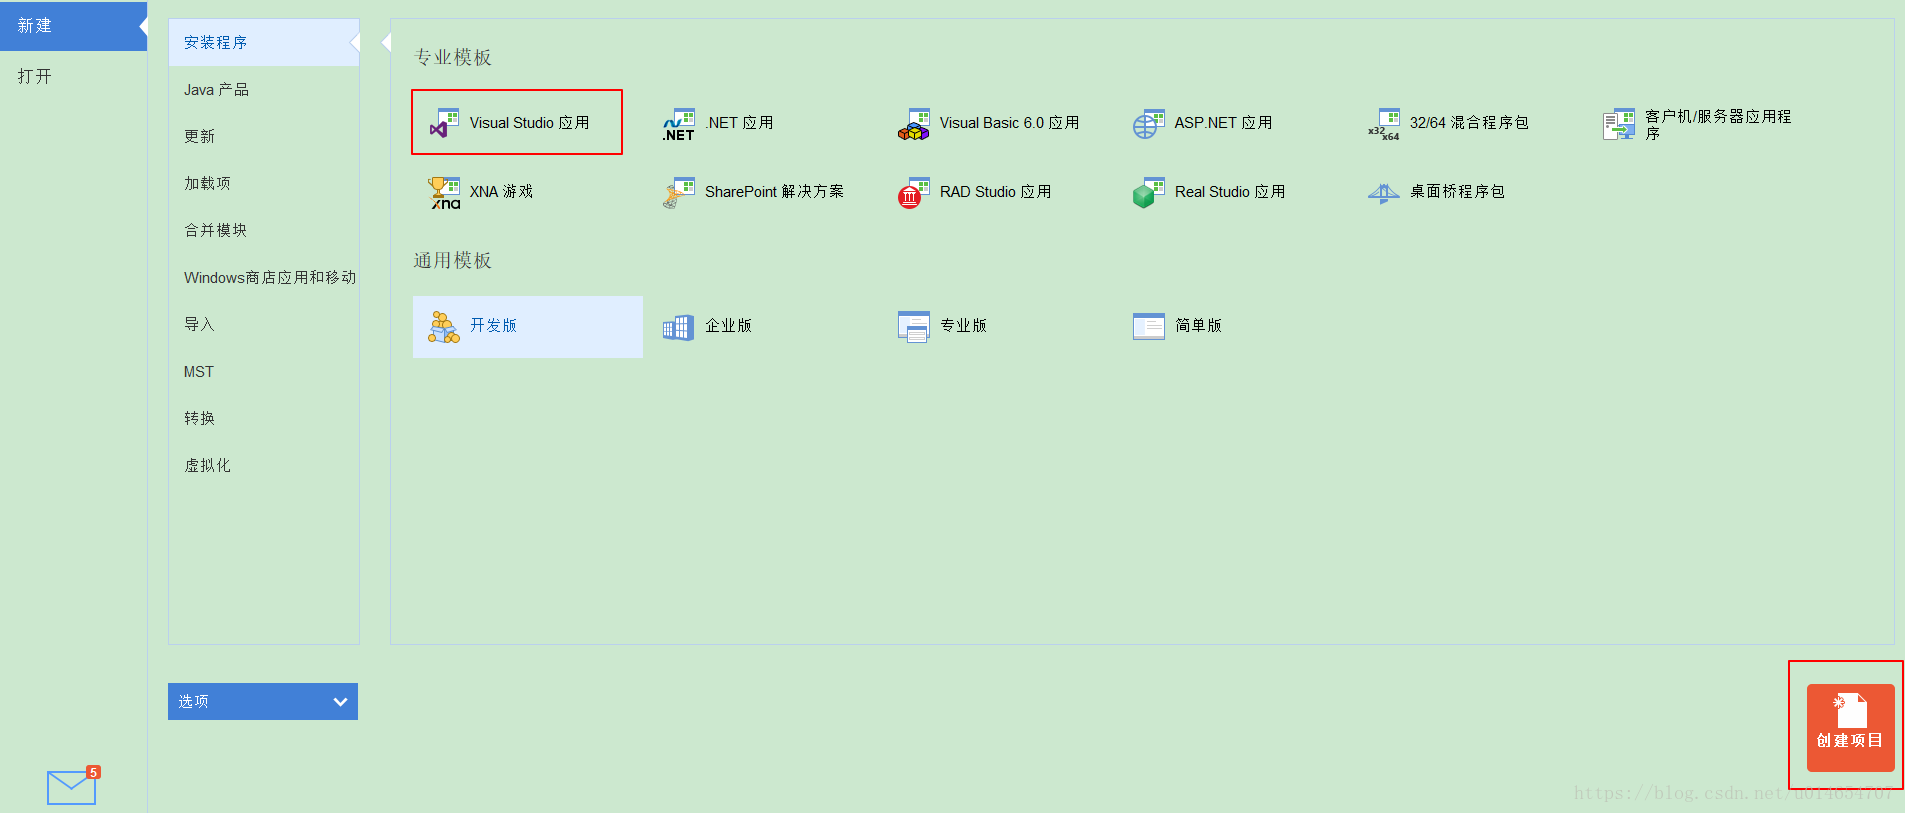
Chinese version: http://www.jb51.net/softs/595612.htmlSelect
Visual Studio application, click to create a project,
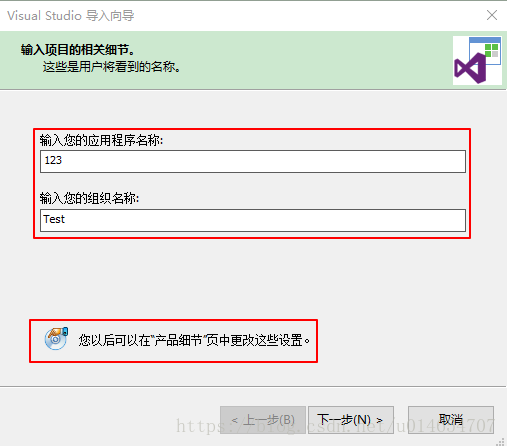
you can enter the application name and the name of the organization where it is located. When installing the created exe, the installation interface will display the name of the organization where
the file is saved with the suffix aip and will be saved by default with the input application name, such as the input application I set. The name is 123, and the saved file is 123.aip. Of course, you can modify the file save location and name.
This step can be chosen arbitrarily and modified at build time.
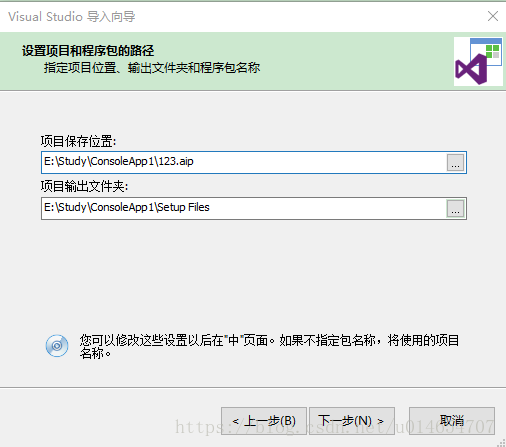
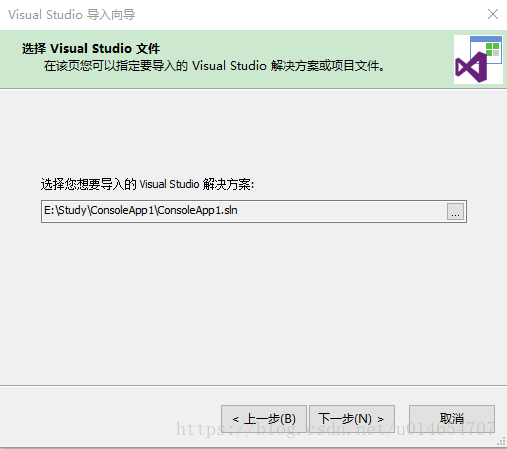
I saved it in the directory where the ConsoleApp1 project is located. The next step is to save the solution that needs to be imported.
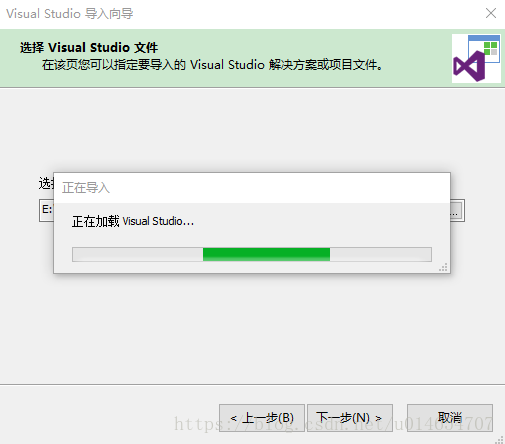
Click Next to automatically load
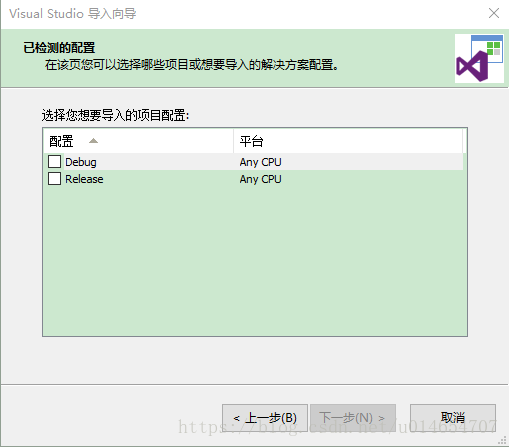
. After the loading is complete, jump to the following page and select the project to be imported. Generally, Release is selected, provided that Release has been configured and compiled
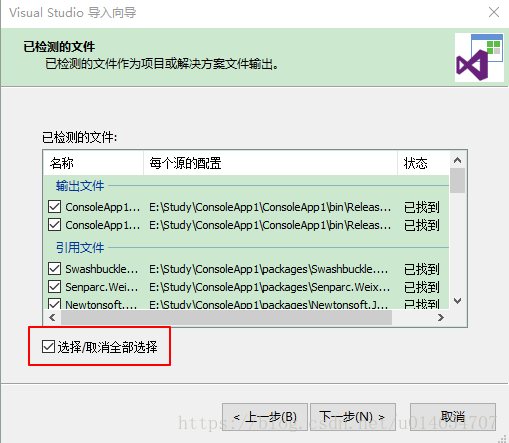
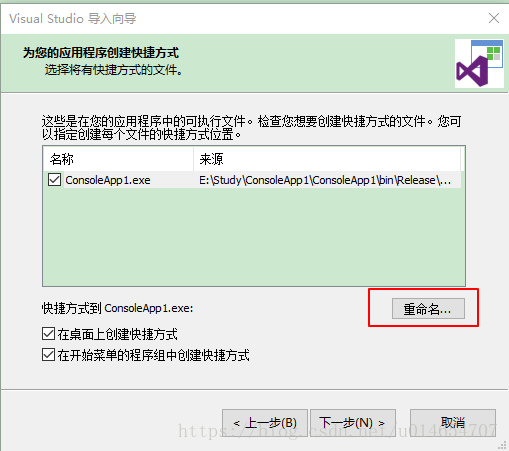
After clicking, it will automatically detect the dll files required by the installation package. Check all
the shortcuts. You can rename the shortcut. I did not choose to rename here.
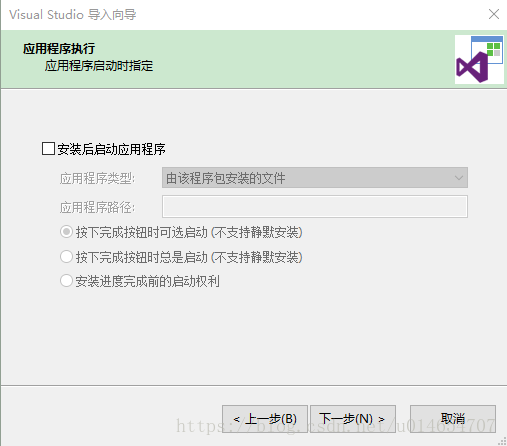
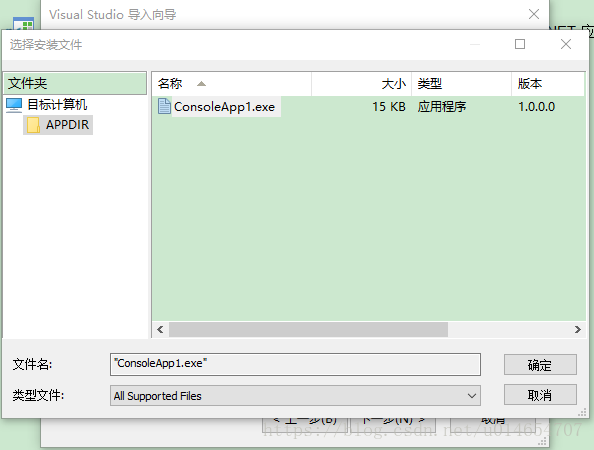
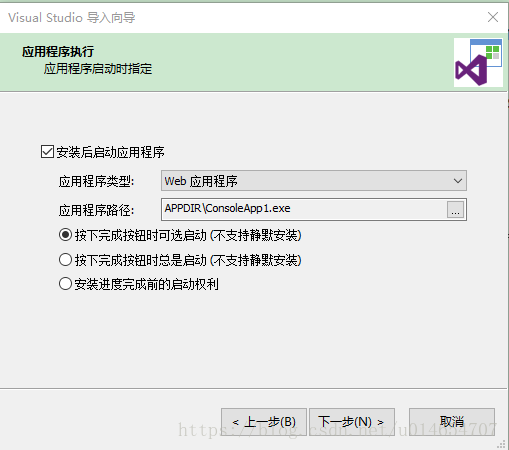
Next, the application can be started after installation.
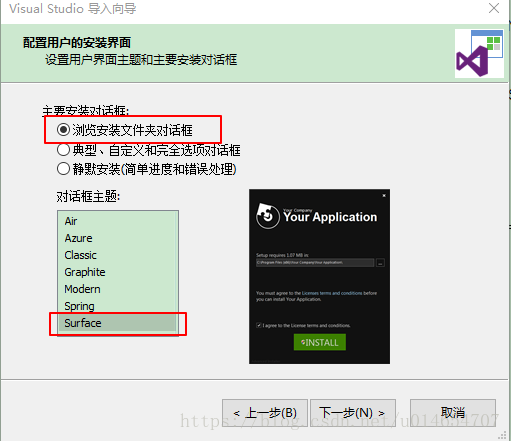
A variety of themes
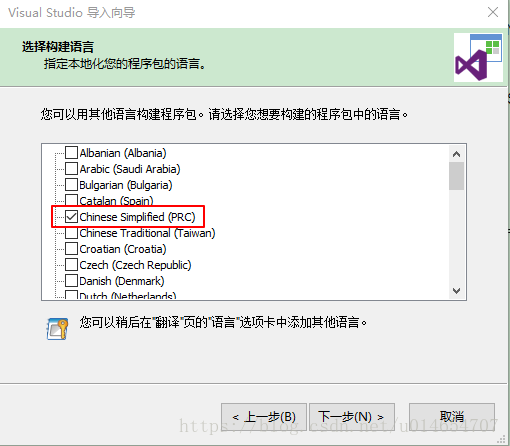
can be selected. The construction language can be selected. Of course, Simplified Chinese is the preferred choice. You can select multiple options and continue to the
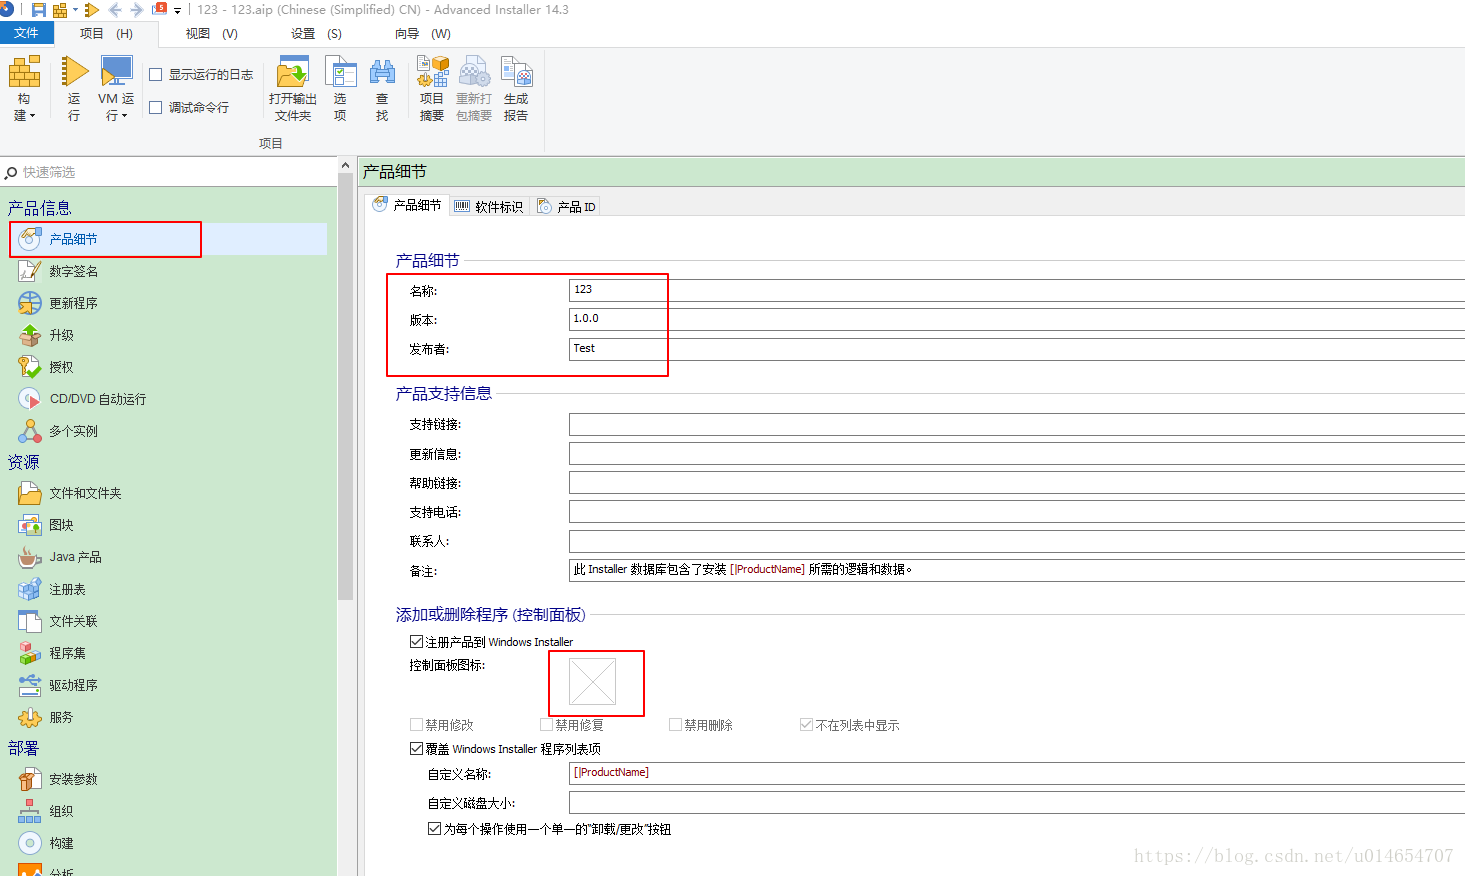
next step. Finally, click Finish, and the construction page will open. In the product details, you can modify the name, version, and publisher (fill in at the beginning name of your organization), you can add a control panel icon
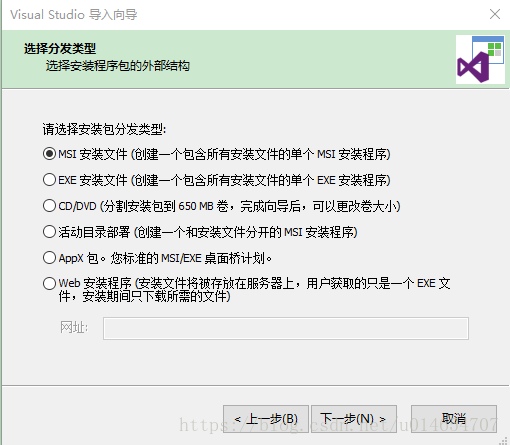
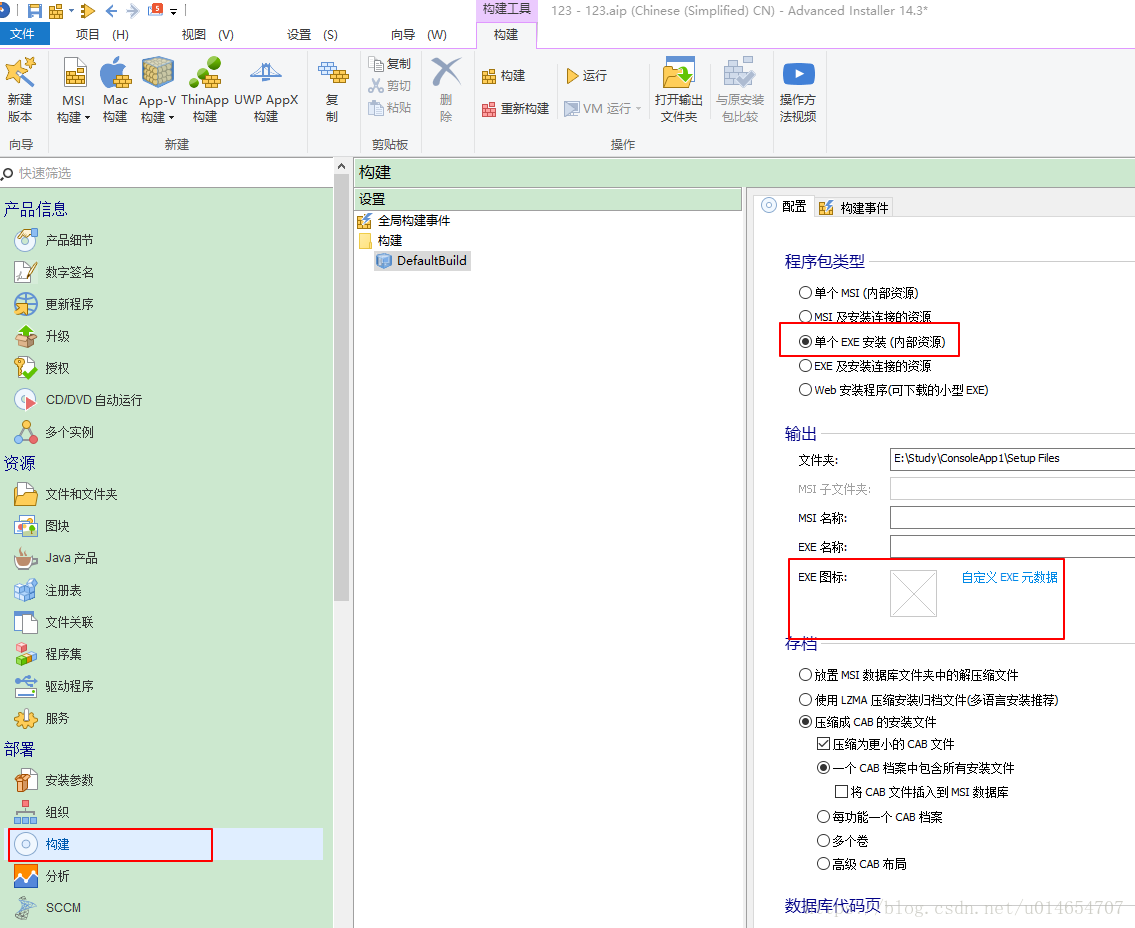
Click Build, if you want to package all files into an exe file, select a single EXE installation, you can customize the EXE icon, modify the output exe name, and the default is the application name if you do not fill in.
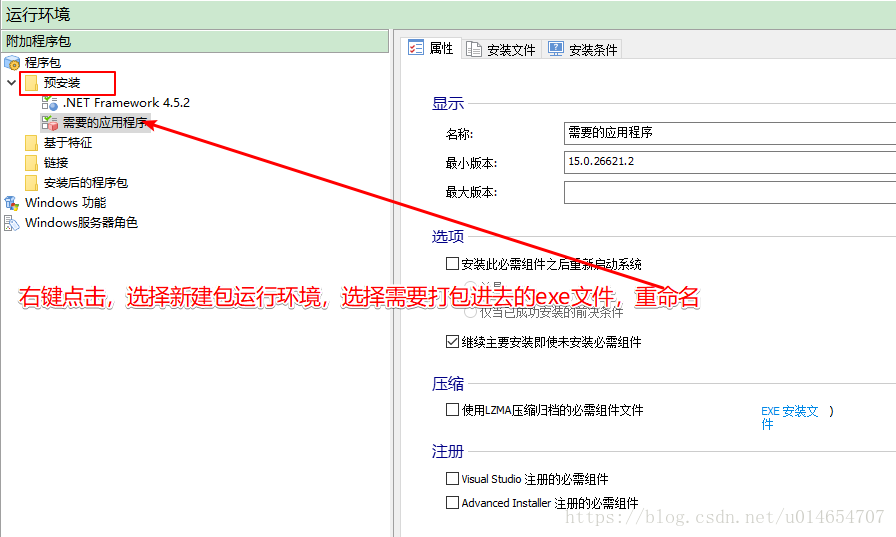
Package the Framework into an exe file, select the runtime environment, and check the corresponding .NET Framework version. Click Yes to automatically download, click No, the .NET Framework will not be packaged into the exe, but the selected online address, click the built exe to check the current environment, if there is no such environment, it will select the online address to download and install, so If so, it does not meet the installation conditions in a non-networked environment. Right-click on the package, you can select the operating environment of the new package, install the driver files required by the program, and the default settings are fine.
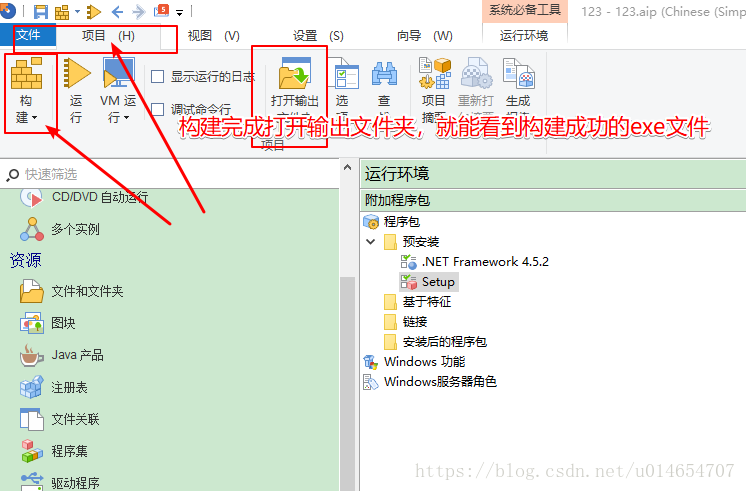
Click the project in the upper left corner, select Build, and automatically package EXE.
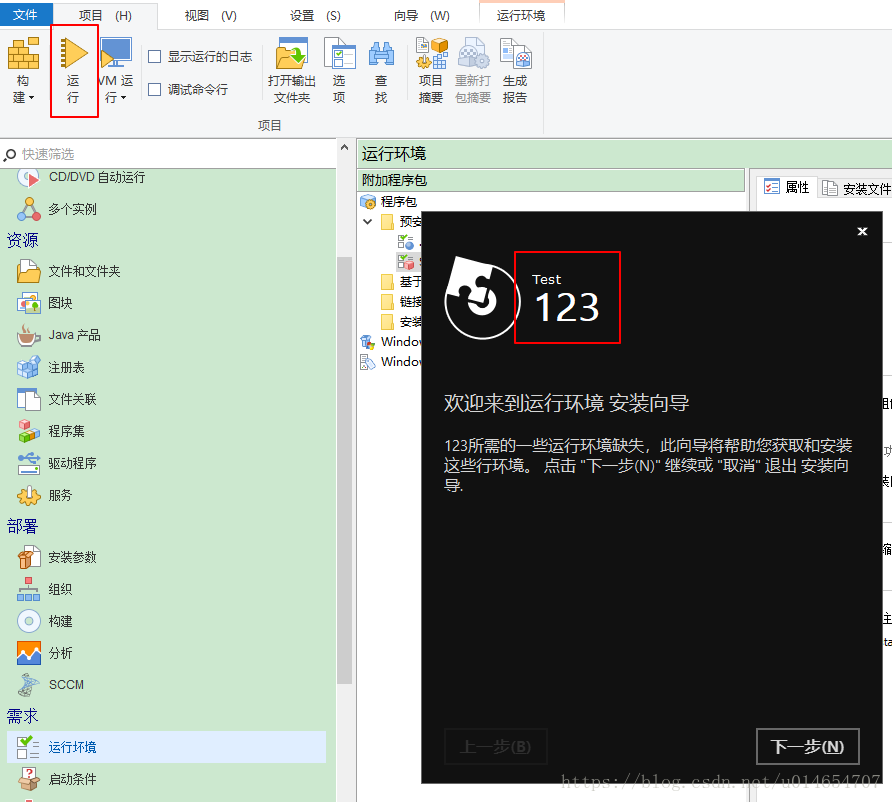
You can also click Run to view the installation effect.
简单明了的Advanced Installer,快用起来。