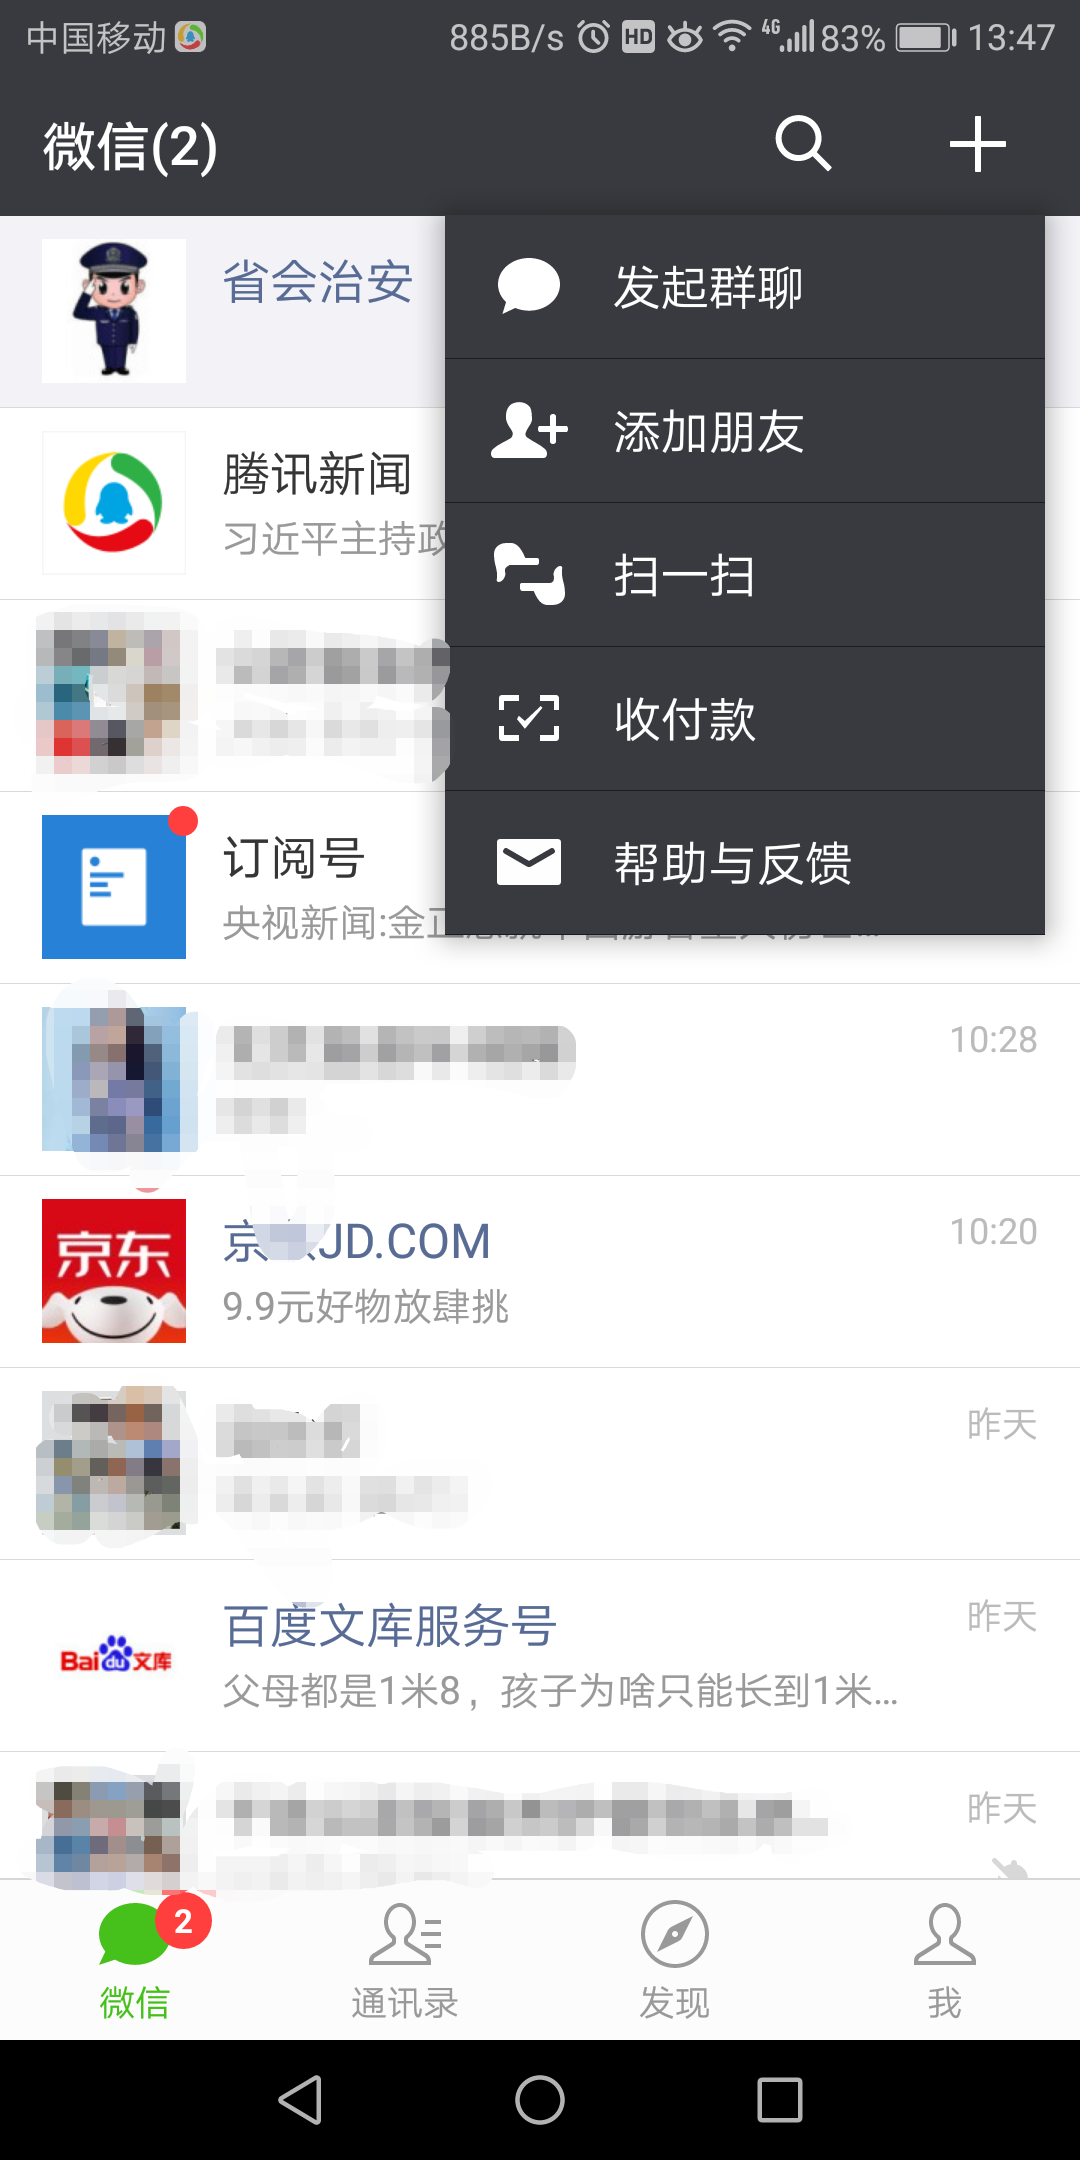
First, the picture above, similar to the picture below, click the plus sign, and a dialog box will pop up, as shown below:
WeChat:
Implement it yourself:

Next, let's implement this functionality:
In fact, the principle of implementation is to click the " + " sign to pop up a PopupWindow.
1. Write a menu file for display in ToolBar, as follows:
<?xml version="1.0" encoding="utf-8"?>
<menu xmlns:android="http://schemas.android.com/apk/res/android"
xmlns:app="http://schemas.android.com/apk/res-auto">
<item
android:id="@+id/btn_msg"
android:icon="@drawable/ic_notifications_none"
android:title="消息"
app:showAsAction="ifRoom" />
</menu>
2. First add " + ", ToolBar is used in my project, I add a menu to ToolBar, and rewrite the method onCreateOptionsMenu in Activity, as shown below:
@Override
public boolean onCreateOptionsMenu(Menu menu) {
getMenuInflater().inflate(R.menu.menu_index_msg, menu);
return super.onCreateOptionsMenu(menu);
}
Here, the " + " sign has appeared.
3. Add a click event to the menu, initialize the PopupWindow, and pop up a custom PopupWindow, as follows:
@Override
public boolean onOptionsItemSelected(MenuItem item) {
switch (item.getItemId()) {
case R.id.btn_msg:
View popupView = IndexActivity.this.getLayoutInflater().inflate(R.layout.popupwindow, null);
final PopupWindow window = new PopupWindow(popupView, 300, 220);
ListView lv_msg = (ListView) popupView.findViewById(R.id.lv_msg);
MsgAdapter msgAdapter = new MsgAdapter(context, msgBeans);
lv_msg.setAdapter(msgAdapter);
lv_msg.setOnItemClickListener(new AdapterView.OnItemClickListener() {
@Override
public void onItemClick(AdapterView<?> parent, View view, int position, long id) {
if (window.isShowing()) {
window.dismiss();
}
switch (position) {
case 0:
if (myApplication.isOnline()) {
NoticeMainActivity.startActivity(IndexActivity.this);
} else {
Toast.makeText(IndexActivity.this, "离线状态不能使用此功能", Toast.LENGTH_SHORT).show();
}
break;
case 1:
if (myApplication.isOnline()) {
TaskMainActivity.startActivity(IndexActivity.this);
} else {
Toast.makeText(IndexActivity.this, "This function cannot be used in offline state", Toast.LENGTH_SHORT).show();
}
break;
default:
break;
}
}
});
window.setBackgroundDrawable(new ColorDrawable(Color.parseColor("#F8F8F8")));
window.setFocusable(true);
window.setOutsideTouchable(true);
window.update();
//set display position
window.showAsDropDown(msgView, 0, 0);//msgView is the btn_msgbreak in our menu;
default:
break;
}
return super.onOptionsItemSelected(item);
}
4. There is a layout popupwindow in the above 3. When I use it in my project, I display notifications. I use ListView in the layout to display the content. You can also write the layout as a fixed layout here, and give full play to your own needs. The popupwindow layout is posted below, as follows:
<?xml version="1.0" encoding="utf-8"?>
<LinearLayout xmlns:android="http://schemas.android.com/apk/res/android"
android:layout_width="match_parent"
android:layout_height="match_parent"
android:orientation="vertical">
<ListView
android:id="@+id/lv_msg"
android:layout_width="wrap_content"
android:layout_height="wrap_content"
android:layout_weight="1"
android:divider="@null"
android:scrollbars="none" />
</LinearLayout>
5. Here we have achieved the function we want, the result picture:
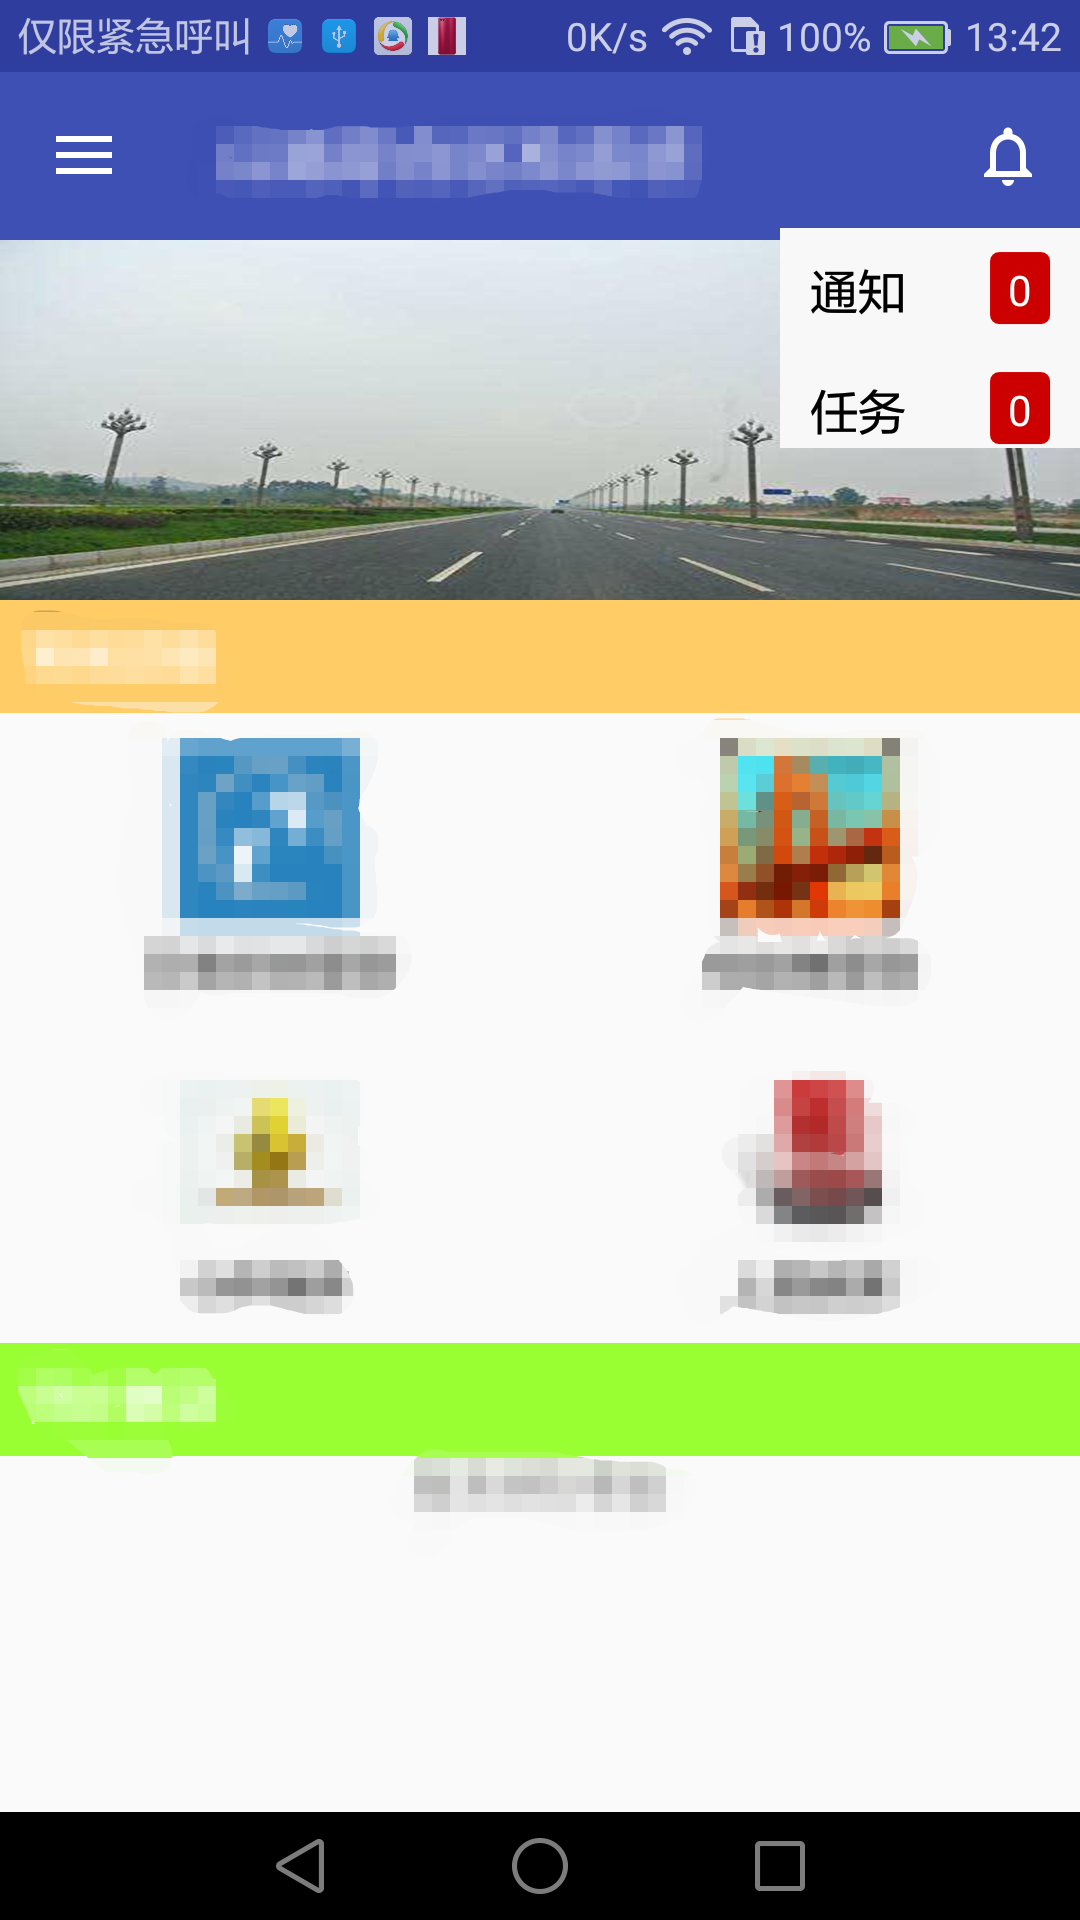
6. The number of pieces of information displayed on the right side of notifications and tasks is constrained by shape xml files, and can also be implemented using BadgeView, so I won't explain too much here.