1.什么是跨域请求
简单来说就是浏览器中当前网站向另一个网站发送请求获取数据的过程,这就是跨域请求。
2.哪些是跨域请求
1.http://www.test.com/index.html请求http://www.test.com/login(不跨域)
1.域名不同:http://www.test.com/index.html请求http://www.test1.com/login(跨域)
2.端口不同:http://www.test.com:80/index.html请求http://www.test.com:8080/login(跨域)
3.协议不同:http://www.test.com/index.html请求https://www.test.com/login(跨域)
4.localhost和127.0.0.1虽然都指向本机,但也属于跨域
3.vue使用axios如何解决跨域请求
1.在此项目下打开终端,下载安装axios
npm install axios --save

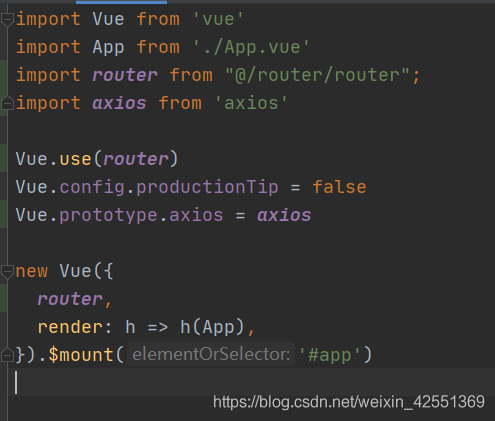
2.在项目的main.js中引入axios,此目的是可以在全局使用axios(调用方式this.axios)
import axios from 'axios'
Vue.prototype.axios = axios
3.在此项目下创建vue.config.js文件,放入如下代码(vue cli3.0无此文件,手动创建)
module.exports = {


    devServer: {


        open: true,
        host: 'localhost',
        port: 8080,
        https: false,
        //以上的ip和端口是我们本机的;下面为需要跨域的
        proxy: {

    //配置跨域
            '/api': {


                target: 'http://localhost:8081/',//这里后台的地址模拟的;应该填写你们真实的后台接口
                ws: true,
                changOrigin: true,//允许跨域
                pathRewrite: {


                    '^/api': ''//请求的时候使用这个api就可以
                }
            }

        }
    }
}

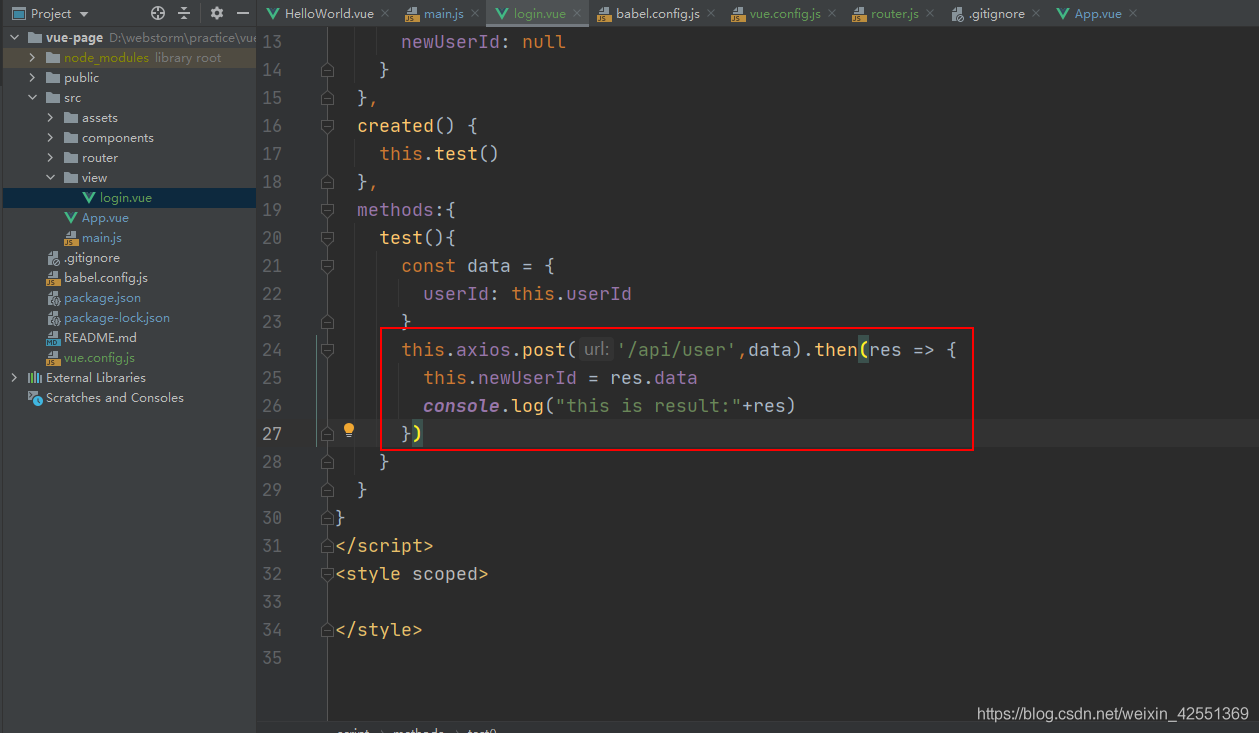
4.在login.vue页面编写axios请求
注:vue.config.js定义使用api,所以如果请求http://localhost:8081/user,axios的请求路径应该是’/api/user’
<template>
  <div>
    {

   { newUserId }}
  </div>
</template>

<script>
export default {


  name: "login",
  data(){


    return {


      userId: 'tz',
      newUserId: null
    }
  },
  created() {


    this.test()
  },
  methods:{


    test(){


      const data = {


        userId: this.userId
      }
      this.axios.post('/api/user',data).then(res => {


        this.newUserId = res.data
        console.log("this is result:"+res)
      })
    }
  }
}
</script>
<style scoped>

</style>
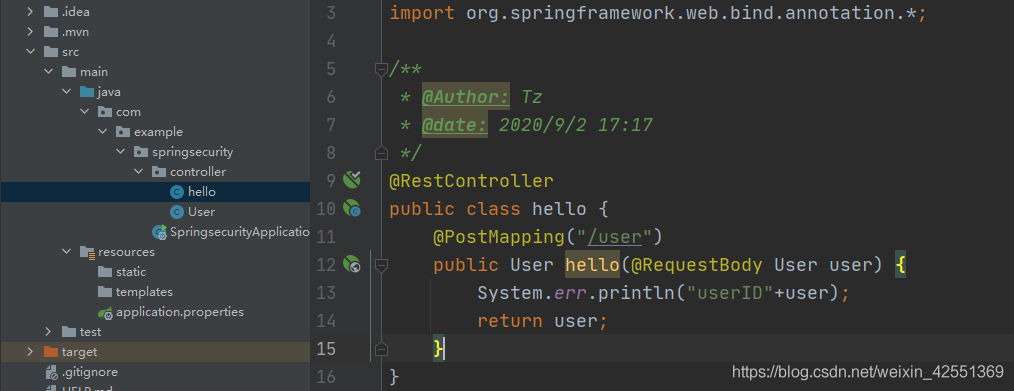
5.Java后台代码,使用springboot搭建,默认端口为8081
//controller代码
@RestController
public class hello {


    @PostMapping("/user")
    public User hello(@RequestBody User user) {


        System.err.println("userID"+user);
        return user;
    }
}
6.结果:请求成功
