Article Directory
Data
link: https://pan.baidu.com/s/1RFJh5WAnbw-0C2VwqJhFCQ
extraction code: vfwa
1. Download
Download link: http://www.rabbitmq.com/download.html
2. Install under windows
2.1. Install Erlang
Download: http://www.erlang.org/download/otp_win64_17.3.exe
installation:


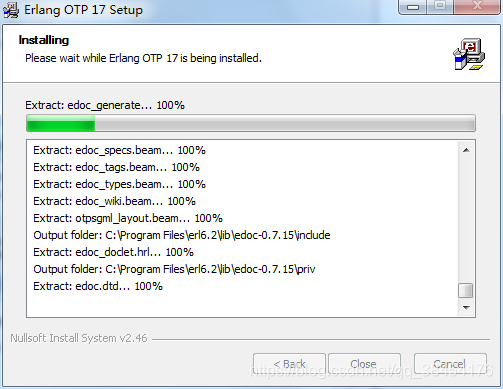
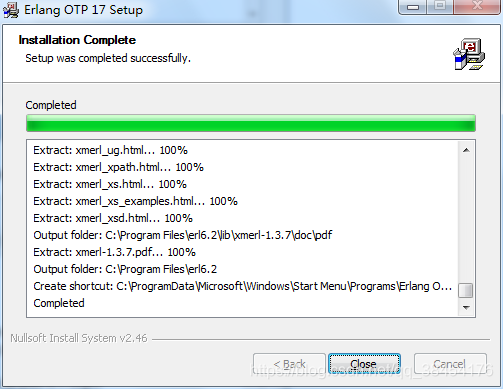
The installation is complete.
If it appears:
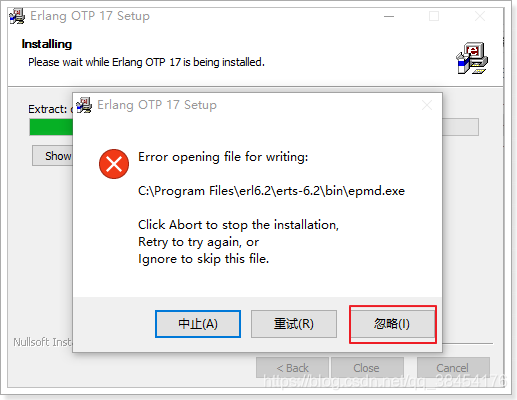
Please choose ignore.
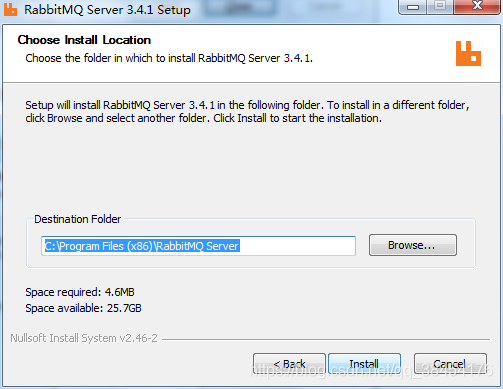
2.2. Install RabbitMQ

The installation is complete.
Start, stop, reinstall, etc.
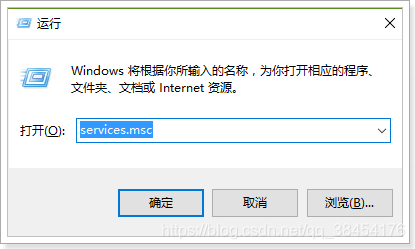
Press win + R and run the command: services.msc
Check if the RabbitMQ service is started:

2.3. Precautions for installation
1) It is recommended to use the default installation path
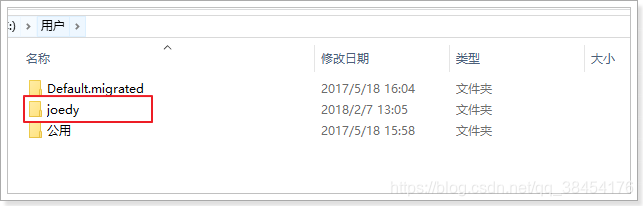
2) The system user name must be in English
You can view the user directory:
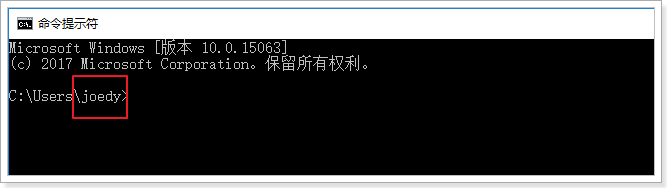
You can also open cmd on the desktop to view the path:
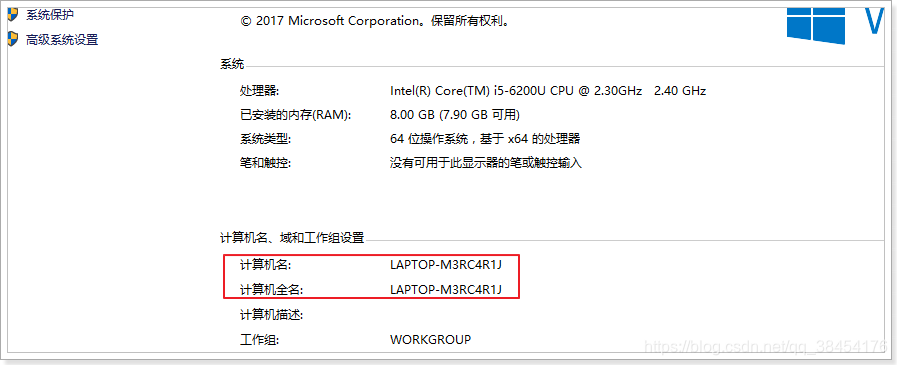
3 ) The computer name must be in English
4) The user of the system must be an administrator
2.4. Enable management tools


2. Enter the command:
rabbitmq-plugins enable rabbitmq_management

3. Enter the address in the browser to view: http://127.0.0.1:15672/

4. Log in with the default account: guest/ guest
2.5. Solution for installation failure
How to solve if the installation fails:
l Reinstall the system
- Not recommended
l Install RabbitMQ into the linux virtual machine
– Recommended
l Use the RabbitMQ service installed by others
a) Just open an account for you.
b) Use the public RabbitMQ service at 192.168.50.22
– Recommended
3. Installation under Linux
cd /usr/local/leyou
mkdir rabbitmq
cd rabbitmq
3.1. Install Erlang
3.1.1. Online installation
yum install esl-erlang_17.3-1~centos~6_amd64.rpm

yum install esl-erlang-compat-R14B-1.el6.noarch.rpm
3.1.2. Offline installation
Upload the installation package in the data
Erlang:
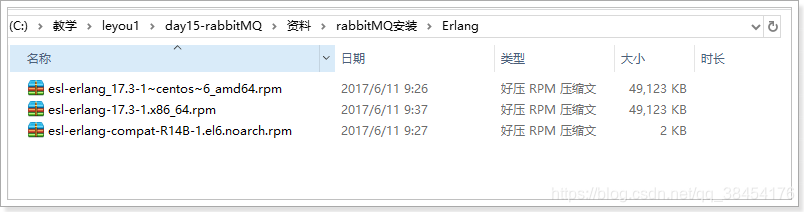
Execute the commands in sequence:
1)rpm -ivh esl-erlang-17.3-1.x86_64.rpm --force --nodeps

2)rpm -ivh esl-erlang_17.3-1centos6_amd64.rpm --force --nodeps

3)rpm -ivh esl-erlang-compat-R14B-1.el6.noarch.rpm --force --nodeps

3.2. Install RabbitMQ
RabbitMQ:
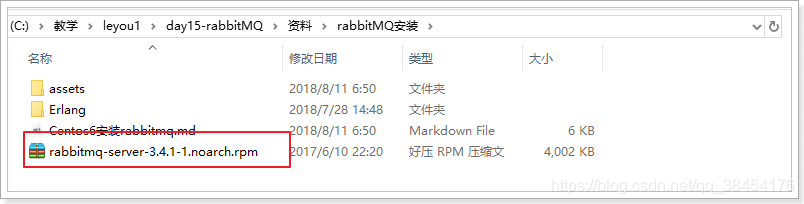
After uploading:

installation:
rpm -ivh rabbitmq-server-3.4.1-1.noarch.rpm

3.2.1. Set configuration file
cp /usr/share/doc/rabbitmq-server-3.4.1/rabbitmq.config.example /etc/rabbitmq/rabbitmq.config
Enable user remote access
vi /etc/rabbitmq/rabbitmq.config
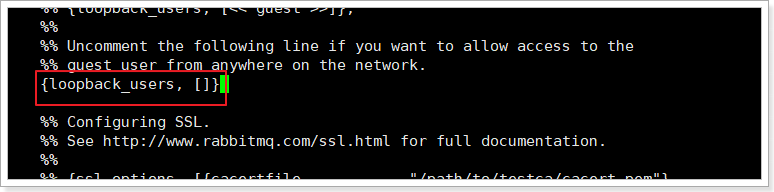
Be careful to remove the comma after it.
3.2.2. Start, stop
service rabbitmq-server start

service rabbitmq-server stop

service rabbitmq-server restart
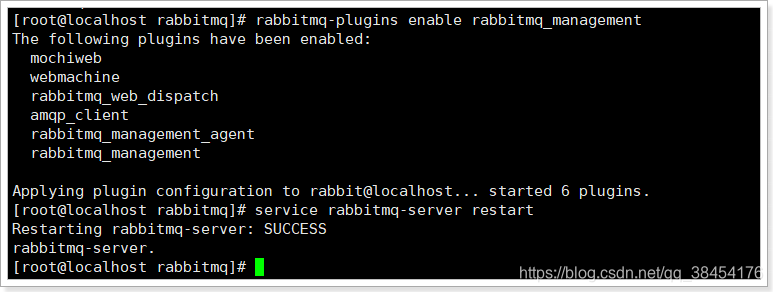
3.2.3. Open the web interface management tool
rabbitmq-plugins enable rabbitmq_management

service rabbitmq-server restart
3.2.4. Set boot up
chkconfig rabbitmq-server on
3.2.5. The firewall opens port 15672
/sbin/iptables -I INPUT -p tcp --dport 15672 -j ACCEPT

/etc/rc.d/init.d/iptables save
4. Management interface
2.1. Home page overview
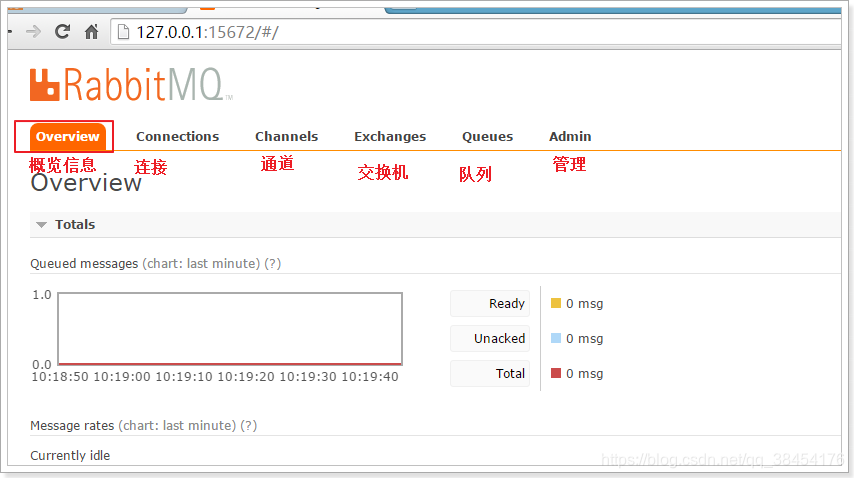
connections: Both producers and consumers need to establish a connection with RabbitMQ before they can complete the production and consumption of messages. You can check the connection here
channels: Channels. After a connection is established, a channel will be formed, and the delivery of messages depends on the channel.
Exchanges: Exchanges, used to implement message routing
Queues: Queues, that is, message queues. Messages are stored in the queue, waiting for consumption, and then removed from the queue after consumption.
port:
5672: rabbitMq's programming language client connection port
15672: rabbitMq management interface port
25672: port of rabbitMq cluster
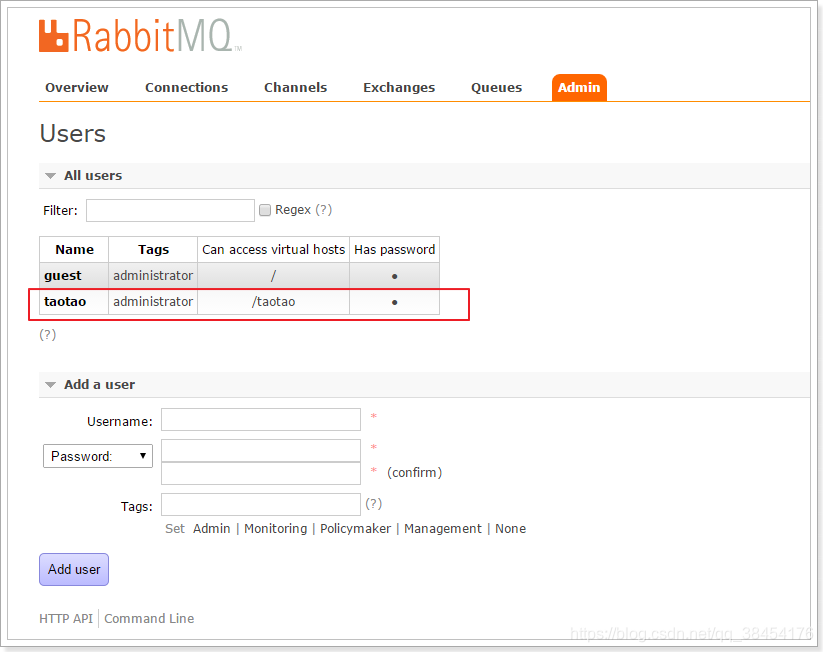
2.2. Add user
If you don’t use guest, we can also create a user ourselves:

1. Super administrator (administrator)
You can log in to the management console, you can view all the information, and you can operate on users and policies.
2. Monitoring
You can log in to the management console, and you can view the relevant information of the rabbitmq node (number of processes, memory usage, disk usage, etc.)
3. Policymaker
You can log in to the management console and you can manage the policy at the same time. But you cannot view the related information of the node (the part marked by the red box in the above figure).
4. Ordinary managers (management)
You can only log in to the management console, you cannot see node information, and cannot manage policies.
5. Other
Unable to log in to the management console, usually ordinary producers and consumers.
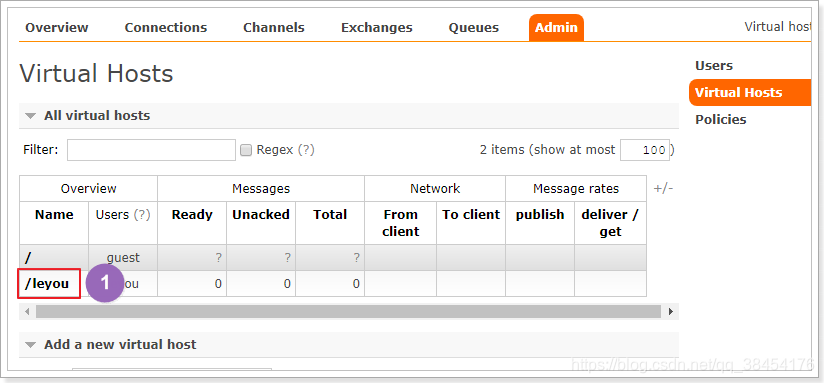
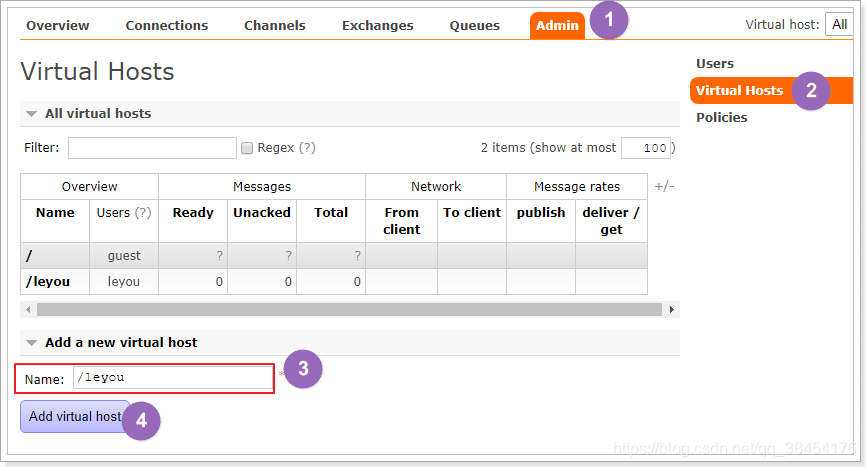
2.3. Create Virtual Hosts
Virtual host: similar to database in mysql. They all start with "/"

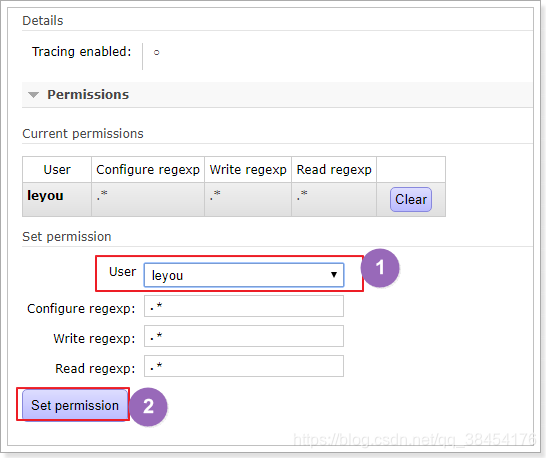
2.4. Set permissions


The part marked with a red box).
4. Ordinary managers (management)
You can only log in to the management console, you cannot see node information, and cannot manage policies.
5. Other
Unable to log in to the management console, usually ordinary producers and consumers.
2.3. Create Virtual Hosts
Virtual host: similar to database in mysql. They all start with "/"
2.4. Set permissions