Preface
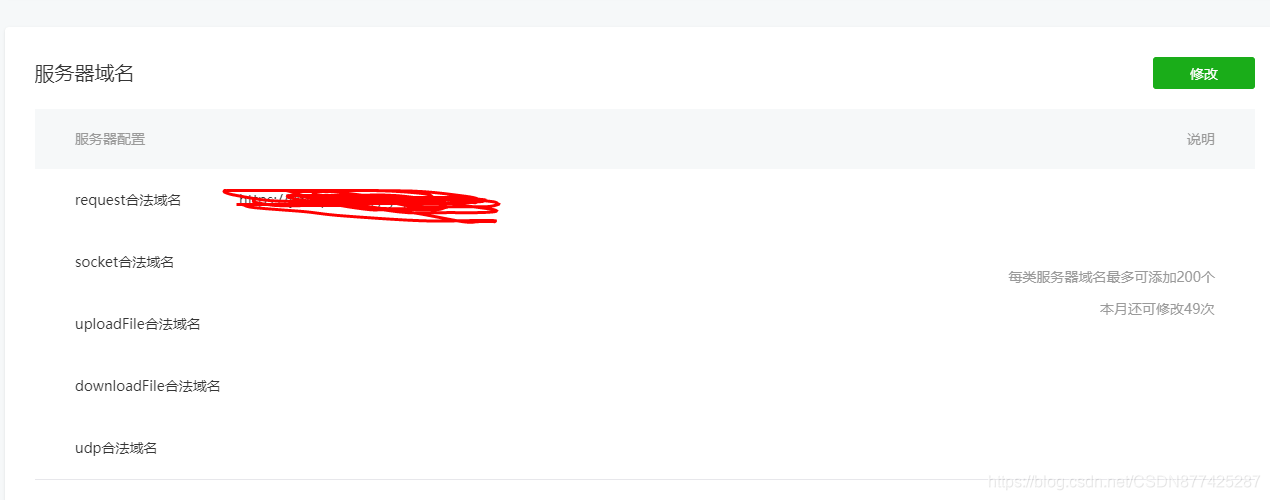
Something happened recently, which disrupted my original rhythm. January 28, 2021, this day is a painful day. It is worth remembering this day, but life has to go on. The code to be written still needs to be written, and small programs need to be written. Go online, the development is basically coming to an end, start to prepare the way to go online of the mini program! I knew before that HTTPS is needed for the mini program to go online, and I didn’t have time to do this when writing the code. Don’t go online to do it!
This is the bird! If you want to add HTTPS here, it must be the addition of the back-end http server. Our back-end uses the Ruoyi framework based on SpringBoot II. To put it bluntly, the back-end of Noy can be changed! Get it right!
Aliyun white prostitution certificate application
1. Apply for an SSL certificate that does not require money.
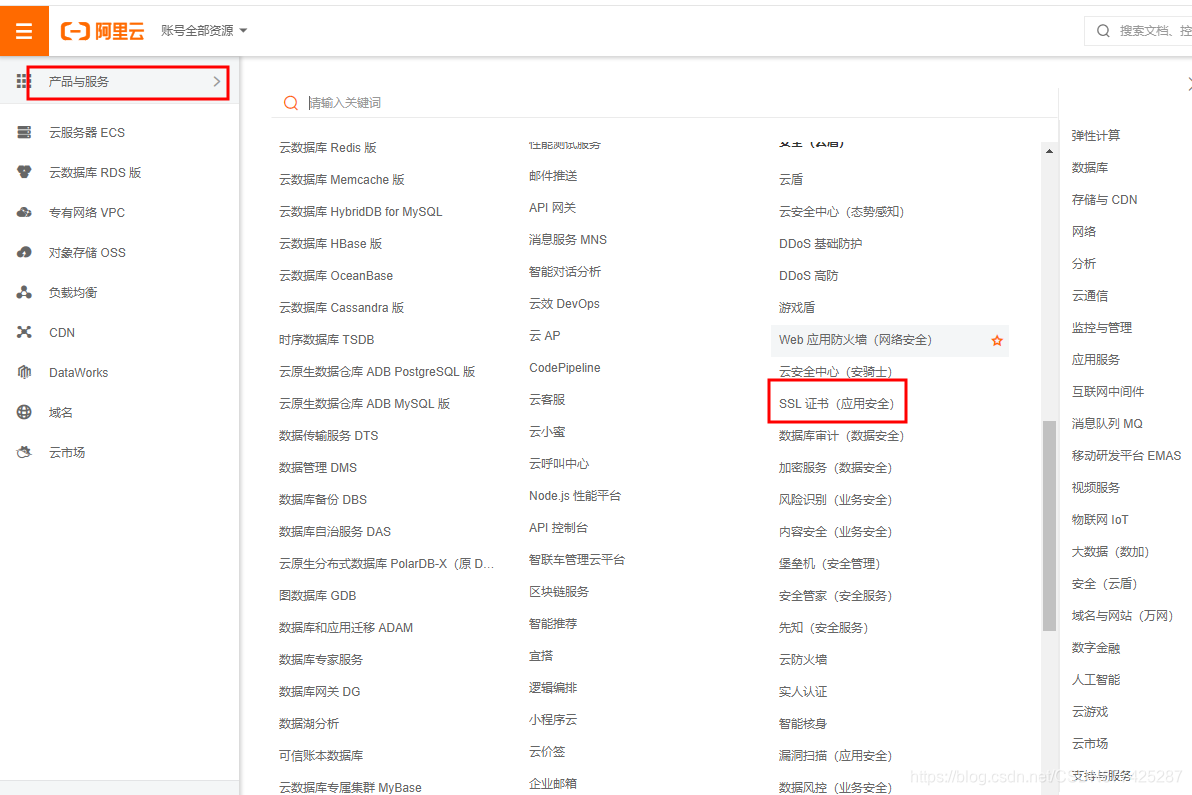
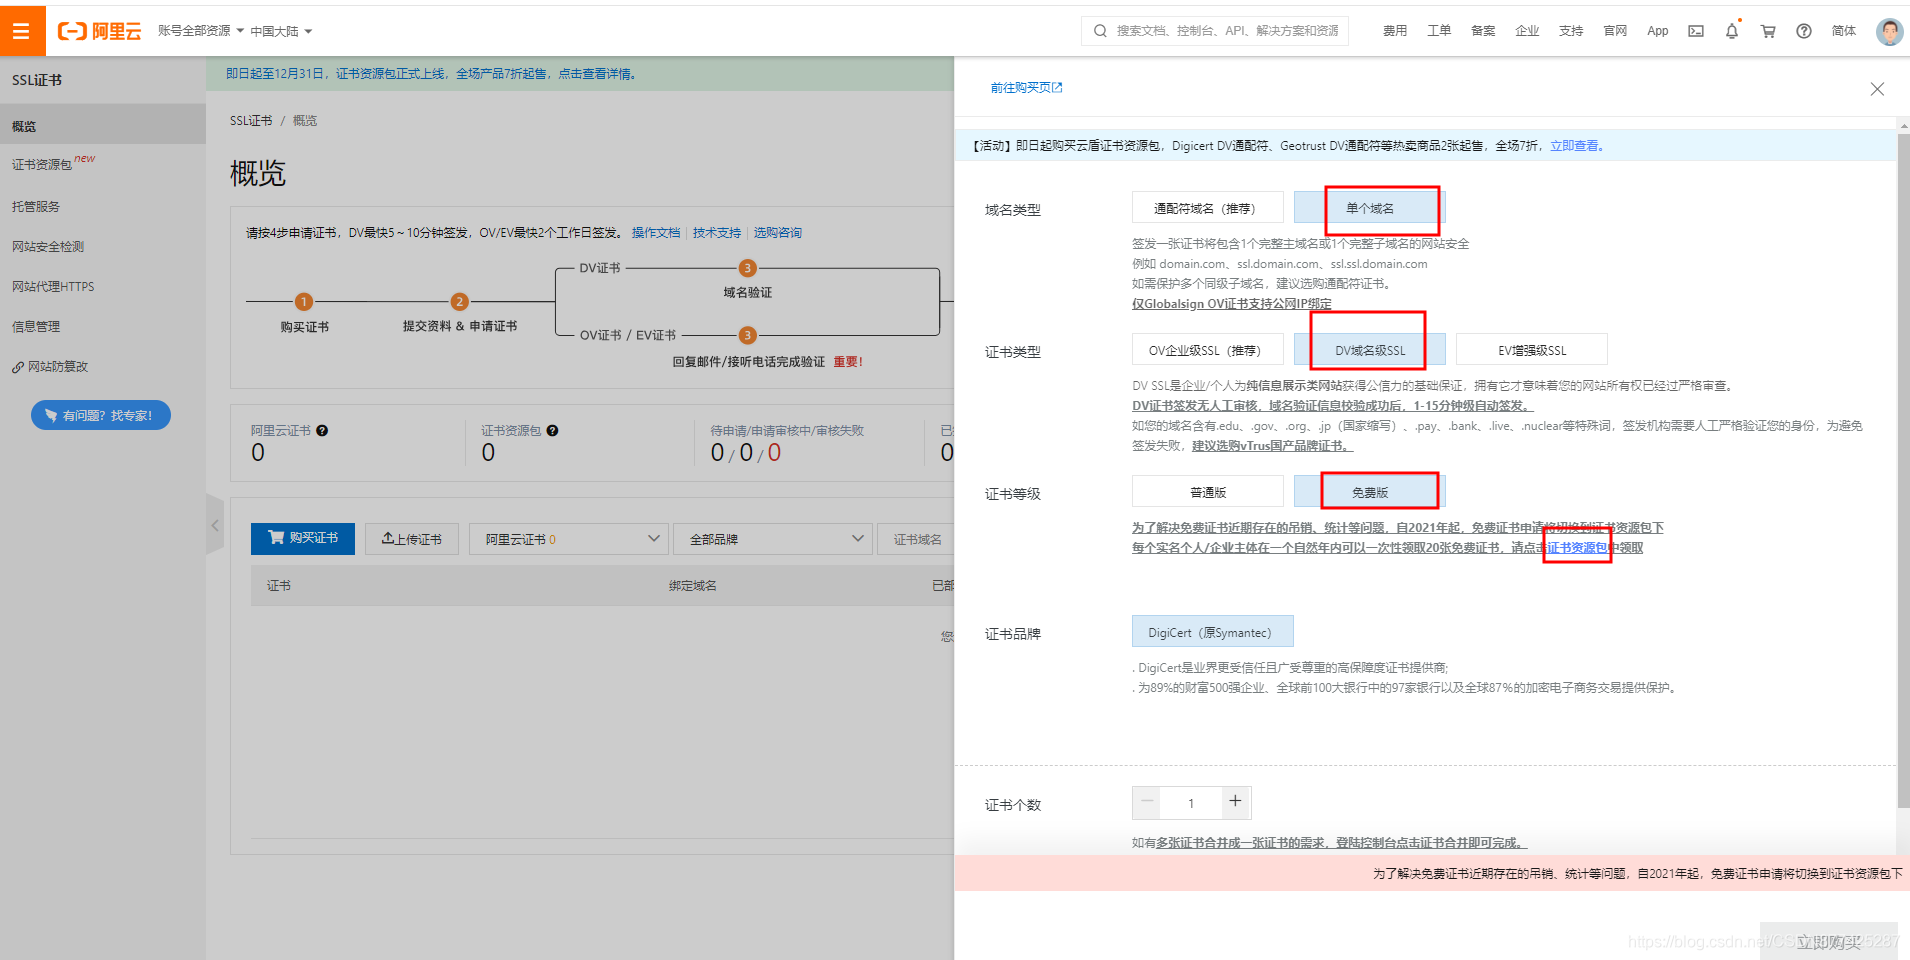
There are 20 after getting the resource pack, which means that you can apply for 20 certificates
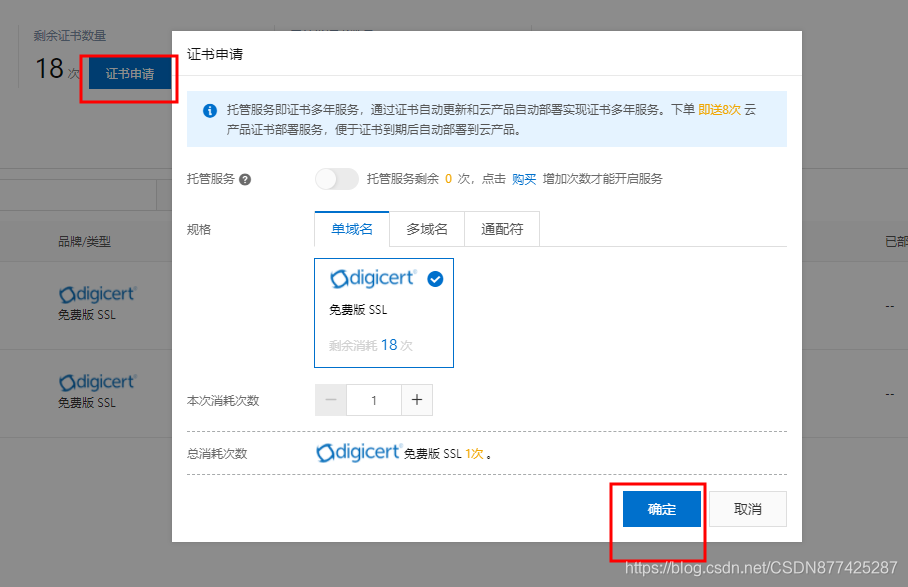

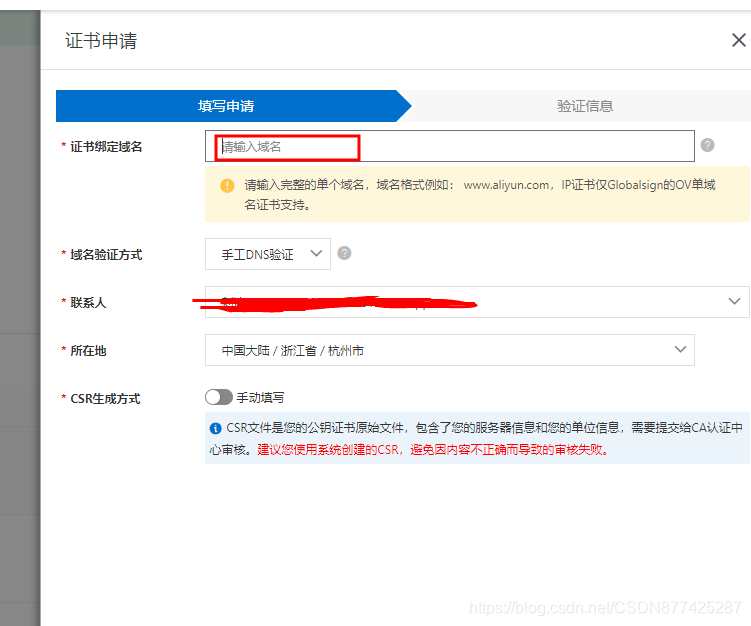
Just fill in the basic information and verify it! The review time is 1-15 minutes, usually within 3 minutes!
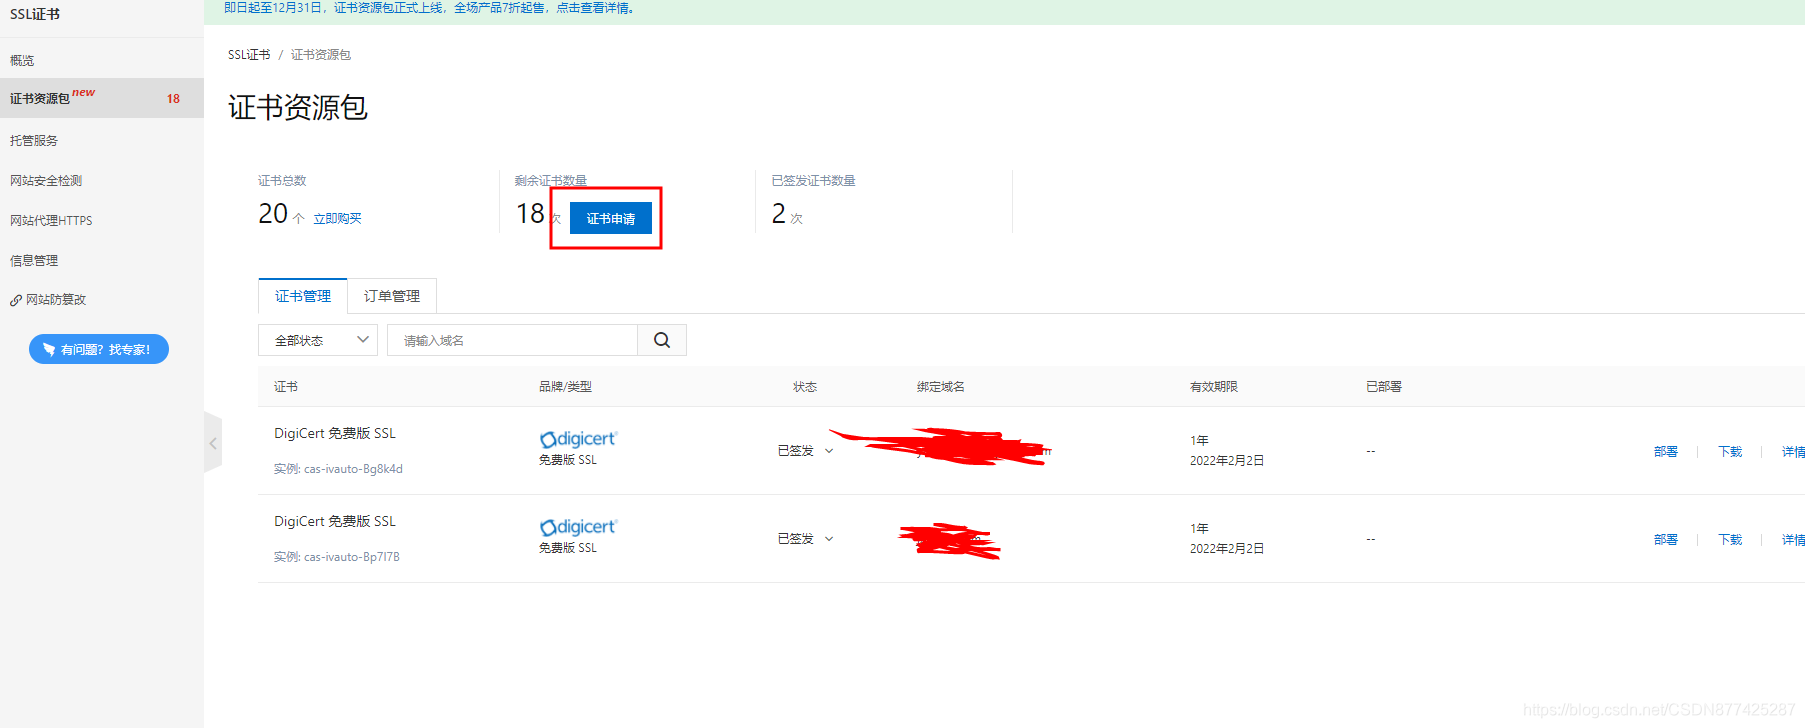
2. Certificate downloading.
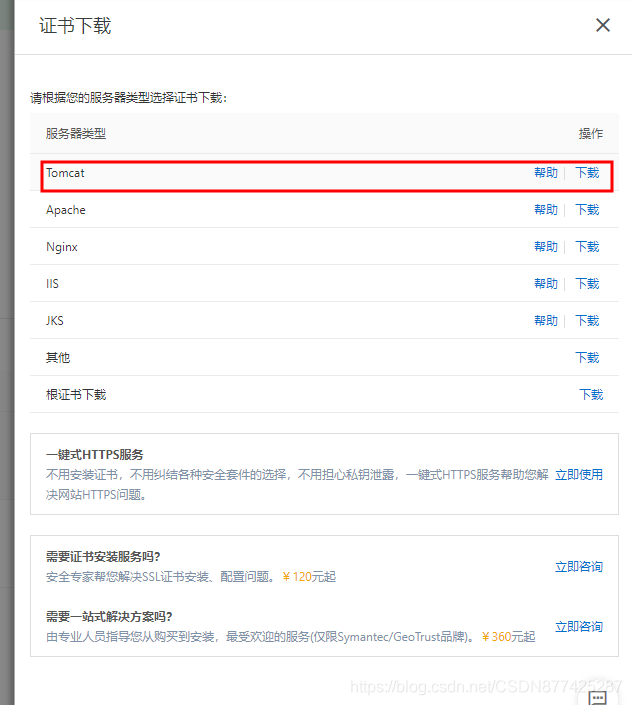
Here is the back-end server plus HTTPS protocol, and SpringBoot is run by the Tomcat container, so select Tomcat here.
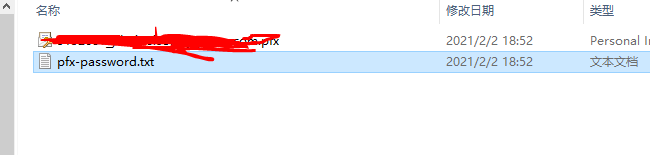
The following file is the password
SpringBoot configuration HTTPS protocol
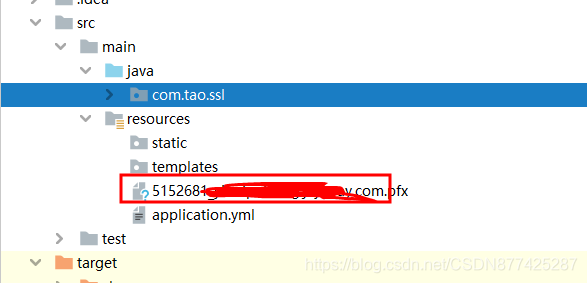
1. Copy the certificate .prx file to the resource directory
2. Write the yml configuration file
http:
  port: 8081
server:
  port: 443
  ssl:
    key-store: classpath:xxxxxxxx.com.pfx
    key-store-password: xxxxxx
    keyStoreType: PKCS12
3. The main startup class configuration interception
@Bean
    public ServletWebServerFactory servletContainer() {


        TomcatServletWebServerFactory tomcat = new TomcatServletWebServerFactory() {


            @Override
            protected void postProcessContext(Context context) {


                SecurityConstraint securityConstraint = new SecurityConstraint();
                securityConstraint.setUserConstraint("CONFIDENTIAL");
                SecurityCollection collection = new SecurityCollection();
                collection.addPattern("/*");
                securityConstraint.addCollection(collection);
                context.addConstraint(securityConstraint);
            }
        };
        tomcat.addAdditionalTomcatConnectors(redirectConnector());
        return tomcat;
    }

    private Connector redirectConnector() {


        Connector connector = new Connector(TomcatServletWebServerFactory.DEFAULT_PROTOCOL);
        connector.setScheme("http");
        connector.setPort(80);
        connector.setSecure(false);
        connector.setRedirectPort(443);
        return connector;
    }
4. Deploy the server to run the test and
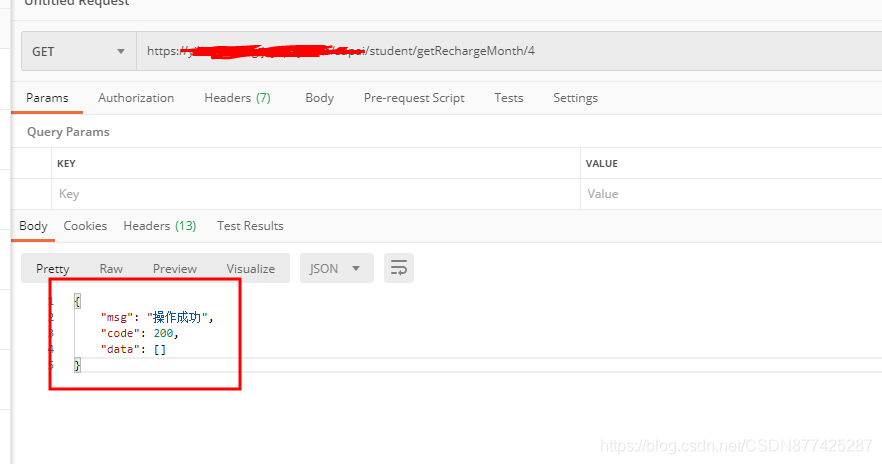
get it done!
The above is my ideal situation, this is just a pure SpringBoot project, and then I tried this operation on Ruoyi's backend, it won't work! Then I found the way to configure HTTPS, which is troublesome. Then I think of Nginx at this time and configure Nginx as a reverse proxy. I don't panic when configuring this stuff!
Nginx configure HTTPS reverse proxy http server
1. The certificate application
is still the same as the first step above
2. Certificate download
Here we select the Nginx certificate to download
3.
Before configuring Nginx for HTTPS , I wrote an article about Nginx configuring Https. I will not repeat the wheel here. Nginx configure domain name + SSL certificate to generate HTTPS
4. Configure the reverse proxy http server.
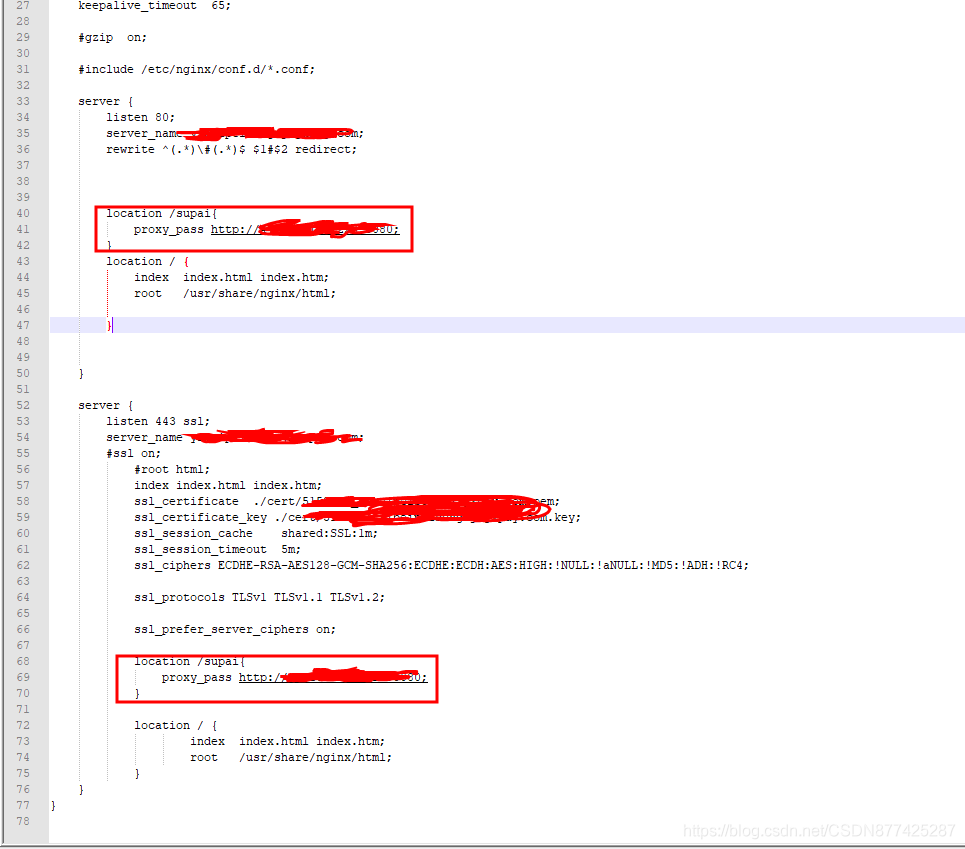
Circled is the reverse proxy http server
5. Restart the Nginx access test and
get it done!