Docker use tutorial related series catalog
table of Contents
The relationship between image and container
ustc mirror source (recommended)
2. Create an interactive container
1. What is a docker image
Docker image introduction
The operating system is divided into a kernel and a user space. For Linux, after the kernel is started, the root file system will be mounted to provide user space support for it. The Docker image (Image) is equivalent to a root file system.
Docker image is a special file system. In addition to providing the programs, libraries, resources, configuration and other files required by the container runtime, it also contains some configuration parameters prepared for runtime (such as anonymous volumes, environment variables, users, etc.) ). The image does not contain any dynamic data, and its content will not be changed after it is built.
The docker image is stored by default in: /var/lib/docker/ directory
The relationship between image and container
The relationship between image (image) and container (container) is like the class and instance in object-oriented programming. The image is a static definition, and the container is the entity of the image at runtime. Containers can be created, started, stopped, deleted, suspended, etc.
The essence of a container is a process, but unlike a process that executes directly on the host, a container process runs in its own independent namespace. Therefore, the container can have its own root file system, its own network configuration, its own process space, and even its own user ID space. The process in the container runs in an isolated environment, and when used, it is as if operating under an independent host system. This feature makes container-encapsulated applications safer than running directly on the host.
As mentioned earlier, mirroring uses hierarchical storage, and the same is true for containers. When each container is running, the image is the base layer, and a storage layer of the current container is created on it. The storage layer prepared for reading and writing of the container during runtime can be called the container storage layer.
The life cycle of the container storage layer is the same as that of the container. When the container dies, the container storage layer also dies. Therefore, any information stored in the storage layer of the container will be lost when the container is deleted.
According to the requirements of Docker's best practices, the container should not write any data to its storage layer, and the container storage layer should remain stateless. All file write operations should use data volumes (volume) or bind the host directory. Reading and writing at these locations will skip the storage layer and directly read and write to the host (or network storage). Its performance and stability Higher sex.
The life cycle of the data volume is independent of the container, and the container dies, and the data volume will not die. Therefore, after the data volume is used, the data will not be lost after the container is deleted or re-run.
Second, list docker images
Start docker first
systemctl restart docker.serviceList docker images
docker images 
Three, pull the mirror
Pull from docker hub
When pulling images from Docker Hub, the following problems often occur:

solution:
Docker pulls the image from the docker hub because it is obtained from abroad, which is slower. You can obtain mirror images from the country by configuring the domestic mirror source to improve the pull speed.
ustc mirror source (recommended)
Configuration
cd /etc/docker
vi daemon.json
复制保存
{
  "registry-mirrors": ["https://docker.mirrors.ustc.edu.cn"]
}
Restart the docker service
systemctl restart docker.servicePull centos mirror
docker pull centos
After the pull is successful, check
docker images
How to use third-party mirrors
https://hub.docker.com/search?type=image
The document has detailed instructions on how to use it


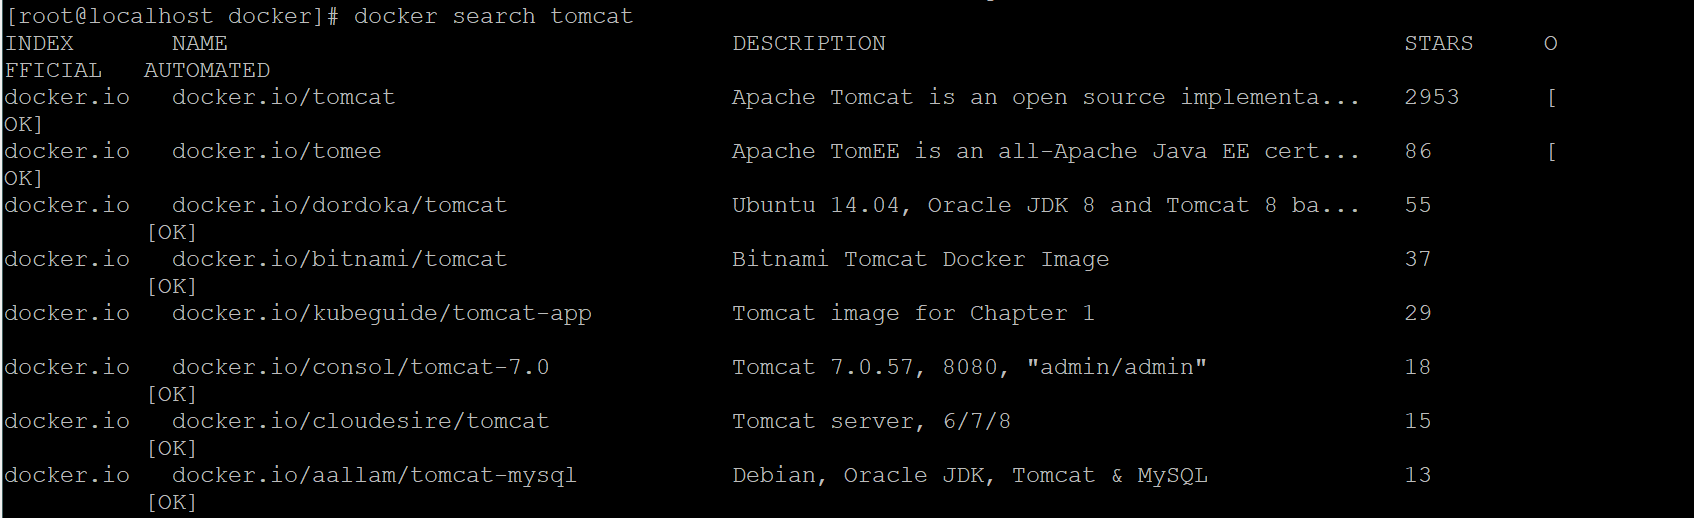
Fourth, find the mirror
docker search tomcatNAME: Mirror name
DESCRIPTION: Mirror description
STARS: User evaluation, the higher the value, the more popular
OFFICIAL: Is it official
AUTOMATED: Automatically build, which means that the image was created by the docker hub automatic build process;
Five, build a mirror
Install tomcat
1. Install centos first
List docker images
docker images
If you already have it, you don’t need to install it again. If you don’t have one, install centos
docker pull centos2. Create an interactive container
docker run -i -t --name=mycentos centosNote:
What do these two parameters (-i, -t) mean
| Options | Mean |
|---|---|
| -i | Run the container in interactive mode, usually used with -t; |
| -t | Reallocate a pseudo input terminal for the container, usually used at the same time as -i; |
Into the container

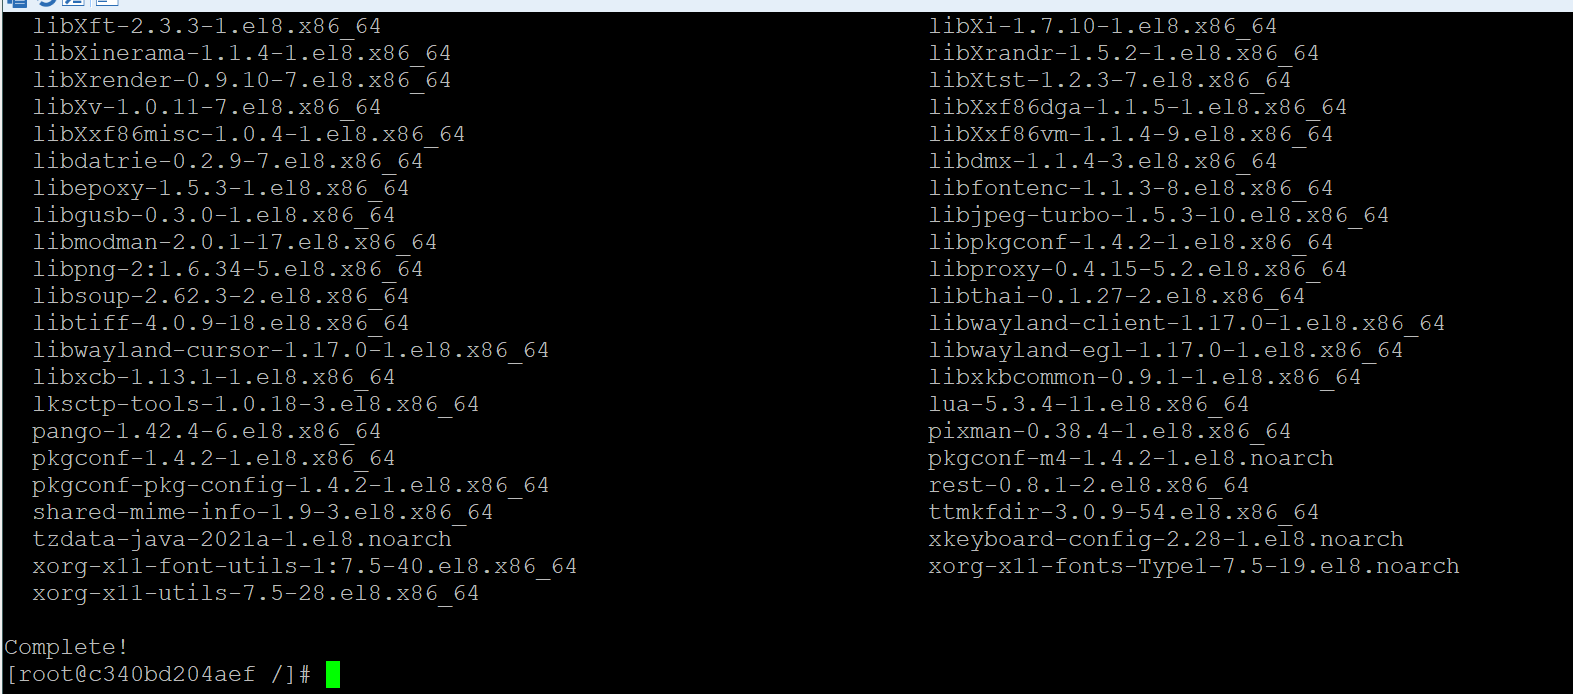
Install JDK
yum install java-1.8.0-openjdk* -ySuccessful installation
Set environment variables
After centos8 installs Java through yum, check the Java installation path
ls -lrt /usr/bin/java
ls -lrt /etc/alternatives/java

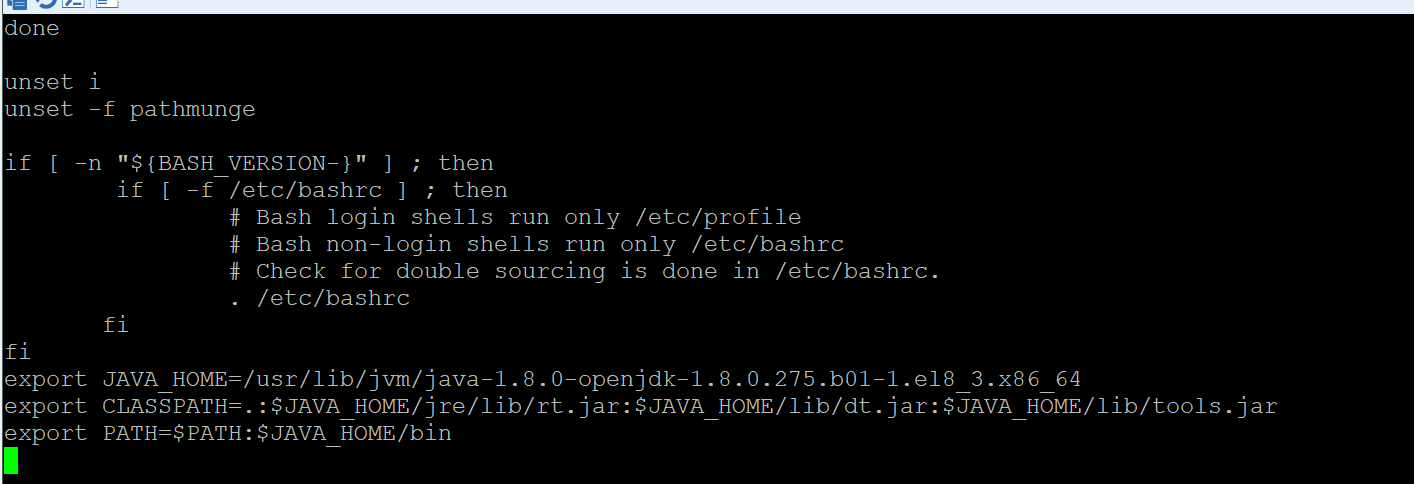
vi /etc/profile
Paste the following content at the bottom of the file and save
Note: After JAVA_HOME, is your actual installation path!
export JAVA_HOME=/usr/local/jdk-xxxx
export CLASSPATH=.:$JAVA_HOME/jre/lib/rt.jar:$JAVA_HOME/lib/dt.jar:$JAVA_HOME/lib/tools.jar
export PATH=$PATH:$JAVA_HOME/bin
生效命令:source /etc/profile
测试命令:java -version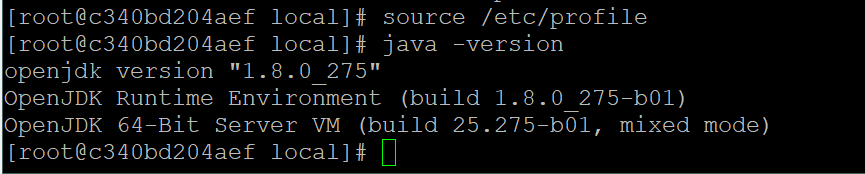
Copy tomcat to the server
Can be uploaded to the server via SCP
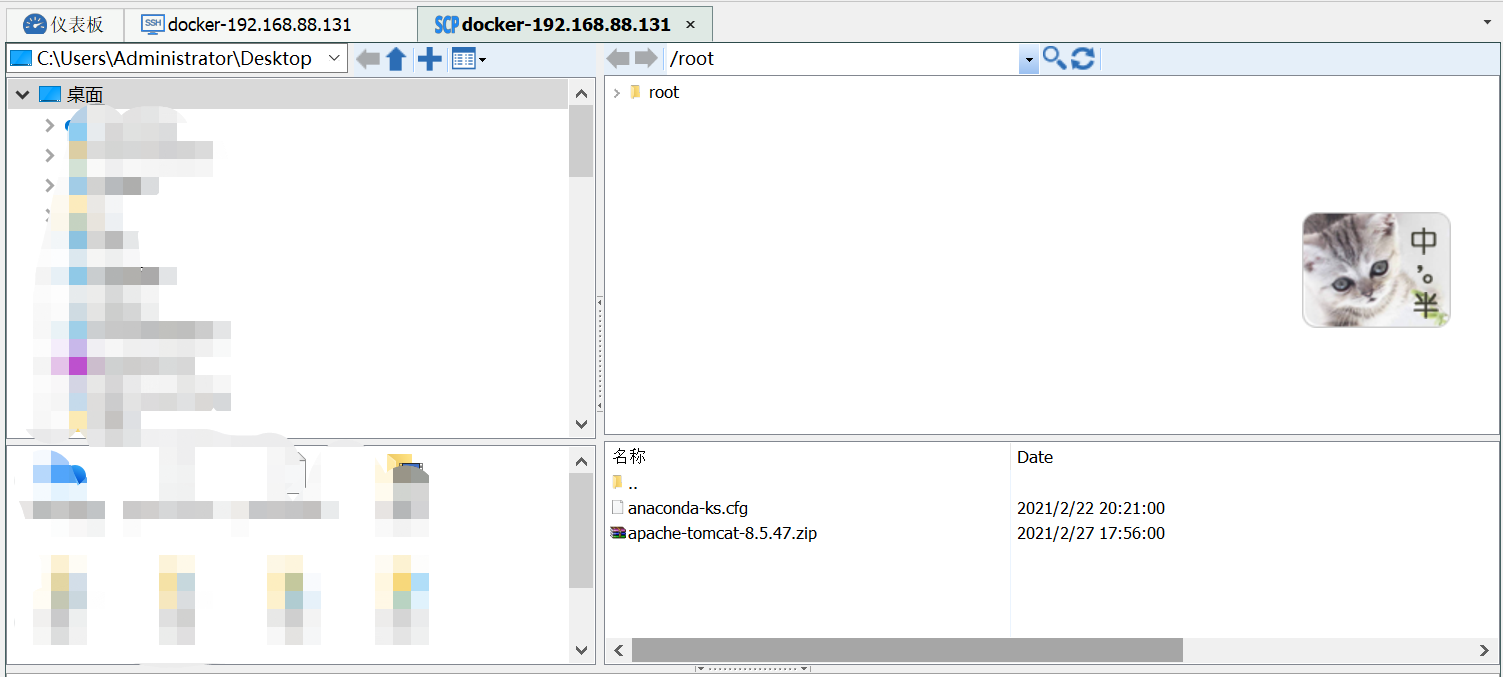
Return to the docker server, copy tomcat to the container
docker cp apache-tomcat-8.5.47.zip mycentos:/root/
Enter the container
docker attach mycentos
Exit the container:
exit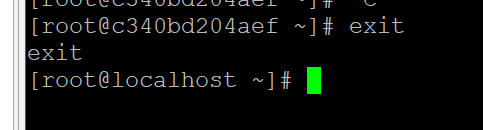
Find the container
docker ps -a
Error:
You cannot attach to a stopped container, start it first
Solution: start the container

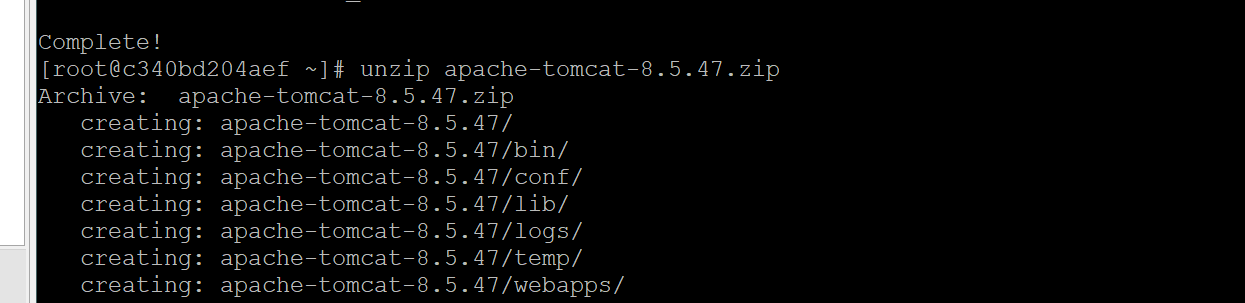
View the tomcat in the container

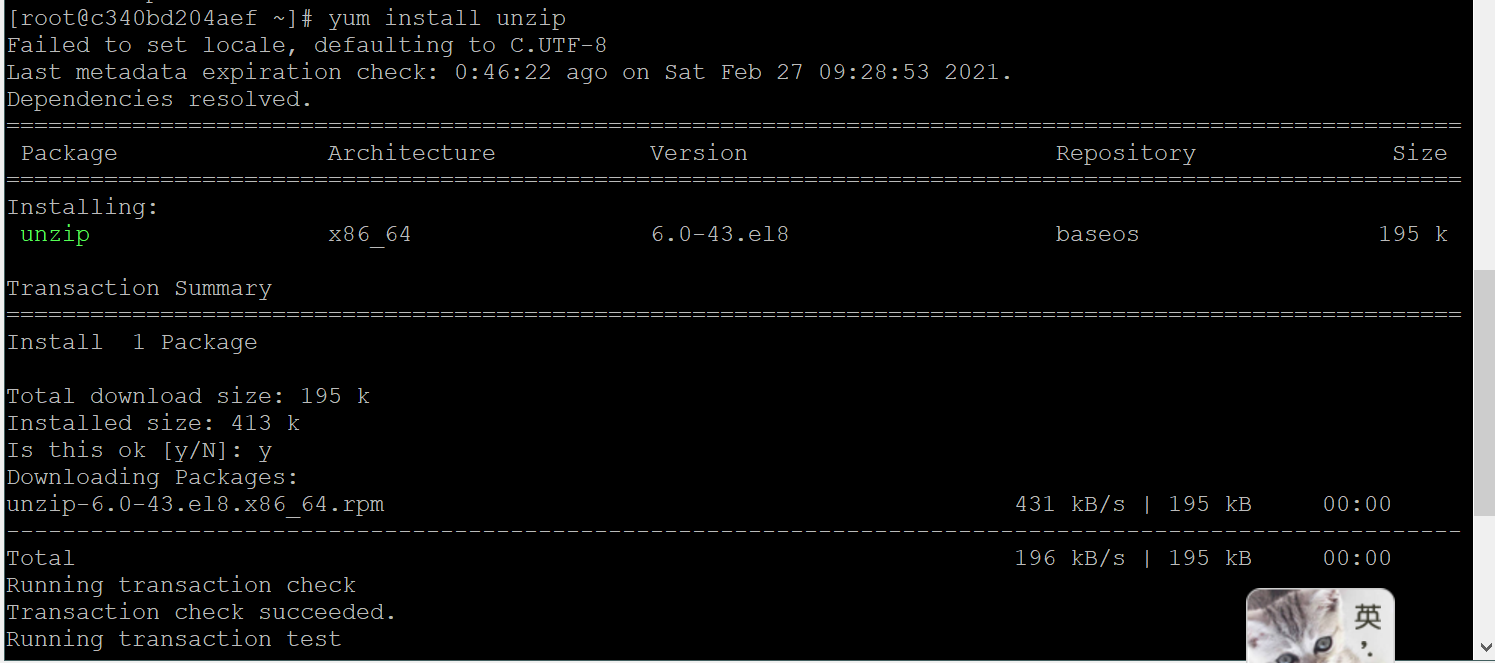
Unzip the zip
Install unzip first
move to
mv apache-tomcat-8.5.47 /usr/local/tomcat8The container is submitted as a new image
Exit the container first
exitThe container is submitted as a new image
docker commit mycentos mytomcat8
Start the tomcat container with the new image
-p is port mapping
docker run -d -i -t --name=tomcat -p 8888:8080 mytomcat8 /bin/bash 

Start the tomcat container

Start tomcat
Note: The accessed port is the port mapped by docker, not the port of tomcat itself

That's the end, over!