①Use version: IDEA 2019.3.5 enterprise version, when using the latest version, the steps will be different from what I wrote.
②Process:
New->Project under File in the upper left corner...

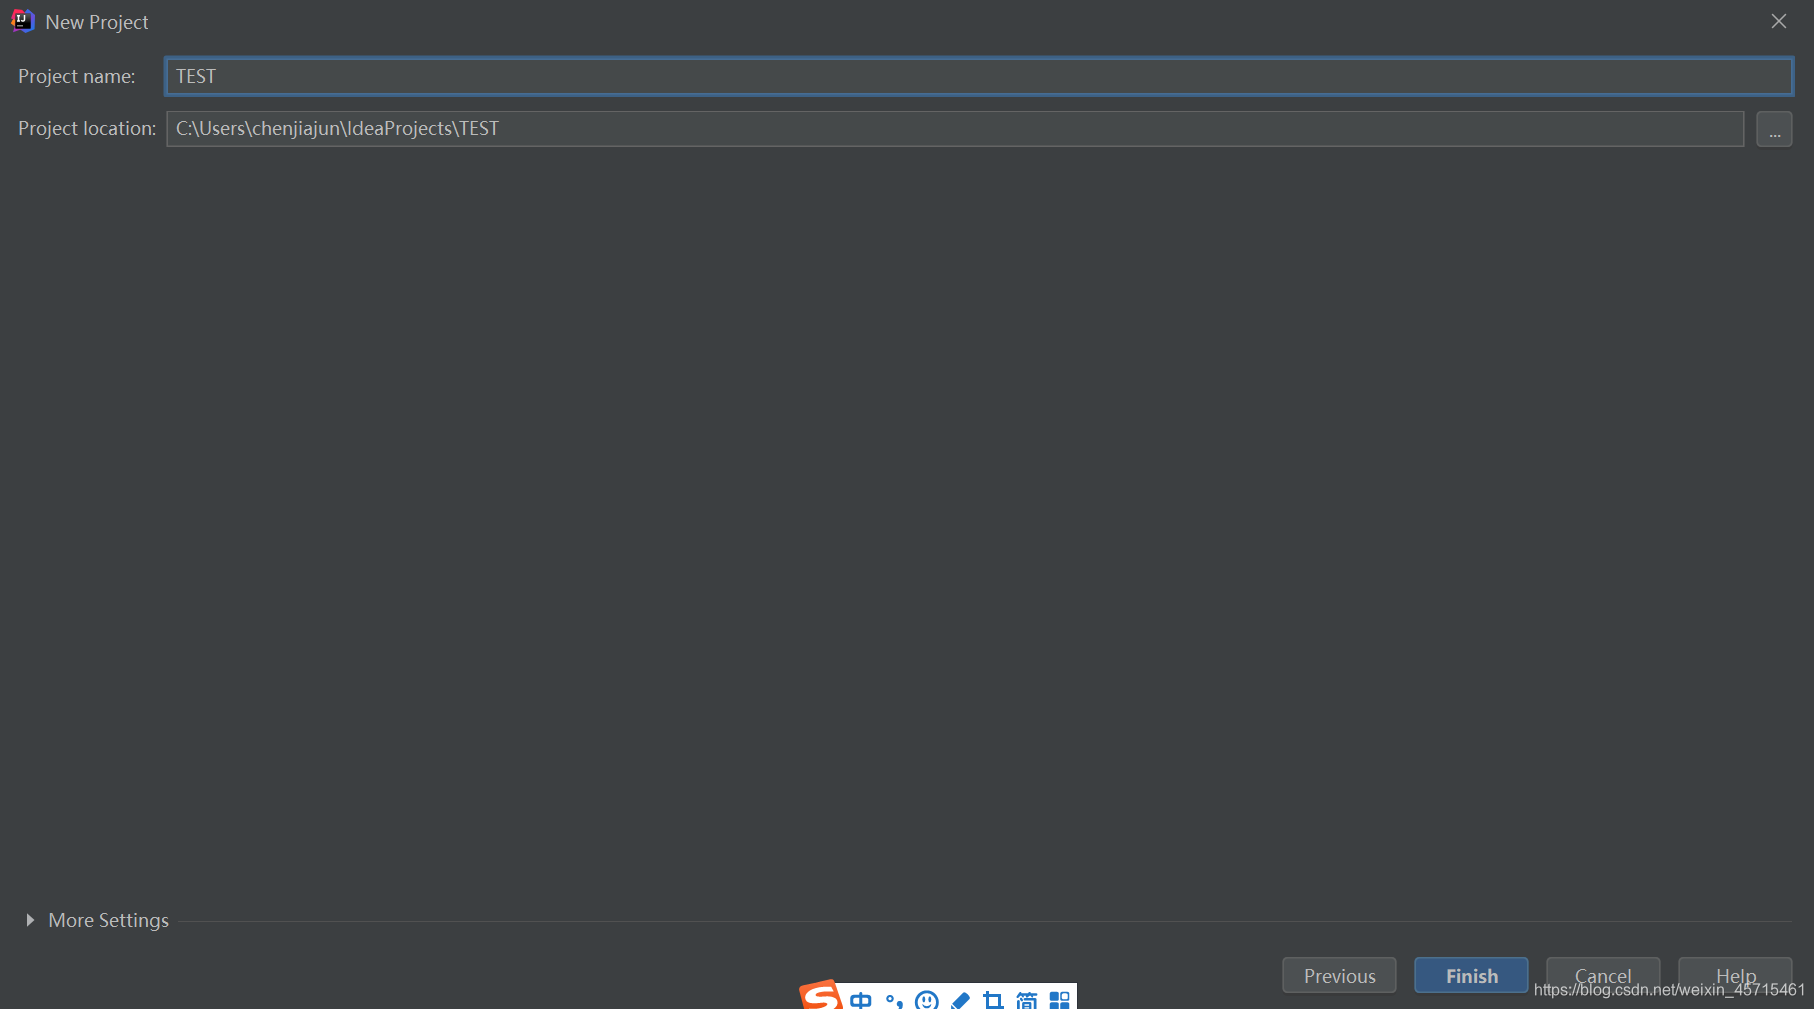
In the pop-up window, click Java Enterprise, check Web Application, and click Next.

Name the project
Right-click under src (or where you want to store the servlet) and select New->Select Create New Servlet

to name the servlet and give the servlet a package name.

After finishing the previous step, the web.xml file will be automatically created, and the contents are as follows.

Click Edit Configurations next to the hammer on the upper right side...
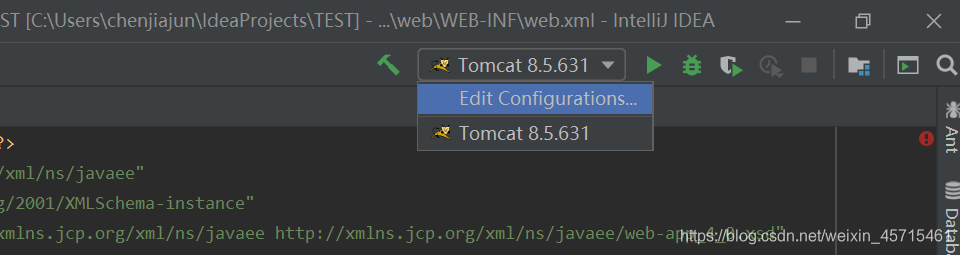
The following window appears.
Click the plus sign in the upper left corner and select Tomcat Server->local.
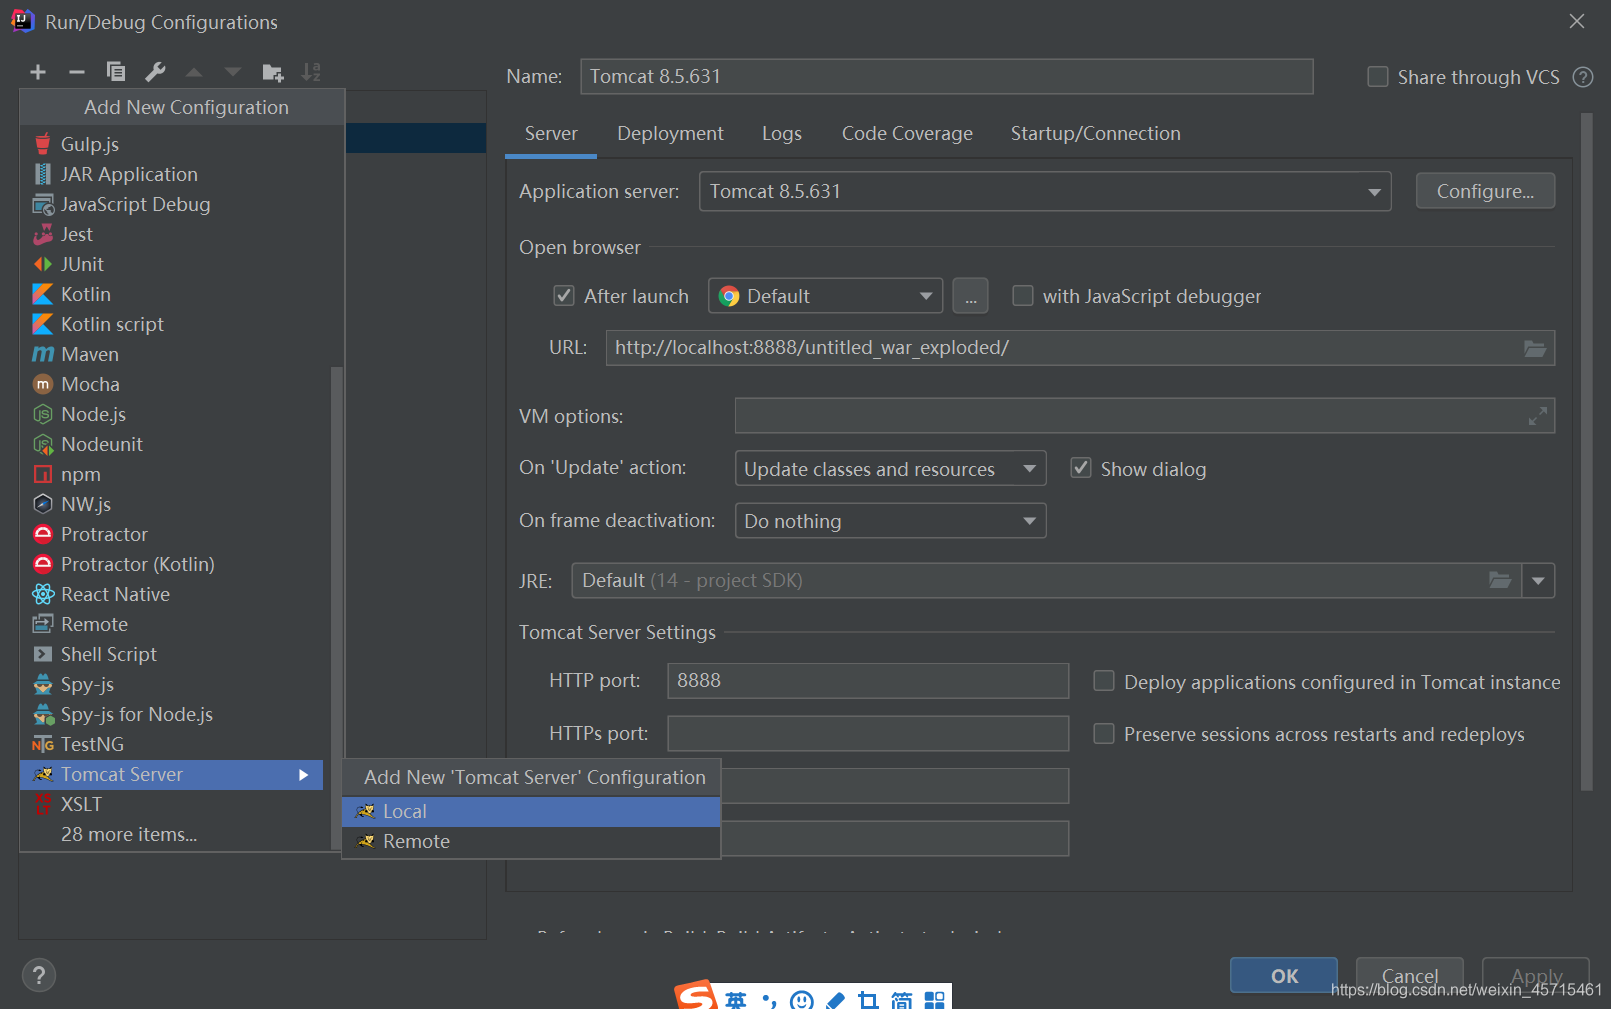
The following window appears. Click Configure...
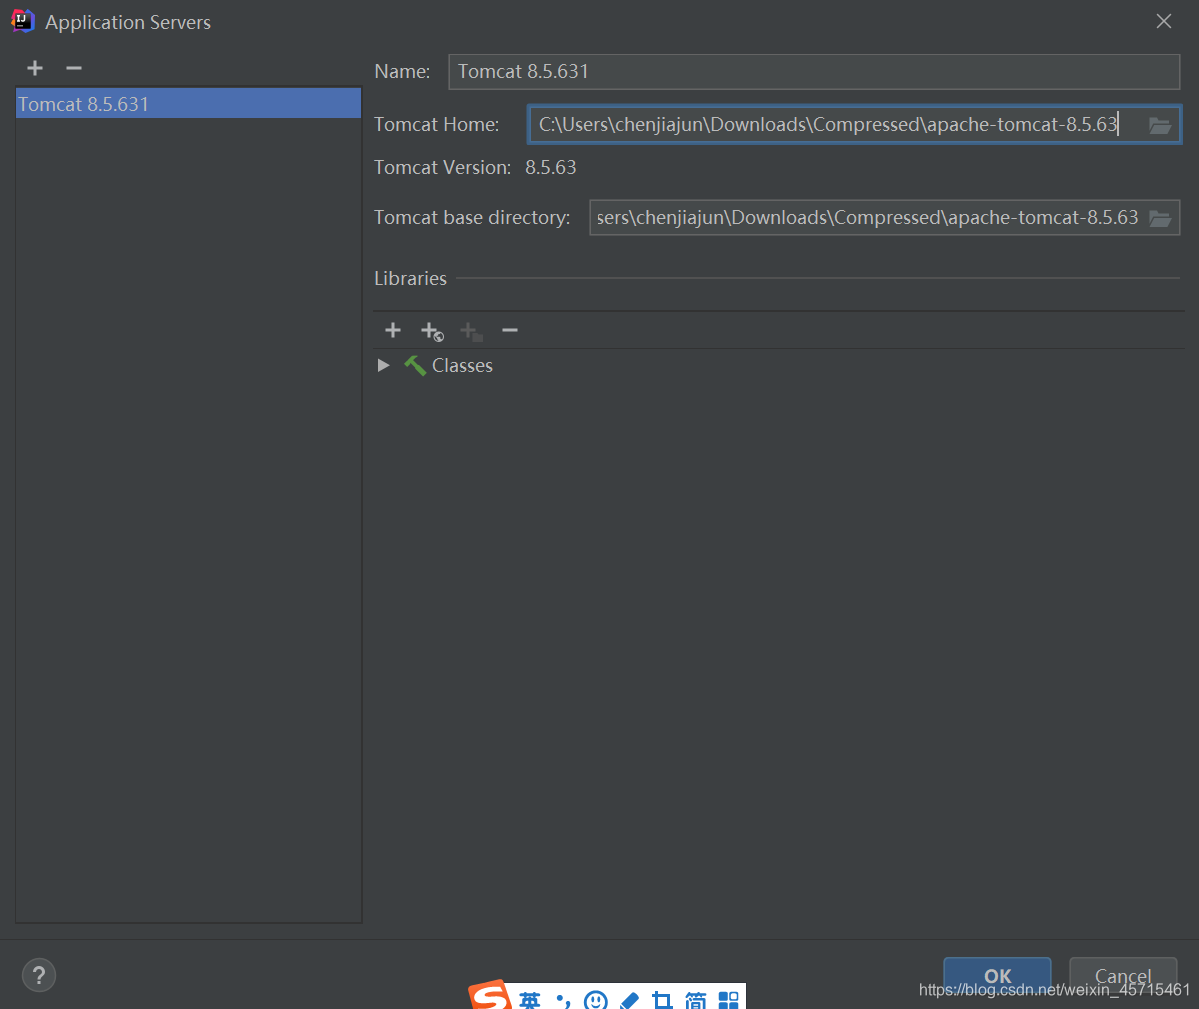
The following window appears, click the folder icon next to Tomcat Home and click the folder icon next to Tomcat base directory. And choose the download path to your Tomcat. And click OK.

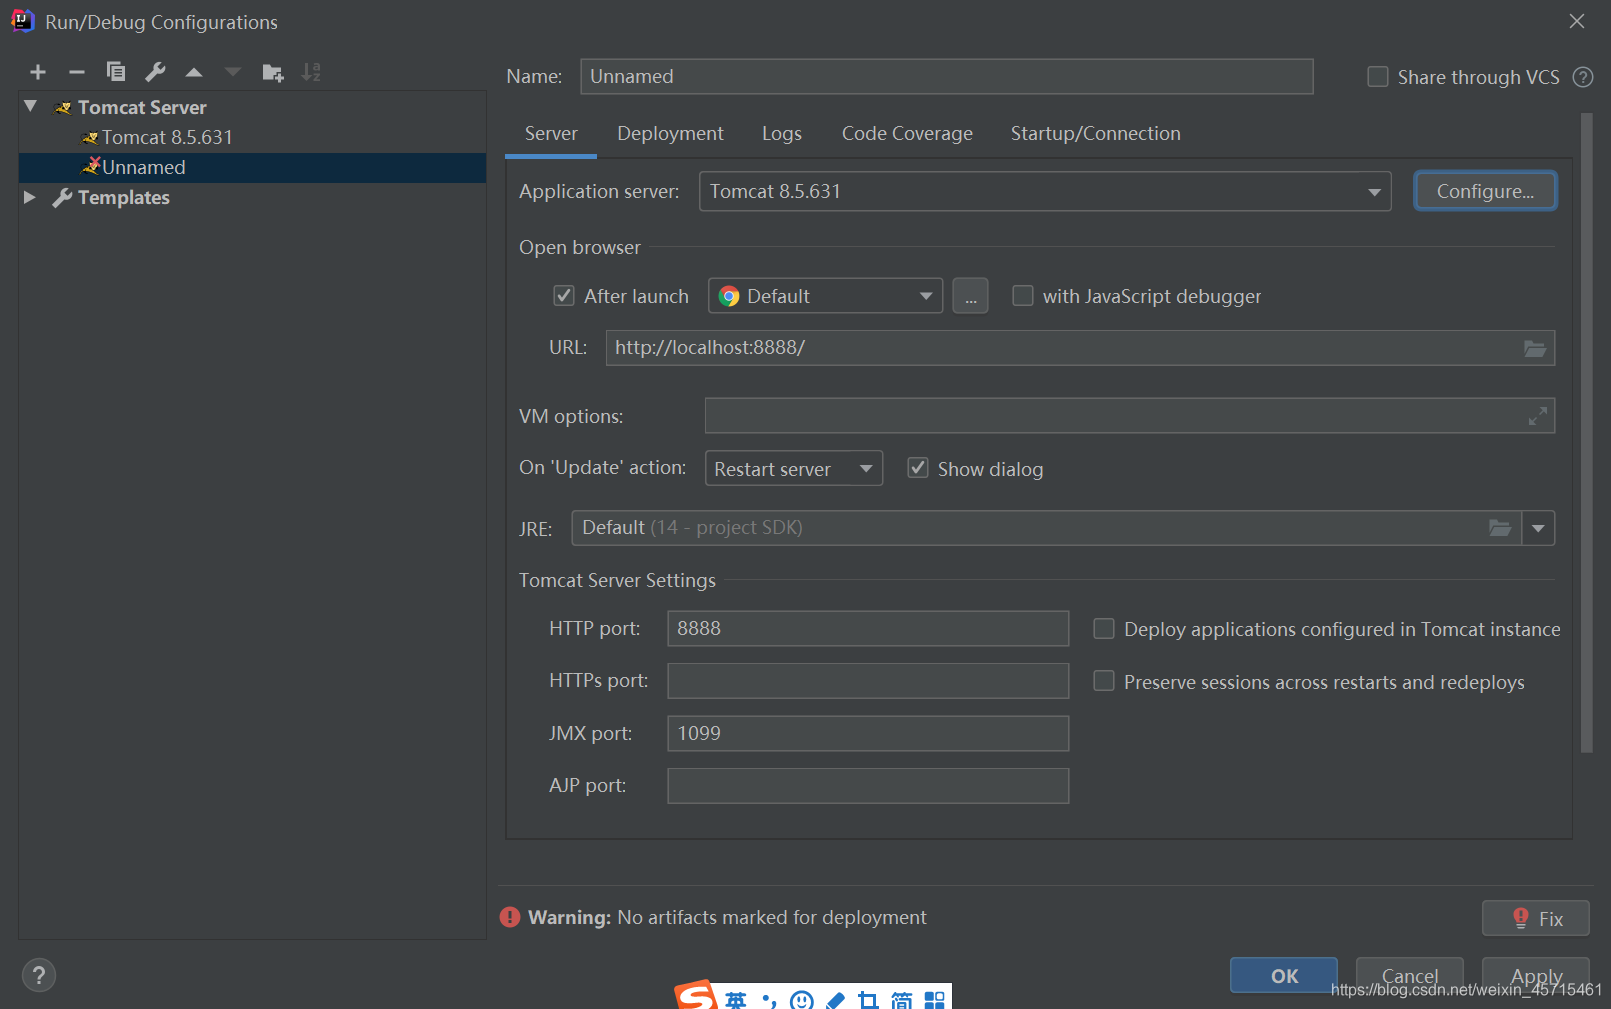
Click Fix at the bottom right.
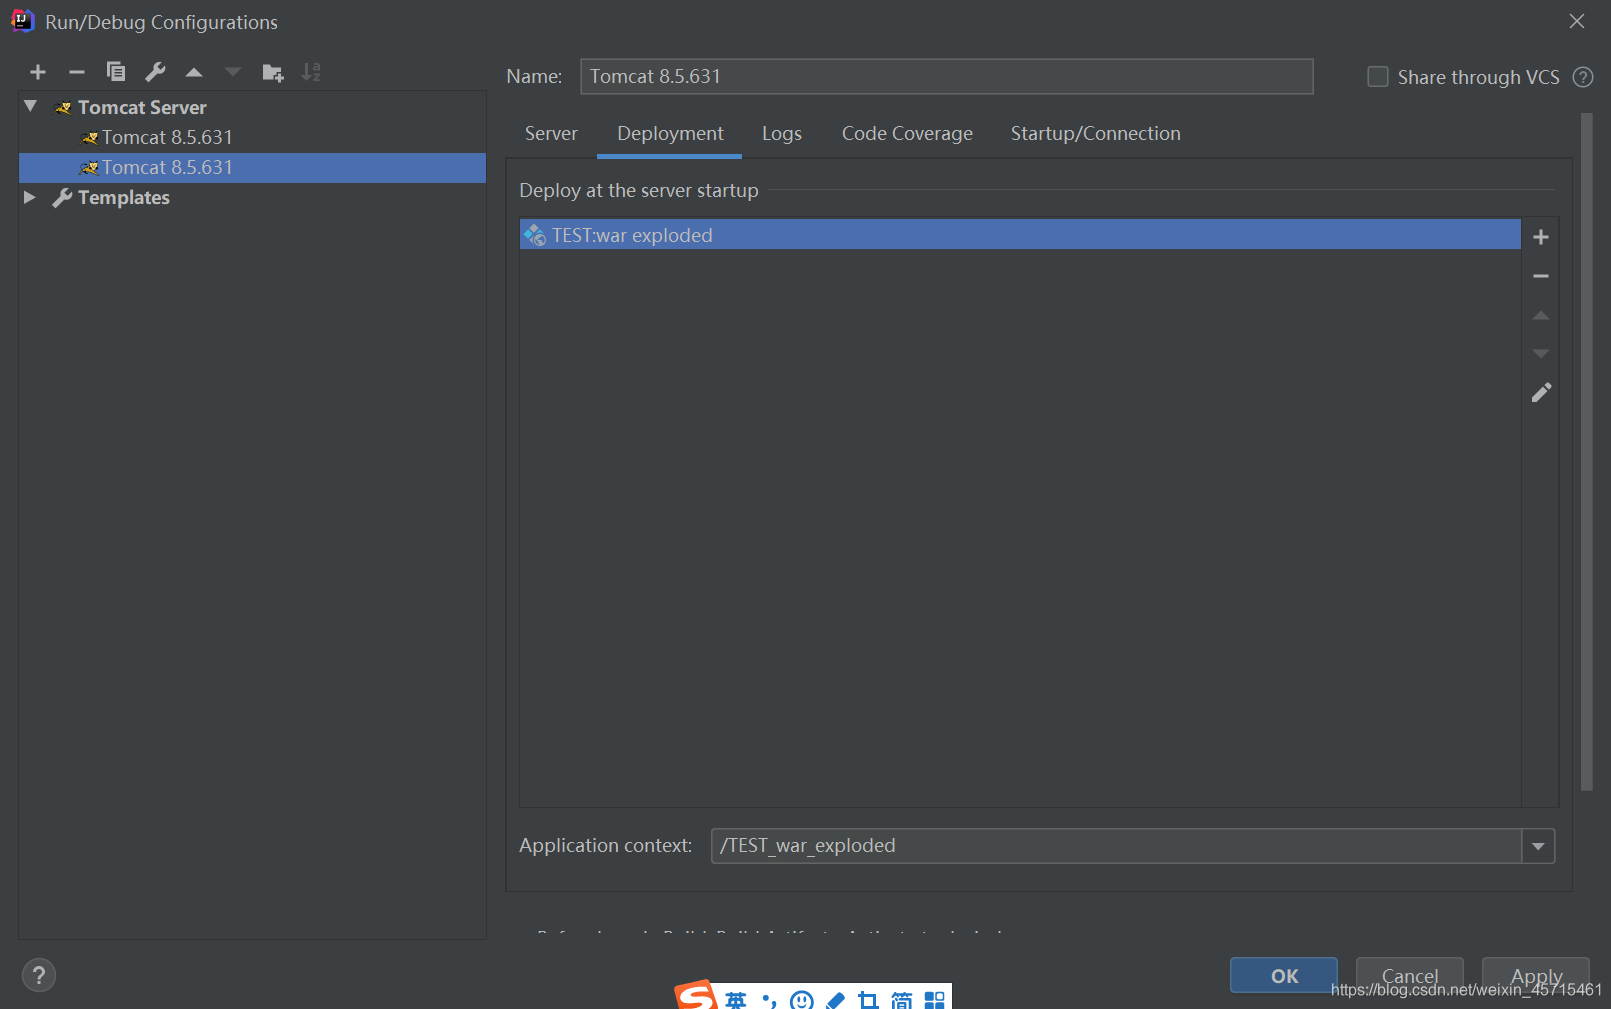
Click on the place as shown in the picture.

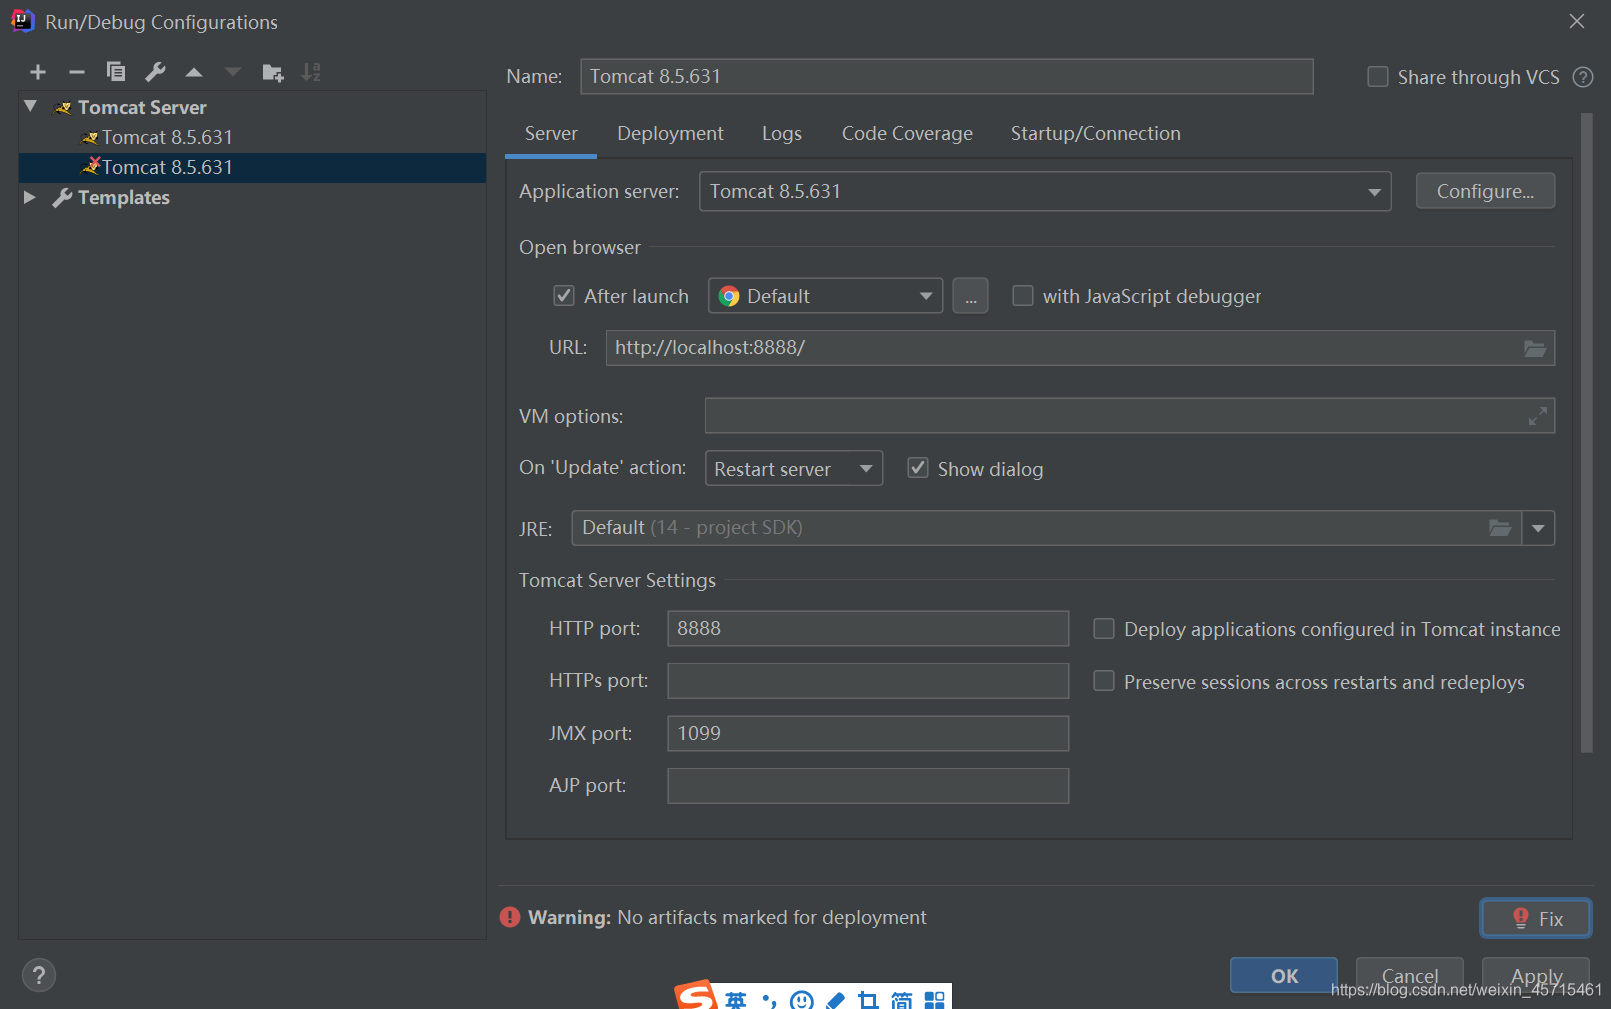
After the above figure is executed, it will look like the figure below.
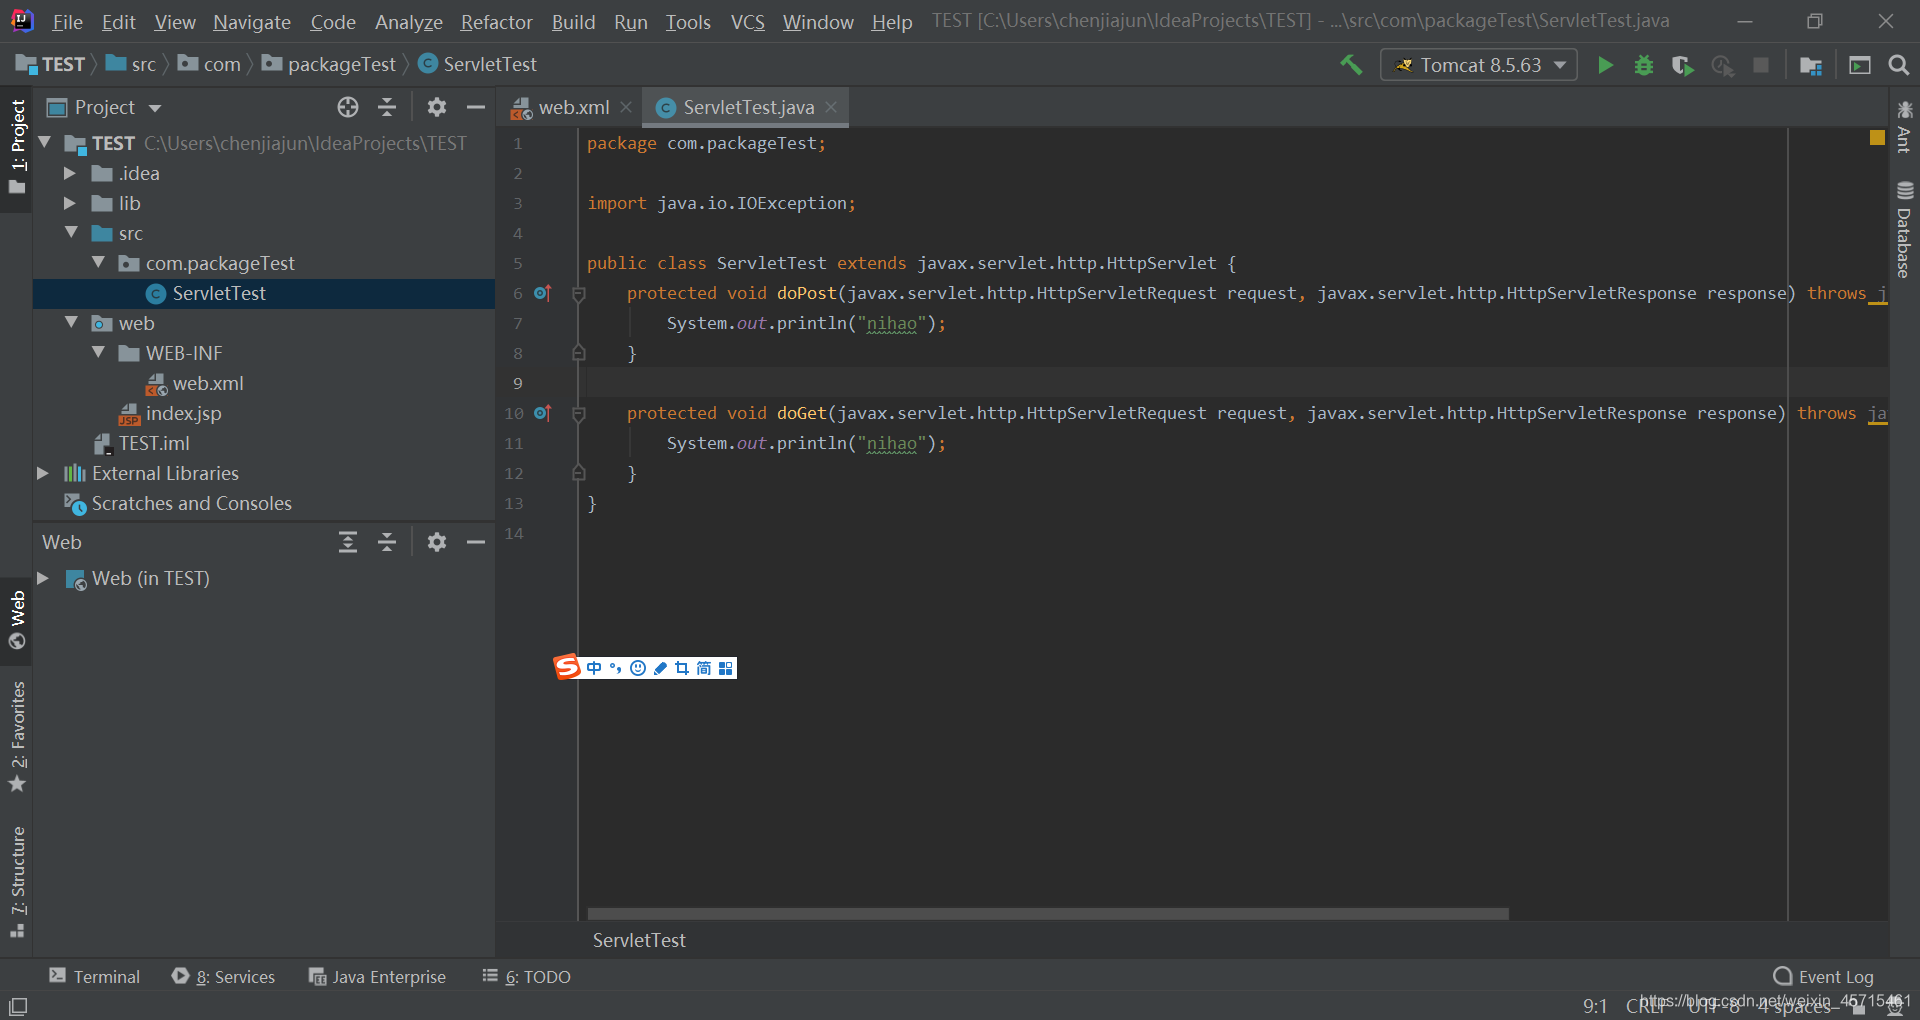
After all the above is done, click on the Servlet file you created. Enter the code shown in the figure below.
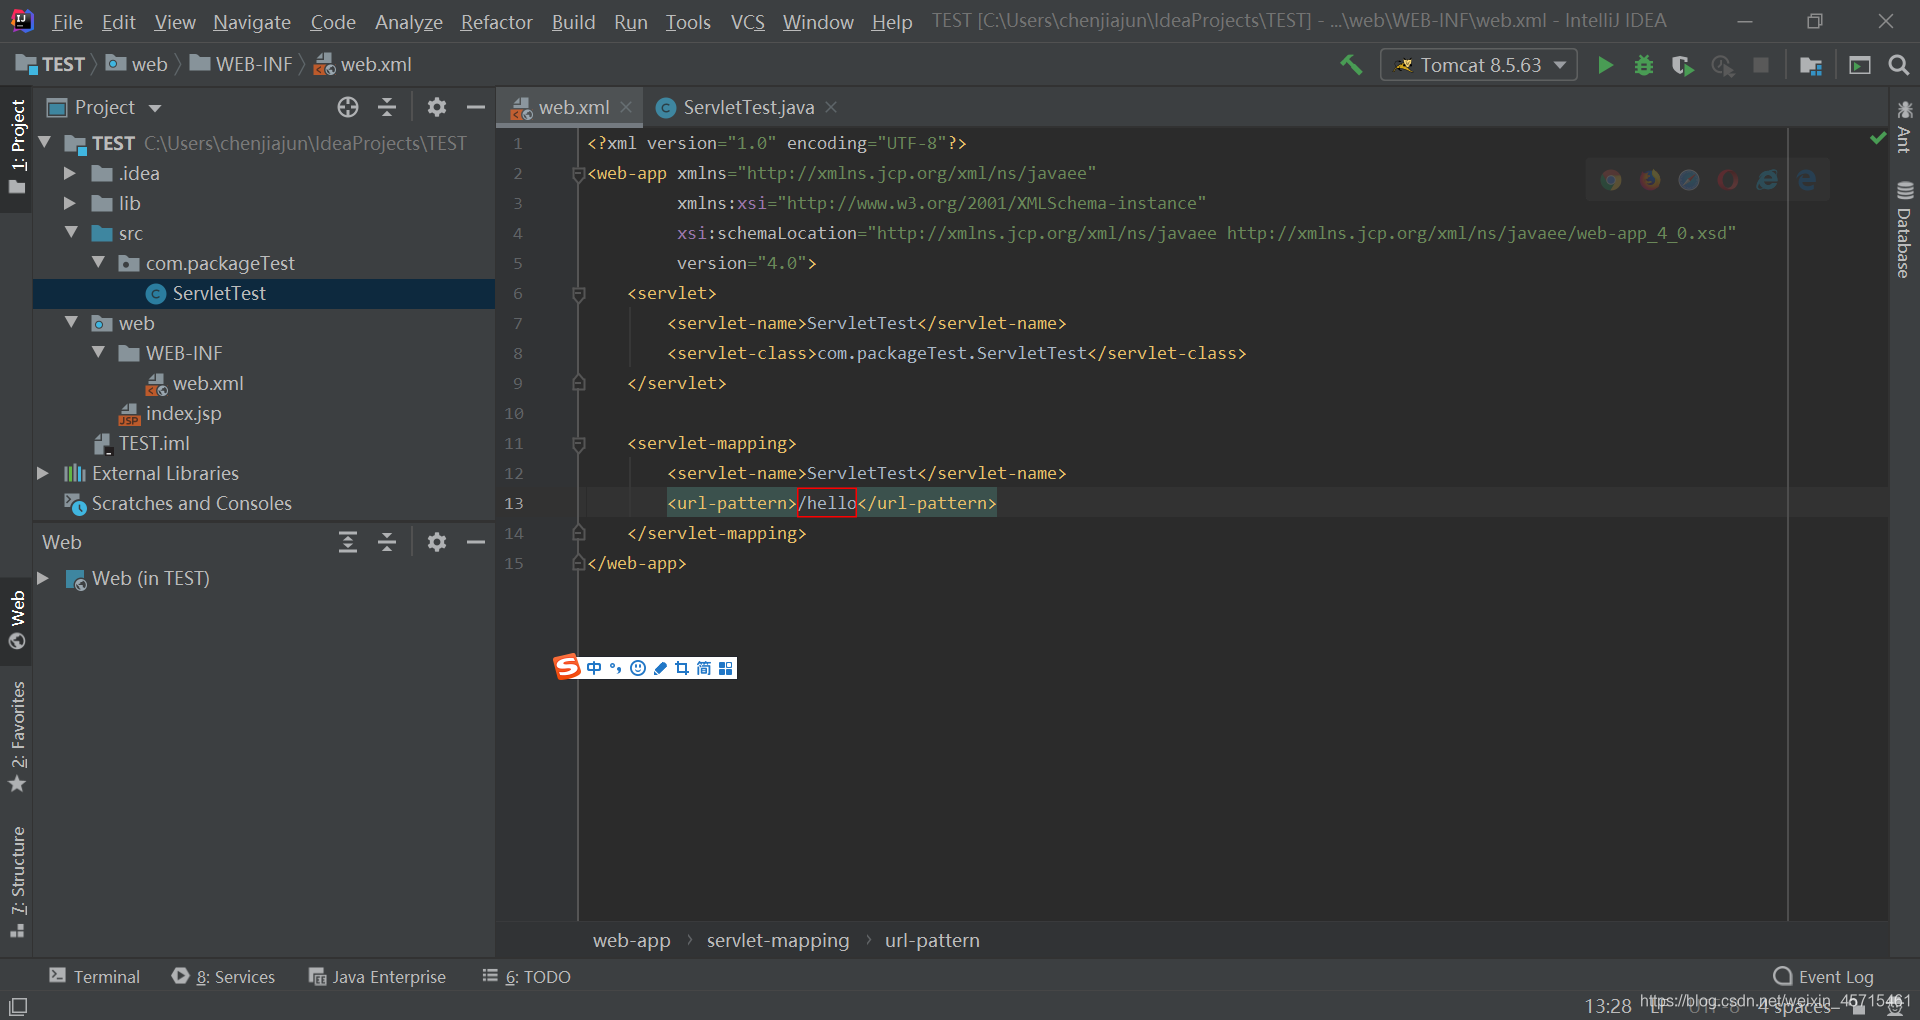
Write the full mapping relationship under web.xml.
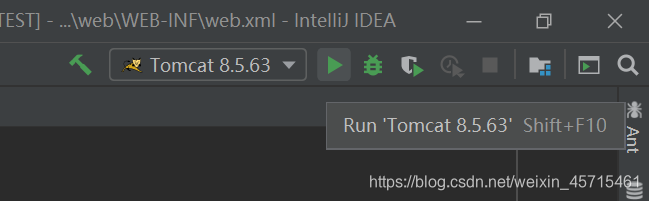
Click the green triangle in the upper right corner to run Tomcat.
The browser automatically jumps to the index.jsp file by default. Then enter the text in the url-pattern in the mapping relationship under the address bar.

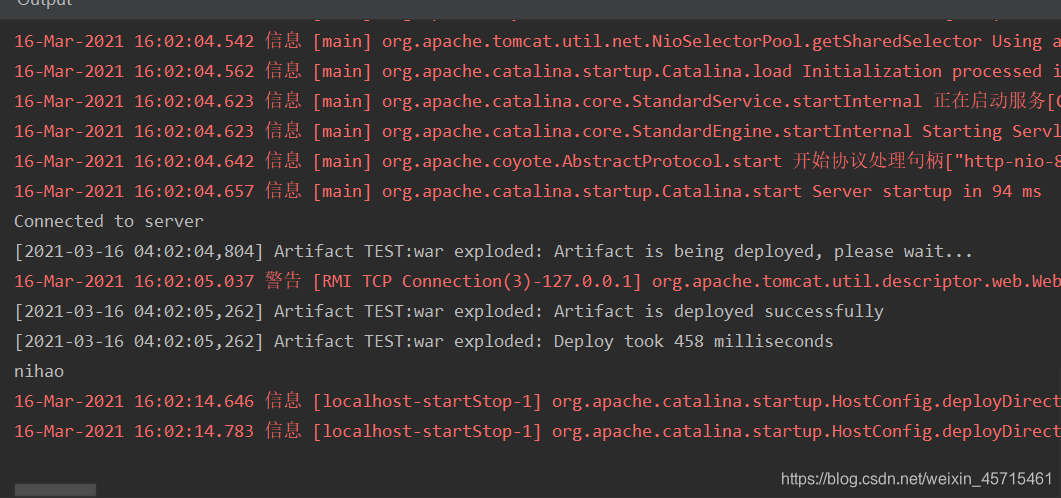
It was found that IDEA output nihao, indicating that the Servlet was created successfully.