Smart terminal application development-Andriod Studio installation
task
Install Android studio on your laptop; because the latest version of Android studio is installed, the online tutorial versions are all relatively old. So they are groping slowly. Follow-up errors and solutions during use will be detailed in a later article. Hope to be considerate!
One, Android studio installation
1. JDK installation and environment variable configuration
JDK installation
Regarding the download and installation of the JDK, you need to download it on Baidu. I will upload the JDK to the network disk at the end, and you can download it yourself if you need it. Because the computer files were mixed and the system was reinstalled before, here is the configuration of the JDK again.
Choose the appropriate version of JDK to install according to your own computer;

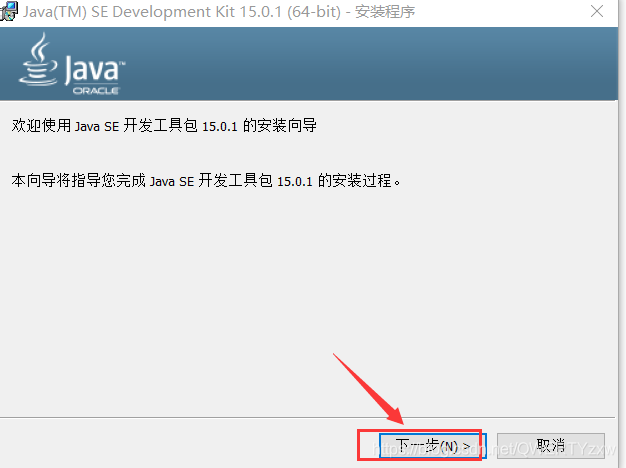
double-click to enter the installation interface, and click Next;
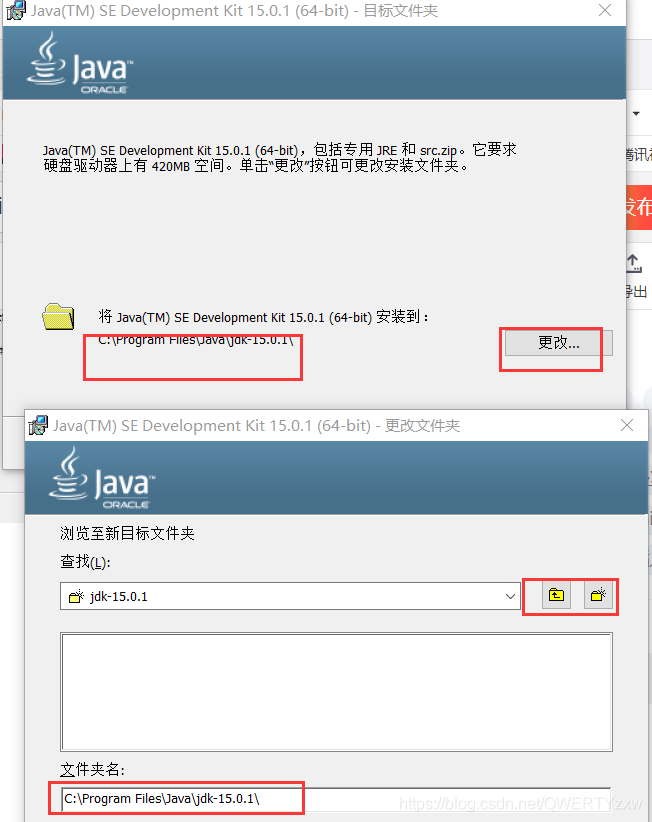
Change the installation path by yourself;
successful installation, click close; 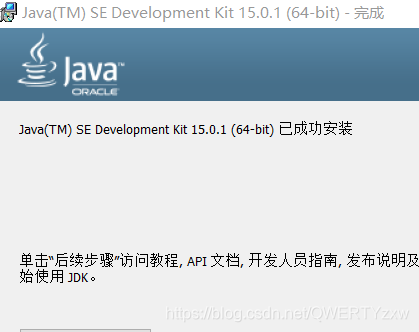
environment variable configuration
Solution 1:
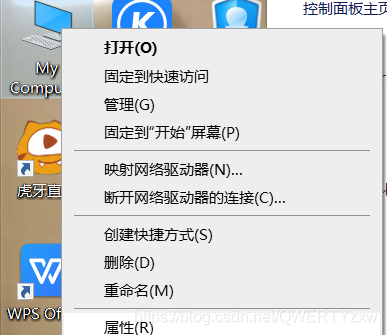
Right-click "My Computer" and select "Properties";
search for "Advanced System Settings";

Solution 2:
Windows terminal, cmd and enter "Control Panel" ;

Find "Advanced System Settings" in the "Control Panel" interface;

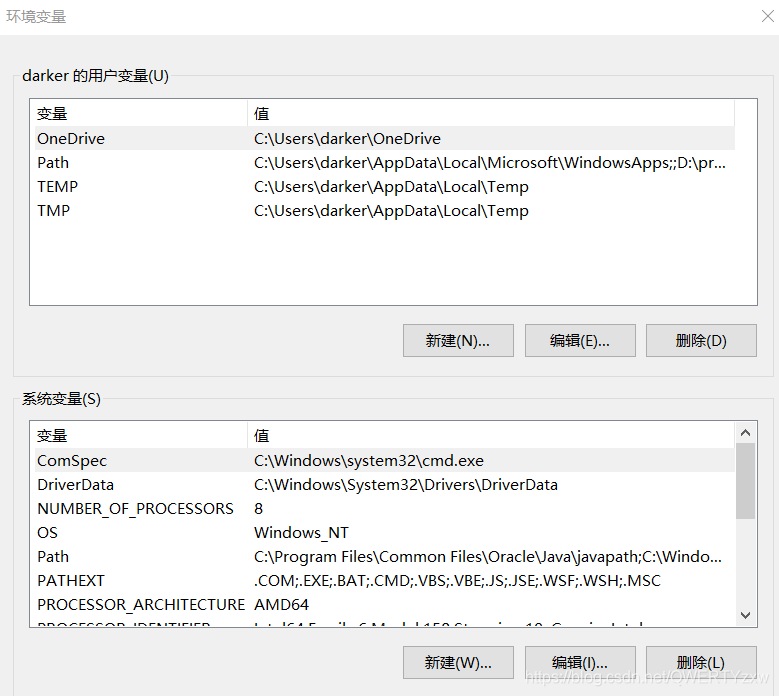
enter the system properties, select environment variables; (no need to click OK)
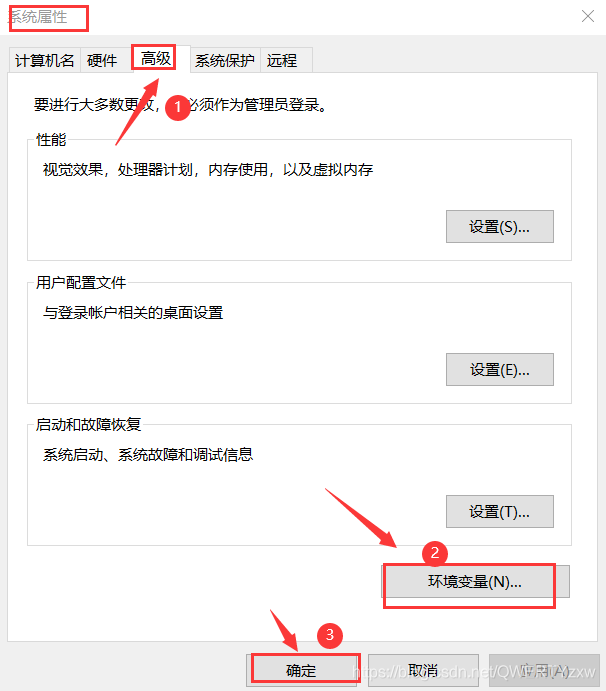
create a new environment variable; ( 系统变量)
Variable name: JAVA_HOME
Variable value: The installation path where the JDK is located
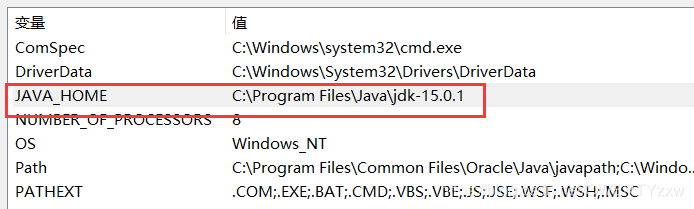
My path: C:\Program Files\Java\jdk-15.0.1
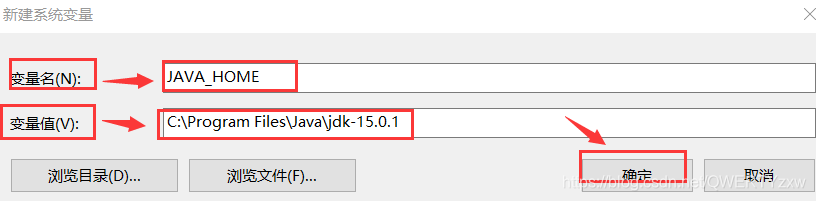
As follows:
Click New;
Variable name: CLASSPATH;
Variable value: .;%JAVA_HOME%libdt.jar;%JAVA_HOME%lib ools.jar
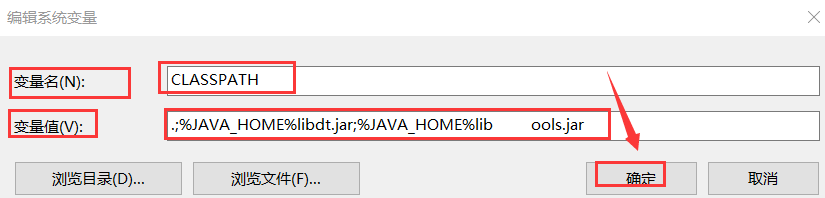
As follows:

Find Path in the system variables and click edit;
Variable value: %JAVA_HOME%in;%JAVA_HOME%jrein;
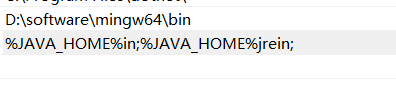
Finally, just keep clicking OK.
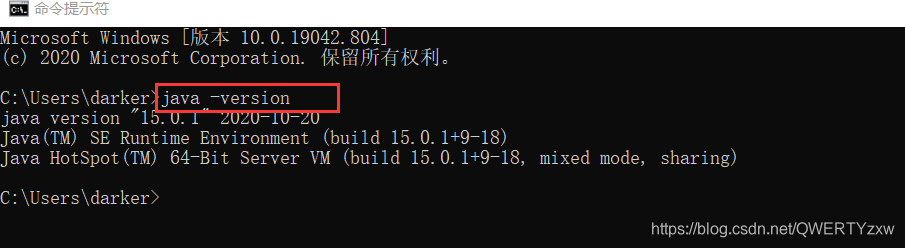
Check whether the JDK is installed successfully
. Enter cmd with the shortcut key "win+R" and enter the command: java -version;
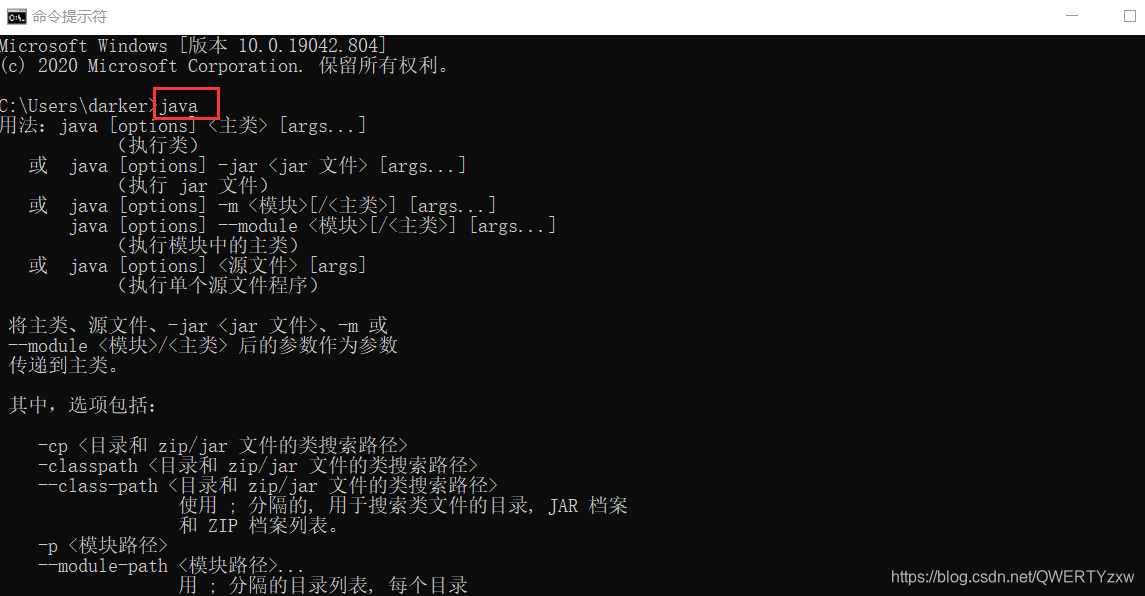
input command: java;
input command: javac;
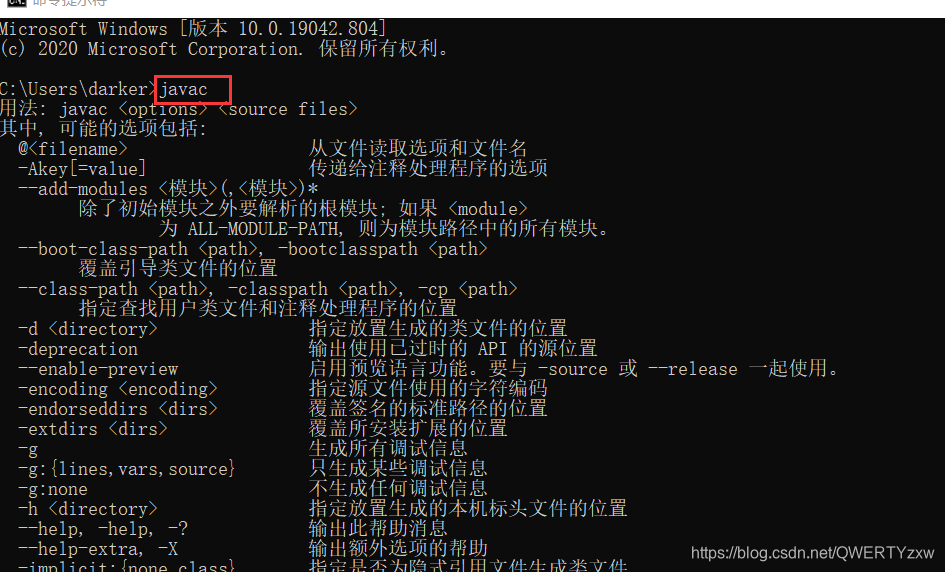
At this point, the environment variable configuration of the JDK is complete.
2. Download Android studio
Many online tutorials come with installation packages, but the data is relatively large, so you can choose to download them from the official website.
Click the link to enter the official website interface;
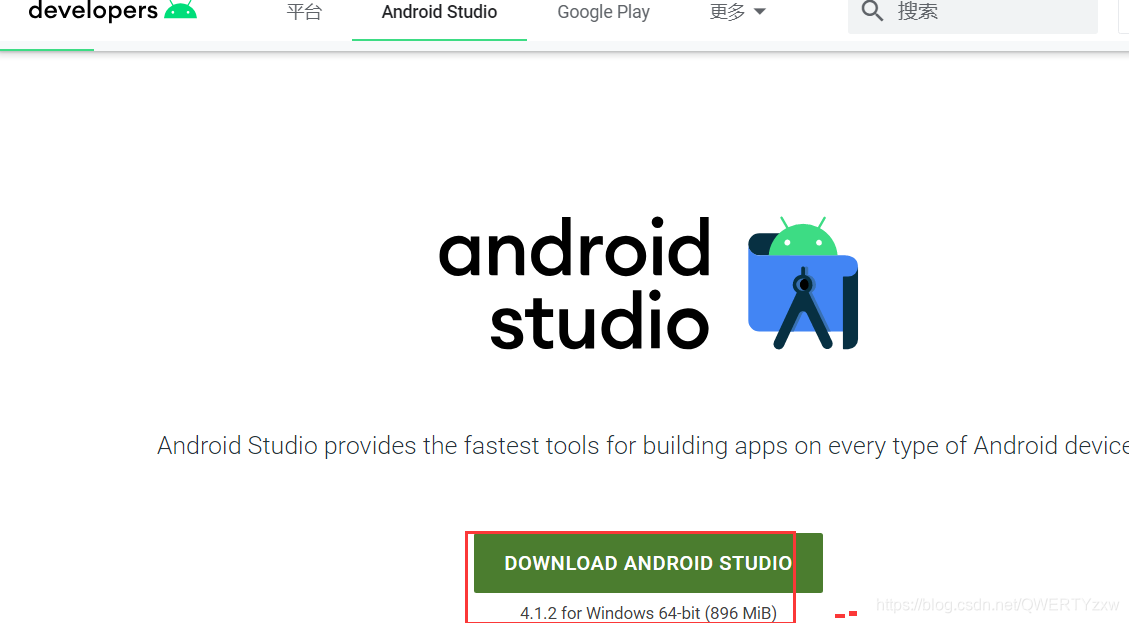
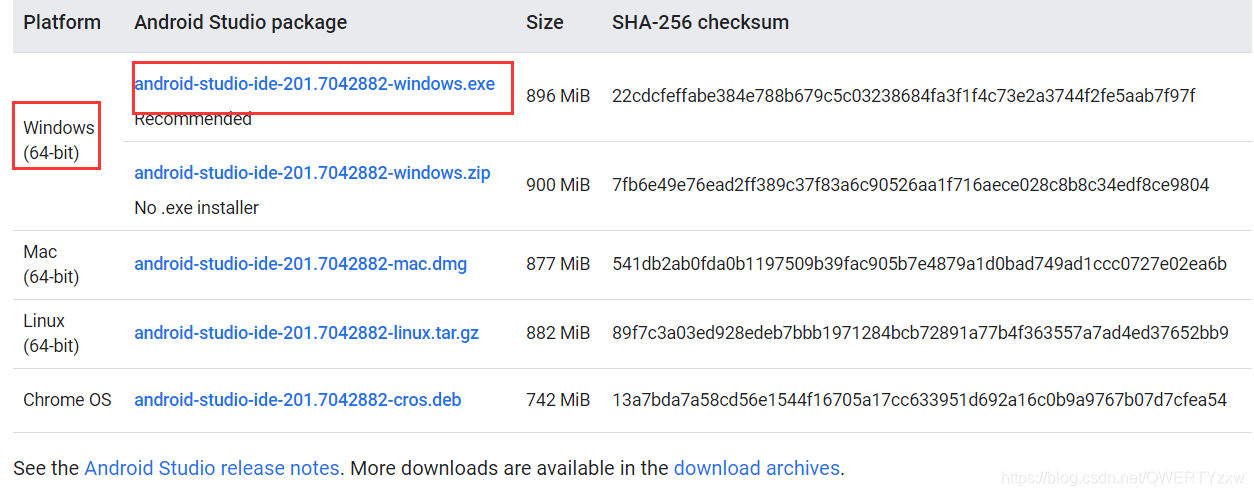
you can directly click download, for most users, you can also slide to the bottom of the interface to select the appropriate version to download and install;
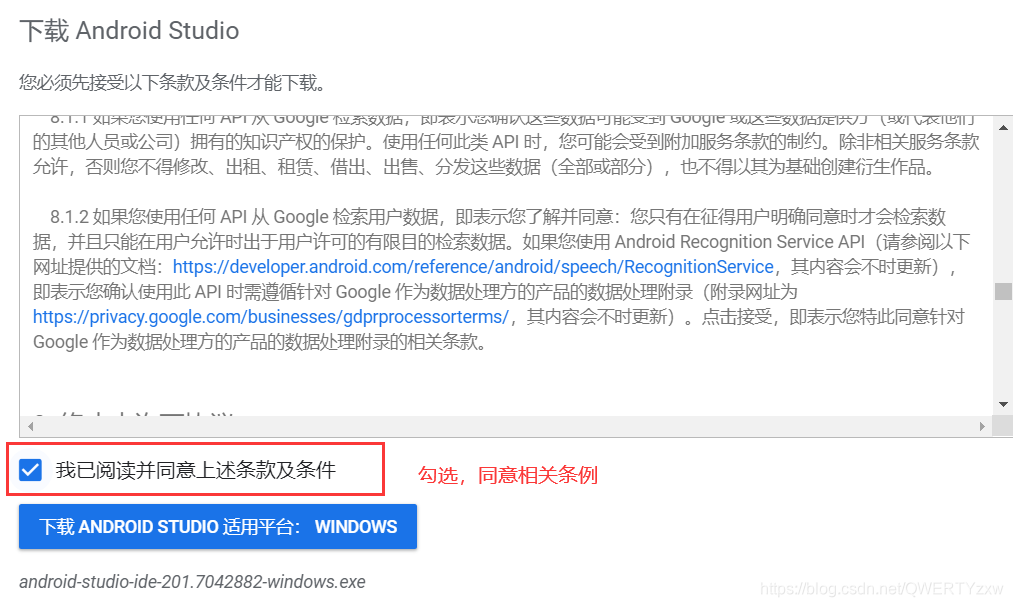
agree to the license regulations, then start the download;
select the installation path to download;
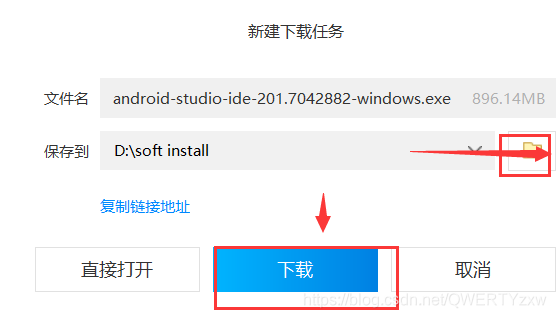
wait for the download ; The

download is complete;

check the location of the file;

3. Install Android studio
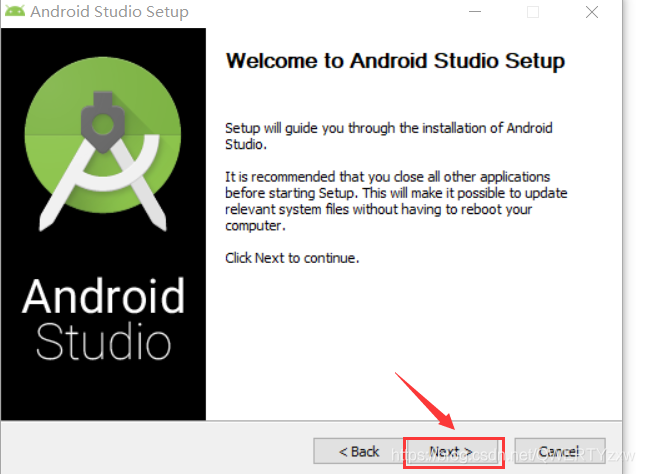
Double-click the downloaded installation package to start the installation;
click next to start the installation;
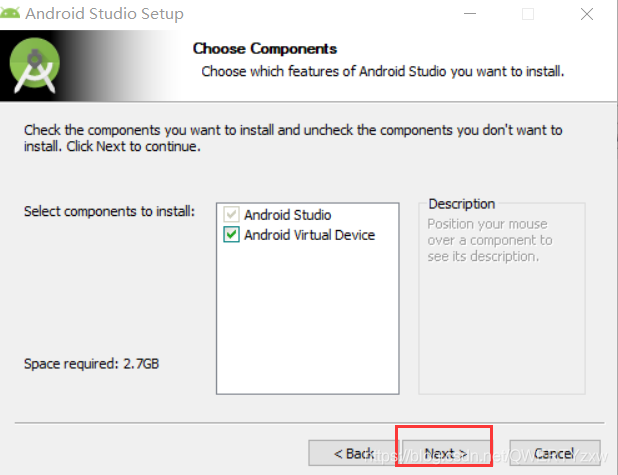
continue to click next;
select the installation path;
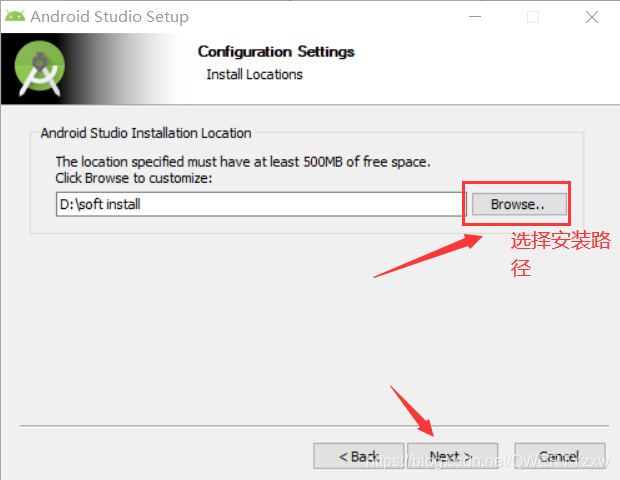
click install;

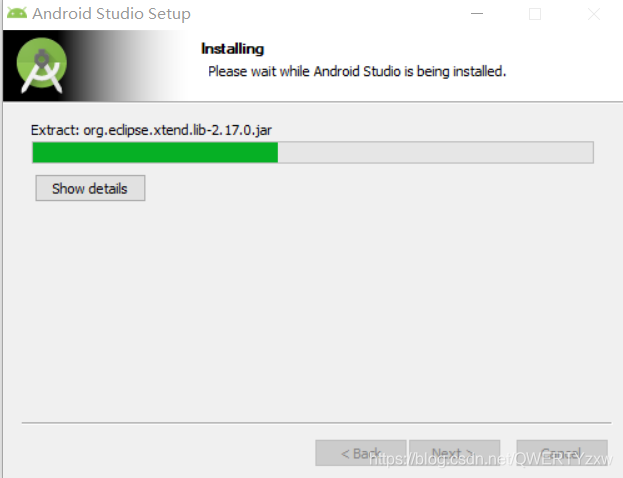
wait for the installation;
click finish and

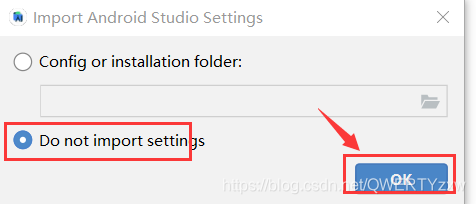
click the second one; then OK;
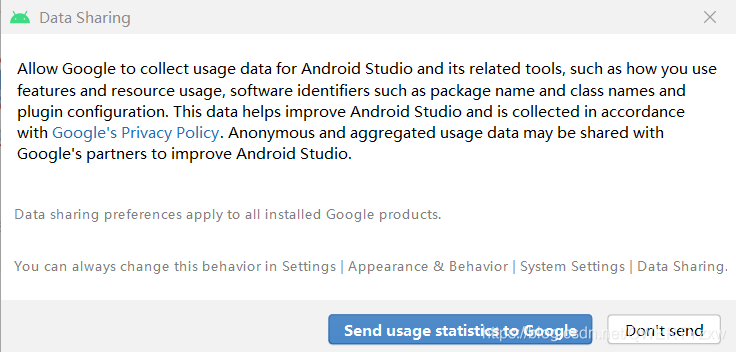
depending on personal wishes. I choose not to send;
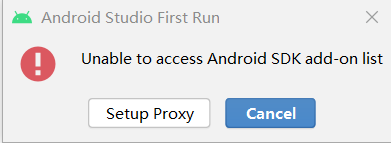
prompt that there is no SDK, click cancel;
enter another interface, click next;

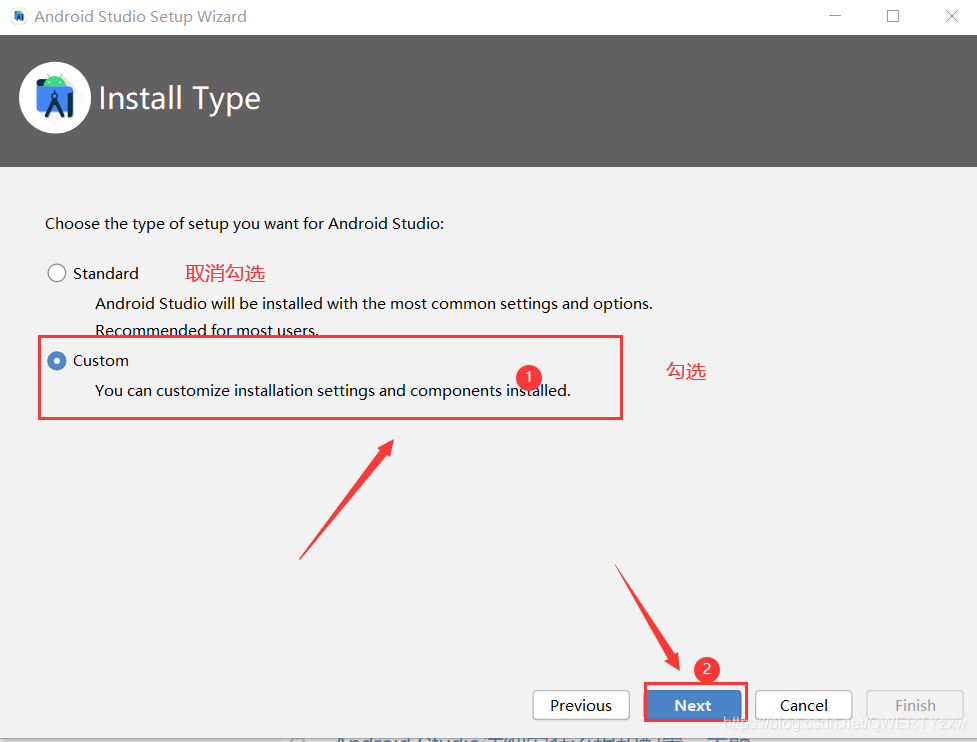
select custom, click next;
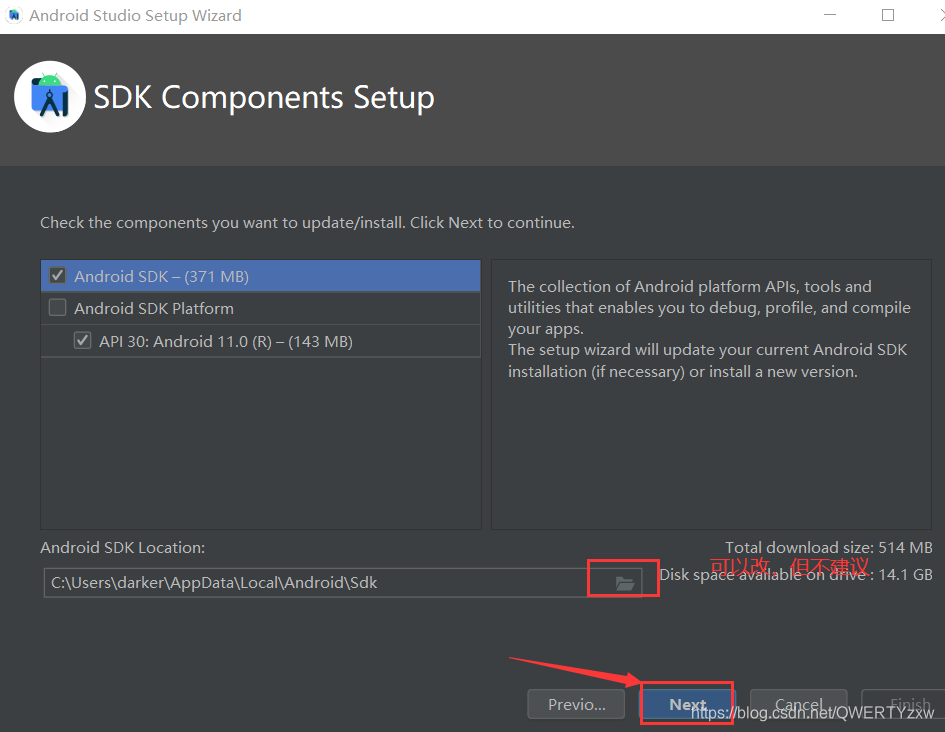
then click next, the background color indicated by the two circles on the head is black;

click next;
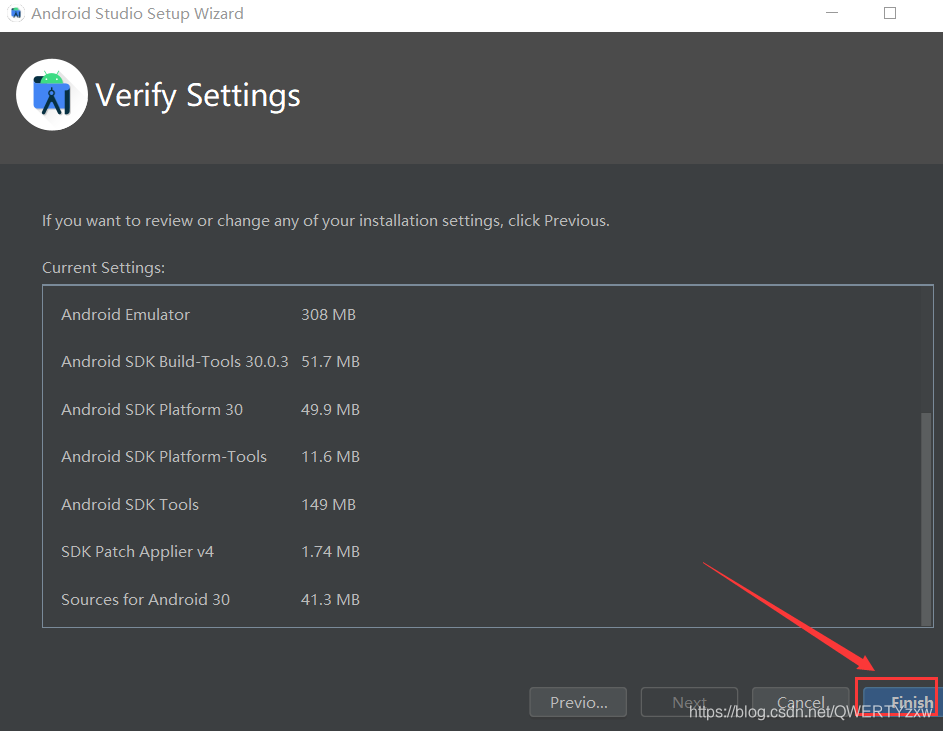
Click Finish;
waiting for the download, it's a bit slow, don't worry;
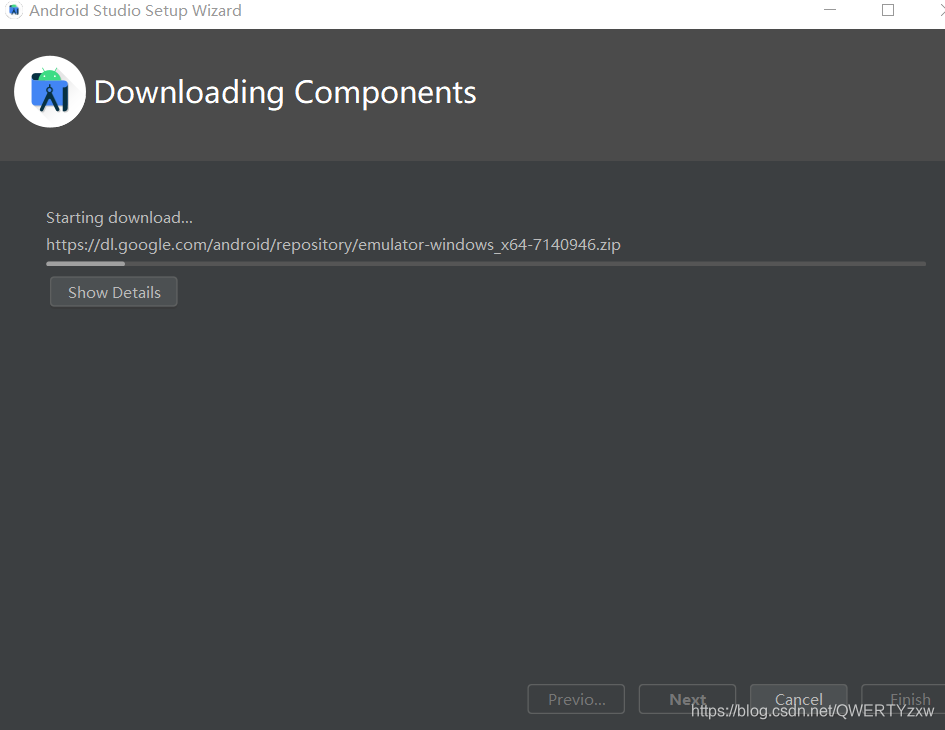
if a pop-up window appears in the middle, click retry; OK, click finish; the
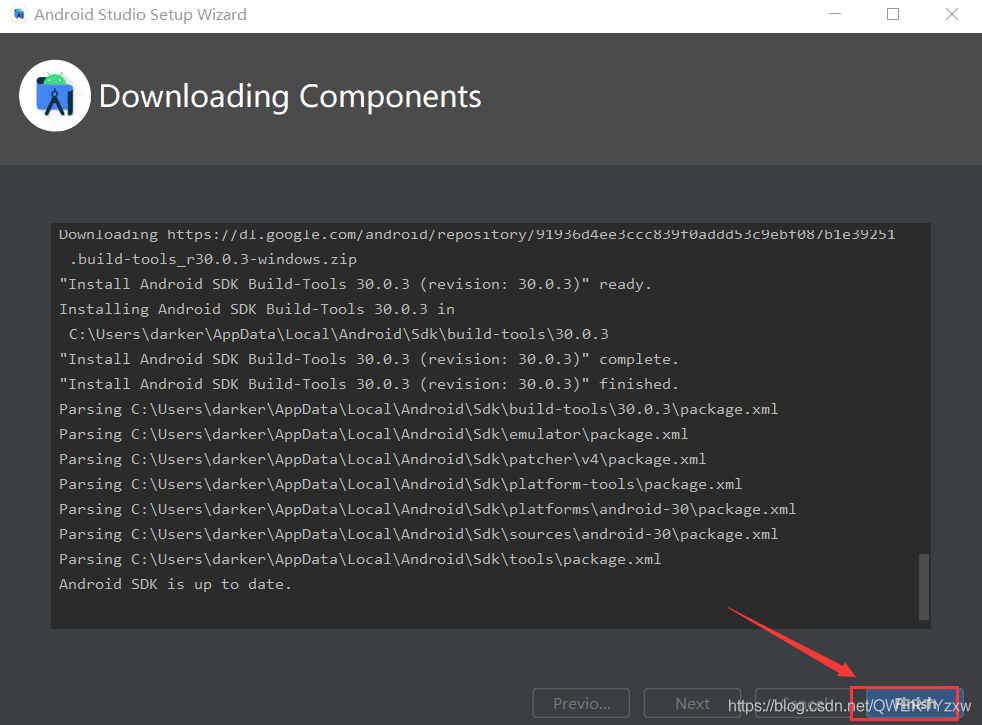
installation is complete;
4. SDK configuration of Android studio
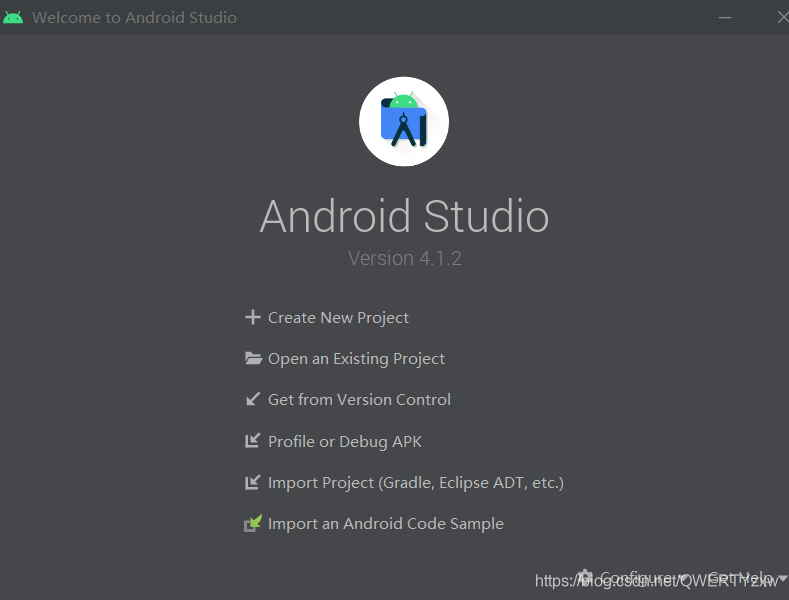
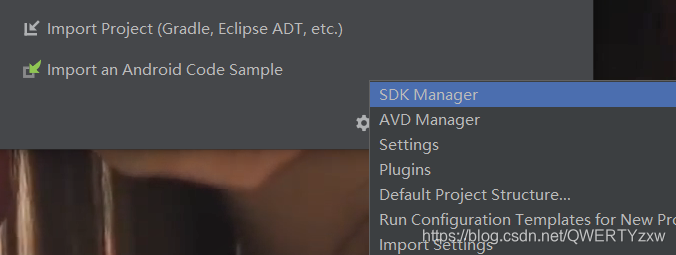
Enter the icon interface, click configure to configure;
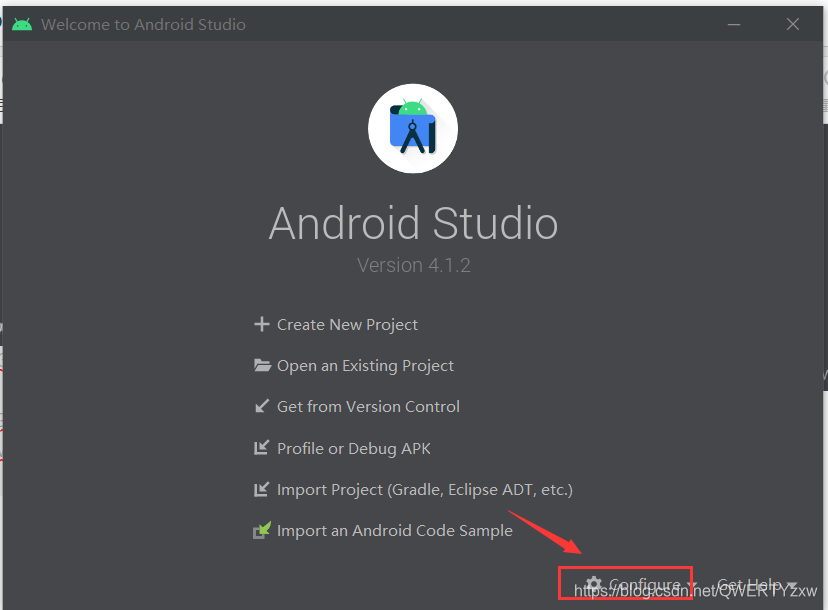
select SDK manager;
enter the interface as shown, select your own Android version to download;

Android version;

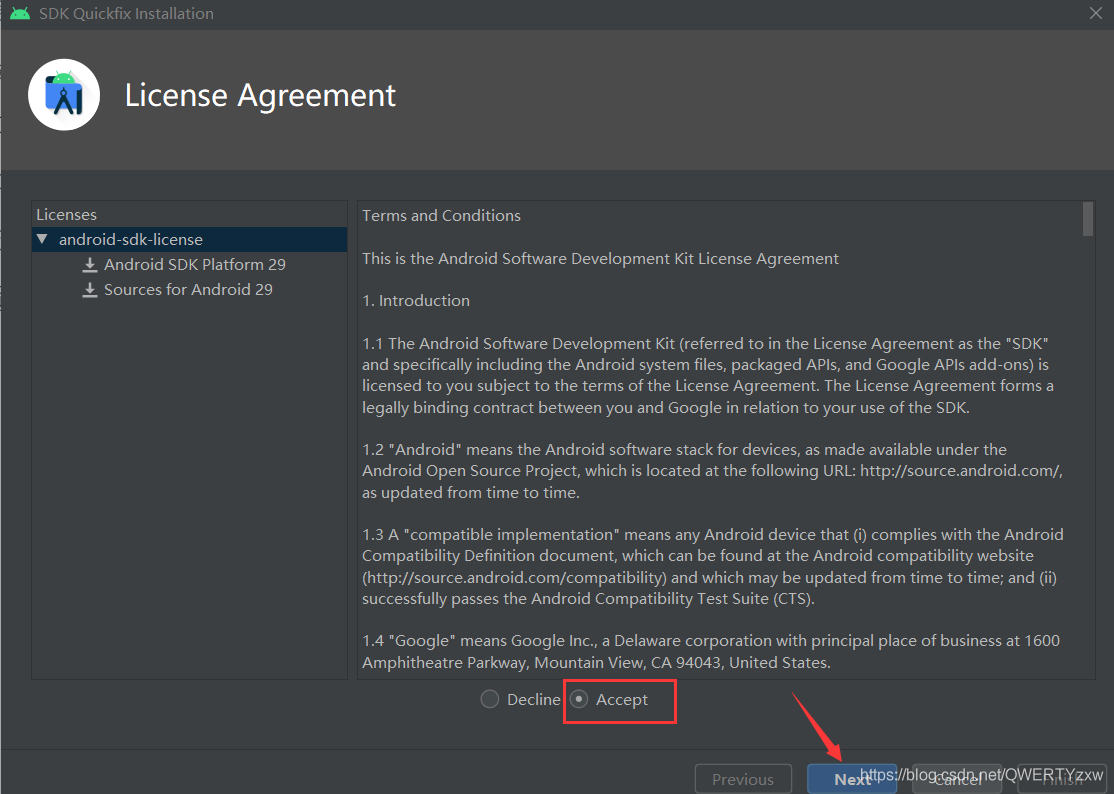
agree, next;
wait for install; when
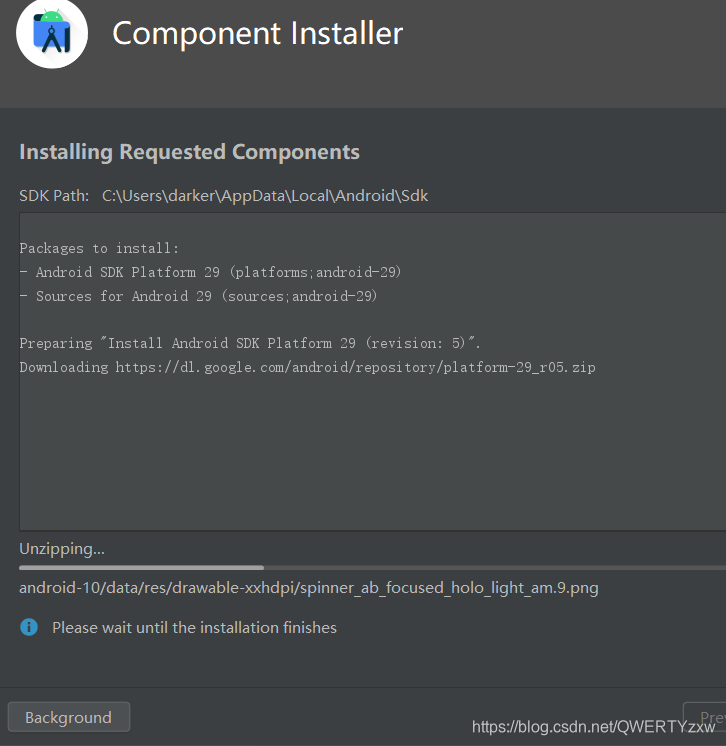
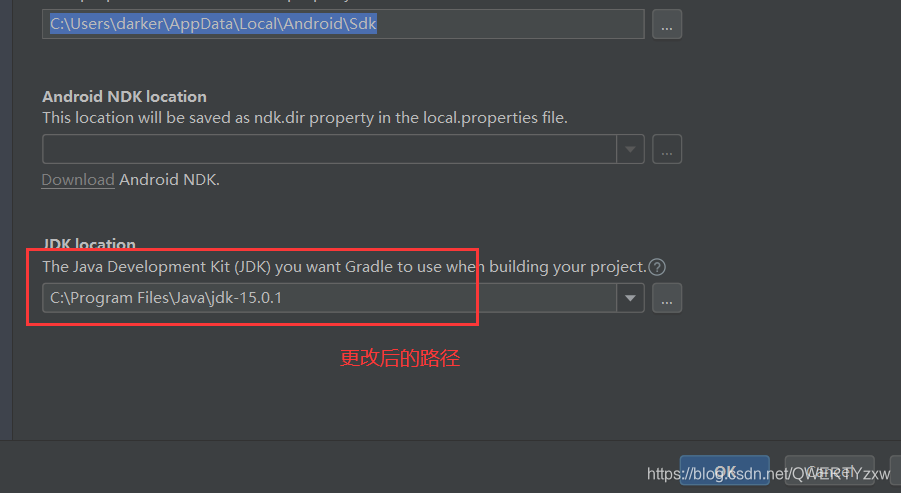
finished, click finish. Select the default Project Structure;
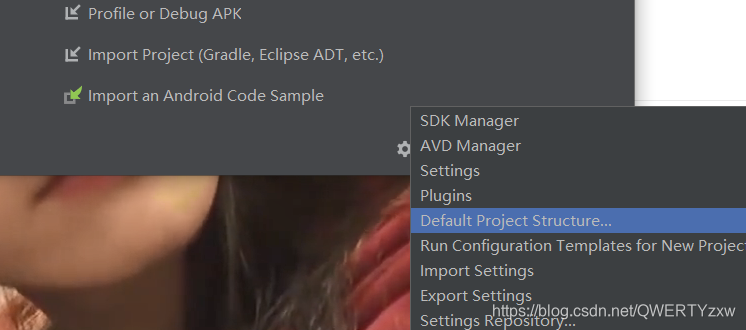
change to the installation path of the JDK;

create a shortcut;
Find the file path, you will find a shortcut, just copy it to the desktop.
Two, Android studio demo
1. Create a new project
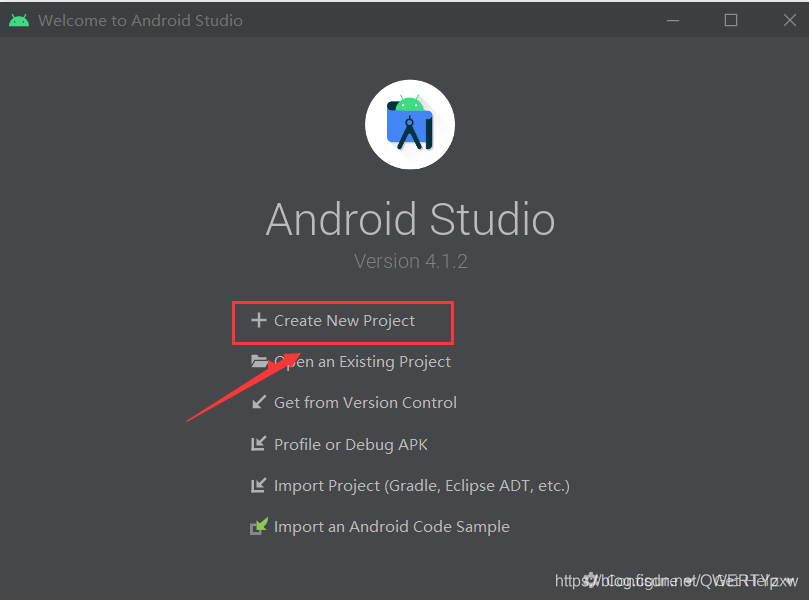
Double-click the desktop shortcut to enter the Android studio interface and choose to create a new Android studio project;
after clicking, enter the following interface;
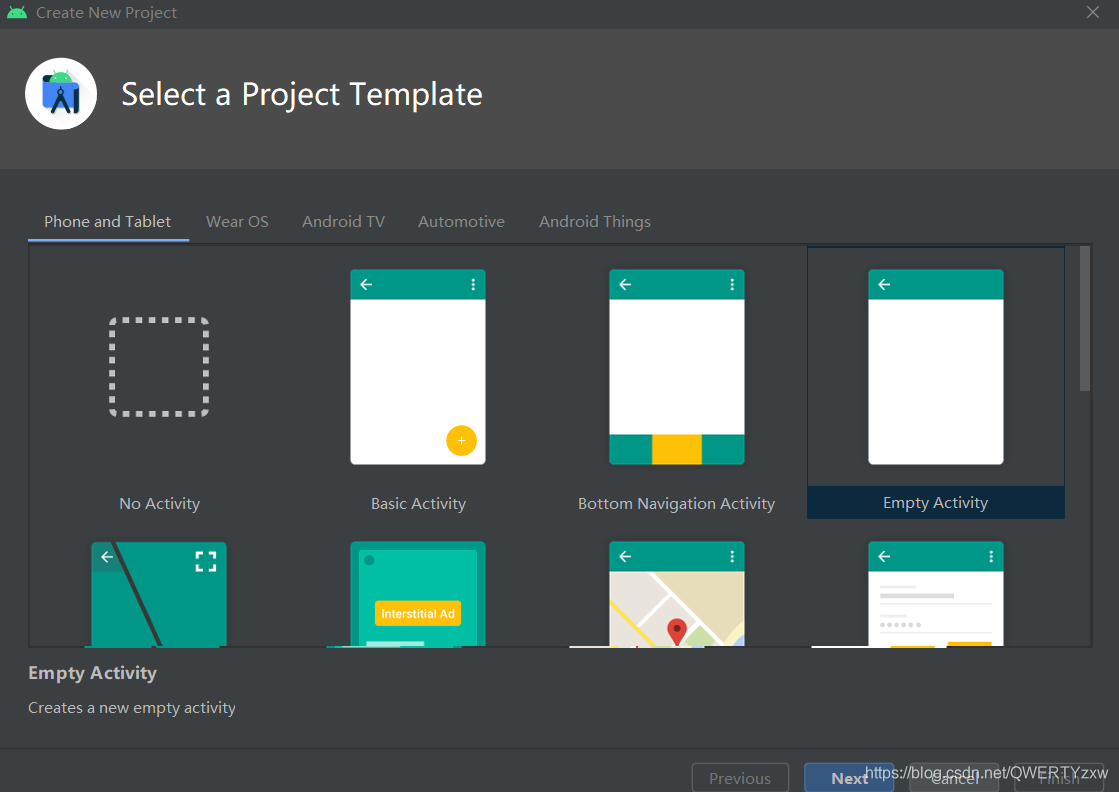
select the layout and click next;
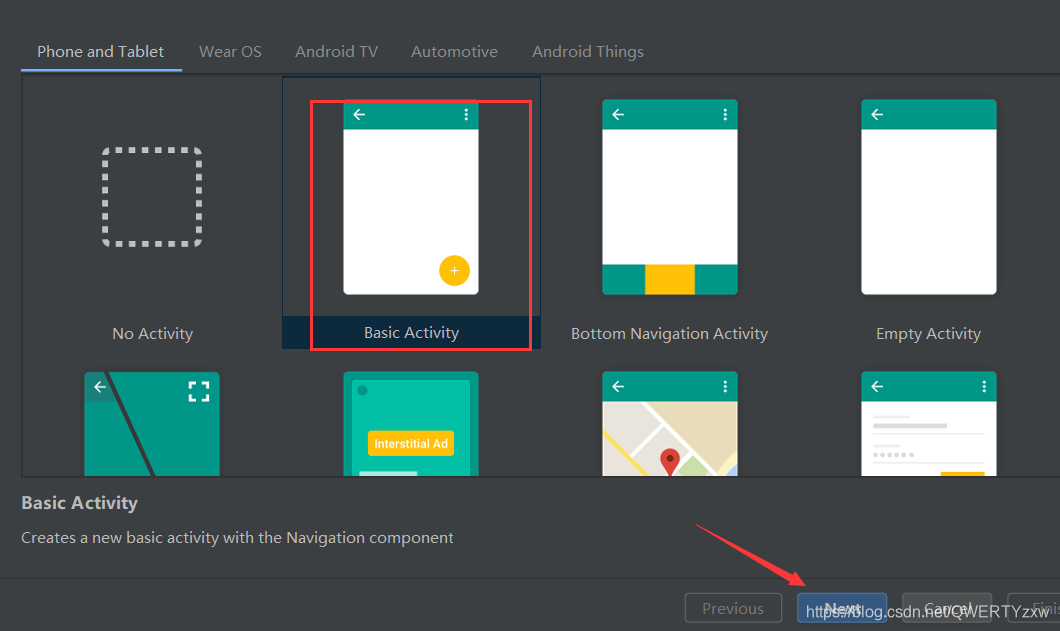
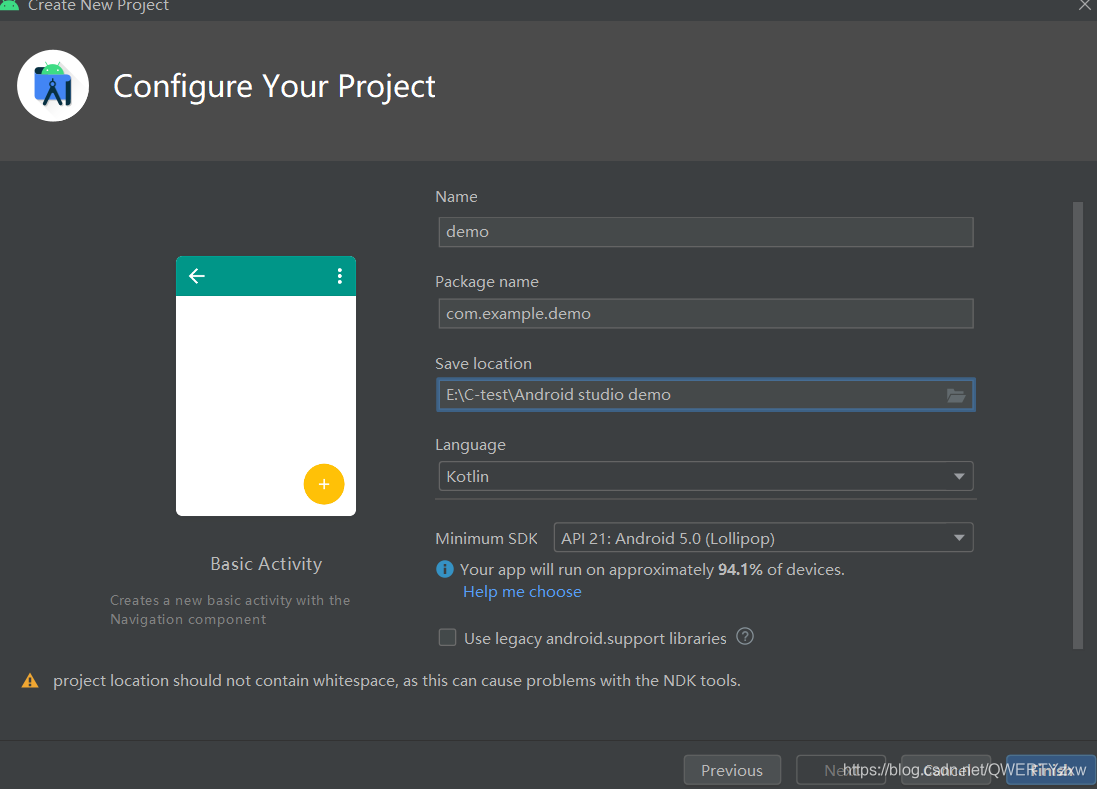
enter the device name, select the environment parameters for the application to run, and specify the minimum SDK here . In this tutorial, we choose API 21: Android 5.0 (Lollipop);


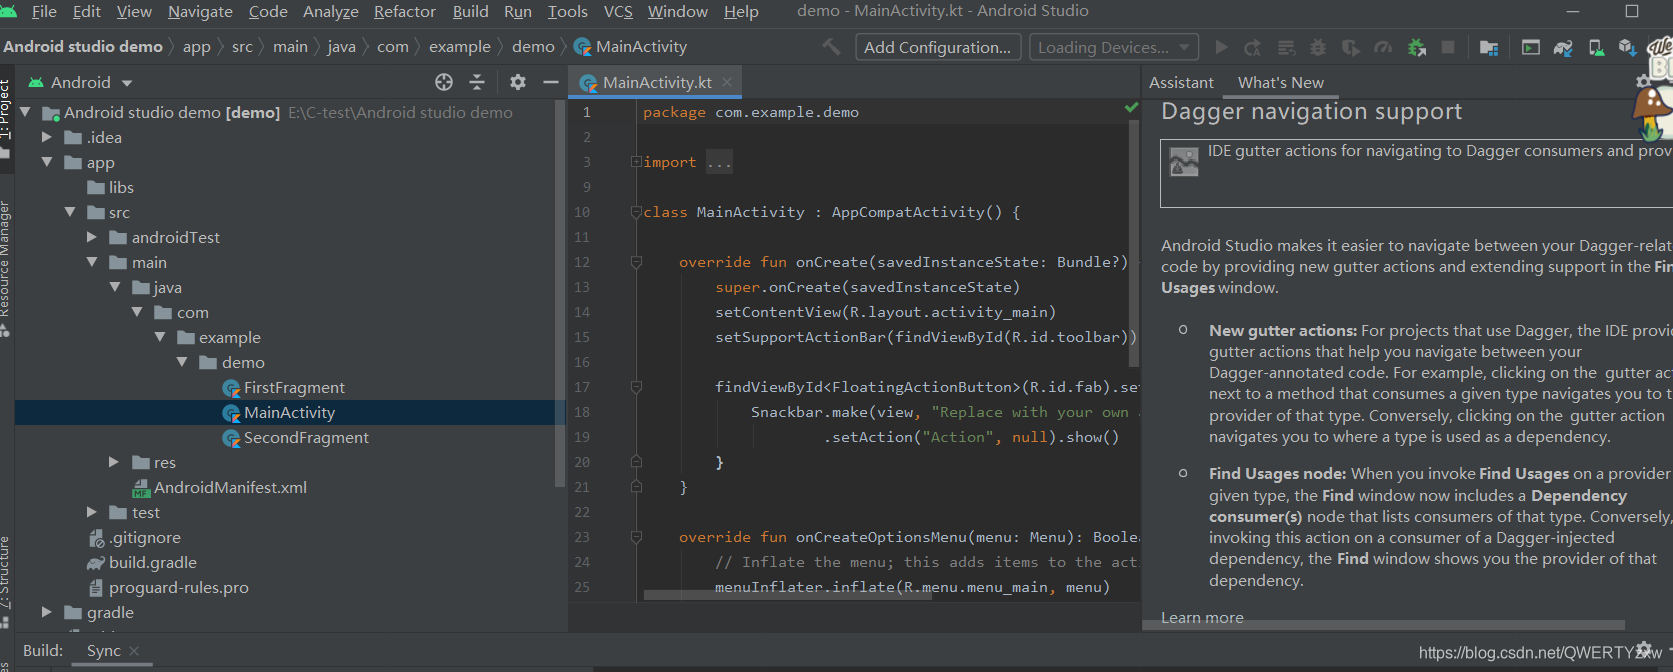
To display the interface, click Finish;
enter the graphical interface;
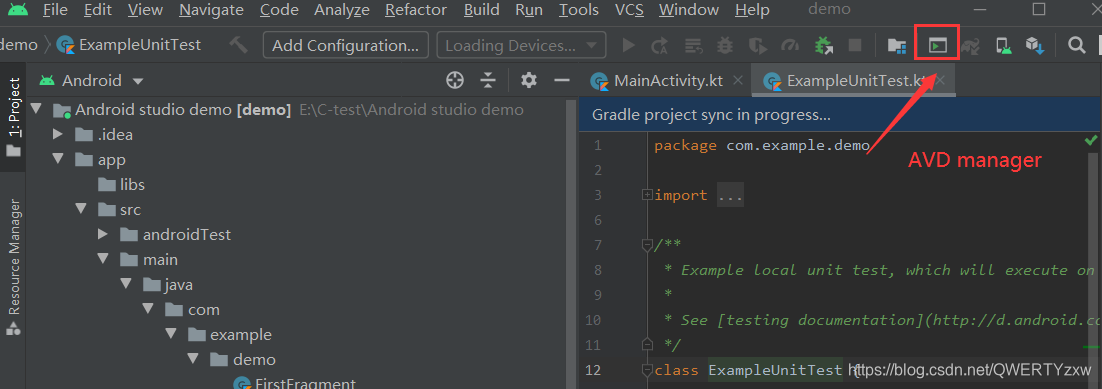
2. Create an Android virtual device
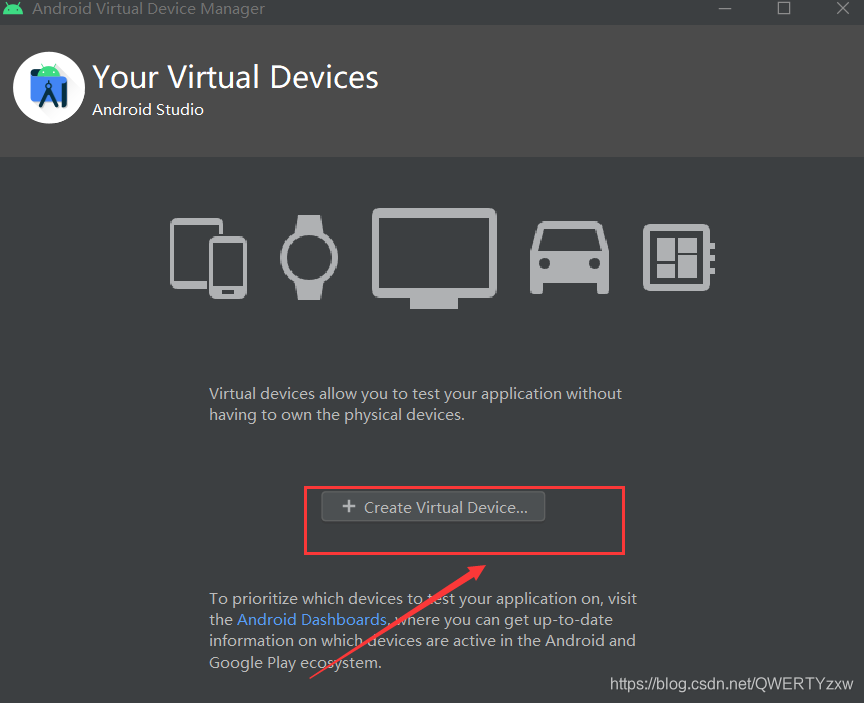
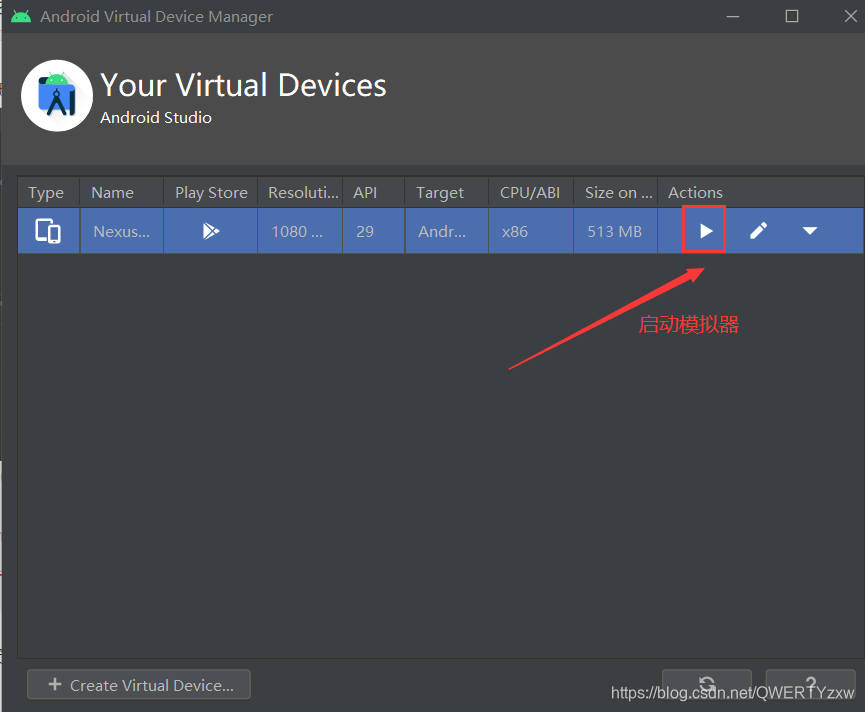
Click the icon to start the Android manager;
after clicking the virtual device icon, the default virtual device that is already in the SDK will be displayed. Click the "Create new Virtual device" button to create a virtual device;
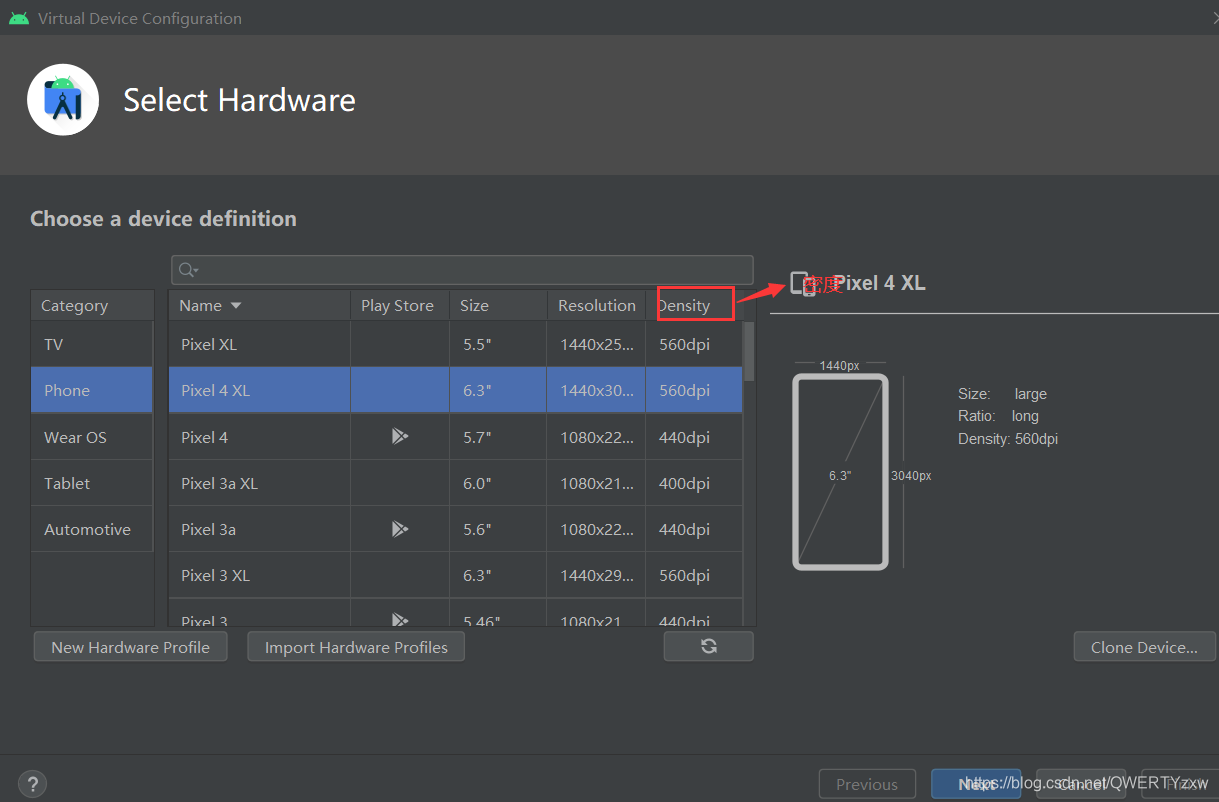
select the emulator model;
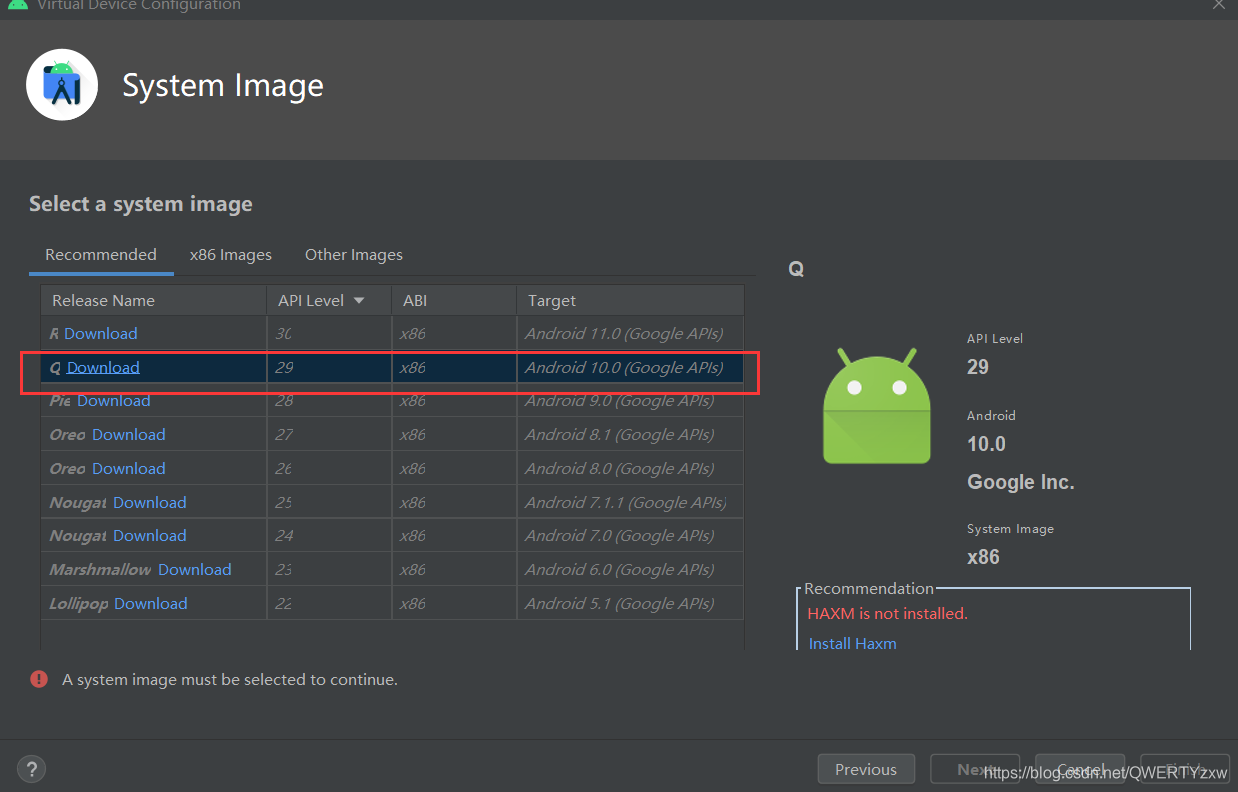
follow the prompts to select the appropriate version install;
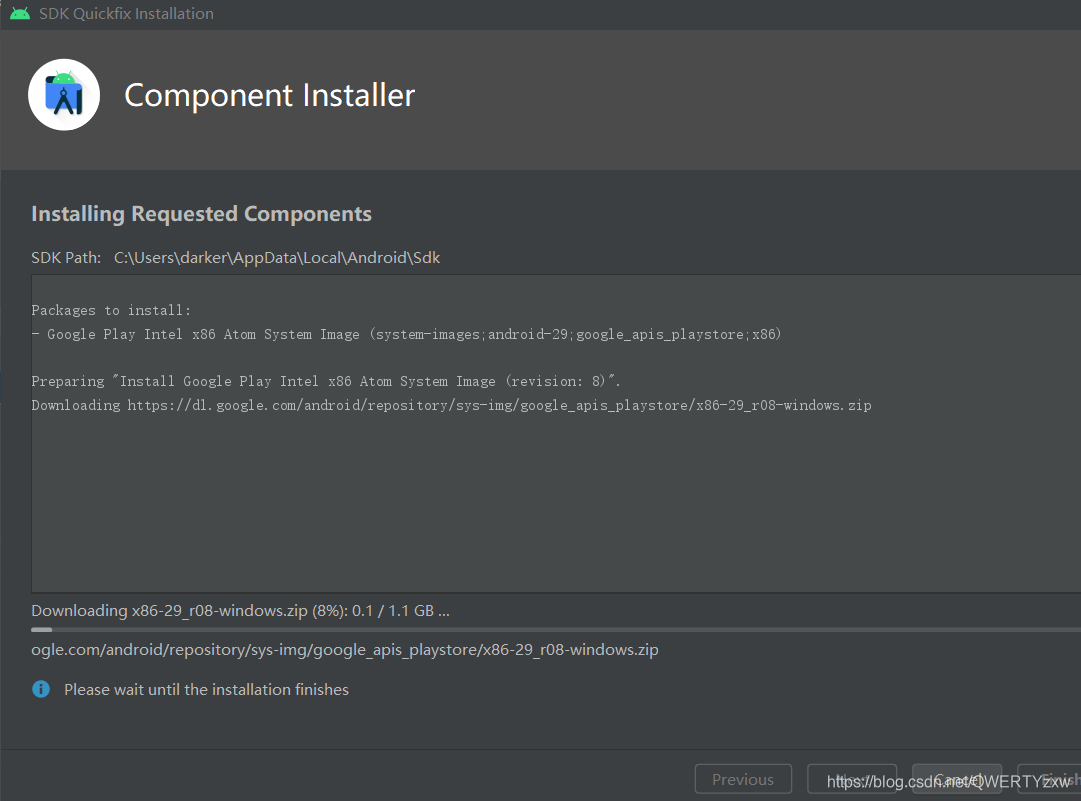
download according to the prompts, and wait for the download. It will take a long time and wait patiently;
after the progress bar is completed, the next two interfaces "Finish"——"next"; enter the next interface;
set the simulator information, (if you don't know how to set it), click the default; the

creation is successful, the following button
appears ; the following interface indicates success; the

window cannot be closed, click The simulator is similar to the shutdown button of a mobile phone.
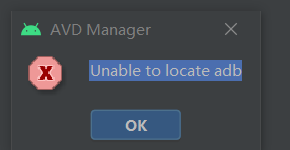
3. Create a simulated device error handling
Error reporting problem:
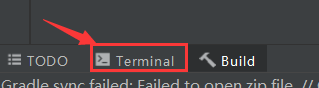
Solution 1
Click on the Terminal that comes with Android Studio;
enter the command:
netstat -ano | findstr "5037

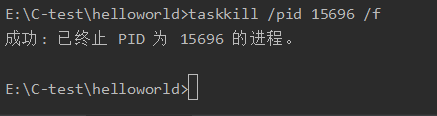
The PID of the process occupying the port in the above figure is 15696, kill the process of the port
Enter the command:
taskkill /pid 15696 /f
Successfully blocked the process;
Solution 2
In order to no longer have the problem after restarting the computer, we can create a new environment variable and modify the port used by adb;
enter the setting interface;
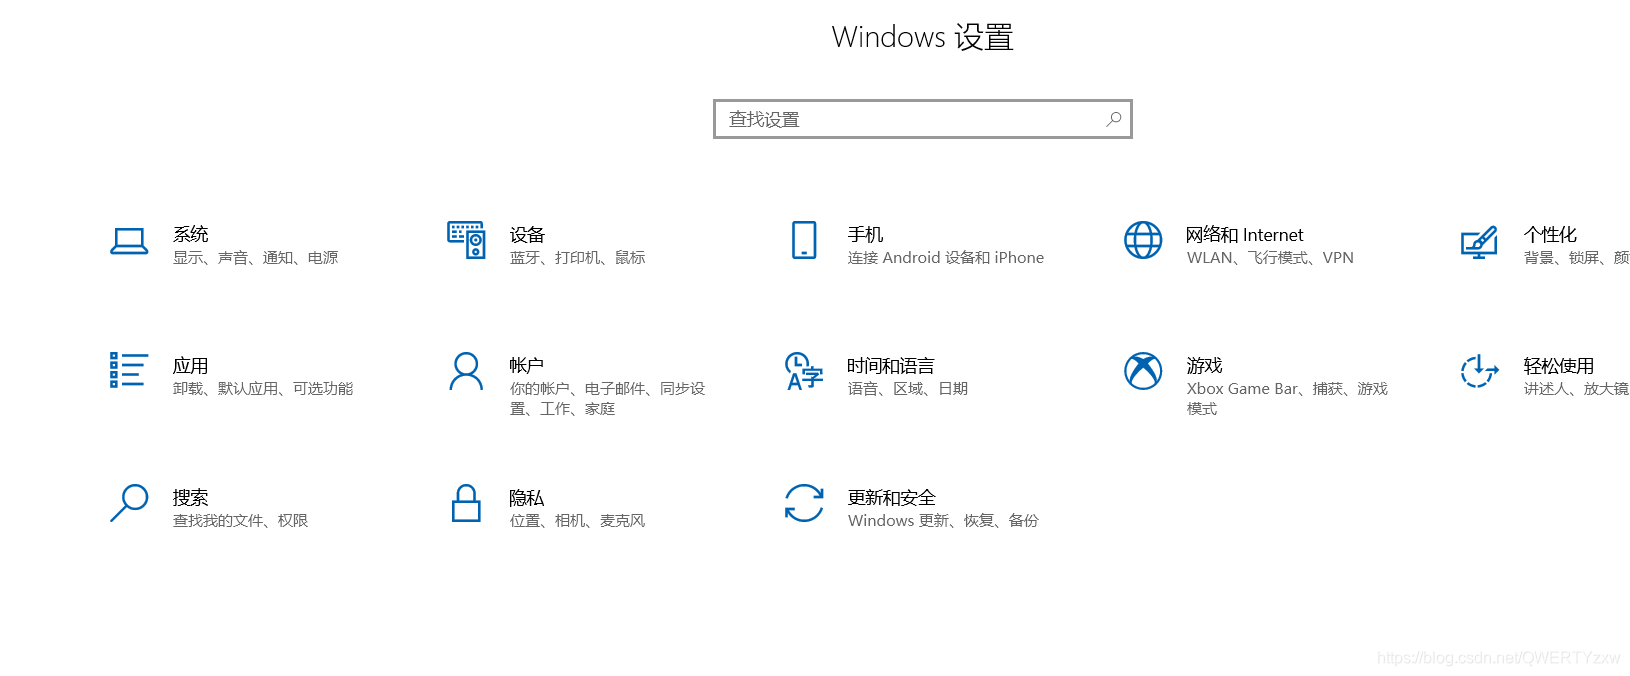
enter "environment" in the input box, and click to edit the system environment variable ; The
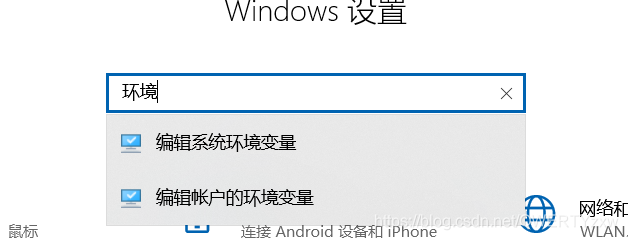
following is the operation of changing environment variables, so I won't go into details here.
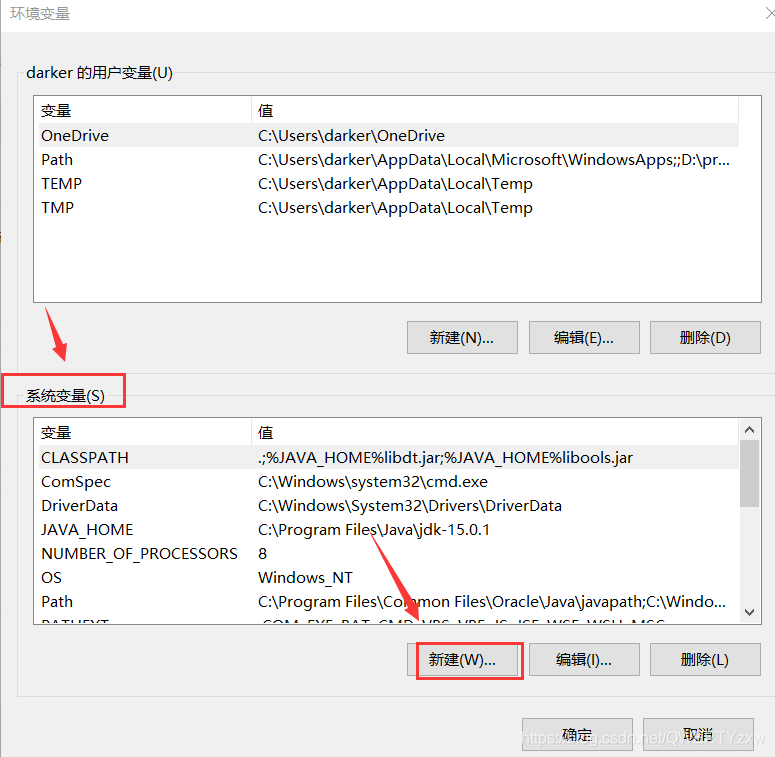
Click the New button under System Variables;
enter the following values in the pop-up window;
输入变量名为:ANDROID_ADB_SERVER_PORT
输入变量值为:10000——60000(为了不与其他的端口冲突取区间任意值)
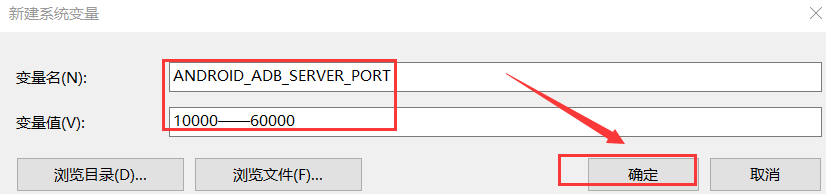
Just click OK.
Three, summary and reference materials
1. Summary
Android Studio is an Android integrated development tool based on IntelliJ IDEA. Similar to EclipseADT, Android Studio provides integrated Android development tools for development and debugging. On the basis of IDEA, Android Studio provides:
Gradle-based construction supports
Android exclusive refactoring and quick fixes
Prompt tools to capture performance, usability, version compatibility and other issues
Support ProGuard and application signature
template-based wizards to generate commonly used Android Application design and components A
powerful layout editor that allows you to drag and drop UI controls and preview the effects
2. Reference materials
Android Studio installation tutorial .
Android Studio detailed installation process and configuration, themes .
Programming software: Android Studio software installation tutorial .
Each directory and file of the project in
Android Studio . Android Studio download and installation .
Android Studio installation .