Preface
Archery is located on the SQL audit query platform, aiming to improve the work efficiency of DBA, support SQL online and query of multiple databases, and support rich MySQL operation and maintenance functions, all functions are compatible with mobile terminal operations
Official website https://archerydms.com/
GitHub https://github.com/hhyo/Archery
Ready to work
1. Install and upgrade Python36
yum install wget gcc make zlib-devel openssl openssl-devel
yum install epel-release
yum install python36 python36-pip
2. Create a Python venv environment (Python>=3.6.5, it is recommended to use a virtual environment)
cd /opt
pip3.6 install virtualenv -i https://mirrors.ustc.edu.cn/pypi/web/simple/
virtualenv venv4archery --python=python3
virtualenv venv4archery --python=python3.6
source /opt/venv4archery/bin/activate
deactivate can exit the venv environment
3. Close SeLinux
vim /etc/sysconfig/selinuxIn English input state, press i to enter insert mode, modify the following configuration
SELINUX=disabledPress esc to enter : wq save and exit
Formal steps
1. Download the source code
Method 1 Link: https://pan.baidu.com/s/1WHBAI7b7xloUUjstStEBEw Password: fh43 placed in the /opt directory
Way two
cd /opt
wget https://github.com/hhyo/archery/archive/v1.8.0.tar.gz
2. Unzip the source code
#解压包方式
tar -zxvf Archery-1.8.0.tar.gz
#wget方式
tar -zxvf v1.8.0.tar.gz
3. Install related dependencies
yum -y install gcc gcc-c++ python-devel mysql-devel openldap-devel unixODBC-devel gettext
yum -y install python36-devel
cd Archery-1.8.0
pip3 install -r requirements.txt -i https://mirrors.ustc.edu.cn/pypi/web/simple/
4. Install Mysql
https://blog.csdn.net/javanbme/article/details/111825296
5. Install Percona-Toolkits
https://blog.csdn.net/javanbme/article/details/112515533
6. Install goInception
https://blog.csdn.net/javanbme/article/details/112607083
7. Install SOAR
https://blog.csdn.net/javanbme/article/details/112620976
8. Install Nginx
https://blog.csdn.net/javanbme/article/details/111560356
After installation, use the following nginx configuration to enter the directory
cd /opt/tengine/conf/servers
touch archery.conf
vi archery.conf
Press i in English input state to enter insert mode, add the following configuration
server{
        listen 9123; # 监听的端口
        server_name archery;
        client_max_body_size 20M; # 处理Request Entity Too Large
        proxy_read_timeout 600s;  # 超时时间与Gunicorn超时时间设置一致,主要用于在线查询

        location / {
          proxy_pass http://127.0.0.1:8000;
          proxy_set_header Host $host:9123; # 解决重定向404的问题,和listen端口保持一致,如果是docker则和宿主机映射端口保持一致
          proxy_set_header X-Real-IP $remote_addr;
          proxy_set_header X-Forwarded-For $proxy_add_x_forwarded_for;
          proxy_set_header X-Forwarded-Proto $scheme;
        }

        location /static {
          alias /opt/Archery-1.8.0/static; # 此处指向settings.py配置项STATIC_ROOT目录的绝对路径,用于nginx收集静态资源
        }

        error_page 404 /404.html;
            location = /40x.html {
        }

        error_page 500 502 503 504 /50x.html;
            location = /50x.html {
        }
}
Press esc to enter : wq save and exit
9. Refresh nginx configuration
nginx -s reload10. Archery configuration
cd /opt/Archery-1.8.0/archery
vi settings.py
In English input state, press i to enter the insert mode. Modify the following configuration. The file content is too much. Post my changes here.
# 关闭debug模式
DEBUG = False

# 该项目本身的mysql数据库地址
DATABASES = {
    'default': {
        'ENGINE': 'django.db.backends.mysql',
        'NAME': 'archery',
        'USER': 'root',
        'PASSWORD': 'newpass',
        'HOST': '127.0.0.1',
        'PORT': '3306',
        'OPTIONS': {
            'init_command': "SET sql_mode='STRICT_TRANS_TABLES'",
            'charset': 'utf8mb4'
        },
        'TEST': {
            'NAME': 'test_archery',
            'CHARSET': 'utf8mb4',
        },
    }
}

CACHES = {
    "default": {
        "BACKEND": "django_redis.cache.RedisCache",
        "LOCATION": "redis://127.0.0.1:6379/0",
        "OPTIONS": {
            "CLIENT_CLASS": "django_redis.client.DefaultClient",
            "PASSWORD": "newpass"
        }
    },
    "dingding": {
        "BACKEND": "django_redis.cache.RedisCache",
        "LOCATION": "redis://127.0.0.1:6379/1",
        "OPTIONS": {
            "CLIENT_CLASS": "django_redis.client.DefaultClient",
            "PASSWORD": "newpass"
        }
    }
}
Press esc to enter : wq save and exit
11. Create a database
mysql -h 127.0.0.1 -u root -pNote: Prompt to enter the password, just fill in
create database archery default character set=utf8mb4;12. Database initialization
cd /opt/Archery-1.8.0
source /opt/venv4archery/bin/activate
python3 manage.py makemigrations sql
python3 manage.py migrate
13. Data initialization
python3 manage.py dbshell<sql/fixtures/auth_group.sql
python3 manage.py dbshell<src/init_sql/mysql_slow_query_review.sql
14. Create an administrative user
python3 manage.py createsuperuserAt this time, you will be asked to enter the user name and password for web page login
Username: admin
Email address: [email protected]
Password: adminpassword
15. Start
source /opt/venv4archery/bin/activate
cd /opt/Archery-1.8.0
#启动
./startup.sh &
16. Access
Open firewall port
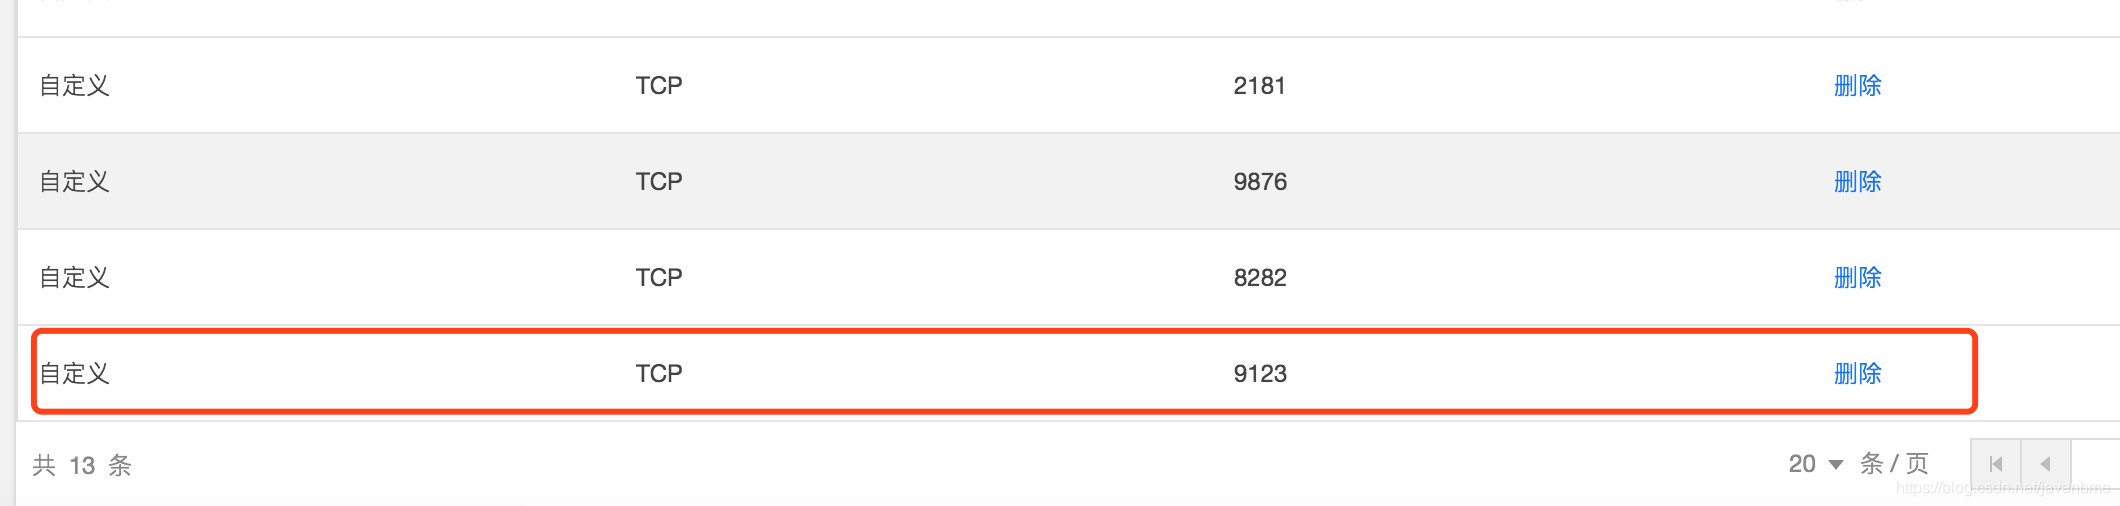
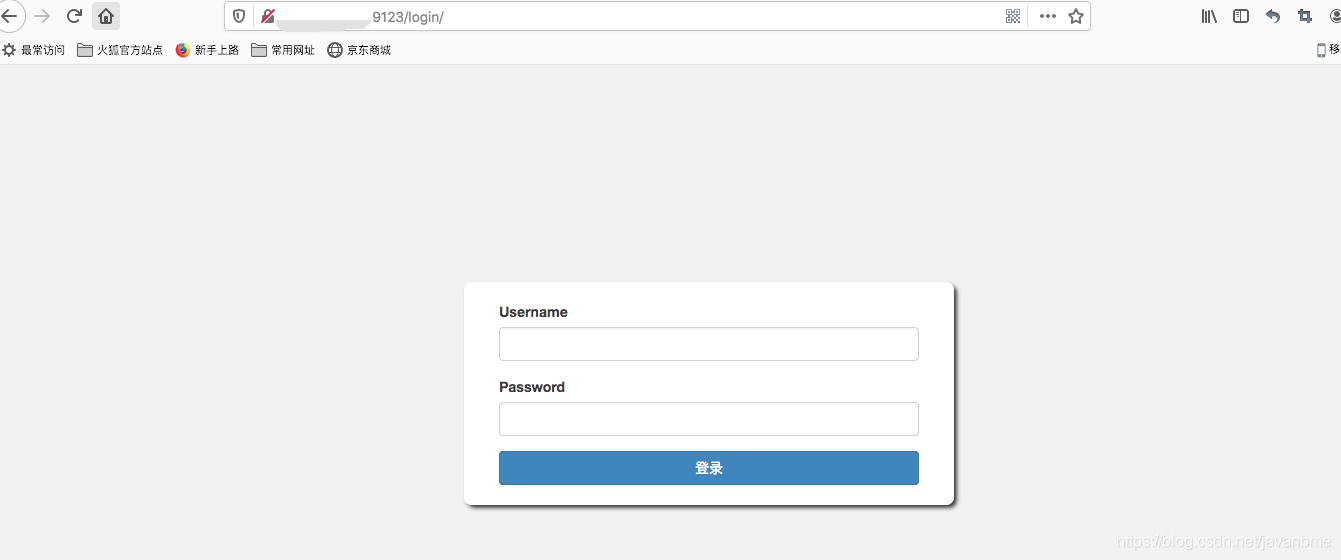
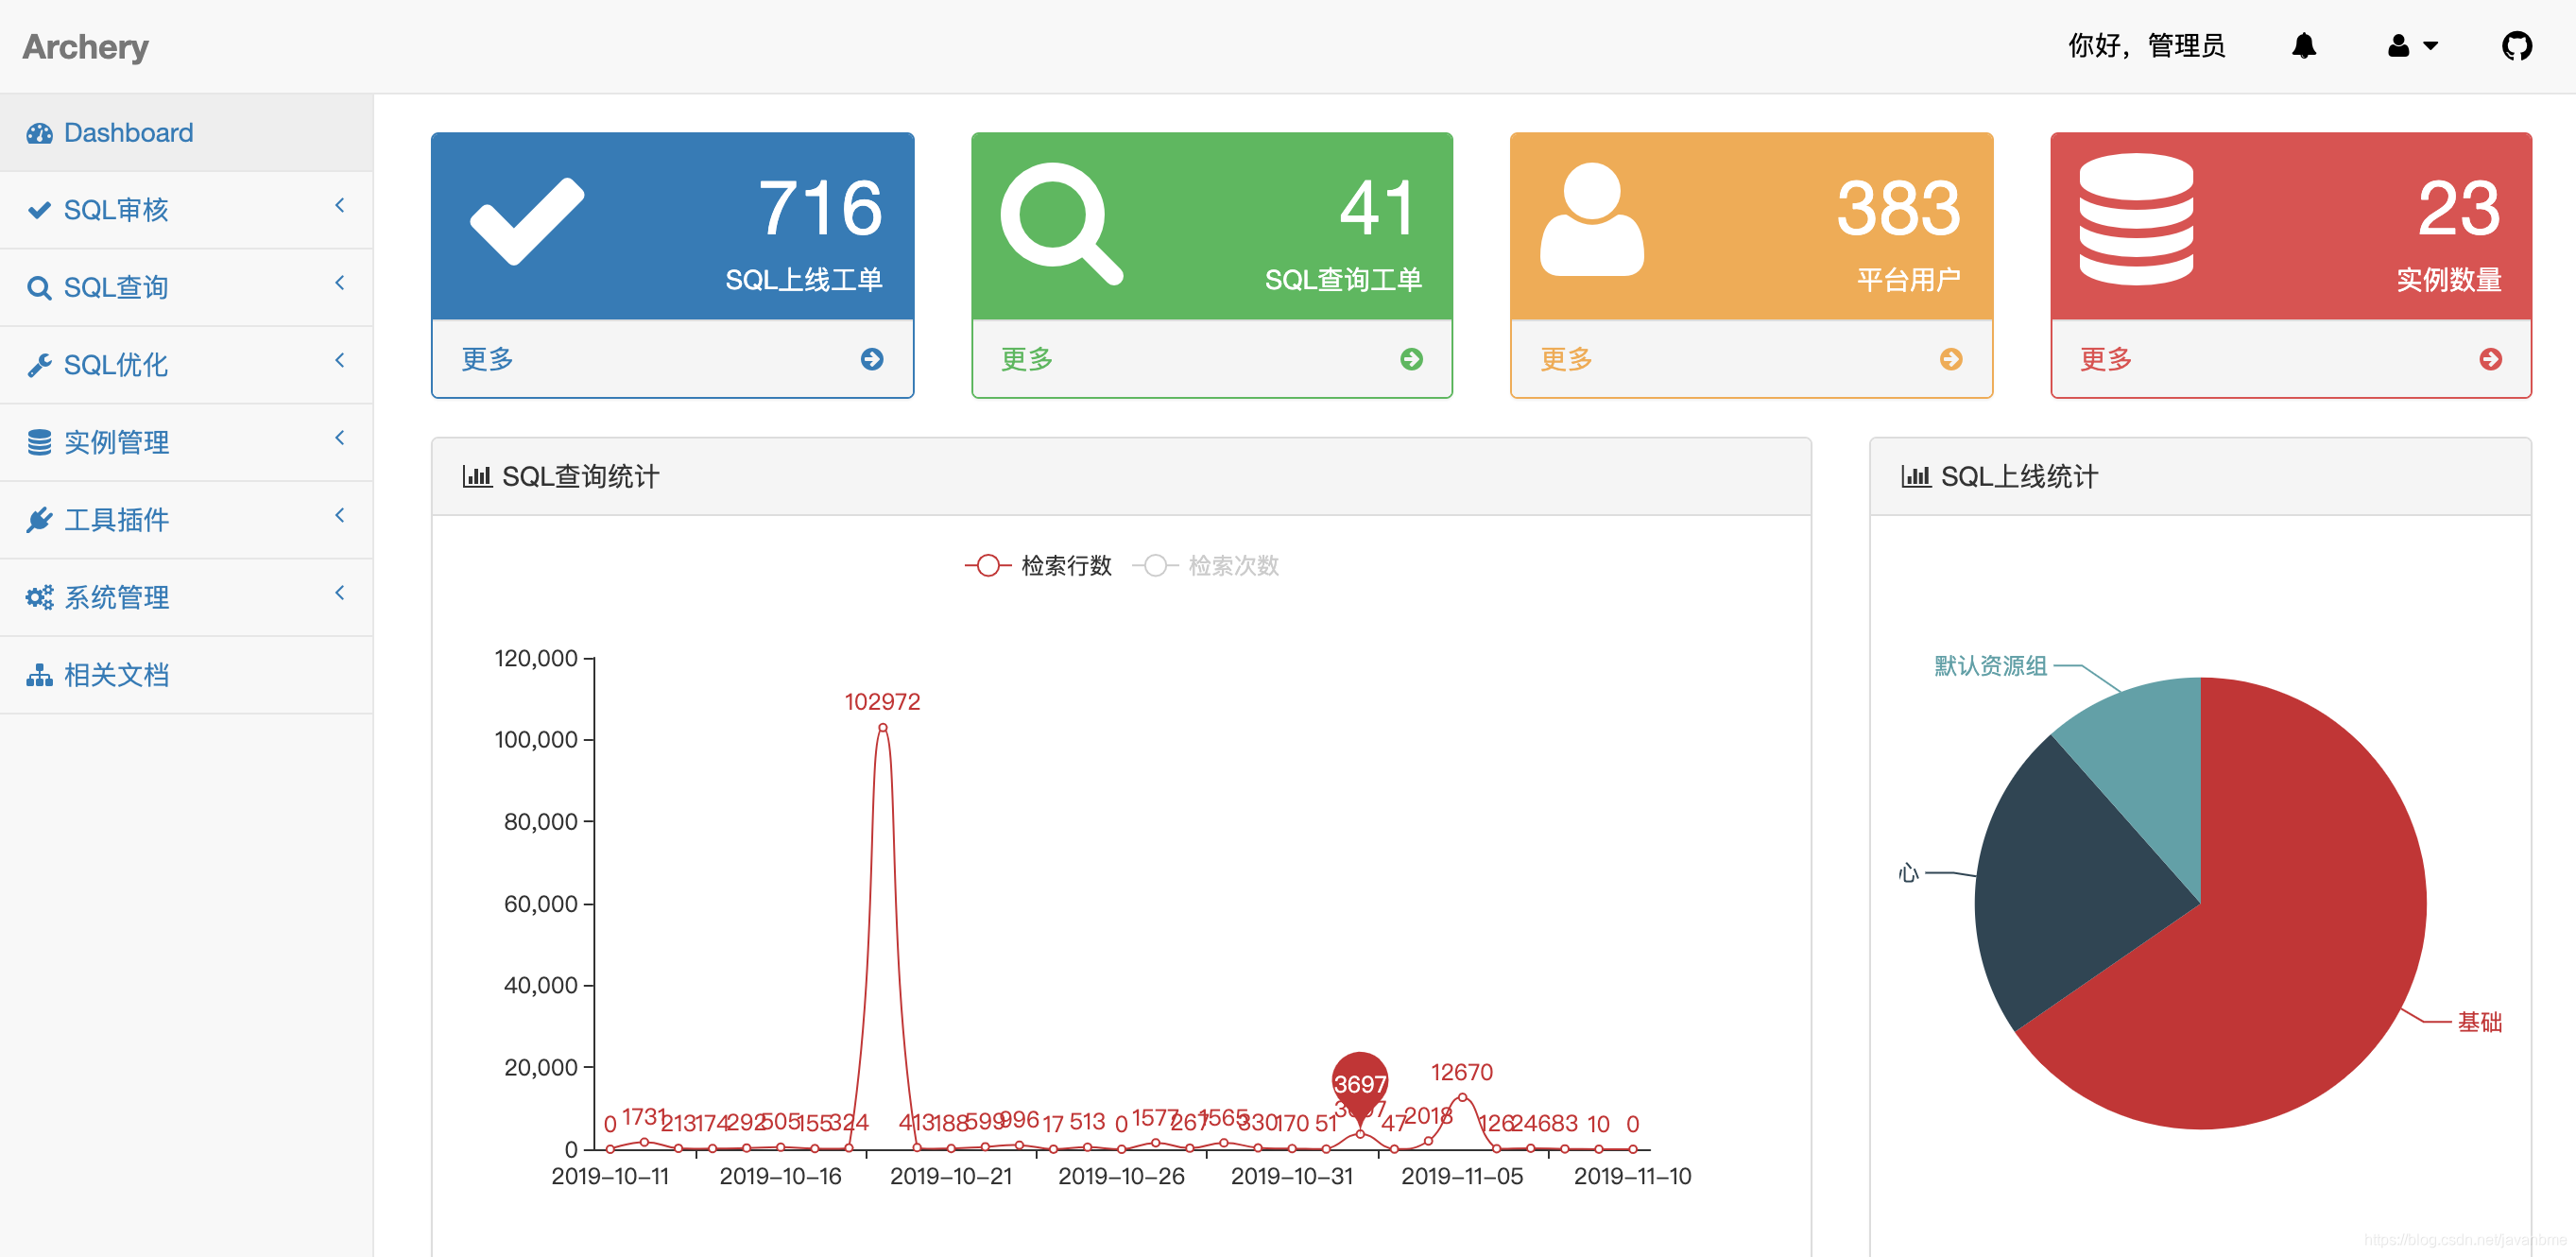
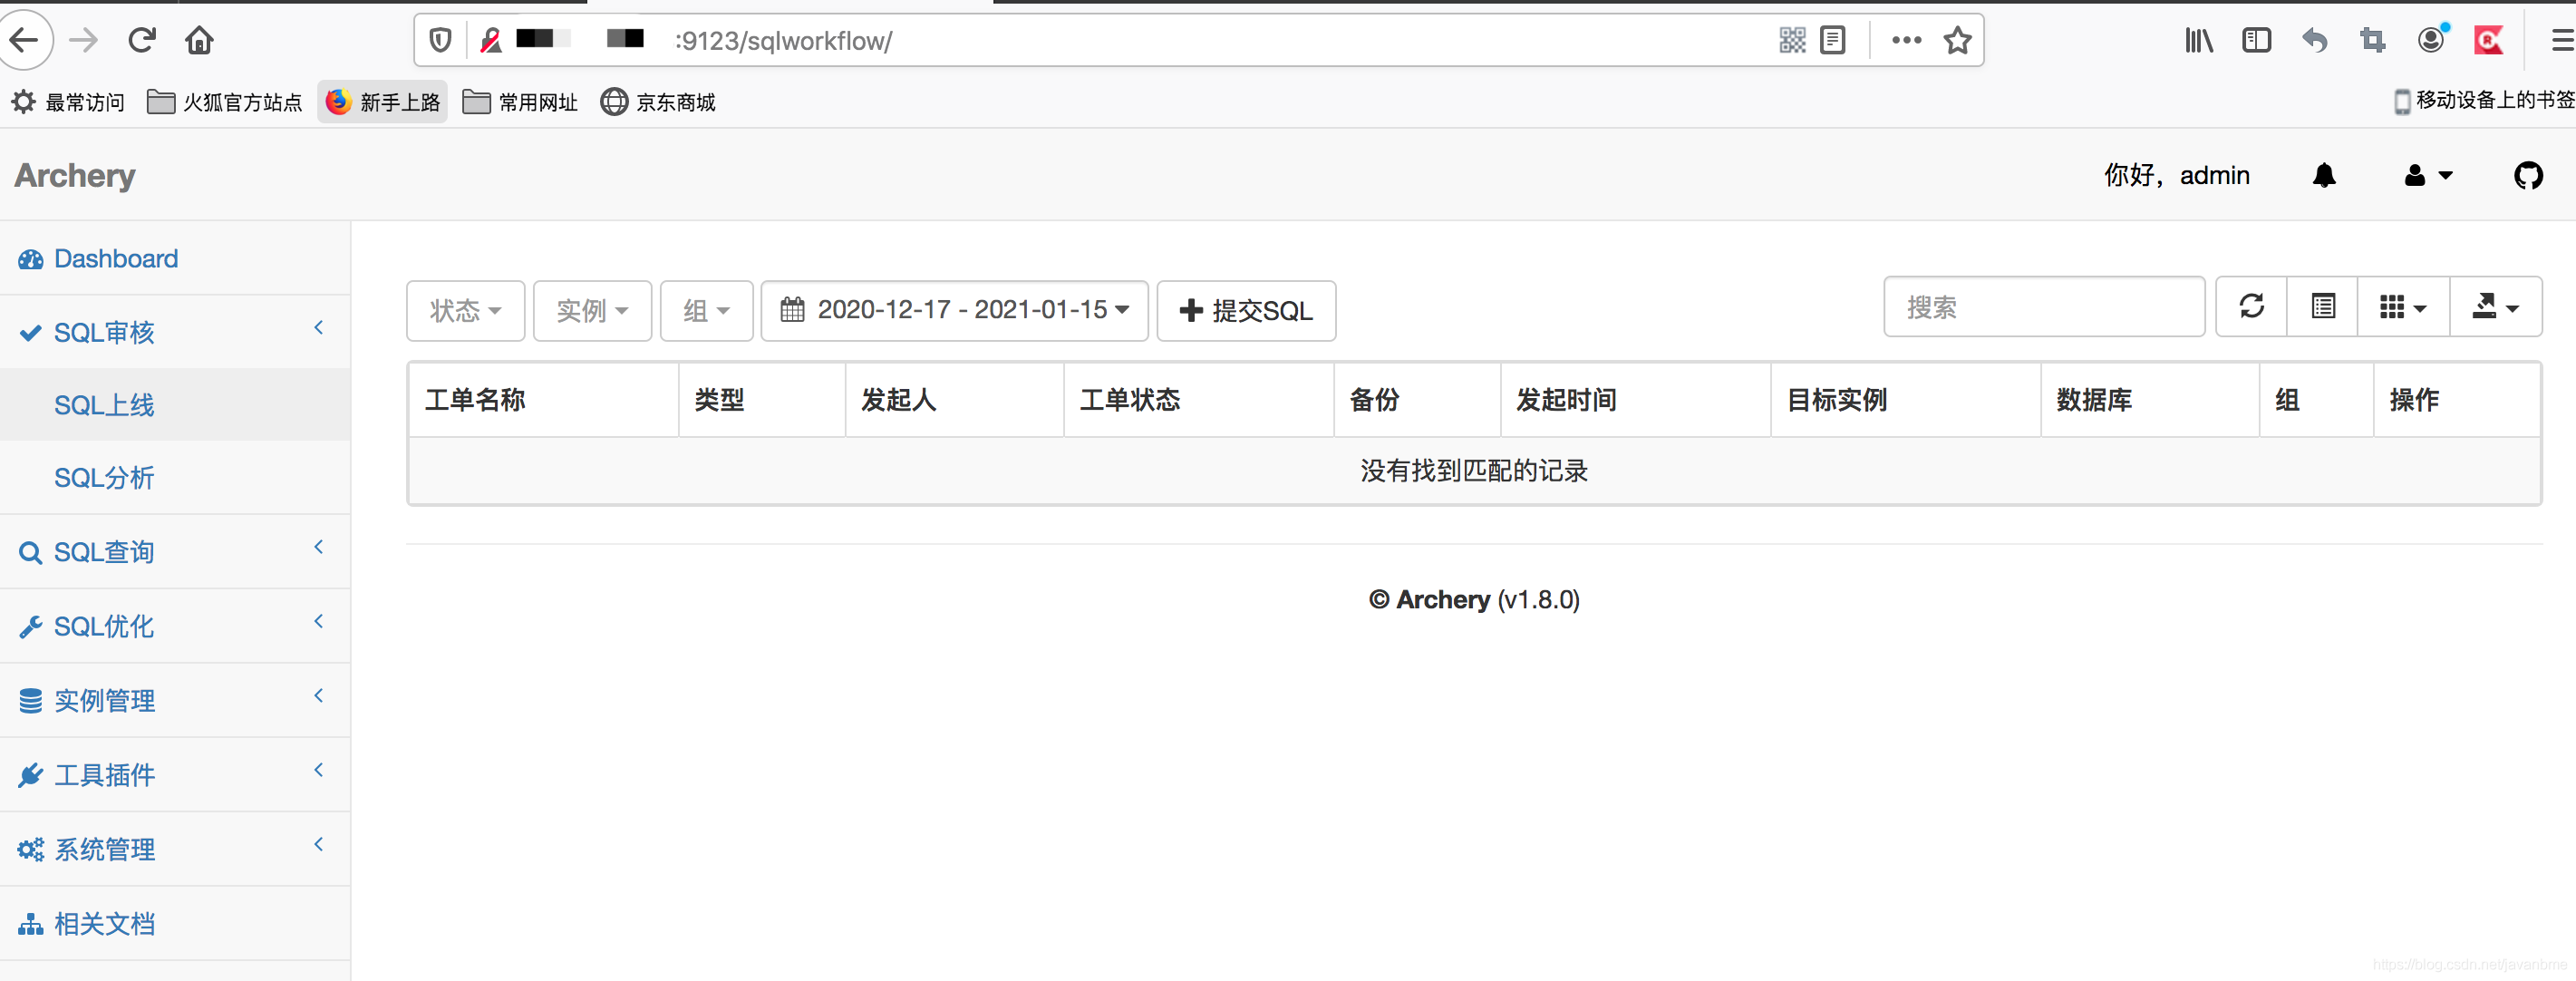
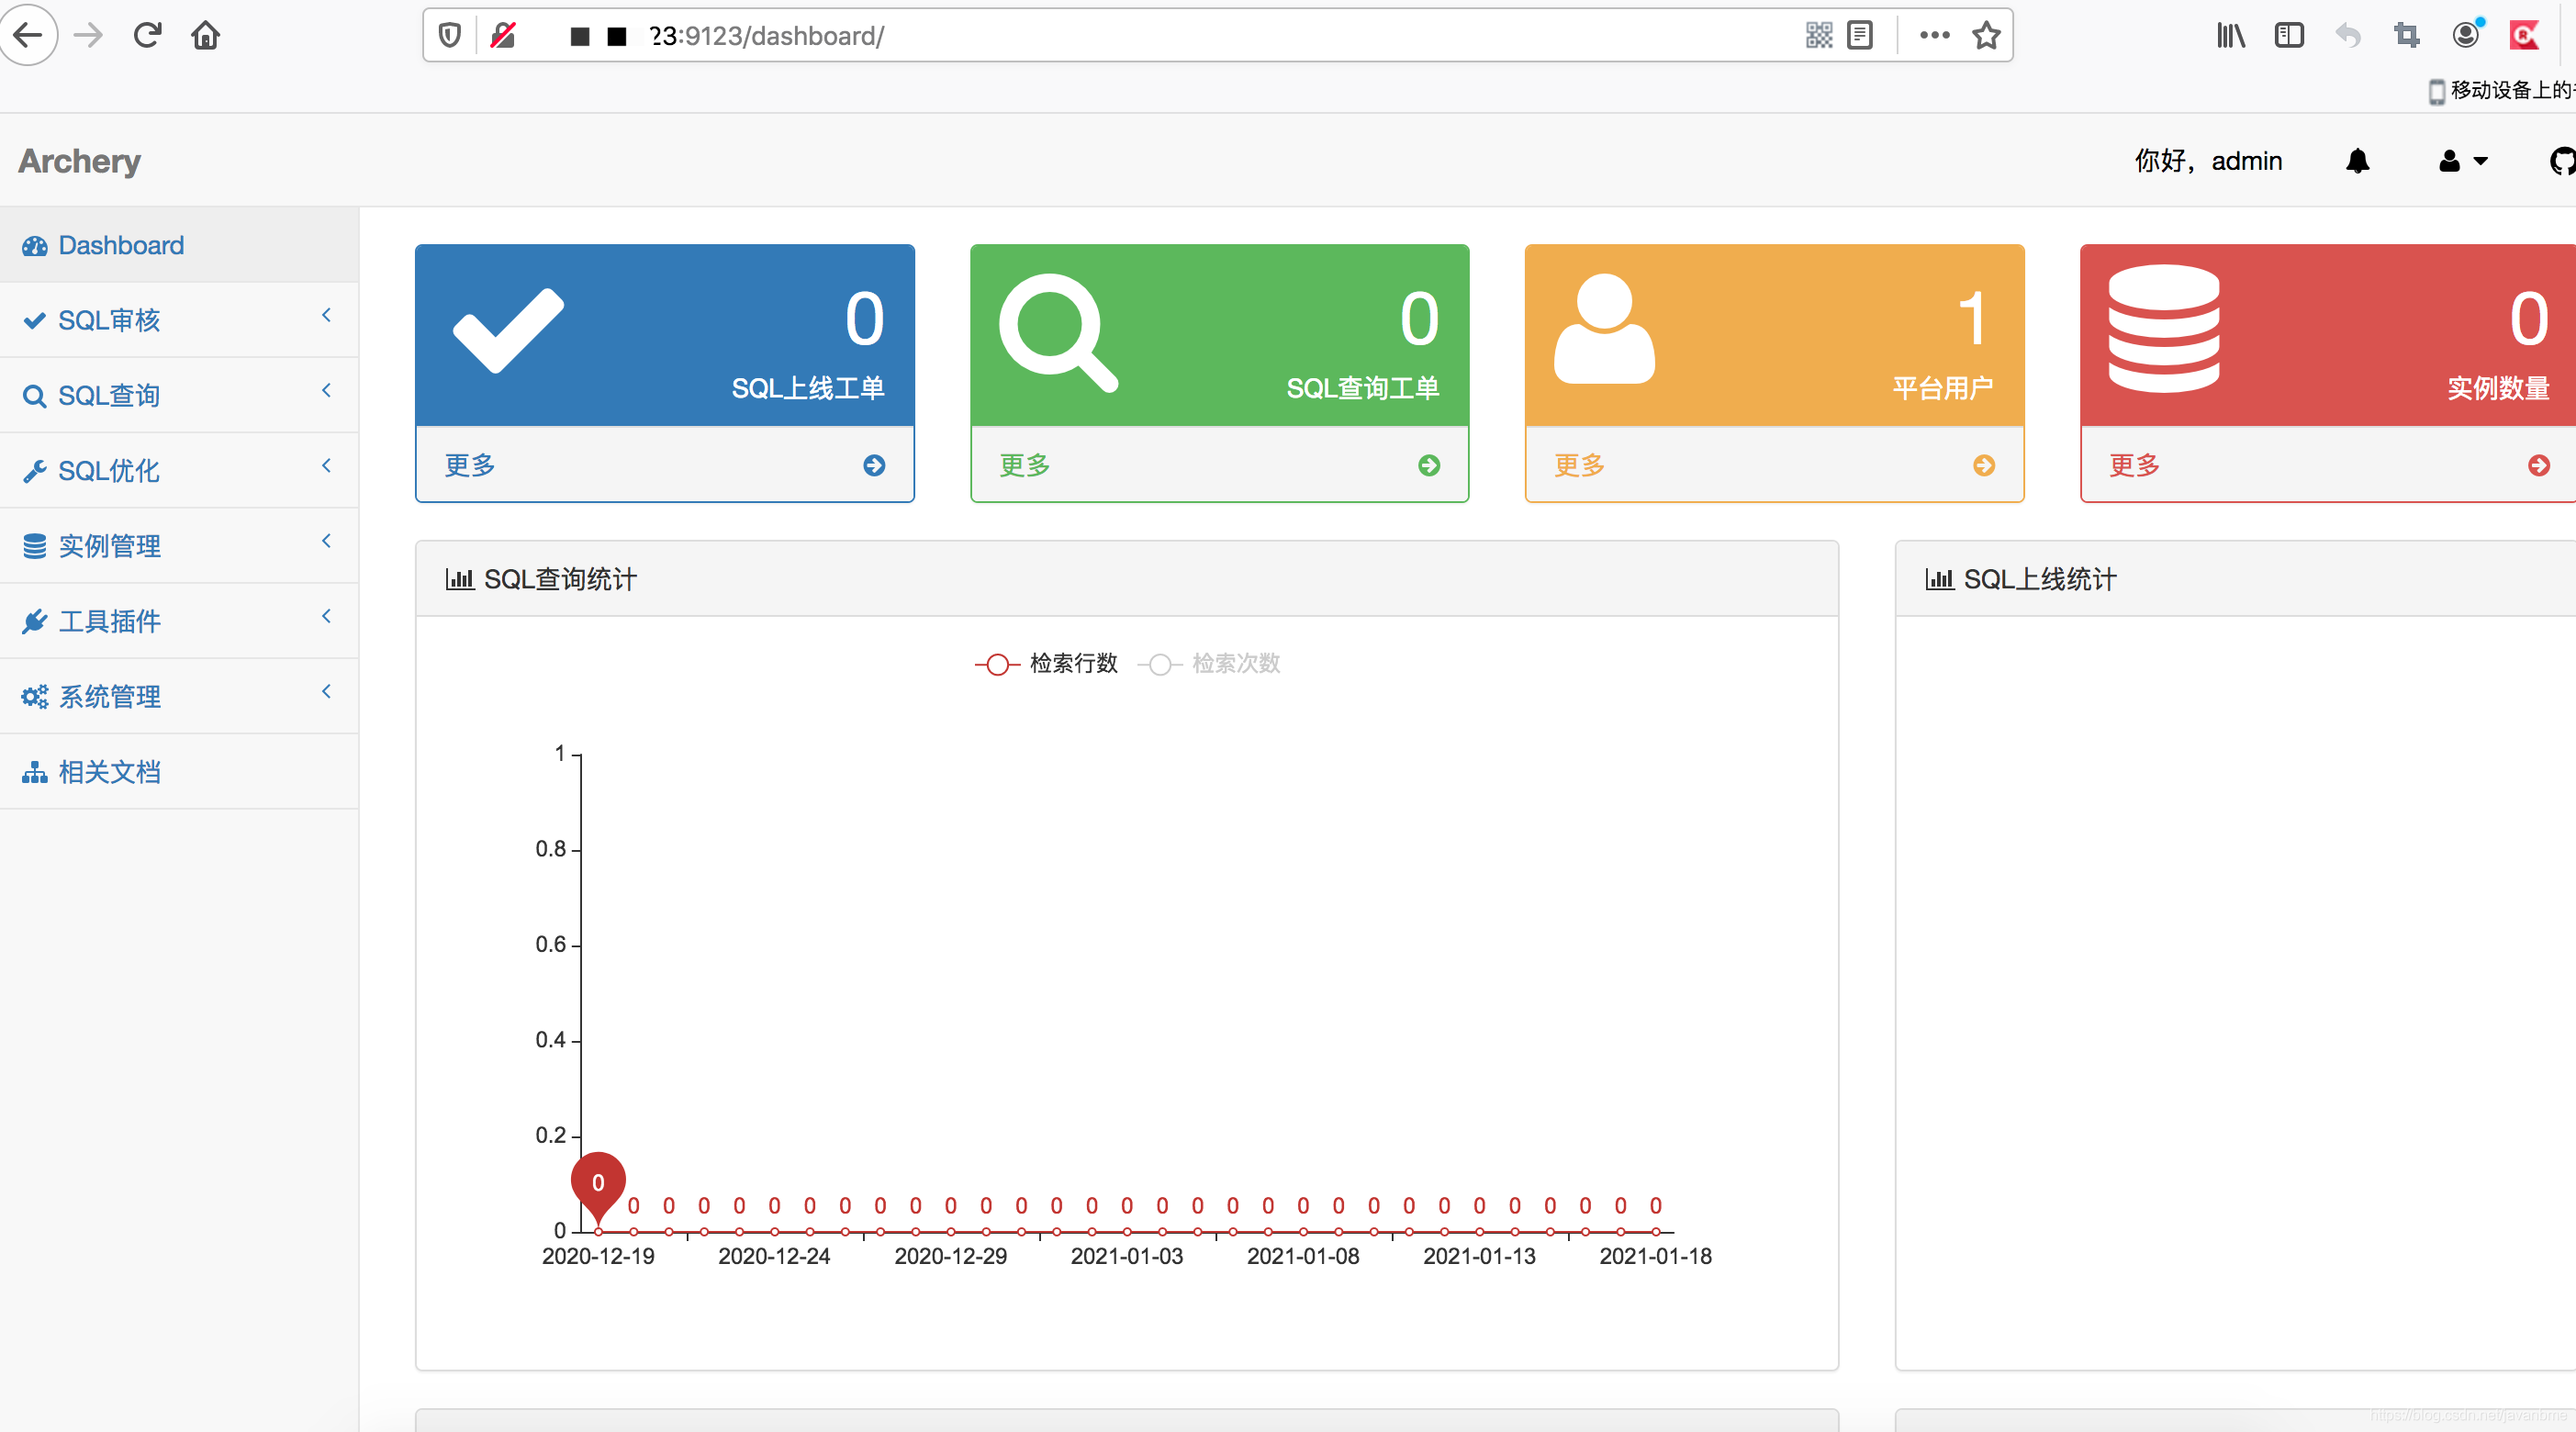
Enter the username and password admin/adminpassword to enter the homepage
17. Use documentation
https://blog.csdn.net/javanbme/article/details/113050284
Question Collection
1. File "/usr/bin/yum", line 30 except KeyboardInterrupt, e:
Modify the first line in the /usr/bin/yum file#!/usr/bin/python2.7
2. WARNING: You are using pip version 20.1.1; however,version 20.2.3 is available
Upgrade pip input python -m pip install -U pip
3. Dependent package mysql-devel installation error
method one
cd /etc/yum.repos.d/
rpm -ivh http://repo.mysql.com/mysql57-community-release-el7-8.noarch.rpm
yum install mysql-devel
Way two
Install Mysql first and then install the dependent packages