Use jenkins to build an automated publishing system to build jenkins
Niu Hengbo's DevOps perspective
jenkins installation
installation
Set the jenkins directory Define jenkins in catalina.sh
$ export CATALINA_OPTS="-DJENKINS_HOME=/path/to/jenkins_home/ -Xmx512m"
$ catalina.sh start
Define jenkins in linux environment variables
$ export JENKINS_HOME=/path/to/jenkins_home/
$ catalina.sh start
Define jenkins-home in the context
<Context ...>
  <Environment name="JENKINS_HOME" value="/path/to/jenkins_home/" type="java.lang.String"/>
</Context>
Installation and initialization
wget http://mirrors.jenkins.io/war-stable/latest/jenkins.war
java -jar jenkins.war
http://localhost:8080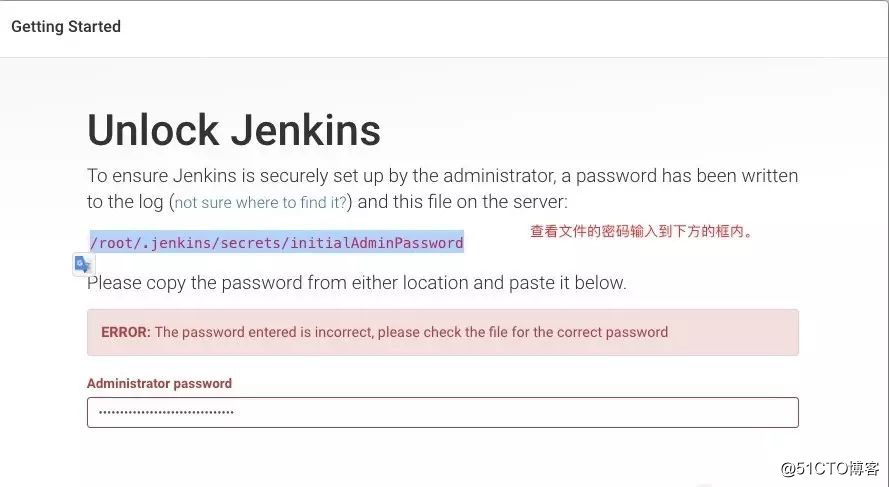
Install common plugins
Choose to install
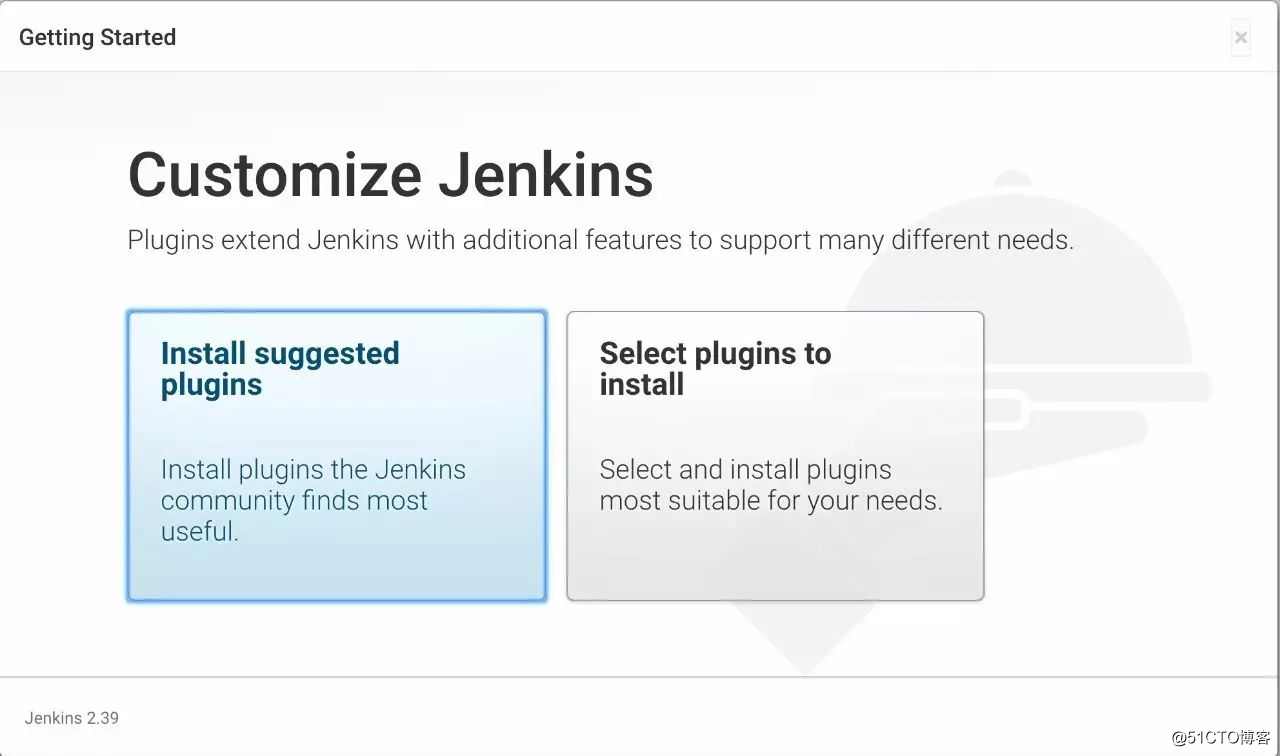
start installation
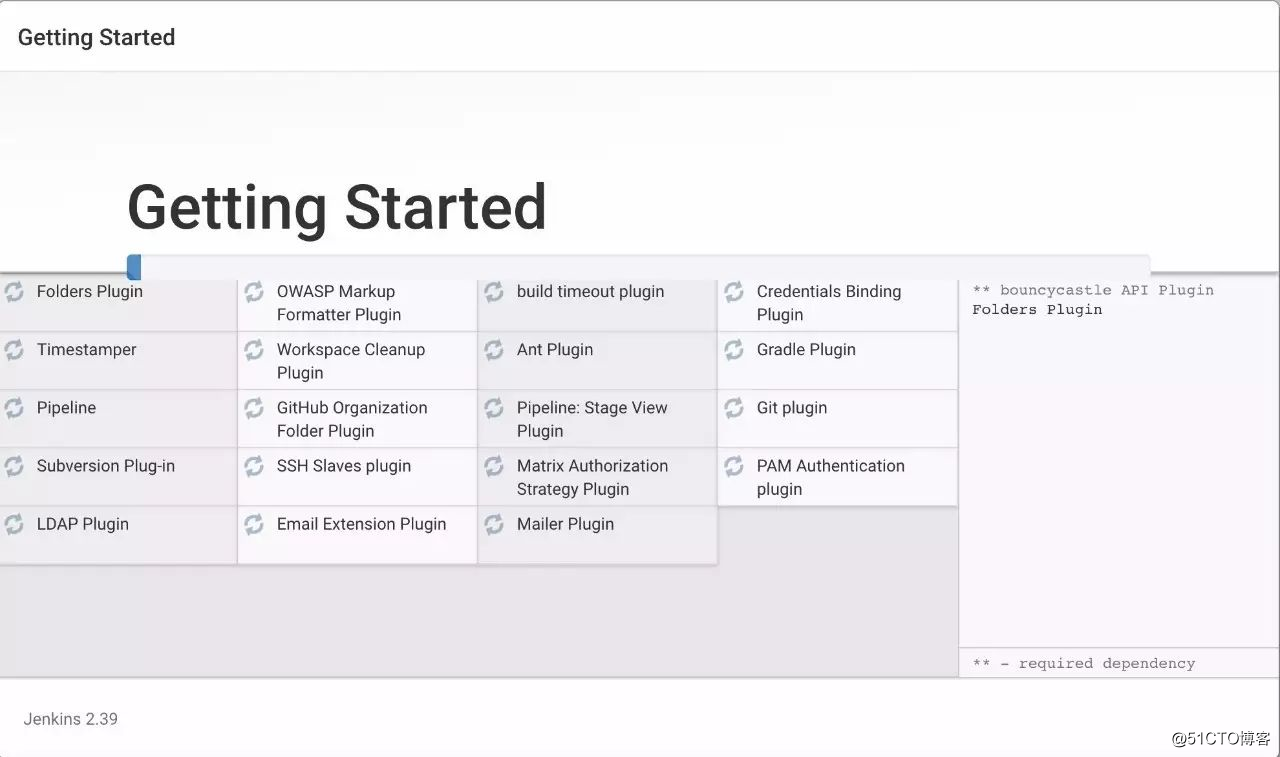
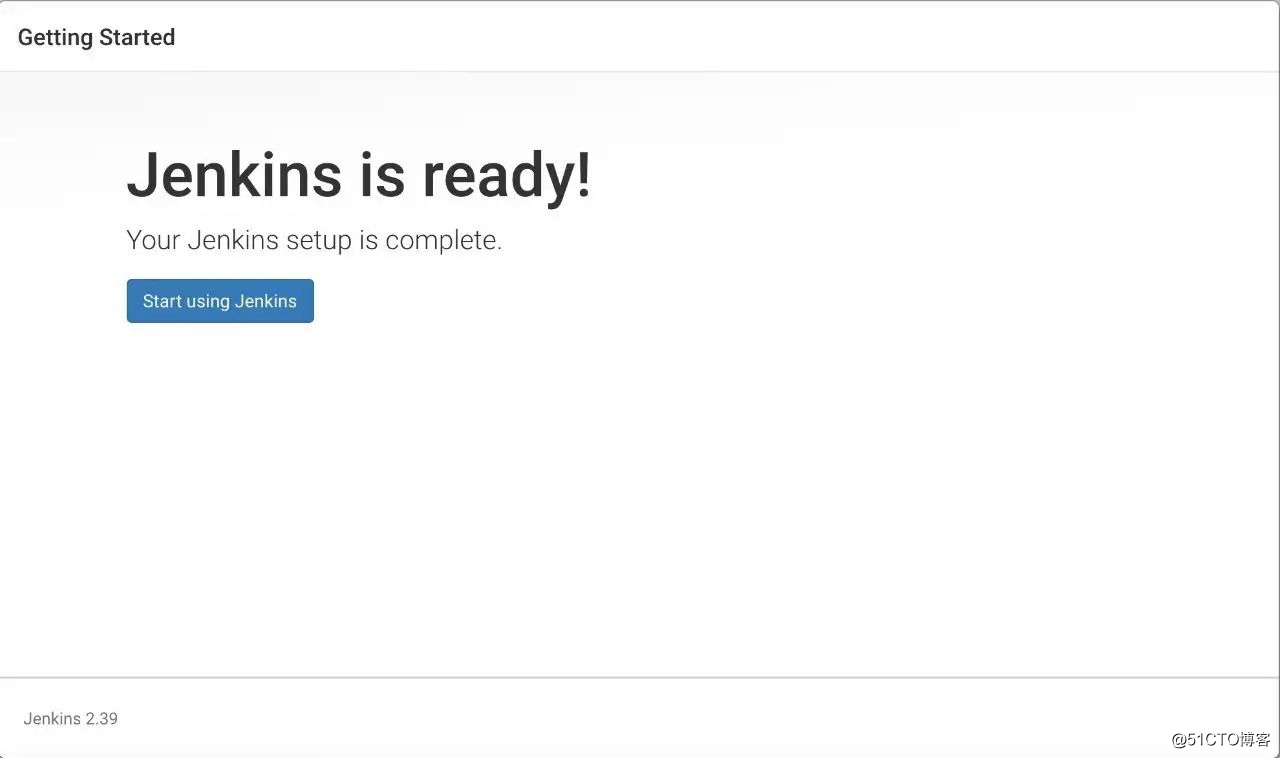
After the plug-in installation is complete, start to configure the admin username and password. Start using jenkins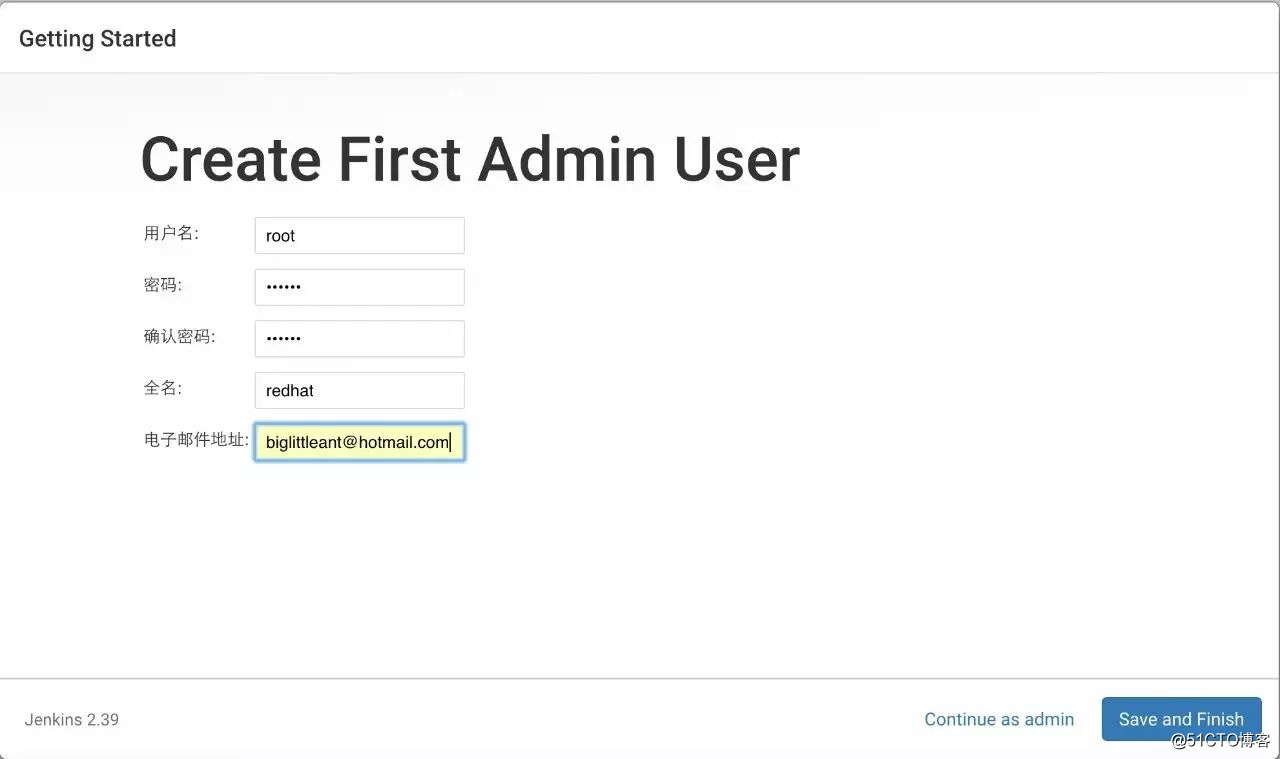
Change the home directory of jenkins
The default path of jenkins home directory is /root/.jenkins/ path. Depending on the startup method, the modification method is slightly different.
1. Start java -jar jenkins.war directly from the command line
cat >>/etc/profile<<EOF
export JENKINS_HOME=/data/db/jenkins/
EOF
source  /etc/profile
2. Start with tomcat container
vim /data/app/tomcat/bin/catalina.sh
export JENKINS_HOME=/data/db/jenkins/
# OS specific support.  $var _must_ be set to either true or false.
3. Modify the jenkins.war package (not recommended)
vim jenkins /web.xml
  <!-- if specified, this value is used as the Hudson home directory -->
  <env-entry>
    <env-entry-name>HUDSON_HOME</env-entry-name>
    <env-entry-type>java.lang.String</env-entry-type>
    <env-entry-value>/data/db/jenkins/</env-entry-value> #填入路径
  </env-entry>
Start installing the plugin
Plug-ins are the most commonly used in jenkins, so we start by installing plugins.
method one
Path: System Management-->Manage plug-ins, start to install plug-ins.
- Build Pipeline Plugin: Build process configuration plug-in.
- Gitlab Plugin: gitlab pull plugin.
- Gitlab Hook Plugin: gitlab hook plugin.
- Build Authorization Token Root Plugin: User authorization verification plug-in.
- SonarQube Scanner for Jenkins: Code quality management plug-in.
- Parameterized Remote Trigger Plugin: remote trigger plug-in.
- AnsiColor (optional): This plug-in can make the log output by the Jenkins console be colored (just like the linux console)
- Maven Integration plugin
- Extended Choice Parameter Plug-In: Graphical interface to configure multiple choice parameters

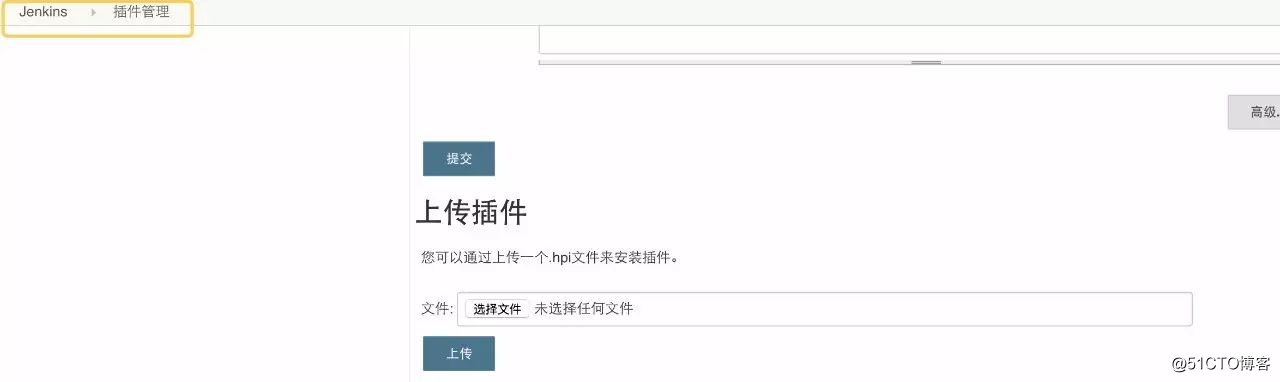
Method Two
Upload plugin Jenkins-plugin management-advanced-upload plugin
Method Three
Upload directly to the file directory (according to the path of the password file above, you can know that the jenkins directory is in /root/.jenkins/) /root/.jenkins/plugins restart Jenkins
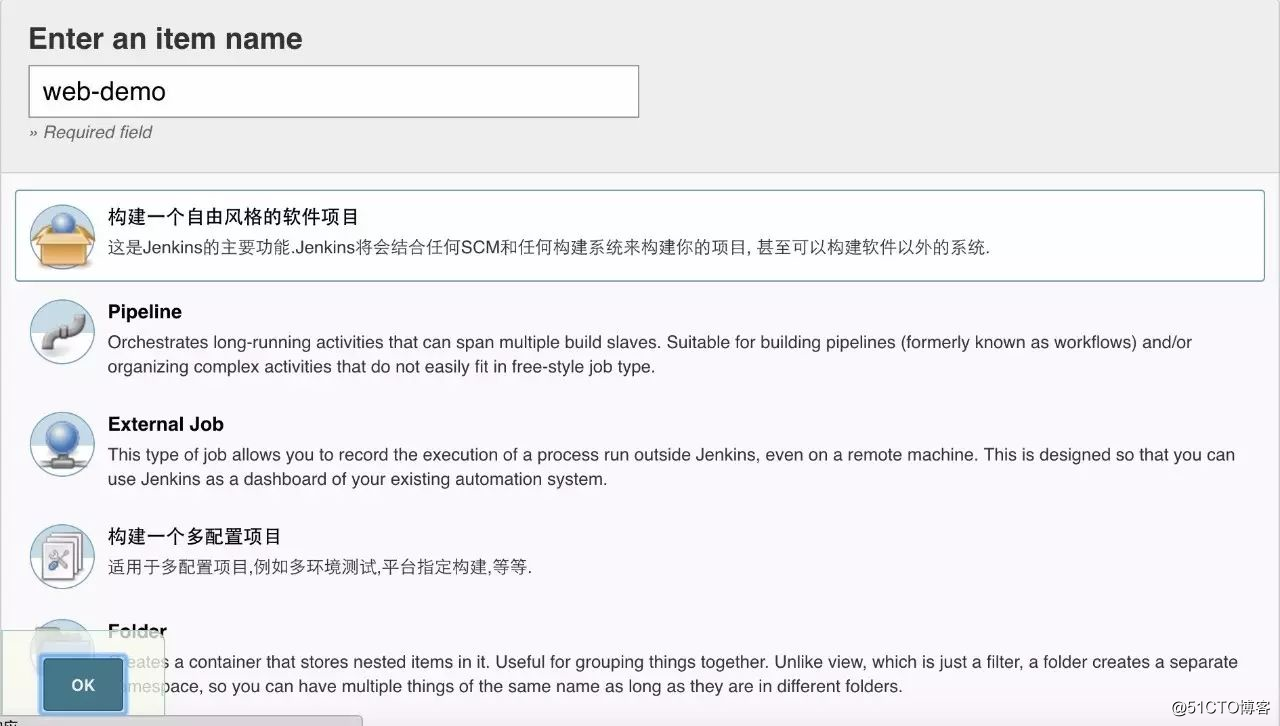
Create a build process
Enter the project name-choose to build a free style software project
Configure source download address
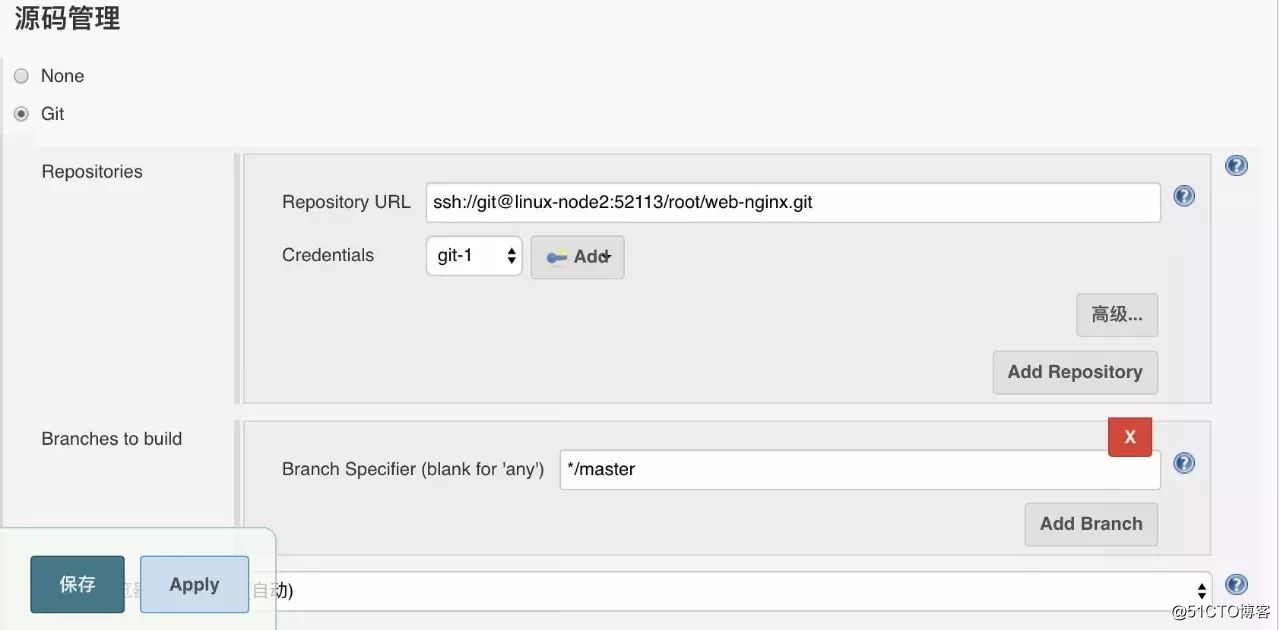
Add the authentication key of gitlab, configure the private key of ssh here
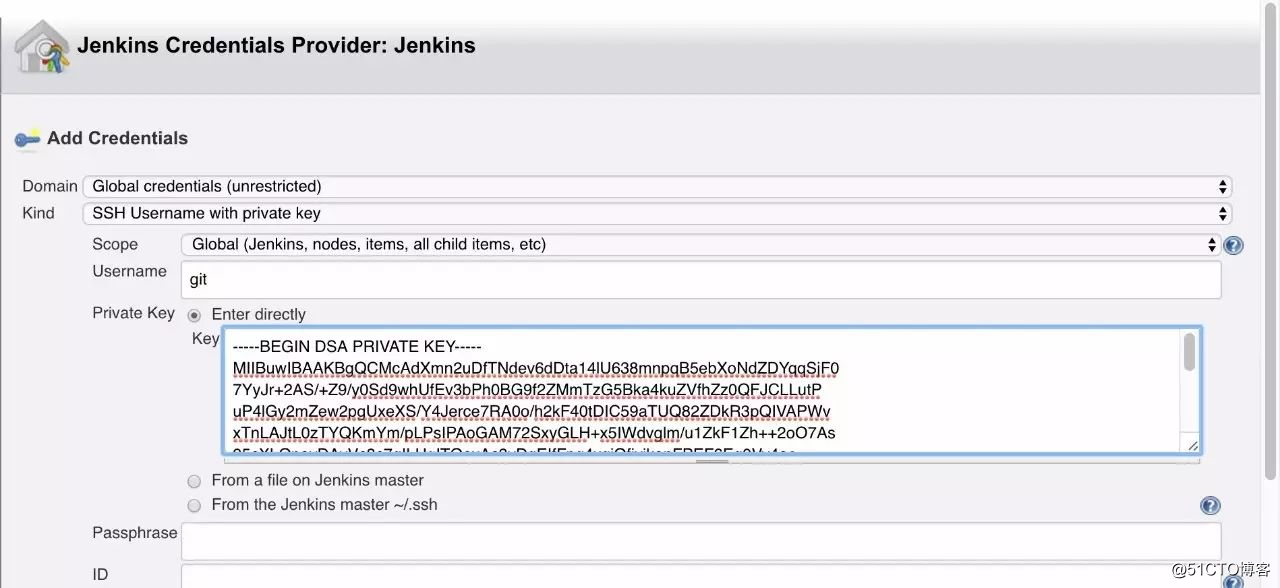
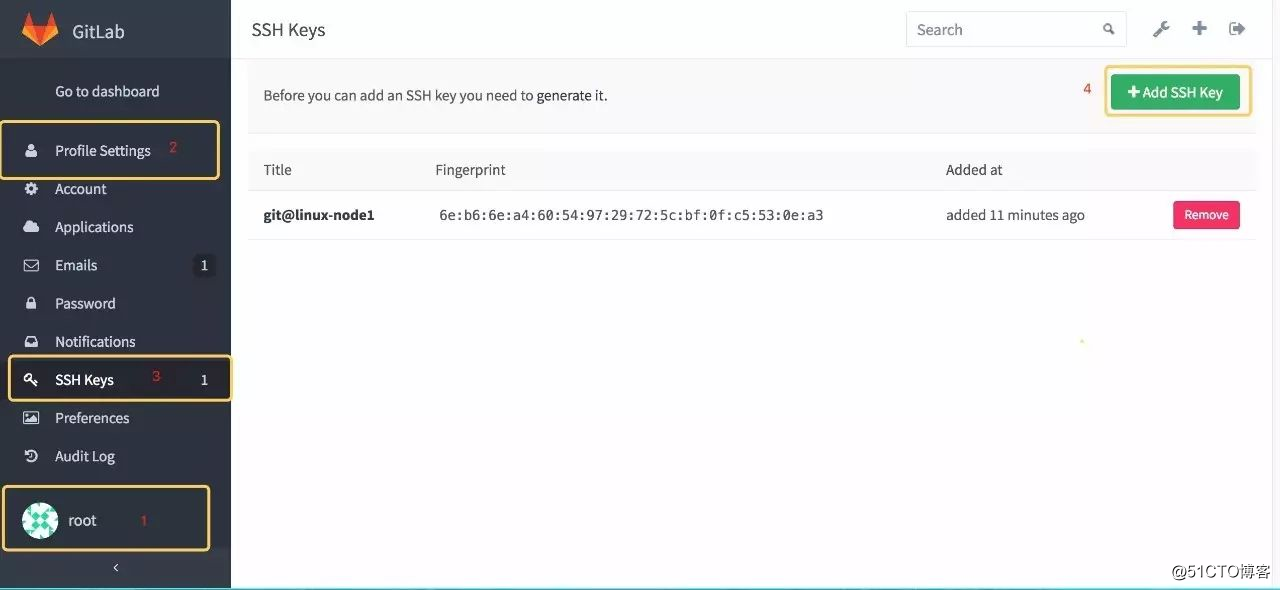
Add the public key of ssh-key in gitlab
Configure the build process
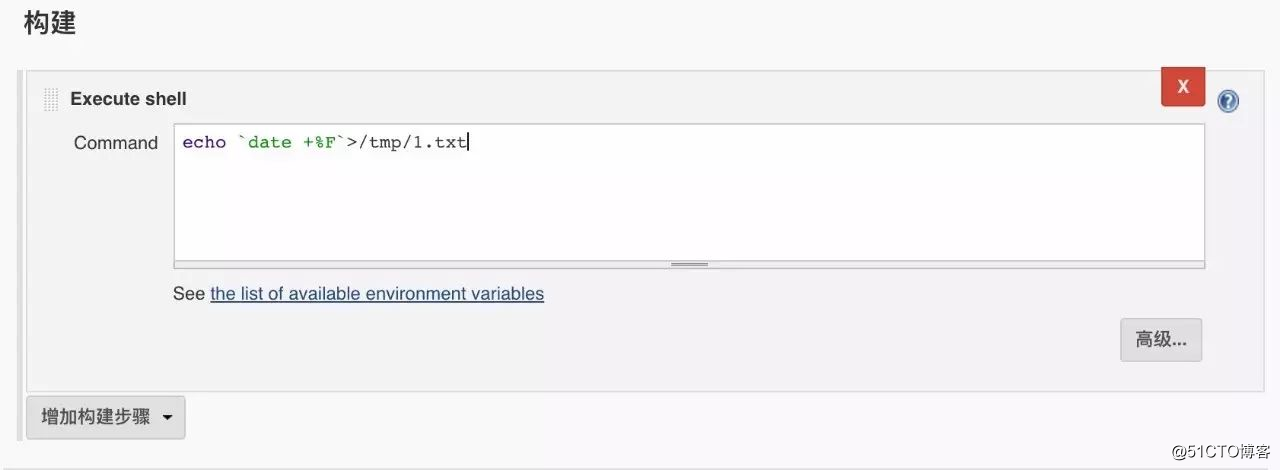
There is a point to note here. For example, what should we do if we want to execute related scripts on a remote machine?
One principle: During the execution of jenkins, the user who uses jenkins is executing.
Two methods:
- All servers do keyless login with jenkins.
- The root of all servers does a keyless login.
It is recommended to use the second type, because the published script may involve permission issues. If you use jenkins, there may be insufficient permissions.
the best solution
sudo ssh -p 52113 [email protected] "/data/scripts/web-deploy.sh"Perform build now-view console output
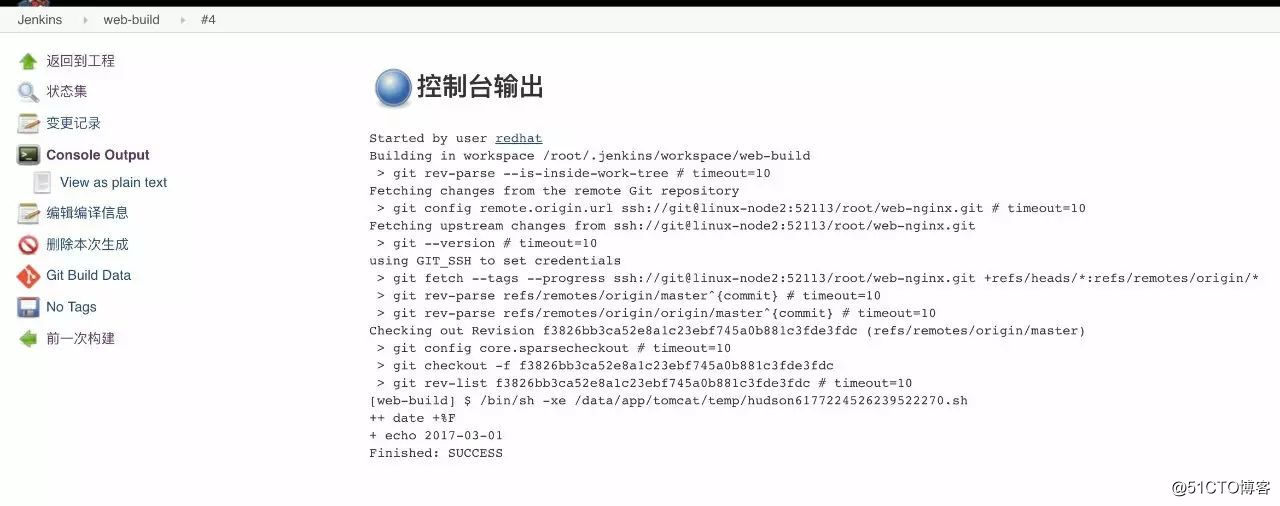
explain:
Jenkins will git clone to /workspace of jenkins.
[root@linux-node1 web-build16:29:46]#pwd
/root/.jenkins/workspace/web-build
[root@linux-node1 web-build16:29:56]#ls -a
.  ..  .git  index.html  README.md
[root@linux-node1 web-build16:29:58]#
[root@linux-node1 web-build16:31:49]#cat /tmp/1.txt
2017-03-01
Please wait for the next article: Sonar code quality management