Related courses: http://hdjc8.com/hdjc/swiftUI/
Slider is equivalent to UISlider in UIKit, which realizes the selection of the value of the designated area and interval by moving the slider.
The use of the Slider view is very simple. The user can quickly set the value by dragging the slider within the range of the minimum and maximum values, so it is often used in situations such as volume adjustment, playback progress, and zooming in and out of photos.
Sample code:
struct ContentView : View {
//首先添加一个浮点类型的属性,并设置它的初始值为0。该属性拥有@State绑定包装标记,表示该属性将和滑杆视图进行数据绑定。
@State var temperature: Double = 0
var body: some View {
VStack {
Slider(value: $temperature)
//添加一个新的滑杆视图,并设置它的最小值为-20,最大值为40。通过该滑杆,可以快速拾取位于-20和40之间的数值。
Slider(value: $temperature, in: -20...40)
//添加一个尾随闭包,在闭包语句里打印一条日志信息,用来显示是否开始或停止拖动滑块。
Slider(value: $temperature, in: -20...40) { (item) in
print(item)
}
HStack{
Image(systemName: "sun.max")
//在图像视图的右侧,添加一个新的滑杆视图。除了设置它数值区域为-20至40,还设置它的步进值为2。
Slider(value: $temperature, in: -20...40, step: 2) { (item) in
print(item)
}.accentColor(.pink).colorInvert()
Image(systemName: "sun.max.fill")
}.padding()
//添加一个文本视图,用来实时显示temperature属性的值。
Text("The temperature is \(Int(temperature)).")
}
}
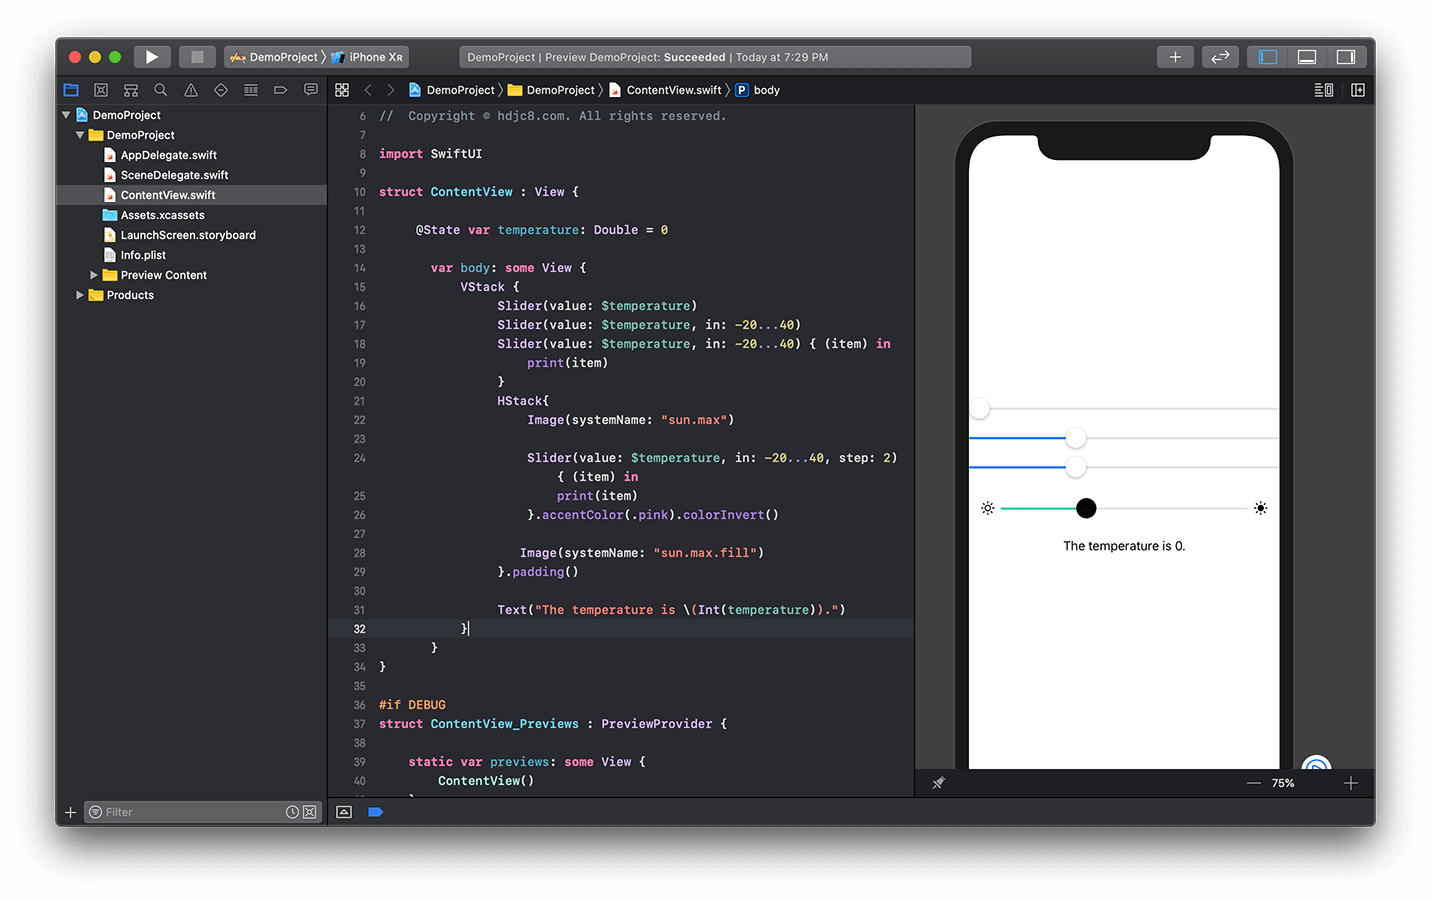
}View the results of the operation: