table of Contents
Preface
Most of our current projects are stored in version control systems such as git and svn, so it is necessary to learn how to put a new project in the version control system. Below I will introduce how to upload a new project to gitlab using IDEA on
Create a gitlab project
First we need to create a new project on gitlab to store our project
1. Log in to gitlab and select New project to create a new project

To create a new Project, you can mainly fill in the following three parameters.
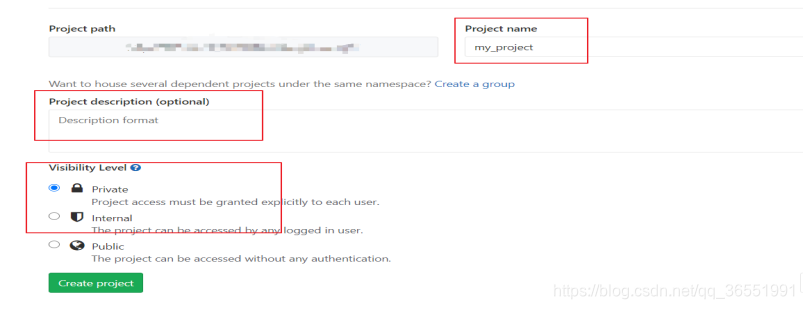
Parameter description:
Project name: the name of the project
Description: The description of the item (optional)
Visibility Level (item visibility level): Provides three options: Private (private, only you or members of the group can access)/Internal (all logged-in users)/Public (public, everyone can access).
2. Add README file
When we create a new Project, the Project is empty, we can add a README file (README file is used for the description of the project) to the warehouse


IDEA upload project
1. Open or create a project in idea and create a .gitignore file to prevent some code automatically generated by IDEA from being submitted to the Git repository
The following is the content of my .gitignore file, you can write it according to your needs
/target/
!.mvn/wrapper/maven-wrapper.jar

### STS ###
.apt_generated
.classpath
.factorypath
.project
.settings
.springBeans
.sts4-cache

### IntelliJ IDEA ###
.idea
*.iws
*.iml
*.ipr

### NetBeans ###
/nbproject/private/
/build/
/nbbuild/
/dist/
/nbdist/
/.nb-gradle/
.gitignore file location: put it in the same directory as the pom file

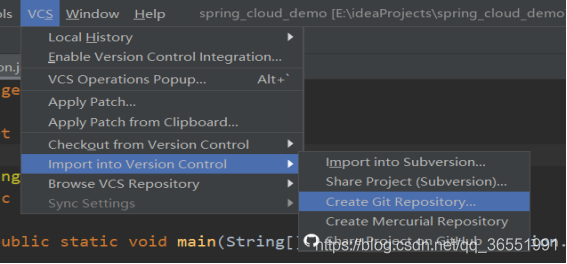
2. Associate local and remote warehouses and push local projects
Use vcs, select the project to create a git repository
Select project path

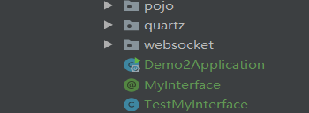
After the git repository is created, all files in the project will turn red (red means there are no files added to git)

So we need to add the project to git. After opening the project in idea, right-click the project, select Git, and select Add. After add, the project file will turn green

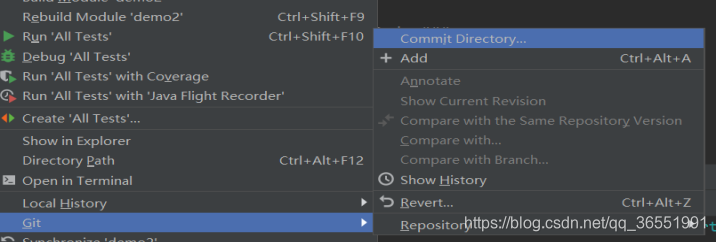
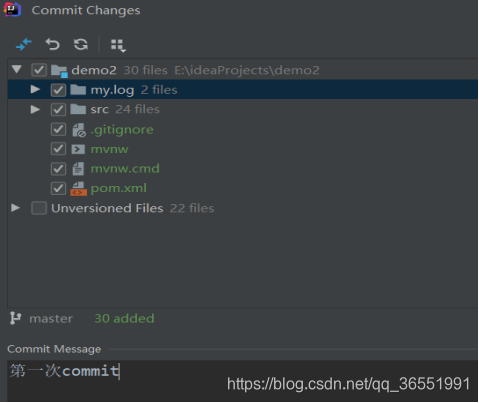
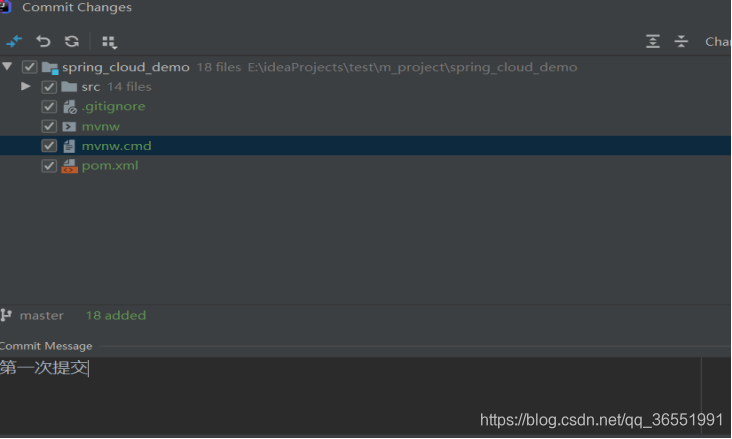
After adding, we can commit to the local warehouse, right-click the project, select Git, and select Commit Directory. After Commit, the file will return to its normal color.
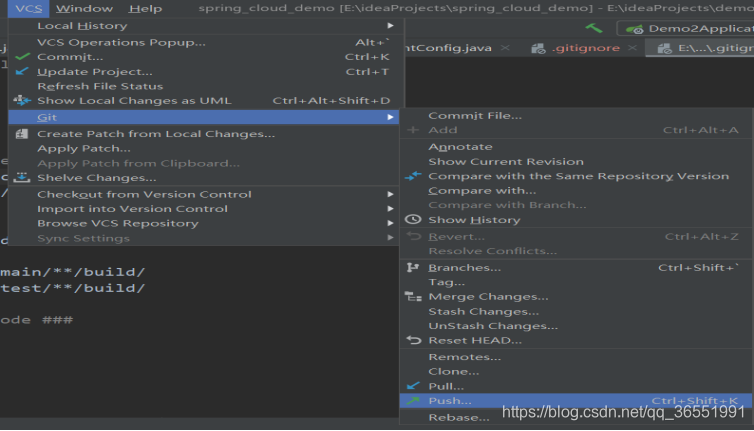
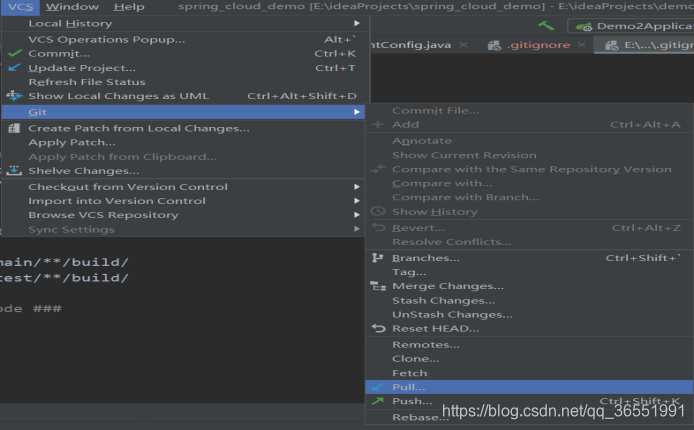
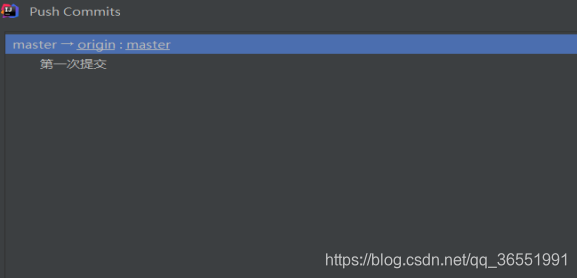
After committing the project, we can push the project to the gitlab remote warehouse, select Git of VCS, and click Push
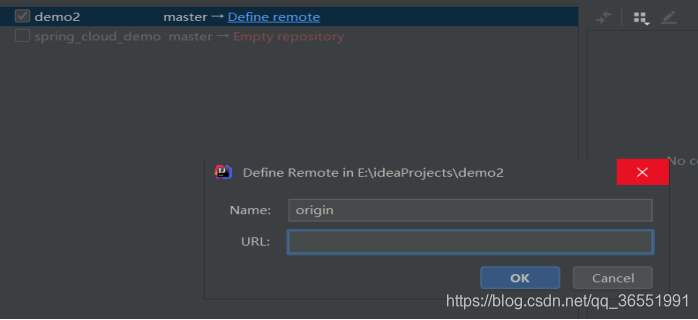
For the first push, idea will let us associate the remote warehouse, click Define remote, and fill in the url address of our gitlab warehouse in the url.
After filling in the url of the warehouse, the local git warehouse is associated with the remote git warehouse. At this time, do not push our project immediately, but first pull the remote branch to the local
If we pull items when refusing to merge unrelated histories
Refusing to merge unrelated histories means refusing to merge unrelated histories. The main reason for this problem is that the local warehouse and the remote warehouse are actually two independent warehouses. If I used a direct clone method to build a clone of the remote github warehouse locally, there would be no such problem.
We can use the --allow-unrelated-history option immediately after the pull command to solve the problem (this option can merge the history of two independent startup repositories).
Solution:
1、进入项目根目录,进入git命令窗口


2、输入:git pull origin master --allow-unrelated-histories
After the pull is successful, we can push the project again
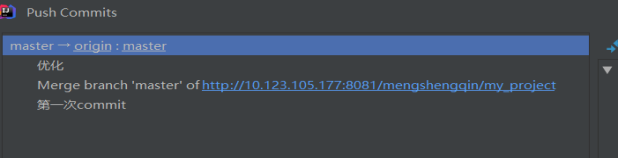
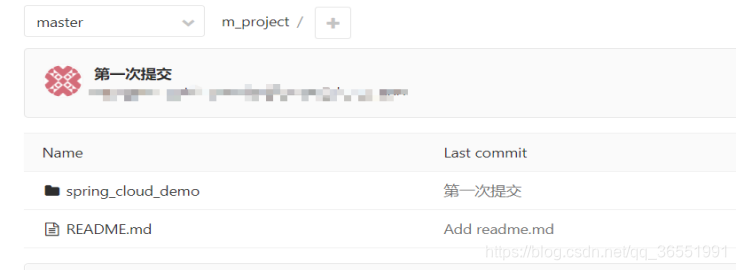
After the push is successful, we enter gitlab and we can see our project
Optimized upload method
The way we add the project to gitlab above is to push a project to gitlab. We can also first pull the gitlab project to the local warehouse, and then put the project in the local warehouse and then push, which can reduce a lot of git related problems
step:
1. Create a new project in gitlab (new project)
2. Pull the project locally (either git or idea is fine)
After I

cloned the idea , it will prompt us whether to generate the idea project. Choose no, because the project has not been initialized.

Copy our project to the version control directory
Before copying:

After copying: After
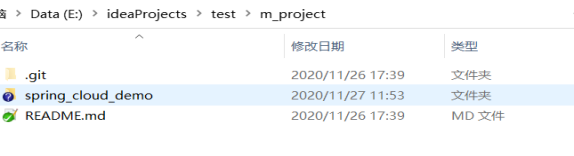
putting the project in the version control directory, open the project with idea, open the project, we can find that the file is red, indicating that it is already in the local warehouse

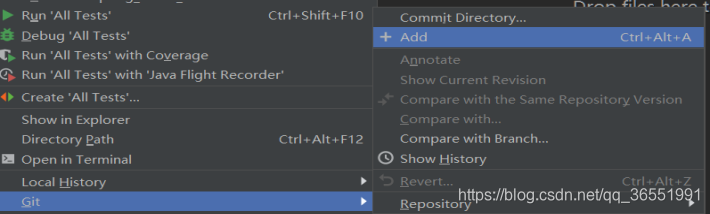
Right-click the item to open the menu and add all files to the temporary storage area:
After adding the file, directly after committing the
commit code, you can directly push the code to the remote server, because our local warehouse is cloned from the remote warehouse, so it is already associated, and you can directly pull and push (compared to the previous method) , A lot simpler)
Push is successful, we can see our code on gitlab