
Author | Ling Hao
Source | Jie Ge's IT Journey
1. The preface states that
Ubuntu may be able to become an office/learning Linux system, whether it is an initial Linux novice or a shell script master, in some specific environments, the use of Windows is unavoidable. This article will detail Introduce the installation of Oracle Virtualox on UBuntu 18.04 LTS, which enables you to install Windows, Centos, Kaili and other systems in Ubuntu for study or work. The article is divided into two parts. The first part is to install Oracle Virtualox in Ubuntu, and the second part In order to cooperate with phpVirtualBox and Apache web server to make Oracle VirtualBox a headless server, you only need to open a browser on the same terminal on any network to access and control Oracle VirtualBox through the Web, and then you can install the virtual machine directly. Speaking, it is similar to the Web access interface of Vmware ESXI 6.5!
2. Prerequisites
2.1 Before installing Oracle VirtualBox, the Ubuntu 18.04 LTS server needs to meet three prerequisites. You need to run the following commands one by one to update the Ubuntu server (note: the following operations need to connect to the Internet)
Enter the command:
sudo apt update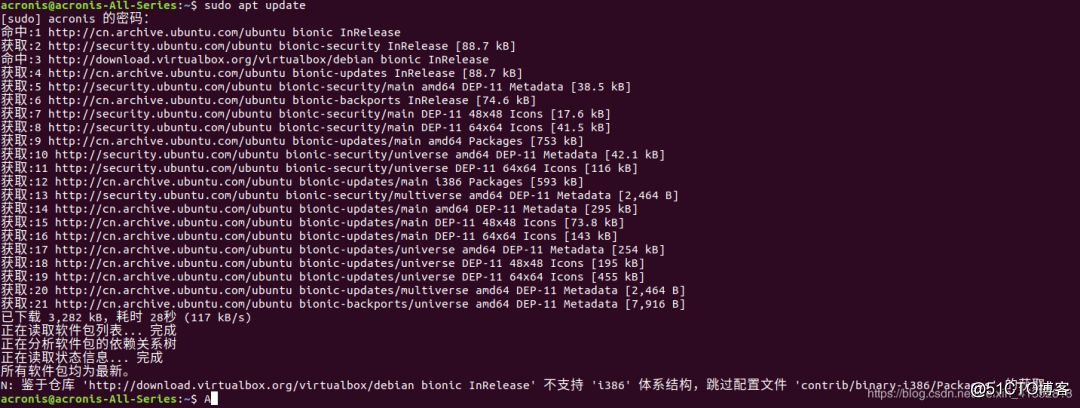
Enter the command:
sudo apt upgrade sudo apt dist-upgrade
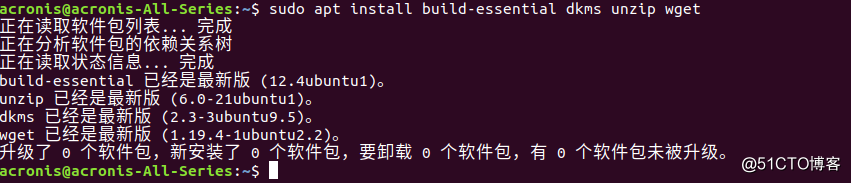
2.2 The dependency package build-essential required to install Oracle VirtualBox
Enter the command:
sudo apt install build-essential dkms unzip wget
2.3 After installing all the updates and necessary packages, restart the Ubuntu server
Enter the command:
sudo reboot

3. Install Oracle VirtualBox
3.1 To add the official warehouse address of Oracle VirtualBox, you need to edit the /etc/apt/sources.list file:
Use vi or nano to open a text file for editing:
Choose one of the following methods
vi method:
enter the command:
sudo vi /etc/apt/sources.list

Use the vi editor to open the configuration file
Nano method:
enter the command:
sudo nano /etc/apt/sources.list
3.2 After opening the configuration file, add a line of content to add the repository source of virtualbox to the end of the sources.list configuration file
3.3 Add content:
Enter the command:
deb http://download.virtualbox.org/virtualbox/debian bionic contrib

Use vi text editor to write virtualbox official source
【note! bionic is the code name of the release version, replace the keyword bionic with the code name of the Ubuntu release version, such as xenial, vivid, utopic, trusty, raring, quantal, precise, lucid, jessie, wheezy, squeeze, etc., check the version code command : Sudo lsb_release -a, after typing in the terminal, the last line will display Codename: bionic is the release version code name, generally if it is Ubuntu 18.04 LTS version, you can ignore this prompt]
3.4 Use the vi command to edit, press the ESC key to exit the insert mode, and then enter: wq! Just save and force exit, use the nano command to edit, press ctrl+x, a prompt will pop up, prompting whether to save, enter y to save;

After editing, press esc and then press: wq! to save and force exit
3.5 Add Oracle public key
[Note, wget download tool is required, if it is a minimal installation, it is recommended to use the command sudo apt-get install wget under the premise of connecting to the Internet Install download tool]
Enter the command:
wget -q https://www.virtualbox.org/download/oracle_vbox_2016.asc -O- | sudo apt-key add-

Add Oracle VM public key
If this command does not work, it is recommended to try the old version of Oracle public key
Old version public key:
enter the command:
wget -q https://www.virtualbox.org/download/oracle_vbox.asc -O- | sudo apt-key add-

Old version Oracle public key
3.6 Install Oracle VirtualBox
Enter the command:
sudo apt install virtualbox-5.2
If the download is too slow for ordinary users, it is recommended to change the static IP, DNS to 8.8.8.8 and replace the root account to download

Install virtualbox
After the installation is complete, click the nine-square grid chart in the lower left corner, and you can see that Oracle virtualbox has been installed successfully. If the graphical interface is not installed, check whether the kernel module of virtualbox is loaded.
View kernel module loading status command
Enter the command:
sudo systemctl status vboxdrv
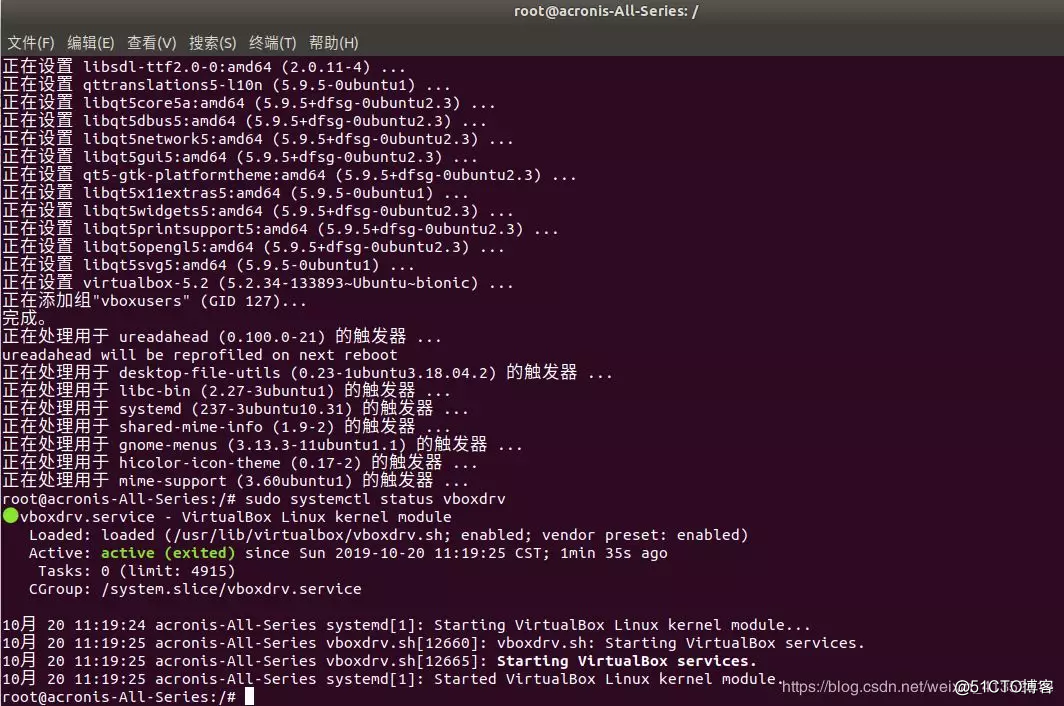
Screenshot of boxdrv running normal
desktop icon
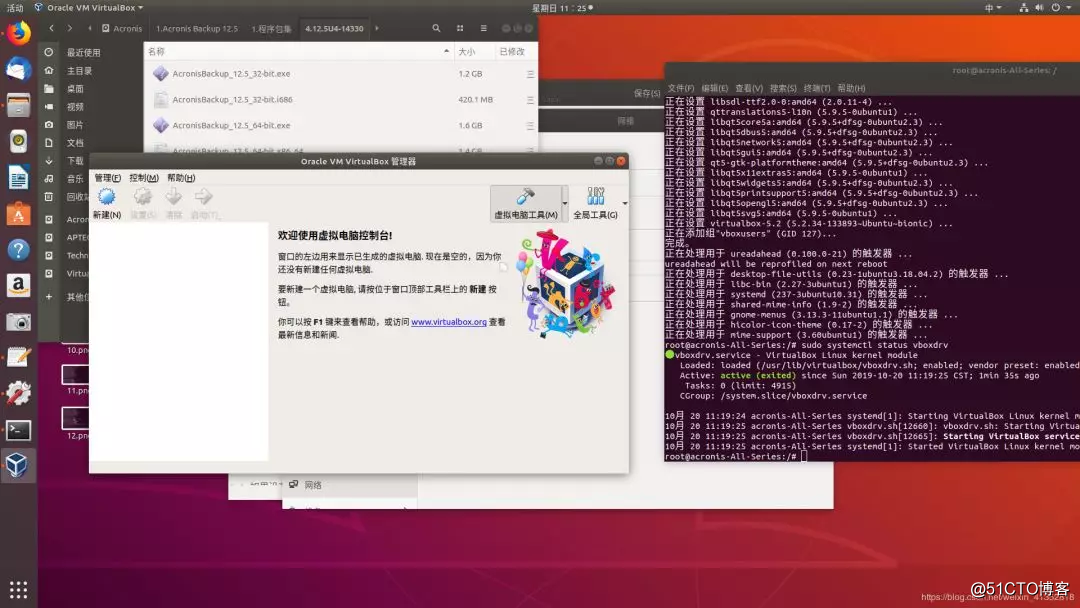
Graphical interface to verify whether the installation is successful
4. Install VirtualBox expansion pack The
expansion pack is VirtualBox, which mainly provides five functions for the guest system
虚拟的 USB 2.0 (EHCI) 驱动
VirtualBox 远程桌面协议(VRDP)支持
宿主机网络摄像头直通
Intel PXE 引导 ROM
对 Linux 宿主机上的 PCI 直通提供支持
Official website address:
https://www.virtualbox.org/wiki/Downloads
4.1 Download the latest version of the expansion pack for VirtualBox 5.2.x
Enter the command:
wget https://download.virtualbox.org/virtualbox/5.2.14/Oracle_VM_VirtualBox_Extension_Pack-5.2.14.vbox-extpack
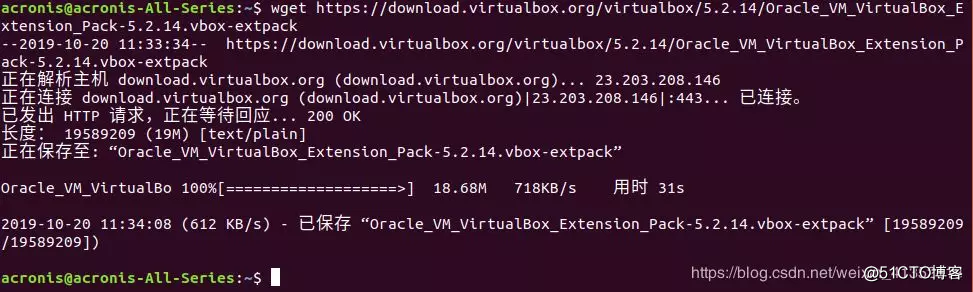
Download the expansion package to complete
4.2 Use the command to install the expansion package
Enter the command:
sudo VBoxManage extpack install Oracle_VM_VirtualBox_Extension_Pack-5.2.14.vbox-extpack
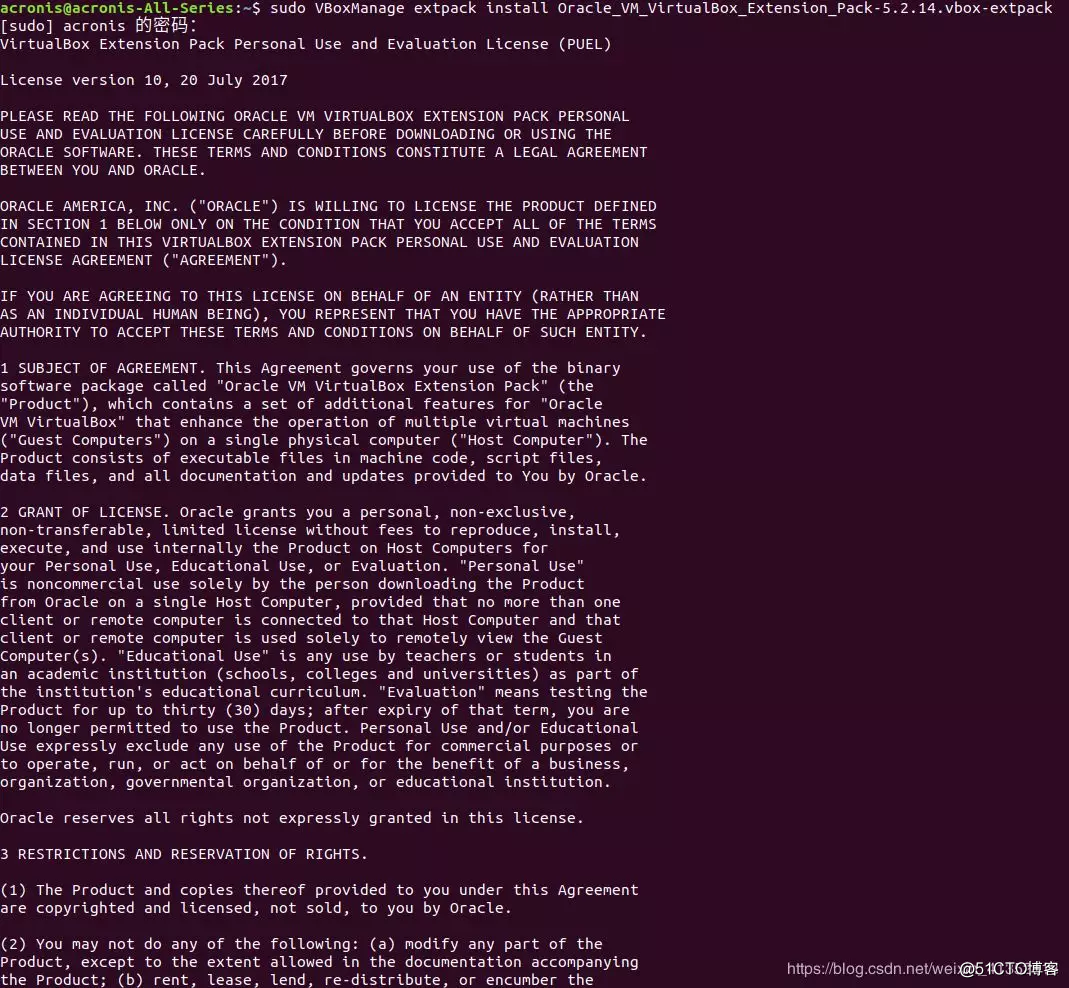
Installation agreement 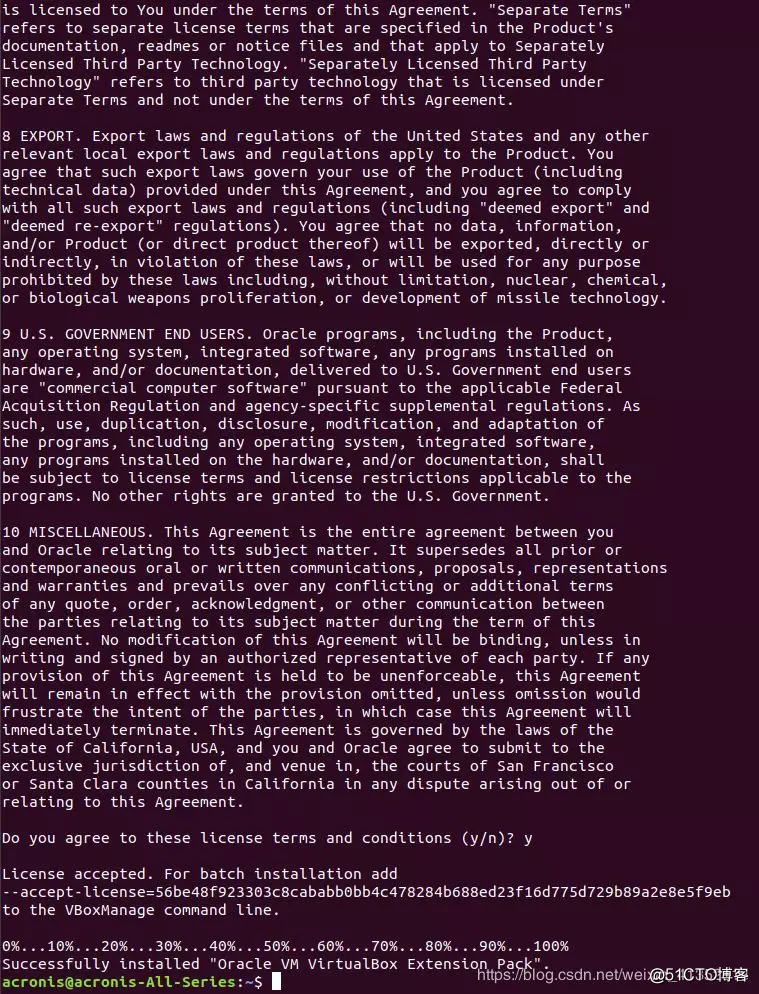
enter y to install
Fortunately, I have successfully installed the Oracle VirtualBox extension package on the Ubuntu 18.04 LTS server. Then you can deploy the virtual machine on the command line. Refer to the official virtualbox guide.
Virtualbox official guide link:
https://www.virtualbox.org/manual/ch08.html
The more embarrassing thing is that not everyone is good at using the command line. Some people may want to create and use a virtual machine in a graphical interface. It does not matter. Next, we will install the phpVirtualBox tool. This interface is really friendly.
5. What is phpVirtualBox?
It is stated in advance that phpVirtualBox is a free web-based Oracle VirtualBox backend. It is said that a big guy used PHP for development. With phpVirtualBox, we can easily create, delete, and delete files from any system on the network through a web browser. Managing and executing virtual machines, perhaps this is indeed a boon for me, my obsessive-compulsive disorder, which requires even documentation.
5.1 Prerequisites for installing phpVirtualBox
Since phpVirtualBox is based on web tools, we need to install Apache web, PHP, and PHP module components first
Enter the command:
sudo apt install apache2 php php-mysql libapache2-mod-php php-soap php-xml

Install apache and php etc.
5.2 Download phpVirtualBox
to download phpVirtualBox 5.2.x version, please note that since we have already installed VirtualBox version 5.2, we must also install phpVirtualBox 5.2 version.
Enter the command:
wget https://github.com/phpvirtualbox/phpvirtualbox/archive/5.2-0.zip
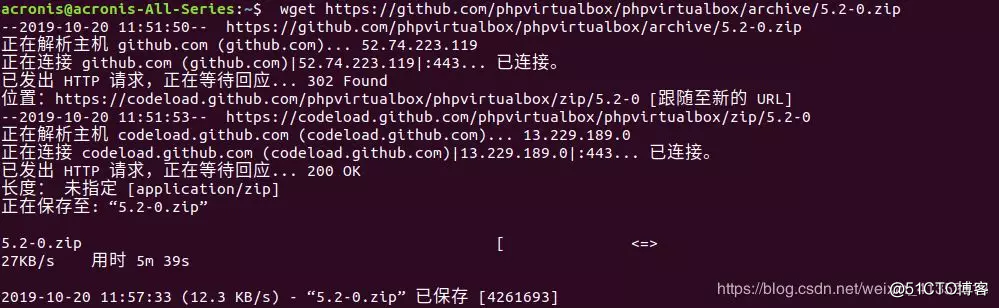
Download phpVirtualBox 5.2
After downloading, unzip the downloaded installation package to a folder named phpvirtualbox-5.2-0:
Enter the command:
unzip 5.2-0.zip
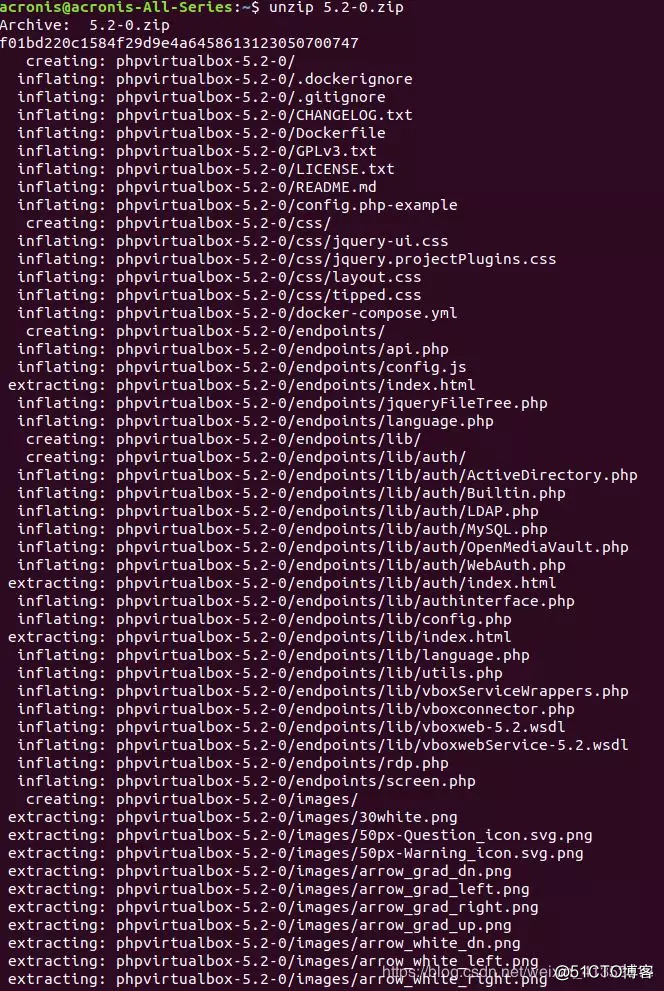
Unzip the zip package
5.3 Move phpvirtualbox-5.2-0 to the root directory of the apache server
Enter the command:
sudo mv phpvirtualbox-5.2-0/ /var/www/html/phpvirtualbox
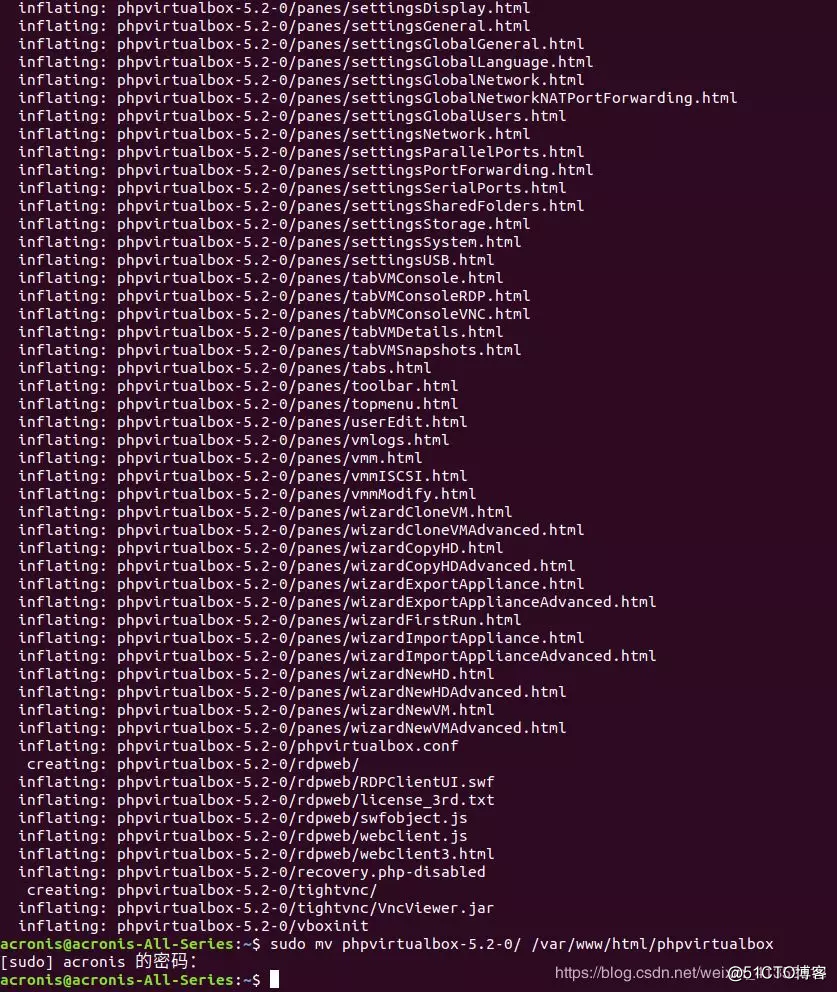
Move the decompressed files to the apache root directory
5.4 Assign appropriate permissions to the phpvirtualbox folder
Enter the command:
sudo chmod 777 /var/www/html/phpvirtualbox/

Give permission
6. Configure phpVirtualBox
6.1 Copy the config.php-example configuration file in /var/www/html/phpvirtualbox/ to /var/www/html/phpvirtualbox/ and name it config.php
Enter the command:
sudo cp /var/www/html/phpvirtualbox/config.php-example /var/www/html/phpvirtualbox/config.php

config.php-example configuration file copy
6.2 vim edit phpVirtualBox config.php file
If you cannot find the command vim, please install the vim text editor
Command:
sudo apt-get install vim
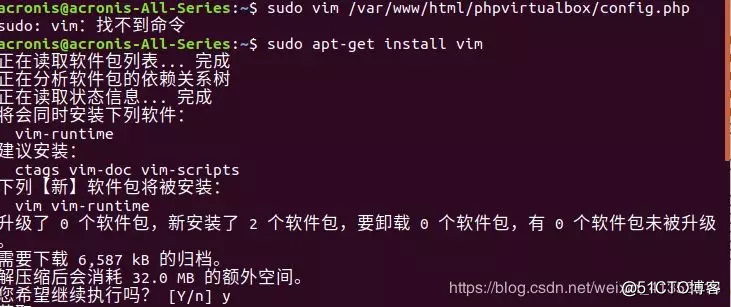
Execute the installation vim tool
6.3 Modify the config.php configuration file
sudo vim /var/www/html/phpvirtualbox/config.php

Edit configuration file
Find lines 11 and 12, and replace acronis and abc-123 with your system's username and password (the username used in the previous section "Adding a user to the VirtualBox group")
Configuration file modification content:
var username ='your user name'; var password ='user name password';
In my environment, the Ubuntu system username is acronis, and its password is abc-123, so the parameters I modified are as shown in the figure below
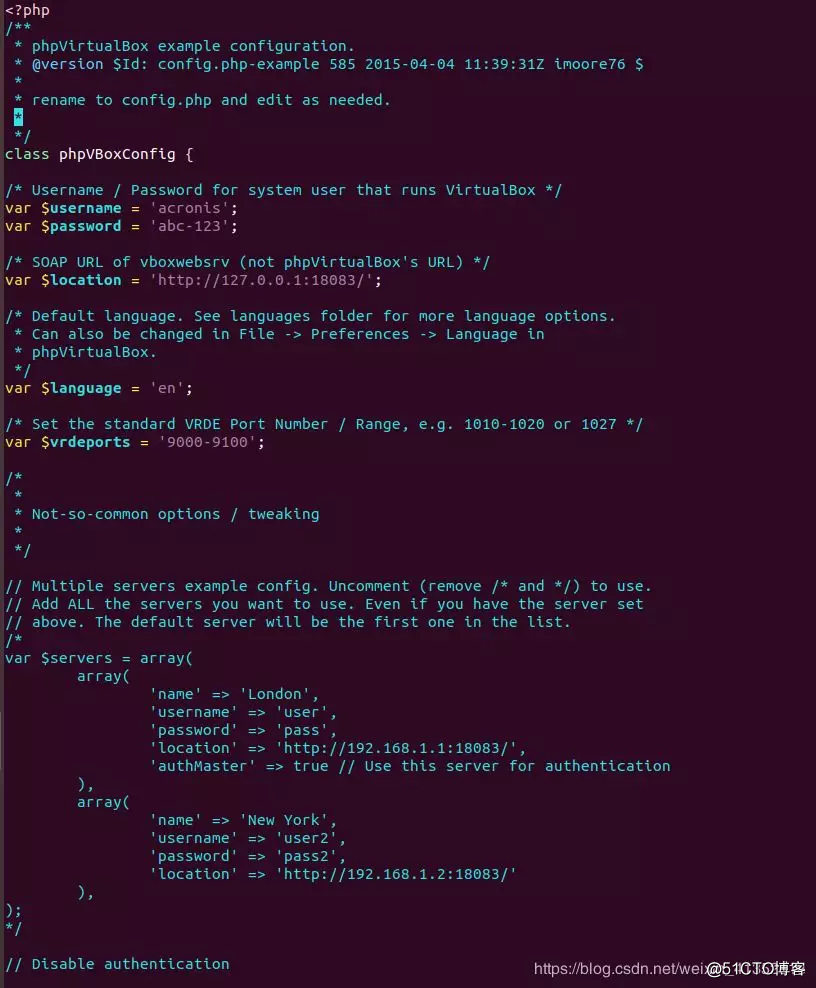
Modify the configuration file
After the modification is completed, as before, press the ESC key first, and then: wq! Save and force exit.
6.4 Create a new text file called virtualbox in the /etc/default/ directory
Enter the command:
sudo vim /etc/default/virtualbox

Create virtualbox file
After entering, press a to enter the insert and write exploration, add a line of content, replace acronis with your own system user
Input content:
VBOXWEB_USER=acronis 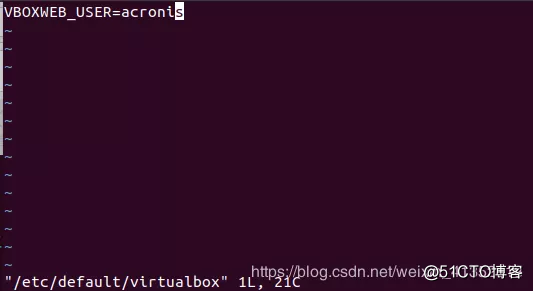
modify configuration file parameters
6.5 Finally, restart the three services vboxweb-service, vboxdrv, and apache2 to complete the entire configuration. note! Not to restart the server, but to restart the service!
输入命令:
sudo systemctl restart vboxweb-service sudo systemctl restart vboxdrv sudo systemctl restart apache2

Restart boxweb, boxdrv, and apache2 services respectively.
7. Allow connection to Apache web server-adjust firewall.
If UFW is enabled on Ubuntu 18.04 LTS, then by default, apache web server cannot be accessed by any remote system, and http and https traffic is allowed to pass through UFW.
7.1 Check which apps have been installed in the policy
Enter the command:
sudo ufw app list
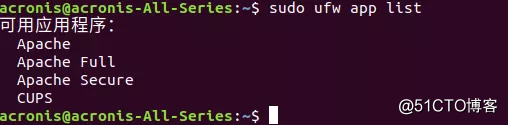
View firewall policy
As you think, Apache and OpenSSH should have been installed in the UFW policy file
7.2 Check whether the policy allows traffic to reach ports 80 and 443
Enter the command:
sudo ufw app info "Apache Full"

Check whether the policy allows ports 80 and 443.
Apache Full is seen in the policy, indicating that it allows traffic to reach ports 80 and 443
7.3 Enable HTTP and HTTPS inbound traffic in the policy
Enter the command:
sudo ufw allow in "Apache Full"

7.4 I want to enable a policy to allow https port 80 traffic
Enter the command:
sudo ufw app info "Apache"

8. Finally-access the web console of phpVirtualBox
8.1 Use any terminal in the same network environment to open a web browser to access and enter in the browser navigation address bar:
http://IP-address-of-virtualbox-headless-server/phpvirtualbox
8.2 Don't know the IP address? It doesn't matter, check the address through ip addr
Enter the command
ip addr
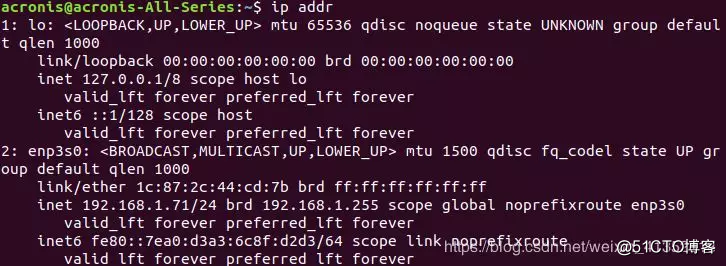
Insert picture description here
As you can see from the picture above, my network card is enp3s0 and the IP address is 192.168.1.74
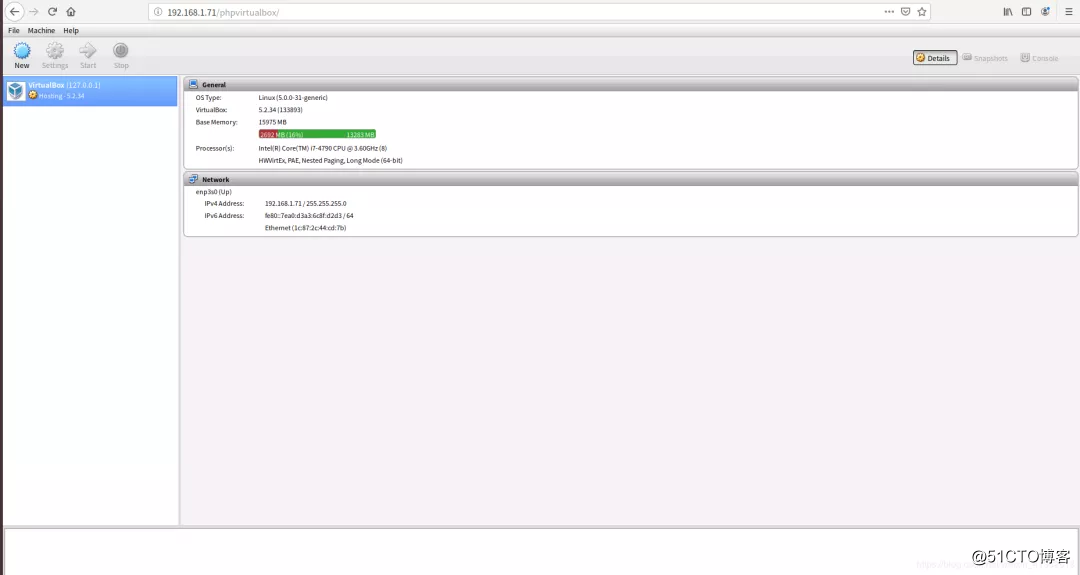
In my environment, I enter the link http://192.168.1.71/phpvirtualbox through a web browser
After entering the address, the web browser has been successfully accessed. Enter the phpVirtualBox administrator user credentials. The
default administrator account and password are admin/admin
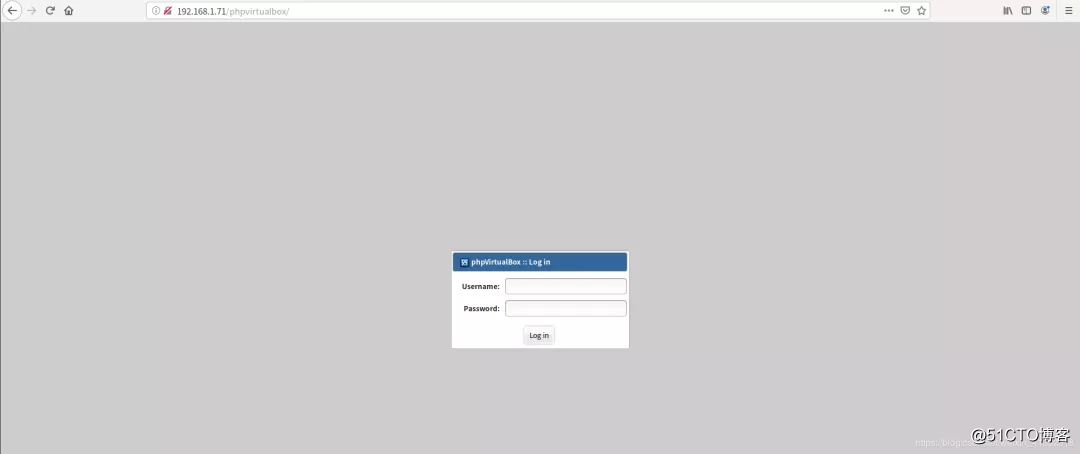
Insert the picture description here and
now you have entered the phpVirtualBox management panel
The construction has been completed, what do you think of the difficulty? Personally, I feel that the most pitted part of the Ubuntu system is the installation. After the installation is completed, sodo apt-get update is required. Secondly, the network download speed is also preferentially optimized. Now you can create your virtual machine from the phpvirtualbox management panel. As I mentioned earlier, you can access phpVirtualBox via the Web from any client in the same network environment, all you need is a web browser and a phpVirtualBox username and password.
If virtualization support is not enabled in the BIOS of your physical machine system (not the guest machine), phpVirtualBox only allows you to create a 32-bit virtual machine. To install a 64-bit virtual machine, you must enable virtualization support in the host BIOS.
Recommendations for enabling bios virtualization:
You can find some options similar to "virtualization" or "hypervisor" in the BIOS, just make sure it is enabled.