I recently applied for the school's remote server resources, and adding my own scum notebook is really a bit tricky, so I thought about deploying the computing environment on the Linux server, connecting to the remote server through pycharm and debugging the code. Get it up!
Article Directory
pycharm connects to remote server
Set up remote connection configuration
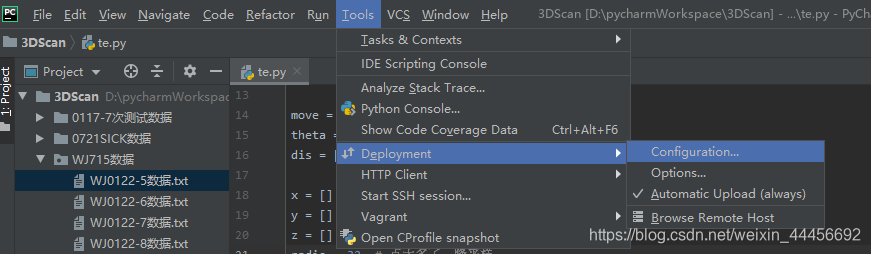
Open the configuration panel
In the configuration panel, you can give your current connection a name. This name is used to distinguish which server you are connected to.
There are three tabs below in turn: connection, mappings, excluded paths
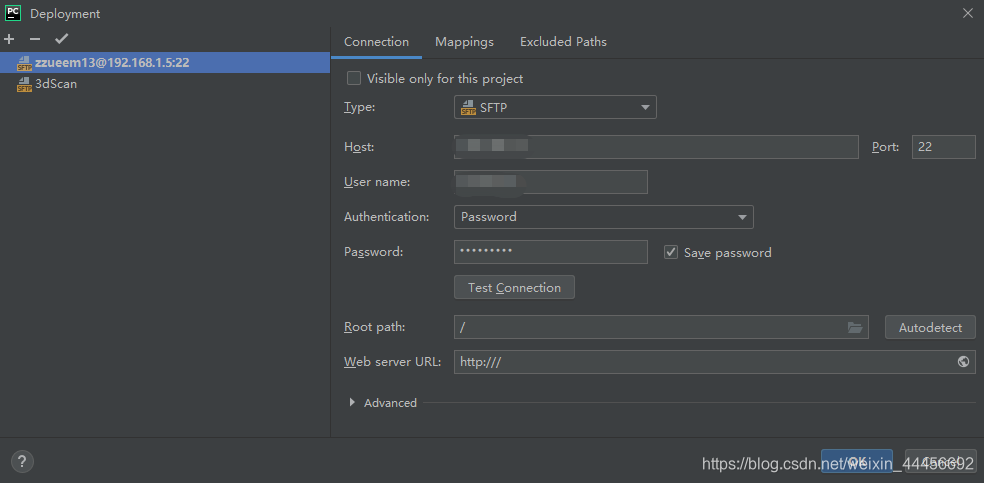
1 Configure the connection
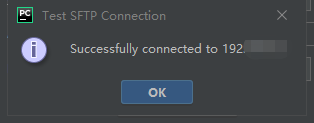
Connection is the basic connection configuration. We generally choose SFTP for the type. The host name is the ip address you connect to the Linuxf server. The port number defaults to 22. Then you can click the Test SFTP connection button to test whether the connection is smooth.
Then add root path root directory, here you can click automatic detection. (The root directory automatically detected is /, of course, you can also set it as your home directory.)
Then there is the username and password you use to connect to the Linux server. You can check the save password to save the password.
2 Configure the mapping relationship
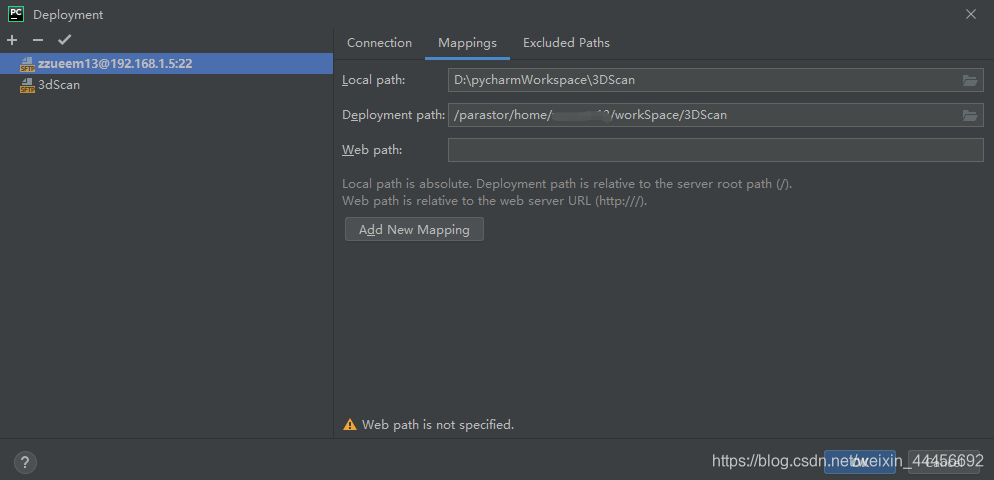
The local path requires you to fill in the local project name path, and then the name of the project deployed to the server. These two can be the same or not.
When the consistency is maintained, it means that you only need to remotely map the current project, that is, you only plan to run this project remotely, then finally pychram will upload this project to the server where you write the second path.
If you need to run multiple projects remotely, then you can roll back the local path to one level, which will contain many projects. Similarly on the linux server you can create a folder dedicated to storing all items.
This has another drawback, that is, upload all the content in your local pythonWorkSpace to the linux server's mapped pythonWorkSpace folder. Sometimes some files are not uploaded, and some do not need to be uploaded, such as .idea. Then we can use the third tab.
3 Configure the ignore path (optional)
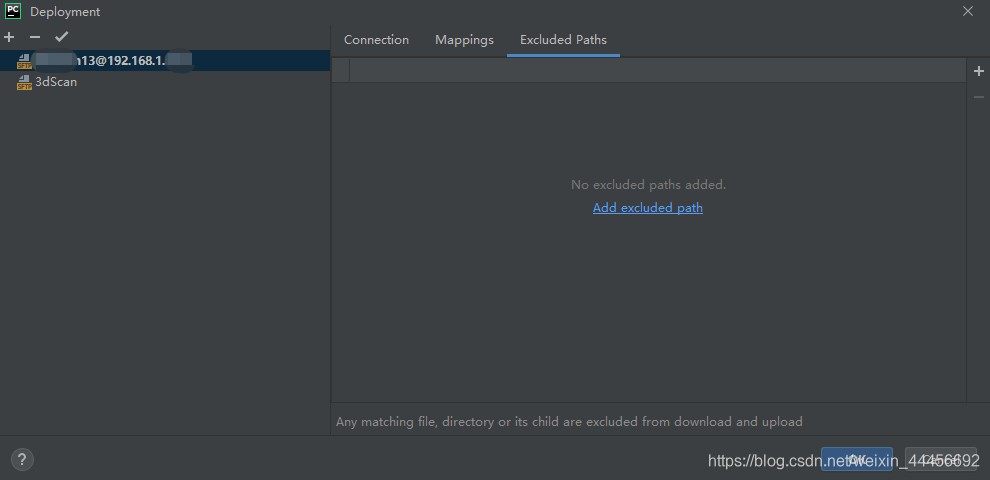
My pythonWorkSpace contains a lot of projects, these projects I overlooked will not be uploaded to the remote linux, when you remove one of the paths, then the project will be uploaded to the remote, at this time it is successfully mapped to linux And supports remote operation.
4 Add remote Python interprater
It's not enough to do the remote mapping. This step is just for your pycharm to find the file smoothly, so how do you let pycharm tell linux what to use to execute your code. You also need to add a remote runtime environment, from file–>settings–>project:yourprojectName --> Project Interpreter -->add -->SSH Interpreter.
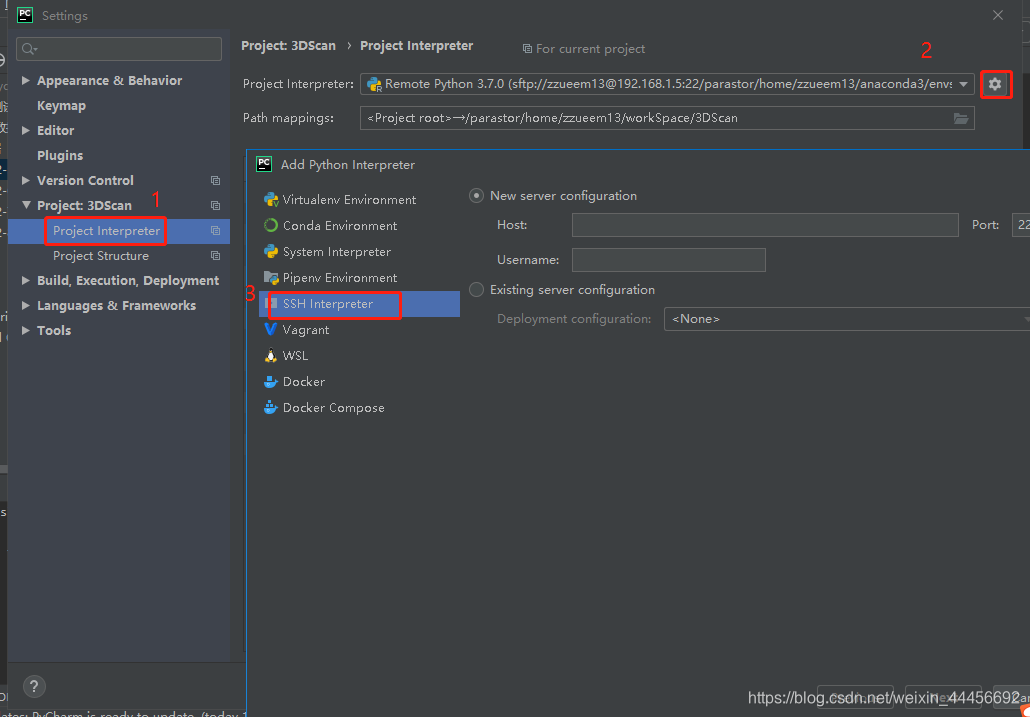
Then fill in your linux ip address, and your user name to log in to linux, and click next.
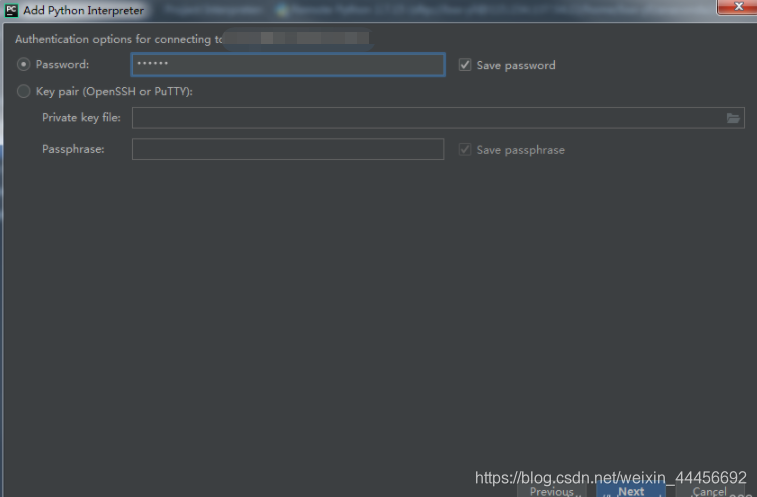
Next, you will be asked to enter the password. Of course, you can use the putty key. Use the password directly here, and then click next.
After clicking, you will see such a panel. These three parameters are very important. The first parameter is the python version you want to run. For example, I installed anaconda3 on Linux. I have python3.7 version in anaconda3, and the default version of /usr/bin/python comes with the linux system. Which one to use, please choose according to your own project.
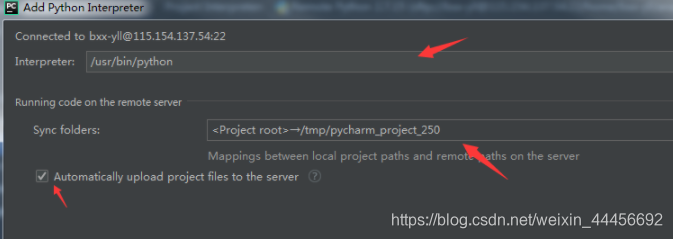
==The second Sync folder is the runtime environment mapping, which indicates which folder the runtime environment is used in. == Here of course, we must fill in the project path that we filled in in the first step, == This will automatically place you locally Upload the project file to the remote location pointed by the arrow, == For example, here I fill in /home/bxx-yll/mytest (bxx-yll is my user name, mytest is my project name)
With the basic operations of the first two steps, the remaining step is to specify the operating environment for the python file you want to run.
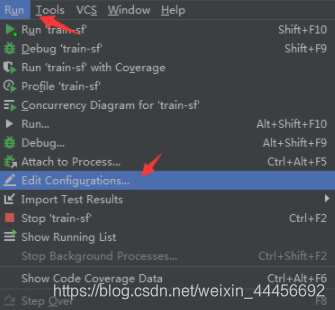
Click on these two options in turn to open our running configuration panel:
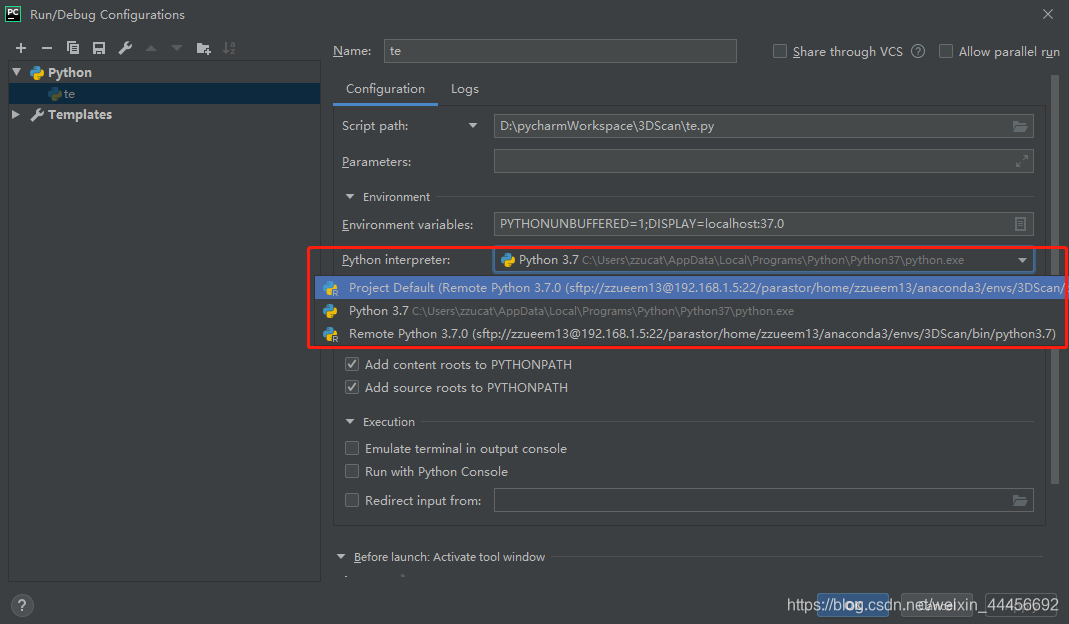
In the running configuration panel, you can select the python environment you need to run the current code, here because my local computer is configured with a python3.7, and the linux server has Anaconda3 python3 .7, so that I can run my code in different versions, one environment can run one code, that is, I can run code in two environments at the same time on pycharm.
Reference: https://blog.csdn.net/yeler082/article/details/83818771
Others:
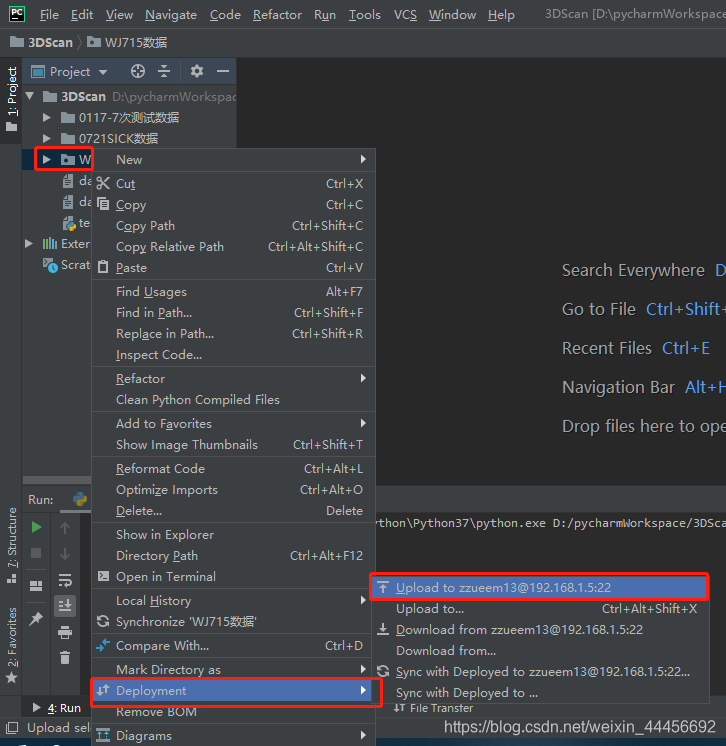
Sometimes the synchronization file will not be synchronized. You can right-click the file to be synchronized and upload it according to the following operations: