Zabbix recommends using nginx server, which has higher performance. In order to meet secure access, https now needs to be configured, mainly to configure the ssl module of nginx, and to generate a certificate file corresponding to zabbix-server
Zabbix 5.0 has been installed before, and the selected configuration environment is as follows:
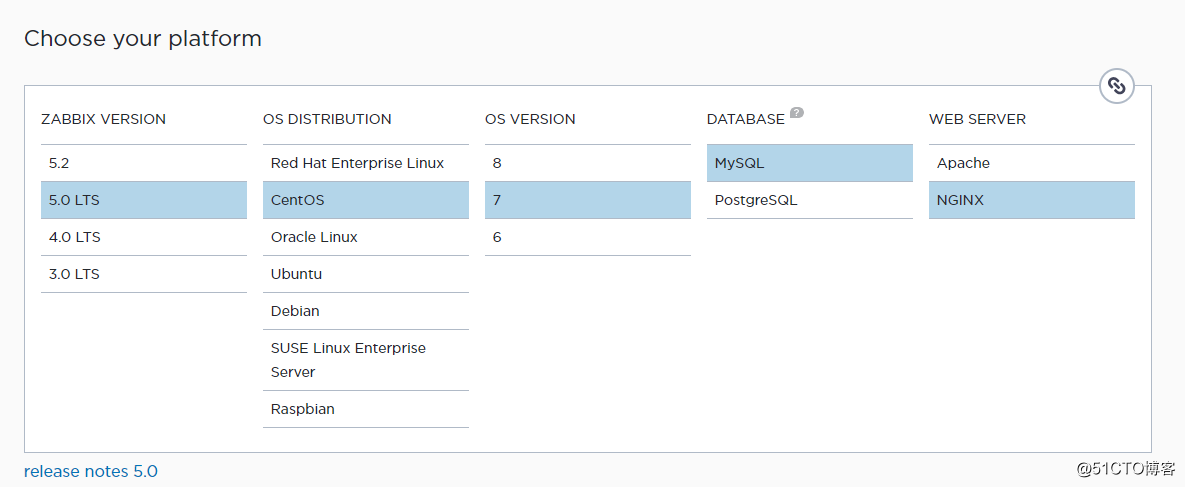
For the detailed installation method, see the official document:
https://www.zabbix.com/download?zabbix=5.0&os_distribution=centos&os_version=7&db=mysql&ws=nginx
Note that the version of nginx I used is inconsistent with the recommended version, please configure nginx according to the actual situation
Nginx SSL module installation
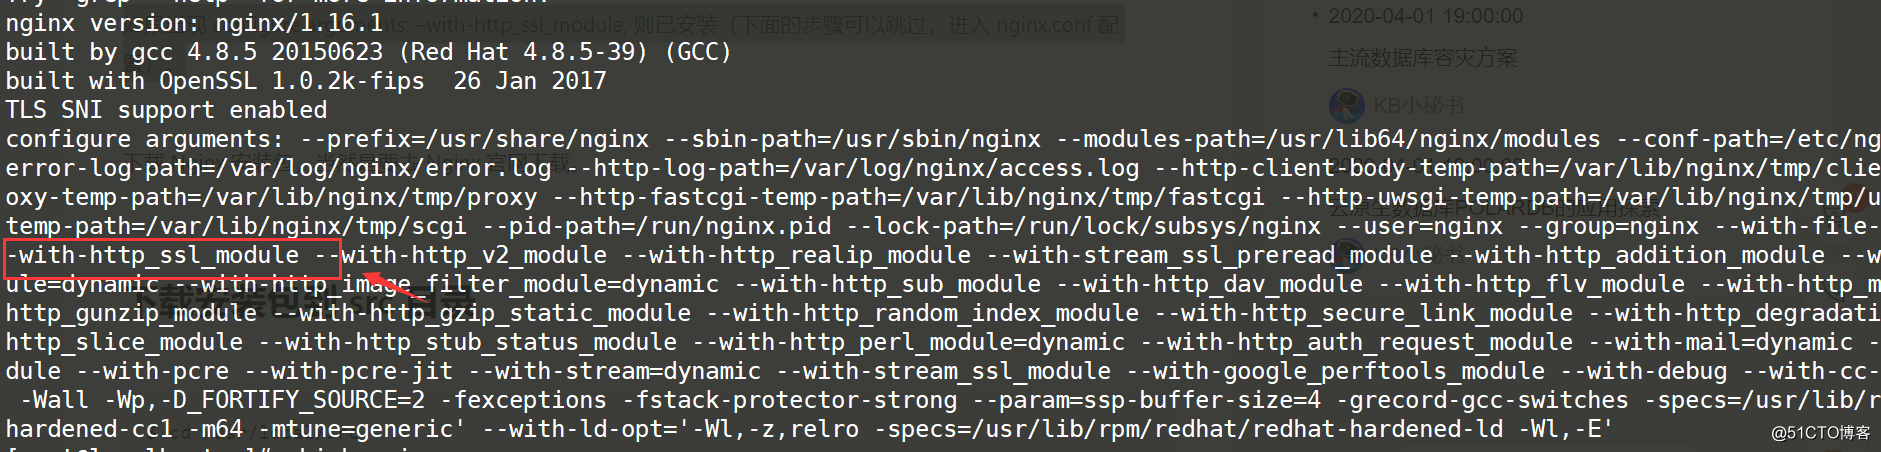
Check whether nginx installs the http_ssl_module module.
/usr/sbin/nginx -VIf configure arguments: --with-http_ssl_module appears, it is installed
I use nginx installed by yum, with its own ssl module. Because nginx cannot dynamically update modules, when you need to load a module, you need to recompile and install it.
Every time you add a new module, you must add the previously compiled module to the configure parameter.
Every time you add a new module, you must first record the previous configuration.
There are many online tutorials for compiling and installing nginx.
Use opnenssl to generate a certificate
You can apply for a certificate for free or paid at a large cloud computing manufacturer. The following is how Alibaba Cloud applies for a certificate for free
https://common-buy.aliyun.com/?spm=5176.15089375.4329286700.5.33ca1232so4ULs&commodityCode=cas#/buy The
certificate is generally valid for about one year.
However, the certificate must be bound to the domain name and must be strictly reviewed. It is not suitable for our intranet.
We can also use openssl to generate certificate information for free, but it is a bit troublesome.
Create a new directory to save certificate information
mkdir /etc/nginx/ssl
cd /etc/nginx/ssl
Use openssl tool to generate an RSA private key
First confirm whether the openssl tool has been installed
openssl version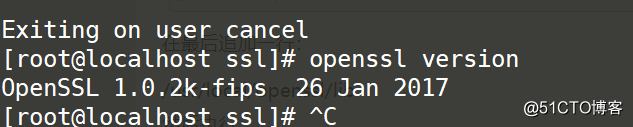
Generally centos comes with openssl tools, if not, please go to http://www.openssl.org official website to download and install.
Generate rsa private key
openssl genrsa -des3 -out server.key 2048As above: des3 is the algorithm, 2048 bit strength (for confidentiality). server.key is the name of the key file -out means: the path and name of the generated file.
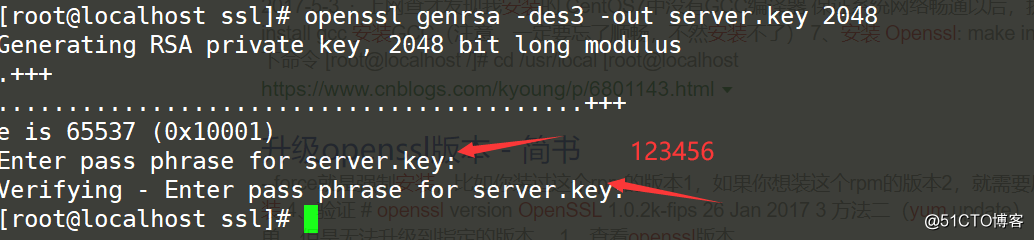
Encryption phrase, what I configure here is 123456
View the generated private key
openssl rsa -text -in server.key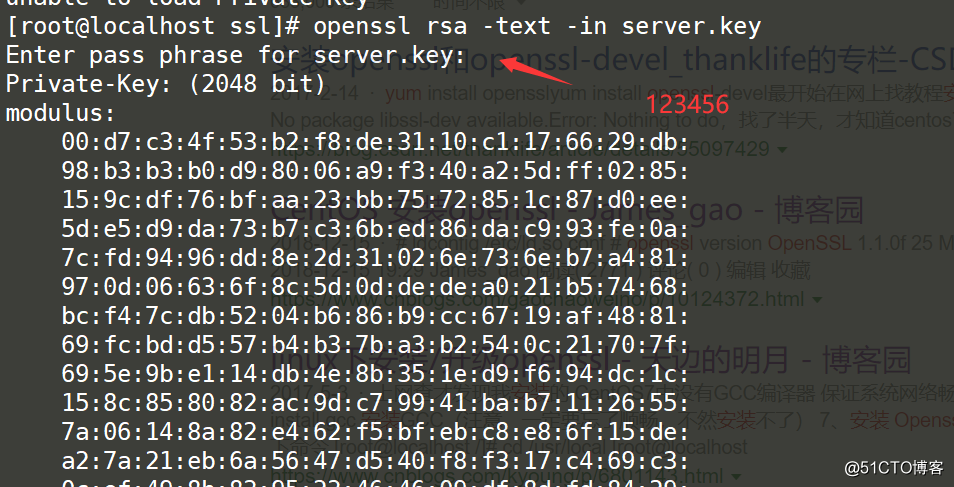
View generated key
cat server.key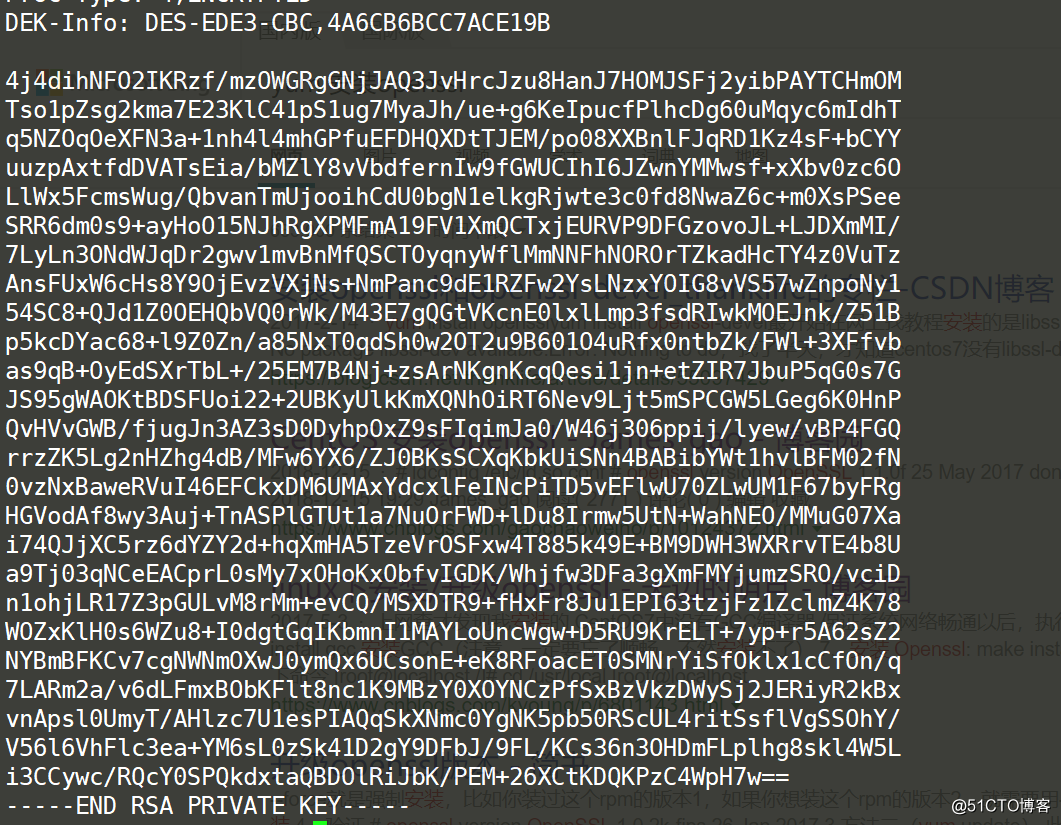
Create a certificate signing request CSR file
CSR (Certificate Signing Request) file. Before applying for a digital certificate, the key file and CSR file of the certificate must be generated. The CSR file is the original file of your public key certificate, which contains server information and unit information, and needs to be submitted to the CA certification center for review.
Use the following command
openssl req -new -key server.key -out server.csr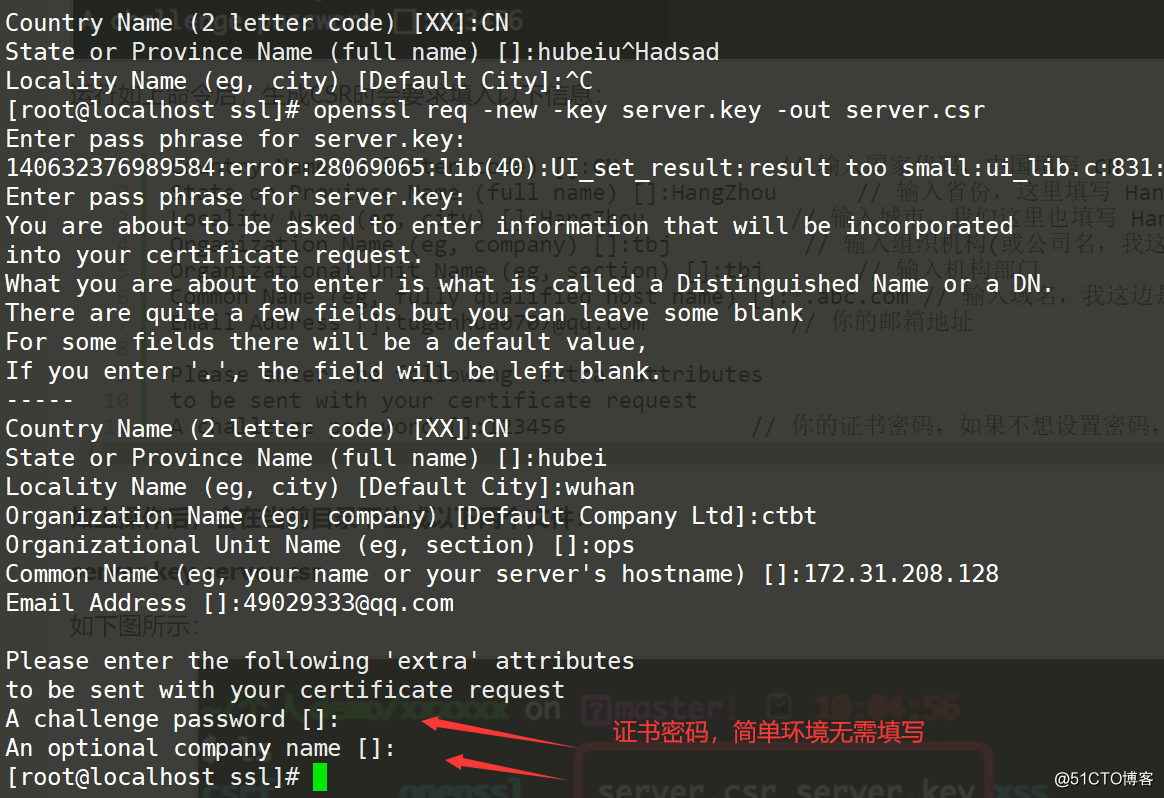
Description:
Enter pass phrase for server.key: #123456
You are about to be asked to enter information that will be incorporated
into your certificate request.
What you are about to enter is what is called a Distinguished Name or a DN.
There are quite a few fields but you can leave some blank
For some fields there will be a default value,
If you enter '.', the field will be left blank.
-----
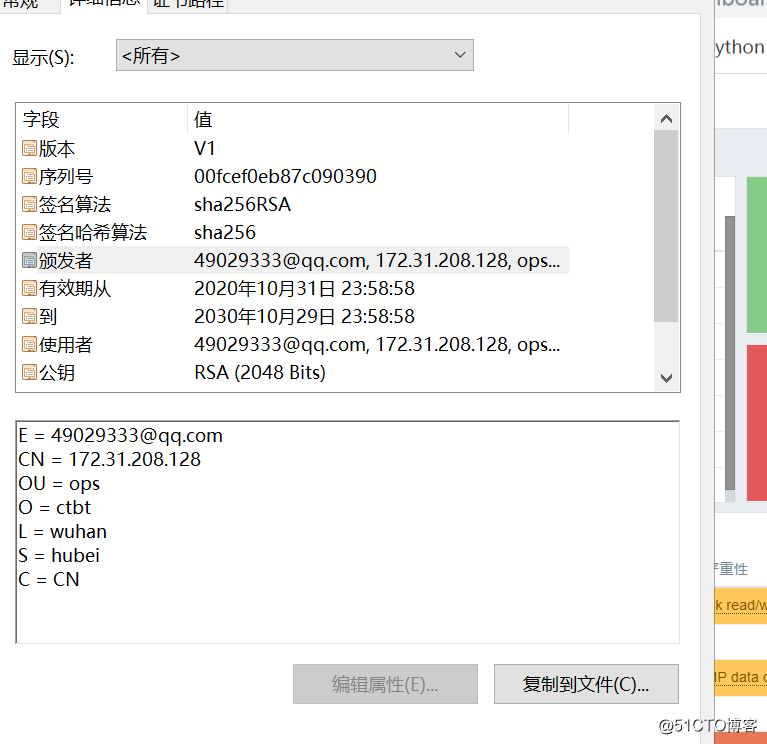
Country Name (2 letter code) [XX]:CN # 输入国家代码,中国填写 CN
State or Province Name (full name) []:hubei #省份
Locality Name (eg, city) [Default City]:wuhan #城市
Organization Name (eg, company) [Default Company Ltd]:ctbt #公司名 瞎填
Organizational Unit Name (eg, section) []:ops #部门瞎填
Common Name (eg, your name or your server's hostname) []:172.31.208.128 #域名,没有域名,我用IP地址
Email Address []:[email protected] #邮箱
Please enter the following 'extra' attributes
to be sent with your certificate request
A challenge password []: #无需填写After the above operation, the following two files will be generated in the current directory:
server.key server.csr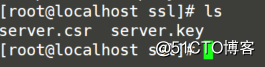
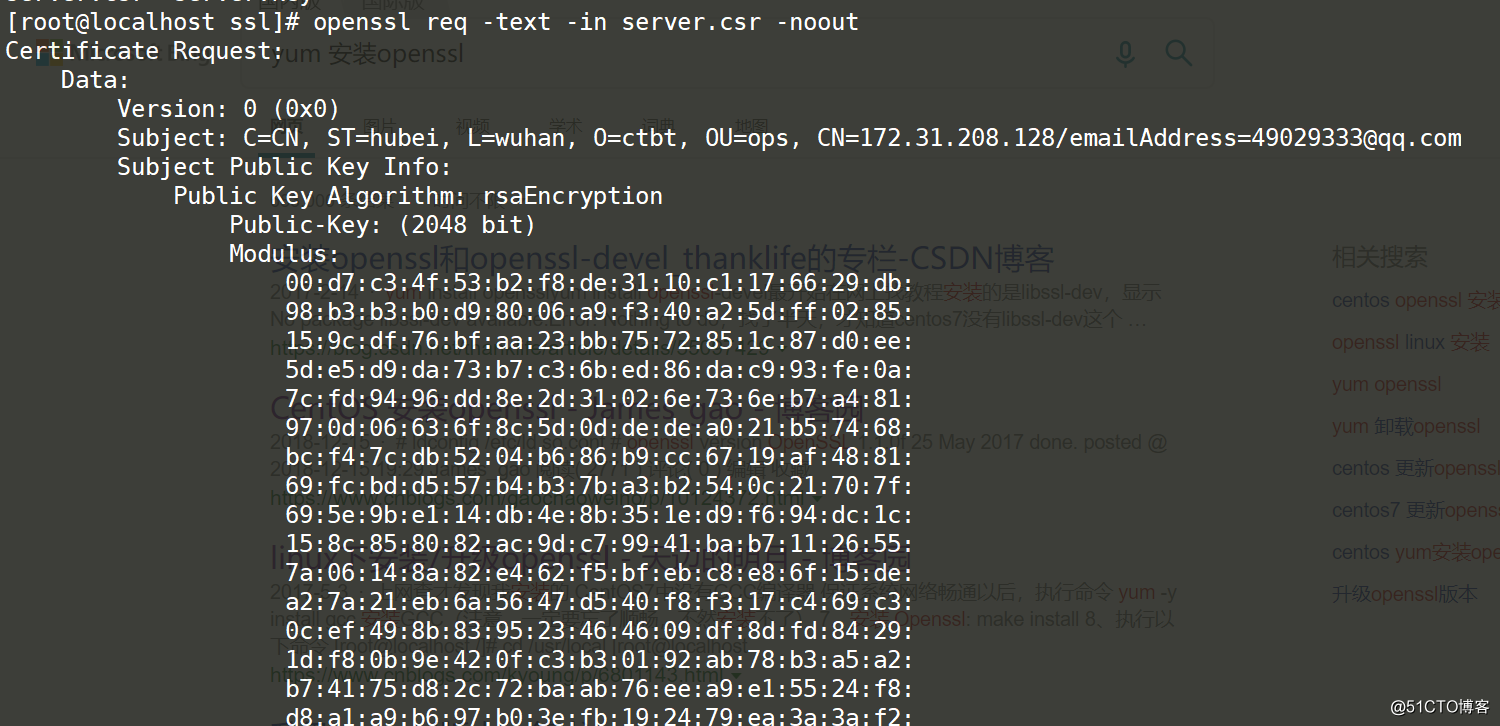
View csr file
openssl req -text -in server.csr -noout
Generate CA certificate
openssl x509 -req -days 3650 -in server.csr -signkey server.key -out server.crtThe meaning of x509: the meaning of the specified format-
in: the meaning of the specified request file-
signkey: self-signed
-days: valid period, I configure 3650 days, ten years

server.crt is the server certificate information
Peel off PEM pass phrase
After the PEM pass phrase (encrypted password) of the key is set, this situation may be that the password setting is written into the key file when setting the private key key, which causes the Nginx/Apache series of servers to require Enter PEM pass phrase when starting. As a result, the startup fails. What we need to do is to strip the password and use the following OpenSSL command to generate the server.key.unsecure file
openssl rsa -in server.key -out server.key.unsecure
It is recommended that a simple environment is not required to add a password to the certificate key or something, which is prone to problems
Because https is generally one-way authentication, simple environment does not need to use two-way authentication, no need to generate client certificate
If you need to generate a client certificate, it is similar to generating a CA certificate
openssl genrsa -out client.key 2048
openssl req -new -key client.key -out client.csr
openssl x509 -req -days 3650 -in client.csr -signkey client.key -out client.crt
nginx configure ssl
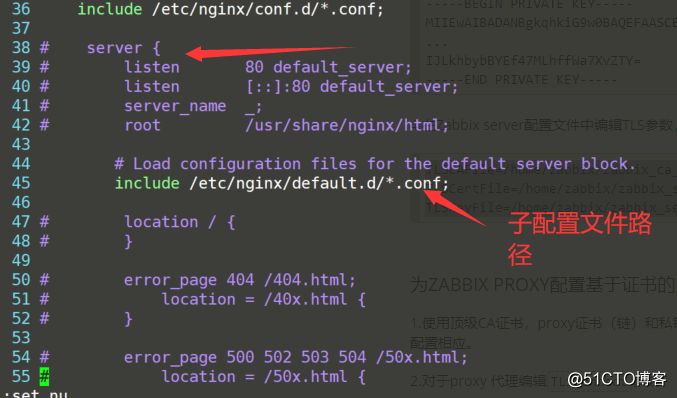
First edit /etc/nginx/ngnix.conf, comment out server 80, so that you will not access zabbix-web through port 80
cd /etc/nginx/
cp nginx.conf nginx.conf.bak
vim nginx.conf
Back up the configuration file before modification
Use the nginx -t command to check whether the configuration file syntax is correct after modification

Configure zabbix.conf under the /etc/nginx/conf.d path, which is the configuration of https
touch /etc/nginx/conf.d/zabbix.confEdit as follows
The following are the key configuration files
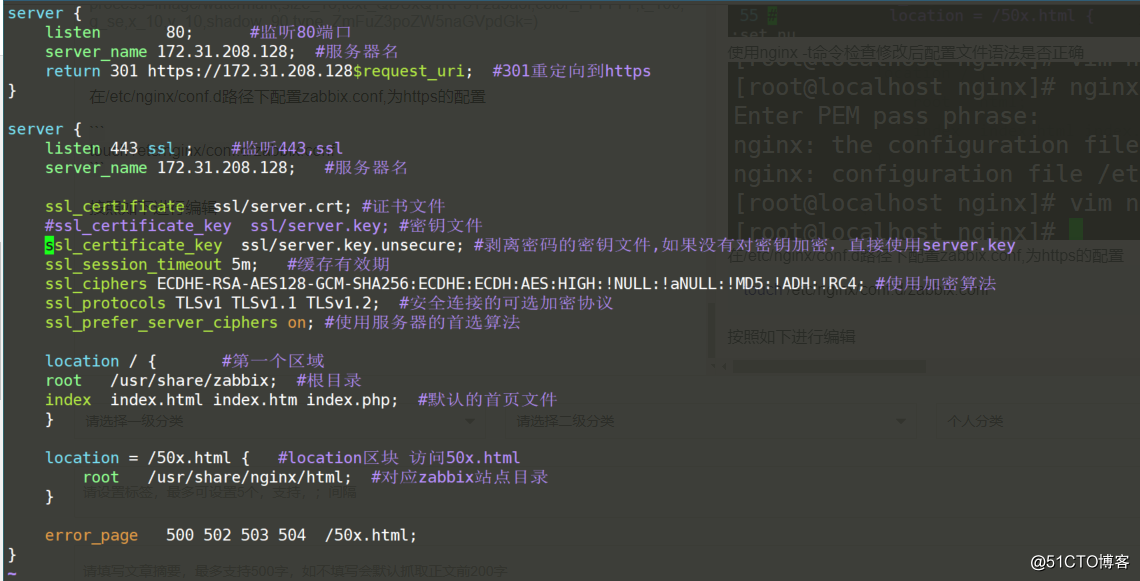
server {
        listen          80;
        server_name     172.31.208.128;
        return 301 https://172.31.208/128$request_uri;
}

server {
        listen 443 ssl;
        ssl_certificate   ssl/server.crt; #证书文件
        #ssl_certificate_key  ssl/server.key; #密钥文件
        ssl_certificate_key  ssl/server.key.unsecure; #剥离密码的密钥文件,如果没有对密钥加密,直接使用server.key
        ssl_session_timeout 5m;   #缓存有效期
        ssl_ciphers ECDHE-RSA-AES128-GCM-SHA256:ECDHE:ECDH:AES:HIGH:!NULL:!aNULL:!MD5:!ADH:!RC4; #使用加密算法
        ssl_protocols TLSv1 TLSv1.1 TLSv1.2;  #安全连接的可选加密协议
        ssl_prefer_server_ciphers on; #使用服务器的首选算法
        root    /usr/share/zabbix;

        index   index.php;
Then use nginx -t to check the syntax and restart nginx if there is no problem
If nginx starts normally, then access to zabbix again is to use https
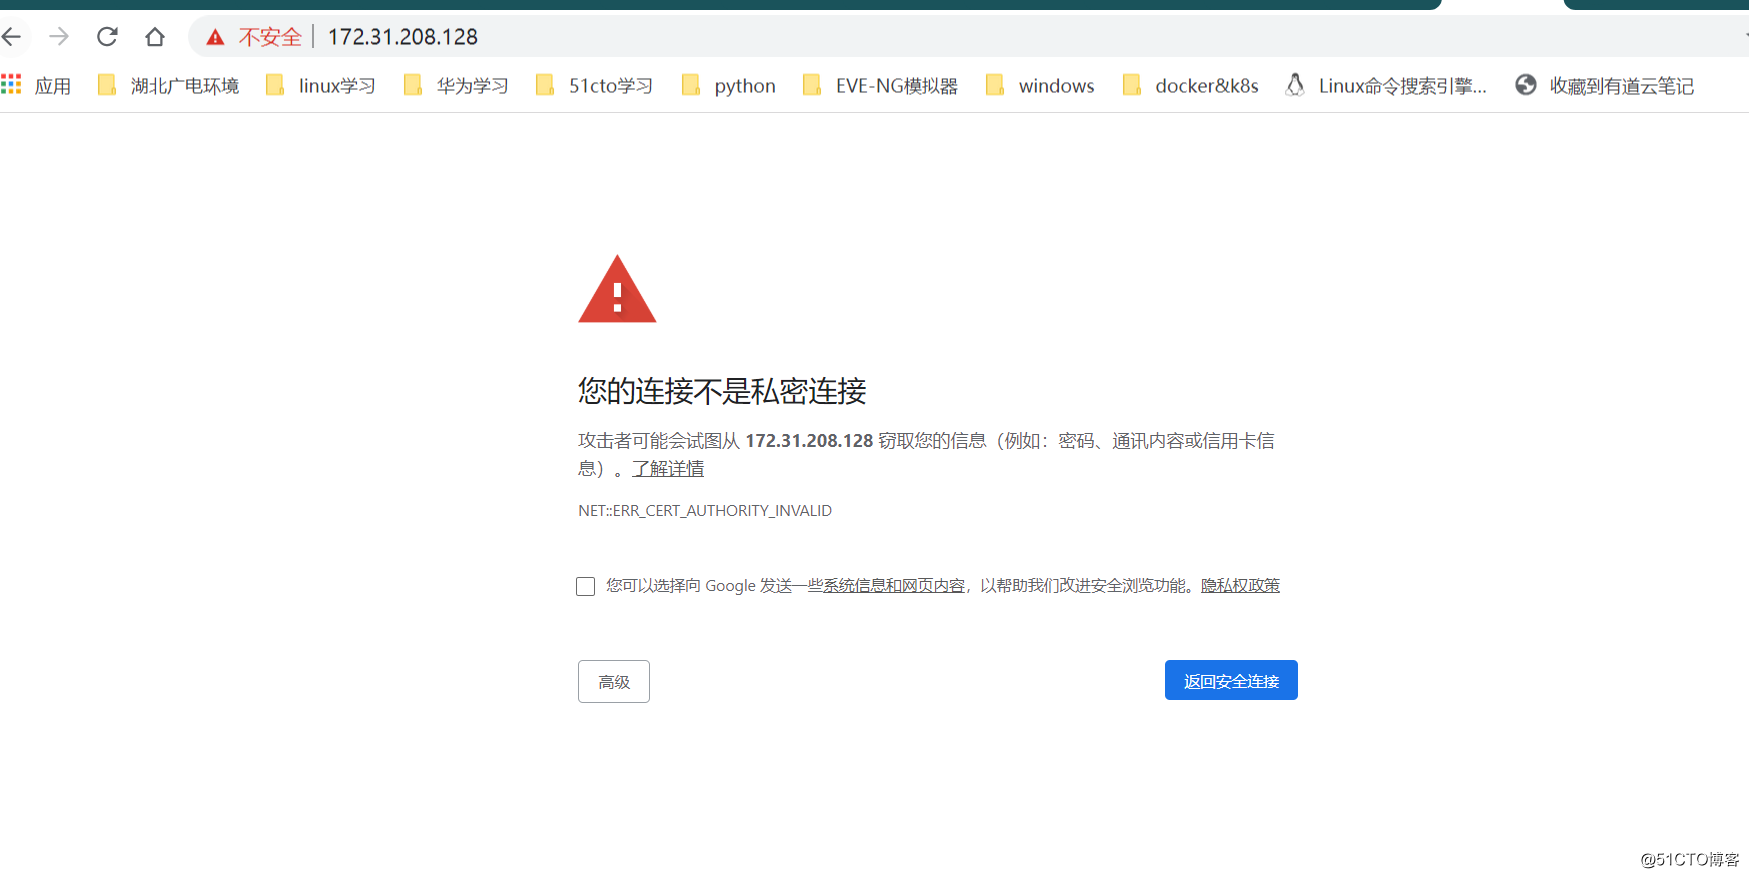
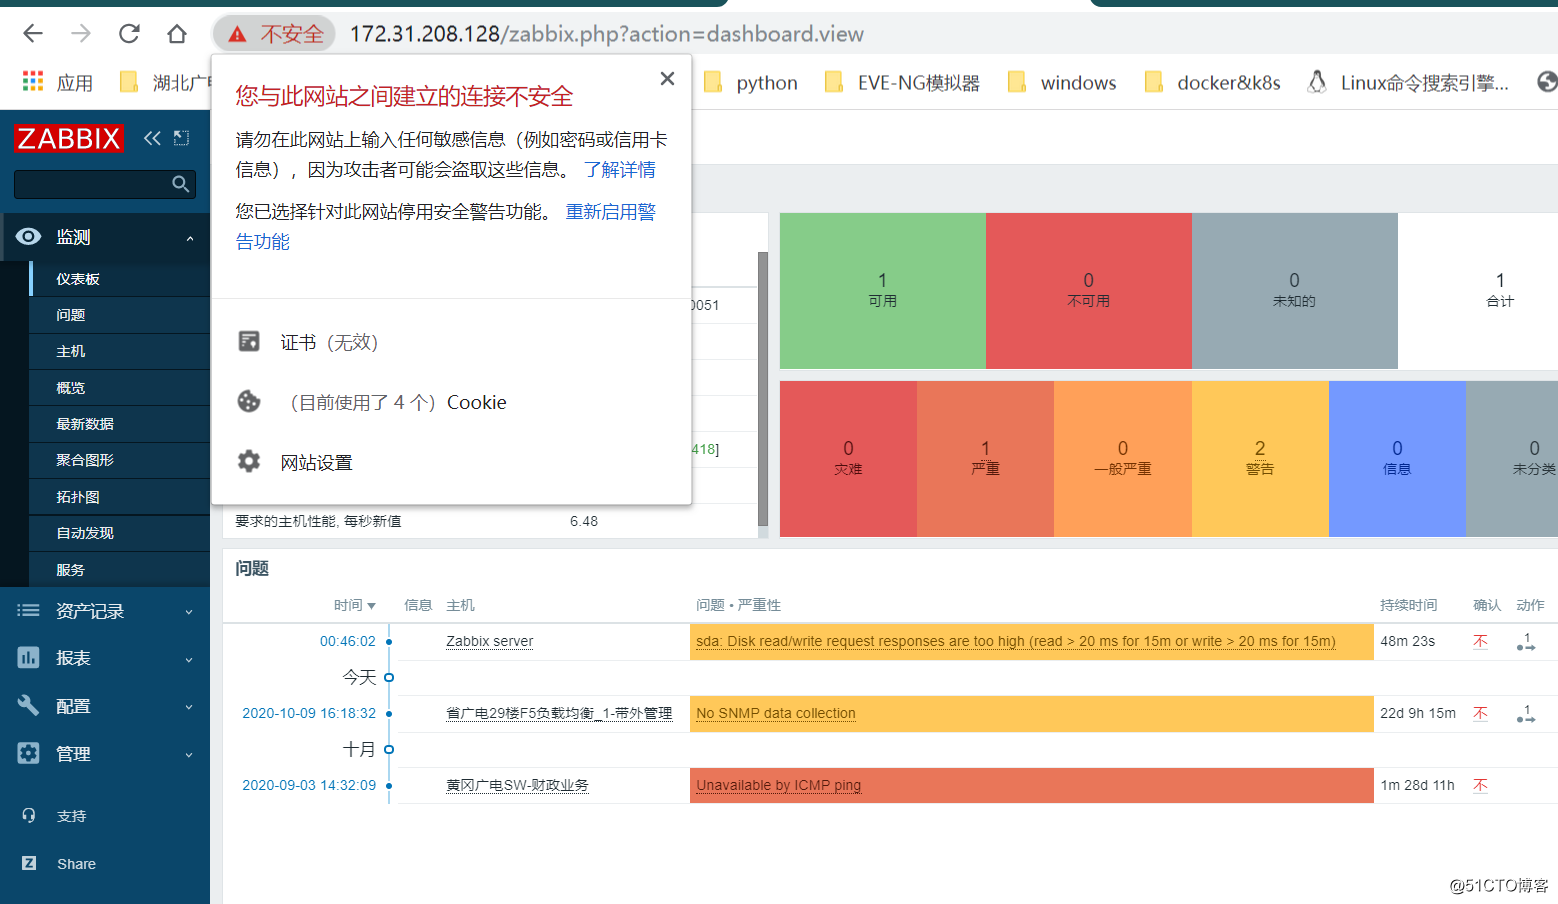
Check certificate information
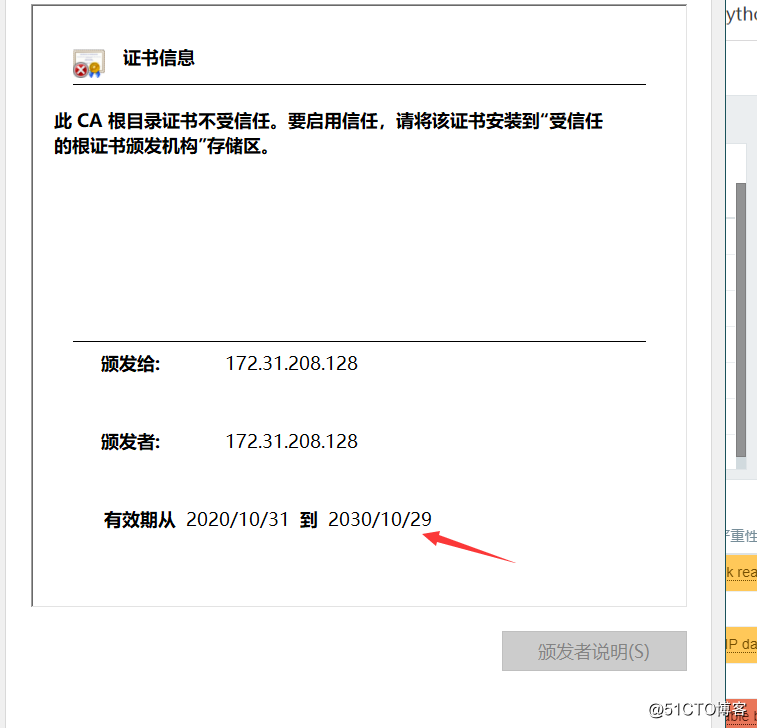
At this point, the certificate is installed
I don’t know if it’s useful, but the customer has fooled me. The damn NSFOCUS will never say that my website is insecure anymore, hahaha