table of Contents
Preface
This article is suitable for students who have installed a newer version of Anaconda 3 (Anaconda 3 2019-10 python 3.7.4). Of course, I am just a novice, and I have encountered a lot of trouble during the installation process. Because I have been using the command line to install the OpenCV library, but I have not been successful. Later I learned that it was a version problem.
Problem Description
Many previous articles on Baidu used Anaconda Prompt to install the OpenCV library, but as soon as I tried it, various errors were reported, and I was about to crash;
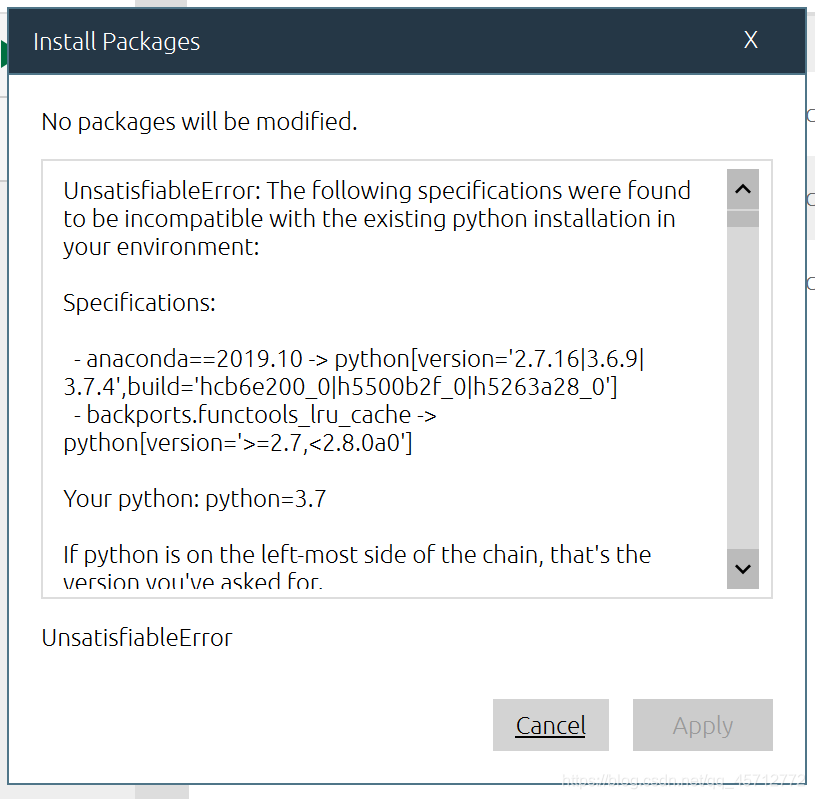
later I saw an article that also installed OpenCV https://blog.csdn. net/Fly_1213/article/details/90044916, I use Anaconda Navigator to install OpenCV, but that version of Anaconda can be installed under the base (root) OpenCV library, but if I do it myself, I can’t figure it out. Picture error.

I found out that it was a version problem, my anaconda 3 version is a bit high, and then the OpenCV library is not supported, and it keeps downloading errors;
Method steps
Then we can only re-create an environment, the steps are exactly the same as https://blog.csdn.net/Fly_1213/article/details/90044916 this blog, the environment I chose is python 3.5, the name is OpenCV-Test ;
Yes, we need to re-create an environment, because our base does not support the OpenCV library, I will explain how to use this environment later
Use this newly created environment in Pycharm
First enter the envs directory of Anaconda 3, you can see this newly created directory

Open pycharm->file->settings->project interpreter and

click the small icon on the far right, click add to
see the picture below,

click… icon

Find the OpenCV-Test path, there is a python.exe file, and then OK all the way,

then you can run the following code
import cv2

x = cv2.imread("D:\\Examples\\0.jpg")
y = cv2.imread("D:\\Examples\\1.jpg")
#cv2.namedWindow('image', cv2.WINDOW_NORMAL)
cv2.imshow("The is the first picture", x)
#cv2.imshow("The is the second picture", y)
#cv2.imwrite("chen.jpg", x)
cv2.waitKey(0)
That D:\Examples\0.jpg is the path of the picture.
effect
